Advertisement
Tidemarks are among the most frustrating things that you can ever deal with. Not only do they leave you wondering what caused them, but they also make your home look old and grubby. Tidemarks are usually easier to fix than they seem. You may also be surprised to learn that they’re very common issues among homeowners. However, you still need to keep in mind that you need to fix them as soon as they start forming on your walls. Read through our article to find out what to do if you’re struggling with tidemarks on your walls.
Before You Start
There are a few things that you need to know before you start the repair process. Although tidemarks are simple issues that you can take care of on your own, some more serious cases will require you to contact a professional. The longer you leave water stains unattended, the more likely the stains and the condition of the leak’s source will worsen. While taking care of the tidemarks is relatively an easy task, it’s not as simple as applying a few coats of paint on the problem area. There are some things that you need to do first to ensure a smooth application and a long-term resolution.
Identify the Source
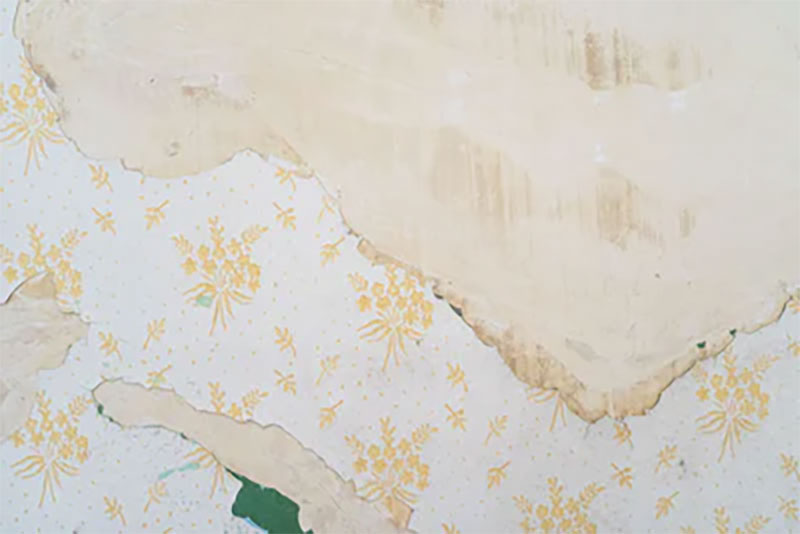
The first step that you should take before you attempt to fix the tidemarks is identifying the source of the leak. The root of the problem is usually a very simple issue, such as a plumbing or heat appliance leak. In the U.K., understanding the difference between damp and condensation can also give you a clearer insight into the root of the problem. Water can also sometimes drip through the ceiling for various reasons. Any water leakage causes a discharge of mineral deposits, which leaves dry, discolored, and incredibly unappealing stains behind. Not only do these stains look very unattractive, but they generally come with foul smells. Finding the leak’s source and contacting a repair professional is a must. Besides the fact that any attempts at repairing the stains will fail because of the water that constantly returns, continuous leakages can weaken the structure of your home, which can be very dangerous. This is perhaps the most important step of the entire mending procedure.
Cleaning and Prepping
Before you grab the paintbrushes, you need to clean and prepare the affected area for the final step. You should only proceed to this part of the process after making sure that the source is properly sealed. Mix 1 part bleach to 3 parts water in a cleaning bucket to clean the stain, and make sure that you’re wearing protective rubber gloves. If you don’t have access to unrefined bleach, you can use bathroom cleaning detergents or solutions that have bleach content. This is crucial because it will help you remove mildew and mold, and it can also help you fade the problematic stain. After you’ve scrubbed it off, you need to ensure that the wall is well dried out before you start painting. If the wall is damp, the paint will not adhere to the wall. If you have a dehumidifier, using it would be a great idea. Keep in mind that depending on the severity of your stain, you may have to repeat the process multiple times or use stronger ingredients.
Get Rid of the Stain
Make sure that you start by coating the entire stained area with a stain-blocking primer. You have to ensure that you’re using a mold-resistant, oil-based one, instead of resorting to the traditional latex paint. This is because latex paint will not effectively cover the stain after it dries. Refer to the instructions to find out how long you should leave the primer paint on. However, you should typically leave it for at least 2 hours; the longer it stays, the better. The coated area may get either a little lighter or darker than the rest of the area once it’s dried. Find paint that matches the original color of your wall or ceiling and apply it to the area you’ve primed. If you have a smooth ceiling, use a ⅜-inch nap cover roller, and a ¾ -inch to 1-¼ -inch one on a textured surface. The first coat should dry out after a few hours; you should apply a second one right then. After the second coat dries, your ceiling or wall should look brand new.
If you are dealing with water stains on your walls, then you’ve probably tried every detergent there is to help you get rid of them. Though, you’ve probably realized that scrubbing it off is simply impossible. There are a few steps that you should take to ensure an effective resolution to your issue. Skipping any of them will make your walls look worse than they were before. It can also cause the stains to come back and show through in no time.