Advertisement
We talked about self-installing garage doors with Speedez Garage Doors from Denver, Colorado. Keep reading!
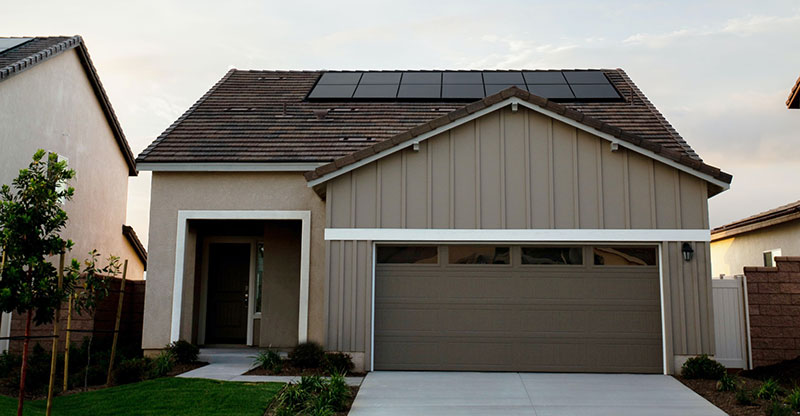
A Garage door is different from a regular door; it is not as easy as it seems. You need to be extra careful to be able to install the door safely. A Garage door can weigh up to 200 to 400 lbs. or more. A regular double garage door is 7ft high and 12ft wide. In this article, we will learn the DIY of installing our garage door like a professional.
The difficulty you might face while installing it depends on your strength and capability. However, to accomplish the task, you first need an efficient set of hardware tools. These include socket bit, level, wrench, hammer, safety glasses, etc.
To start installing the door, you need to follow the following steps.
Step One: Work With The Torsion,
Release the tension between the torsion springs before you begin working on the door. Adjust the locking pliers on the torsion spring and put the shaft against the wall above the door you want to fix.
Next, put in the steel rods inside the spring holes winding cones; this has four holes used for loosening and tightening. You can use the rods to loosen up the setscrews while the winding cones are held in place. Alternate the rods, for one will hold the cone in place, and the other will loosen it.
Step Two: Remove Old Door and Opener
Once the tension in the torsion has been released, you can now disconnect the already present door and opener. To start the process of disconnecting, first, remove the door panel by removing the hinges from the above. Here you need to use your strength with extra care and gently deal with the glass to protect yourself from any kind of injury.
Use a screwdriver to unscrew and unbolt the doorframe. This is how you can undo the existing door and its leftovers.
Step Three: Fix New door Panels
Now is the time to begin installing your new garage door; begin with installing the panels. If the door is for double car parking, place a bar on the top panel to avoid bending or bowing of it. Drill holes and screw them to secure the bars.
Attach new hinges at the above. Many new doors have already been drilled holes by the manufacturers, known as pilot holes.
Step Four: Fix Hinges And Install The track.
From inside the garage, secure the hinges you already have installed above. Secure the hinges with axles by placing them into the sides and bottom for extra support.
Next, to install the tracks install the brackets and place them against the wall, make sure the wheels are properly aligned on the track. Next, fix the door cable along with the hook and bottom bracket to the wall.
Step Five: Assembling Spring to the track
Attach the parts to align with the spring assembly. Make sure the spring assembly attaches to the track properly. You can use the same old ceiling support you already have of the old door.
Step Six: Bolt tracks And Install spring
Attach the horizontal and vertical track on the door leaving the bolts slightly loosen up. To line up the horizontal and vertical track together, you can drill a hole. Bolt the tracks together, keeping a check on the size of it.
To install the springs, mark the center of the opening, attach spring-looking cones. Bolt the springs firmly to the main header.
Step Seven: Install Rods, pulleys, and Attach Cables.
Install the torsion Rods reversing the process of removing you did before. After you secure the rods, attach the pulleys. Bring cables up from below and attach them to the pulley wheels. Make everything tight and secure. And You are Done!