Advertisement
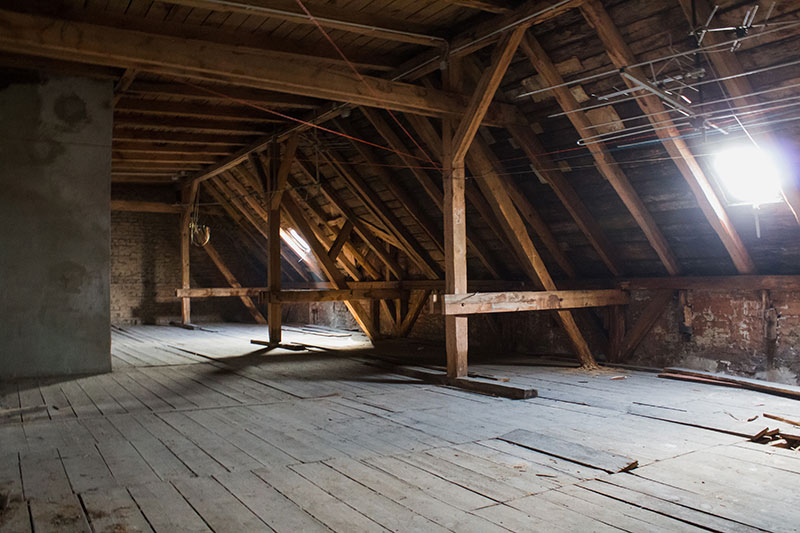
As a homeowner, you may wonder if you need to seal the attic and the benefits you can enjoy if you decide to do so. Of course, the answer depends on the current condition of your home and if you’ll want to save some money on your electricity bills. Moreover, some signs also indicate the need for you to air seal your attic, including drafty rooms, uneven temperatures between rooms, visible dust in rooms below the attic, and dryness of your indoor space during winter.
Generally, sealing the attic is an excellent way to prevent heat loss in the winter and maintain cooler summer temperatures due to air leaks. Proper air sealing will avoid leakage through the holes, conserving energy and saving you money. Moreover, it can help achieve a more balanced exchange of fresh air and conditioned air in your home.
You can hire an insulation contractor to seal the attic properly. However, if you decide to pursue this home improvement project on your own, here’s a guide on how you can efficiently air seal your attic:
- Prepare For The Task
Start by preparing the space for air sealing. This means laying down drop cloths to protect your insulation. The drop cloths will also help you track and identify penetrations, gaps, cracks, and holes that need attention.
Air sealing your attic can be a messy job, so you may want to wear a painter’s mask and goggles to protect yourself from airborne dust and particles. You should also don a long-sleeved shirt, long pants, and thick work gloves.
As you move through the attic, mark any holes or penetrations you see with coloured pencils or chalk. Make sure to check the floor joists and the exterior walls and ceiling. Don’t forget to check around chimneys, recessed lights, pipes, wires, and other crawlspaces that could create air leaks. You may also want to look for discoloured insulation near areas of heat loss or drafts.
- Know When To Call Professionals
While you are in the process of your attic inspection, you may realize that calling the professionals may be the better option than DIY. After all, air sealing the attic requires you to check other parts of your home, such as your roof, to ensure that you attend to all potential sources of leaks.
A new roof, for example, provides an opportunity to air seal the attic underneath the roof deck fully. But if you want to tear up the existing roofing nailed to the plywood roof deck and install new roofing, you’d better call a pro. Removing old shingles is messy, dangerous, and impossible for DIYers.
- Plug The Big Gaps First
The first step to air sealing an attic is locating the big gaps. The biggest holes are usually at penetrations and chimneys. These holes need to be plugged in first to reduce your heating and cooling costs the most.
Here’s how to identify these big leaks:
- Look for your attic-side ductwork connections and make sure they’re sealed. If they’re not, use mastic or metal tape to seal them up.
- Also, look for any electrical boxes that may have been cut through while installing a light fixture or other plug-in item. These openings should also be sealed with mastic or metal tape.
- If you have a plumbing stack, it’s likely that someone just cut a hole in the drywall around it to run pipes through it. So, seal these drywall holes with mastic as well.
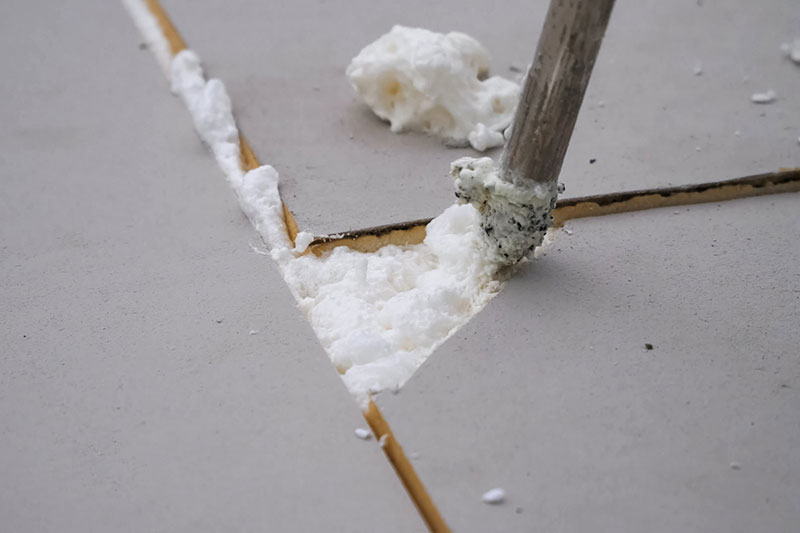
- Seal Bypasses With Spray Foam And Caulks
You also need to seal bypasses in your attic. A bypass is a path for air to leak in or out of the house. So, you’re trying to find all these air leaks and seal them to have a nice tight envelope called house enclosure.
When looking for bypasses, here are two areas you need to look into first.
The first place is the attic hatch. If you don’t have an attic hatch cover, then you can use weather stripping around the perimeter of the hatch opening, and those seals it up pretty well. You could also get a rigid foam hatch cover and just cut it to fit right over the top of your existing attic hatch.
Another place where bypasses are commonly found is around recessed light fixtures. If you look up in your ceiling, there should be cans rated for insulation contact. However, if they’re not rated for this insulation contact, it means that air can come up inside these fixtures and travel over into the attic space.
So, to seal those up, you can use special products called recessed light covers made of metal. Installing recessed light covers may involve caulking around the cut-out in the ceiling and then spraying foam gasket on them. This will make them fit tight around the fixture and seal the bypasses.
Conclusion
Air sealing your attic will help keep your home warm in the winter and cool in the summer, and it could lower your energy bill by up to 20%.
It’s also relatively easy to fill gaps and cracks with caulk. However, if it’s complicated, you should consider calling for professional help to help you seal the attic.