Advertisement
Your kitchen backsplash project’s grouting may make or break it. A bad grout work may easily destroy even the best tile installation. A clean, professional-looking grouting work, on the other hand, may be the icing on the cake that entirely alters the look and feels of the area.
Continue reading this article about how to apply grout to backsplash to learn the ideas and eight simple procedures required to grout tile backsplash like an expert.
Choose Your Tile Grout
When considering how to apply grout to backsplash, the first step is to, select your grout. Grout can be purchased pre-mixed, dried, sanded, or unsanded. The sort of grout you should use is mostly determined by the size of the space between tiles. Whether you choose dry or pre-mixed grout is a personal taste, but keep in mind whether you want to be sanded or unsanded grout. Consider sand to be a strengthener, and use it for projects that will see a lot of wear and tear, such as flooring and shower pans, as well as tile with broader grout lines.
Types of Grout
- Unsanded: With a smoother texture and fine sand powders, this is a fantastic option if you don’t want your grout to seem gritty. Only use unsanded grout if your seams are small (less than 1/8-inch wide). Because unsanded grout lacks the binding ability of sanded grout, it may break when used with broader gaps.
- Finely sanded: This grout choice is appropriate for medium-sized seams (between 1/8-inch and 3/8-inch wide) in tiles. It has sand in it, which promotes durability and decreases shrinking.
- Quarry type: This is a cement-based grout that is appropriate for grouting treated terracotta tiles, quarry or slate tiles, or for grouting broader grout joints between tiles (3/8-inch to 12-inch wide).
- Epoxy: This type is less porous and stain-resistant, making it excellent for kitchens where it would be exposed to acids and grease. It is made of epoxy resin and hardener. Because epoxy grout dries rapidly and is difficult to deal with, we recommend that you avoid it.
Pre-Mix Versus Powder
Buying the powder is unquestionably less expensive. For little projects, don’t be afraid to pick up a tiny bucket of pre-mix. It saves time and money on cleaning. However, if you have any genuine time to grout, get up a bag of grout powder.
Sealer Additive or Post-Seal
Sealer is often applied two or three days after grouting. You can use a specialist sealer to replace the water in the powder mix, however, a standard sealer cannot be used with grout mix. Sanded grout is a cement product, therefore it cures by a chemical process, which would be hampered by the addition of a water-based sealant.
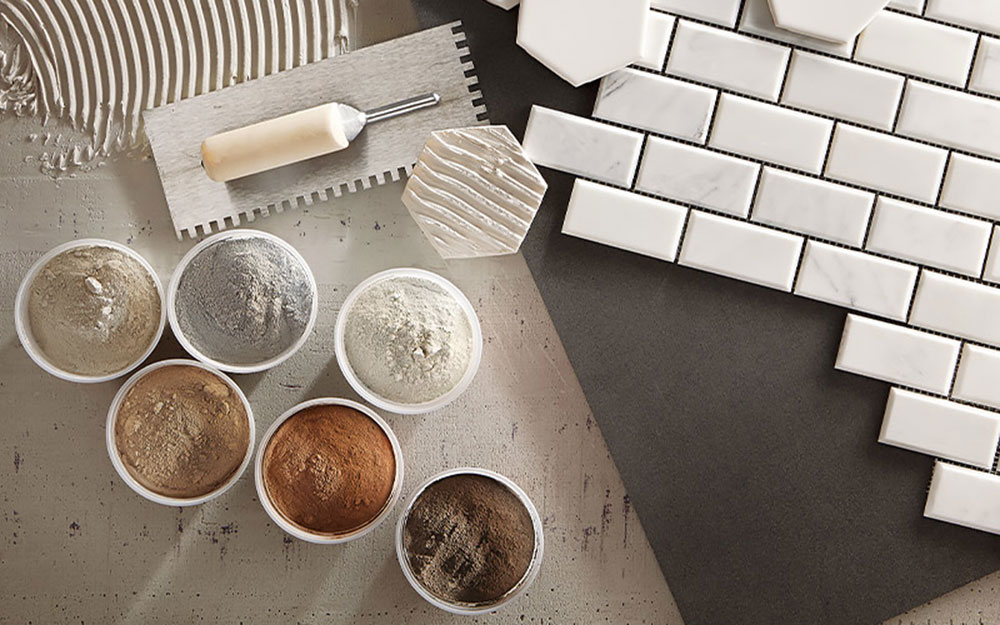
Grout Color
This isn’t like picking a paint colour in that there aren’t 5,000 options…which is a good thing. However, you must consider the appearance you want to achieve.
Examining the questions and answers online is one useful resource. Sometimes the manufacturer makes advice, and other times people who have used the tile make suggestions (or bad ideas). Do you want the grout to blend in with the tile or stand out?
Consider the following factors while making your decision:
- White grout will reveal more grease and filth than dark grey grout. White grout, on the other hand, may still add to the aesthetic of your backsplash if you’re willing to maintain it clean.
- Grout that is darker than the tile will be more forgiving of stains in the kitchen and will give an eye-catching contrast with lighter tiles.
- A soft grey grout can draw attention to the design of the tile and does not reveal stains as much as white grout.
- Colourful grout, especially if it picks up on a hue in the tiles, may create an eye-catching aesthetic and add a lively aspect to your kitchen backsplash.
Grouting the Backsplash
Once you’ve chosen the kind and colour of grout, it’s time to get started:
Here is a list of the materials you have to get and prepare before starting the actual work:
- Sheeting made of plastic
- Tape for painting
- Grout
- Grout sealant (if required)
- Caulk
- Floating grout
- a sanding knife
- There are two buckets
- Sponge
- Cloth
Prep First
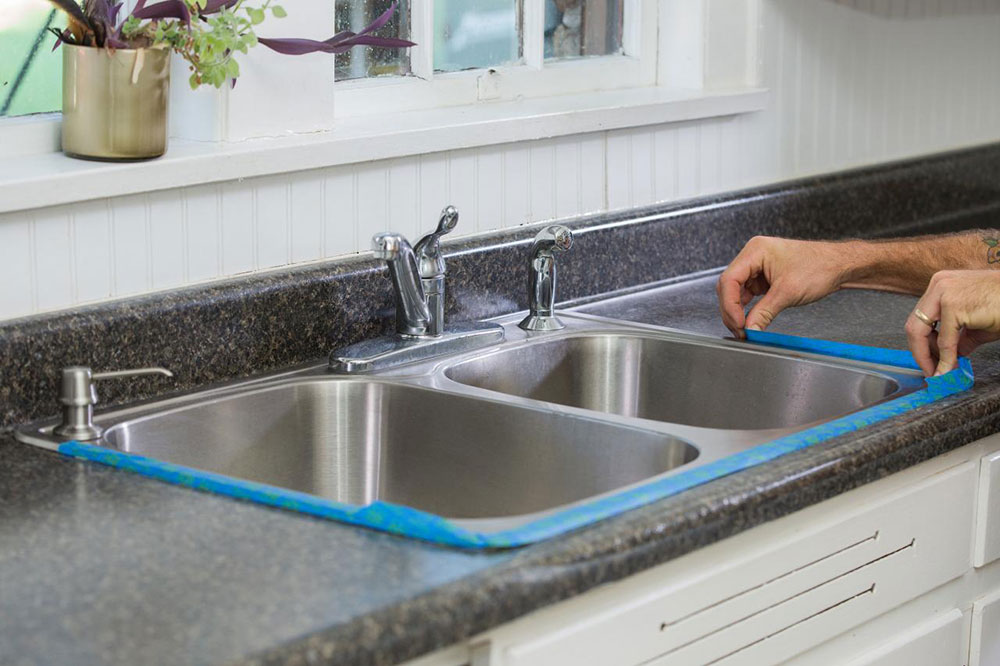
Once you’ve gathered all of your items, the first thing you’ll want to do is cover your countertops. Cover them with plastic sheets and bind the corners using painter’s tape to do.
Take a close look at the joints next. Make sure there aren’t any clumps of mortar or mastic that have gotten out from beneath the tiles and are preventing the grout from settling correctly.
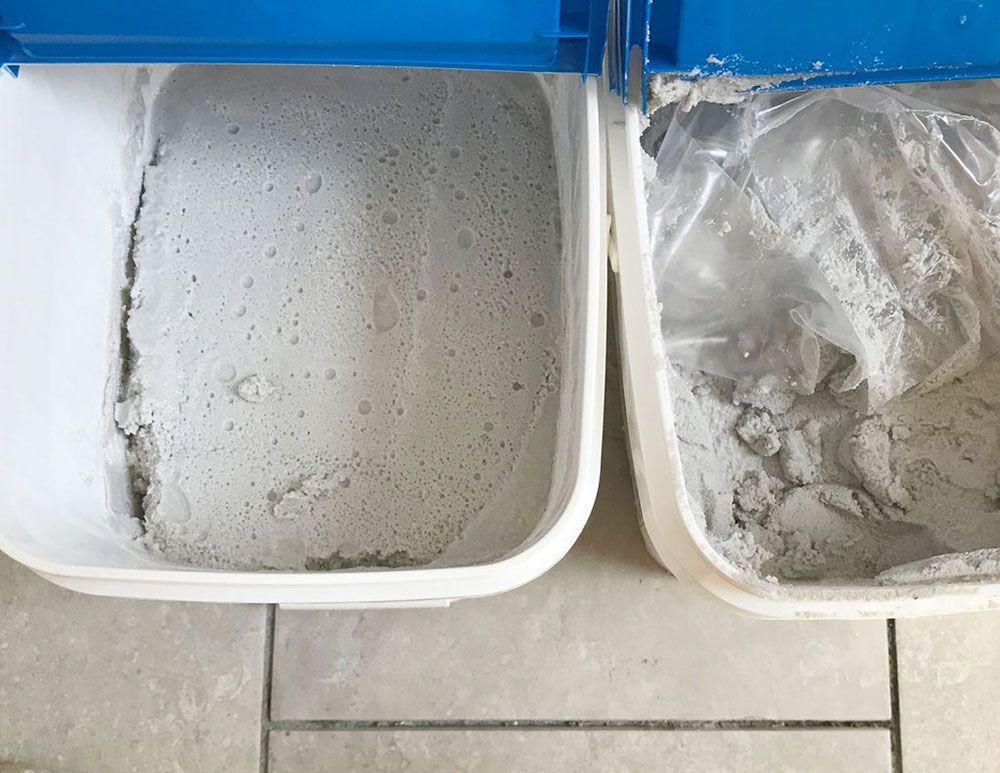
Mixing Grout
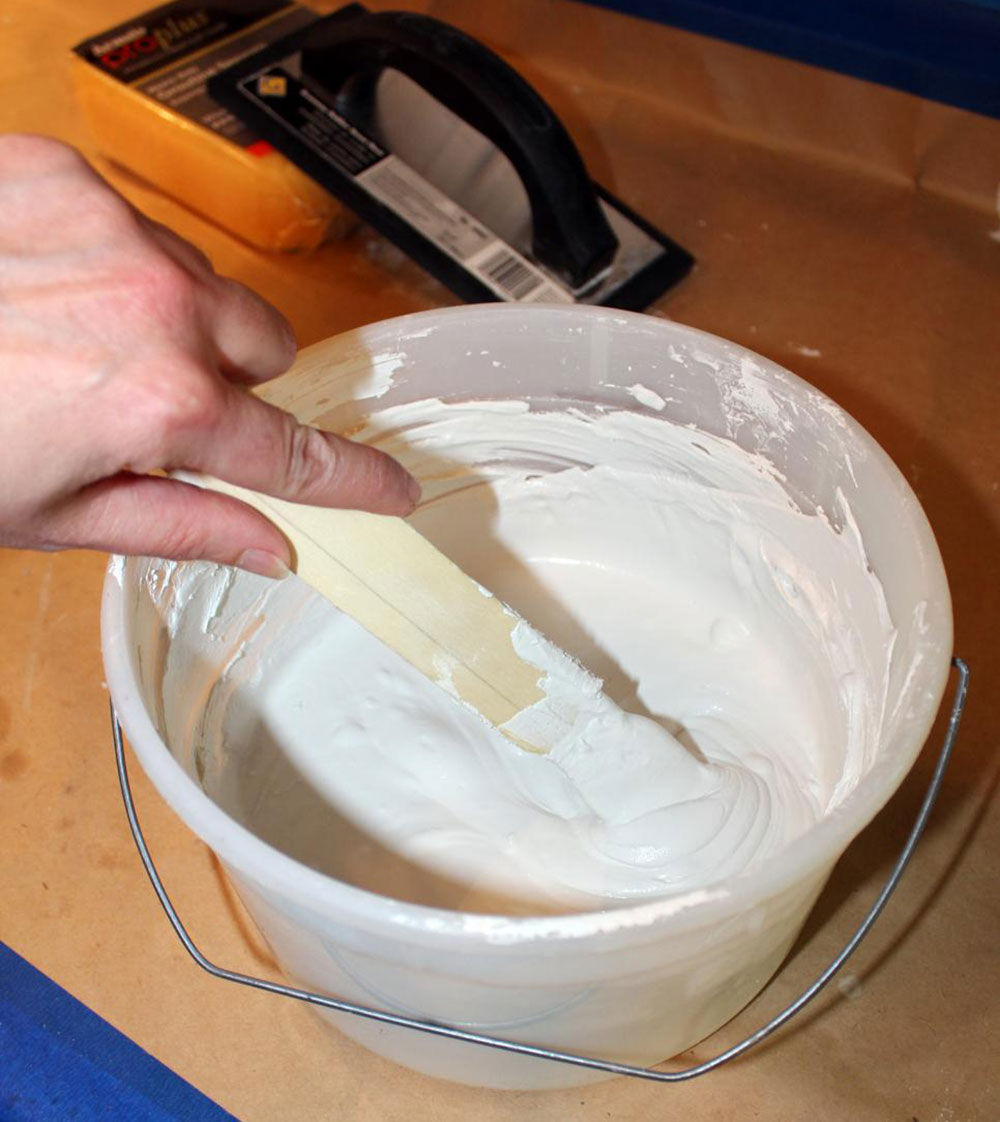
Mix the grout in one of the containers using your putty knife. Follow the instructions on the package. Mix until the grout resembles peanut butter’s consistency. Mix only enough grout to cover a small area. This will keep the grout from setting before you’ve had a chance to use it all.
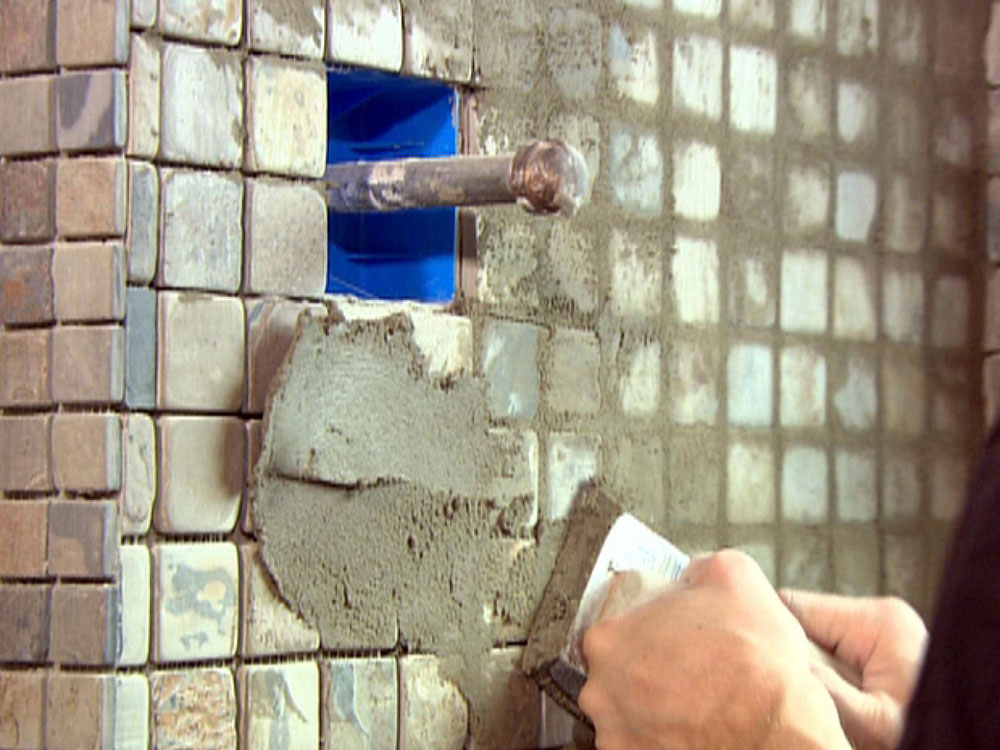
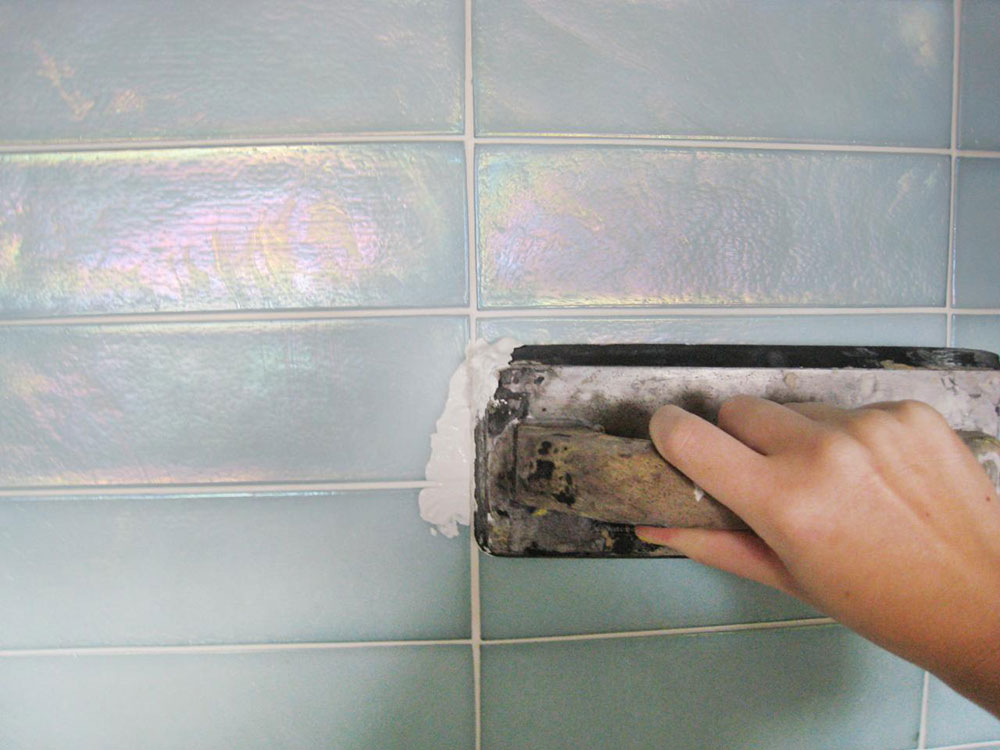
Apply Grout

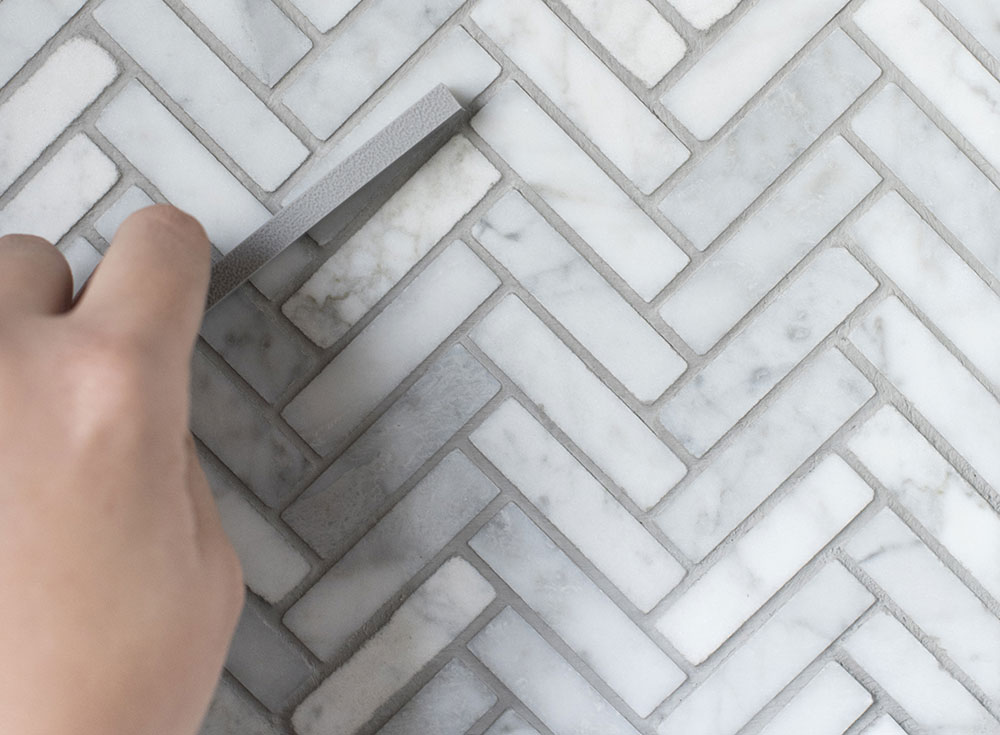
Dip the rubber grout float into the grout bucket, grabbing just enough to cover the tip of the float. It is critical not to overdo it, but rather to work swiftly with little amounts of grout on the float.
Begin applying the grout in tiny sections. Using the grout float, spread it over the tiles to fill the joints. Spread the grout firmly in an upward direction at a 45-degree angle.
Remove any extra grout from the surface using the float, being careful not to remove it from the gaps. To remove all of the superfluous grout, use an “S” shape pattern. A reasonable rule of thumb is to work in 10-minute intervals.
Because your kitchen cabinets, countertop, and windows will be caulked, avoid going too close to them.
Cleaning the Tile
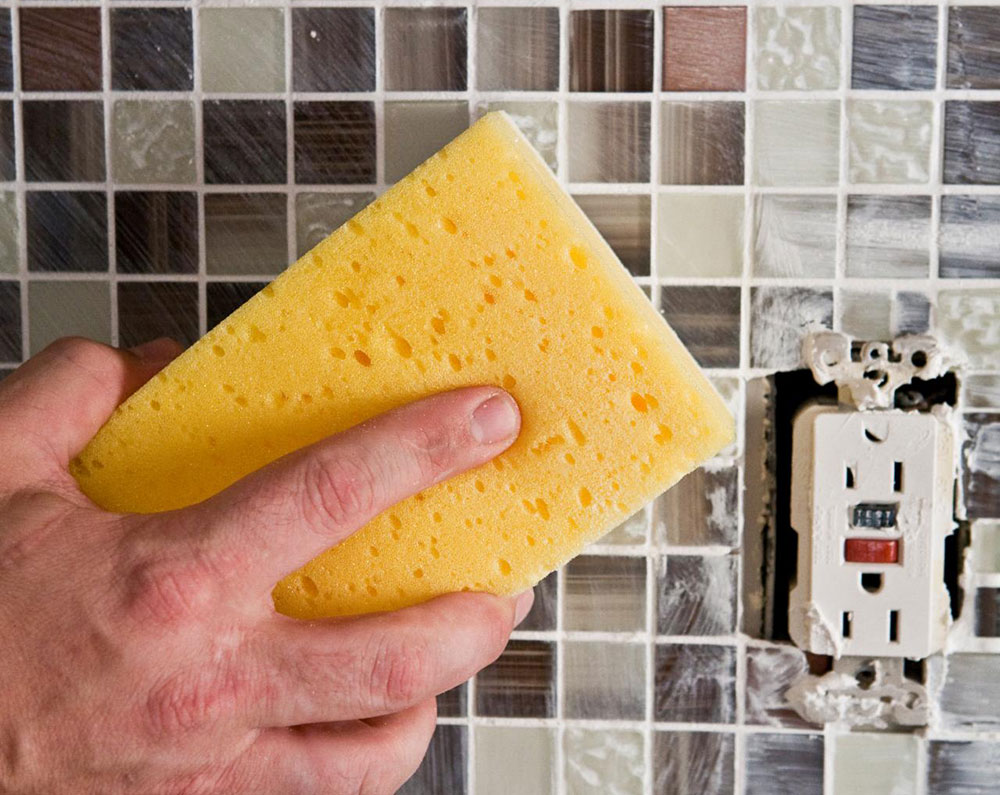
Wait for at least 15 minutes for the grout to dry.
Fill the second bucket with warm water, then wipe away the excess grout from the tiles with the sponge and water.
The initial swipe will appear to do nothing, but perseverance pays off. Continue wiping the sponge over the tiles in diagonal lines. Once each side has cleaned the tile, rinse the sponge. We assure you that the tiles will eventually seem clean.
Throughout this procedure, rinse your sponge frequently and make sure it is just barely saturated. Too much water will damage your grout lines, and a soiled sponge can create a haze on your kitchen backsplash.
When the water becomes foul, change to a fresh bucket. Remove the old water and dispose of it outside. It’s not something you want in your drains.
A small amount of residual haze is typical and readily removed.
Allow the grout to cure completely (at least a few hours). When the backsplash tiles are totally dry, take the towel and wipe away any leftover grout film.
Finishing
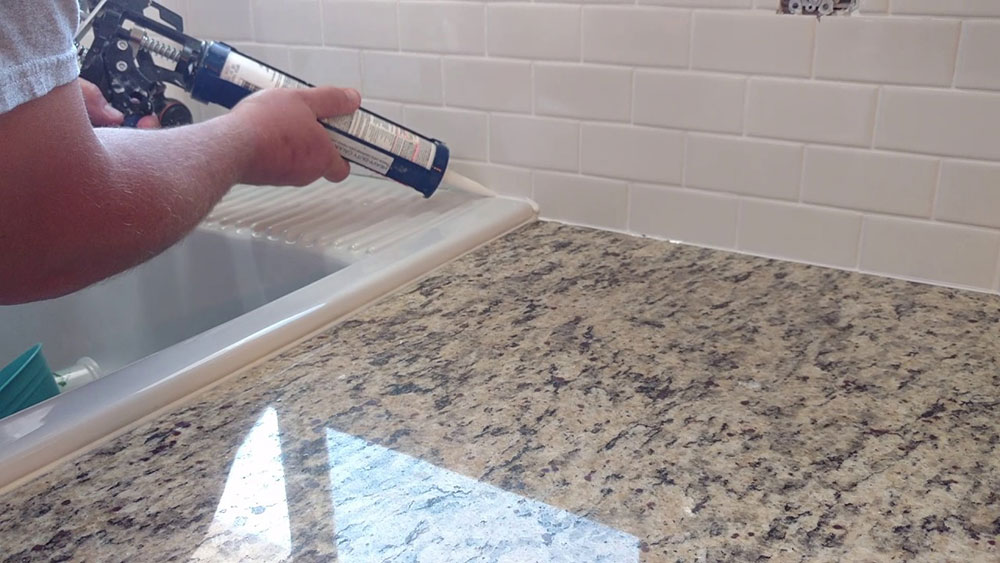
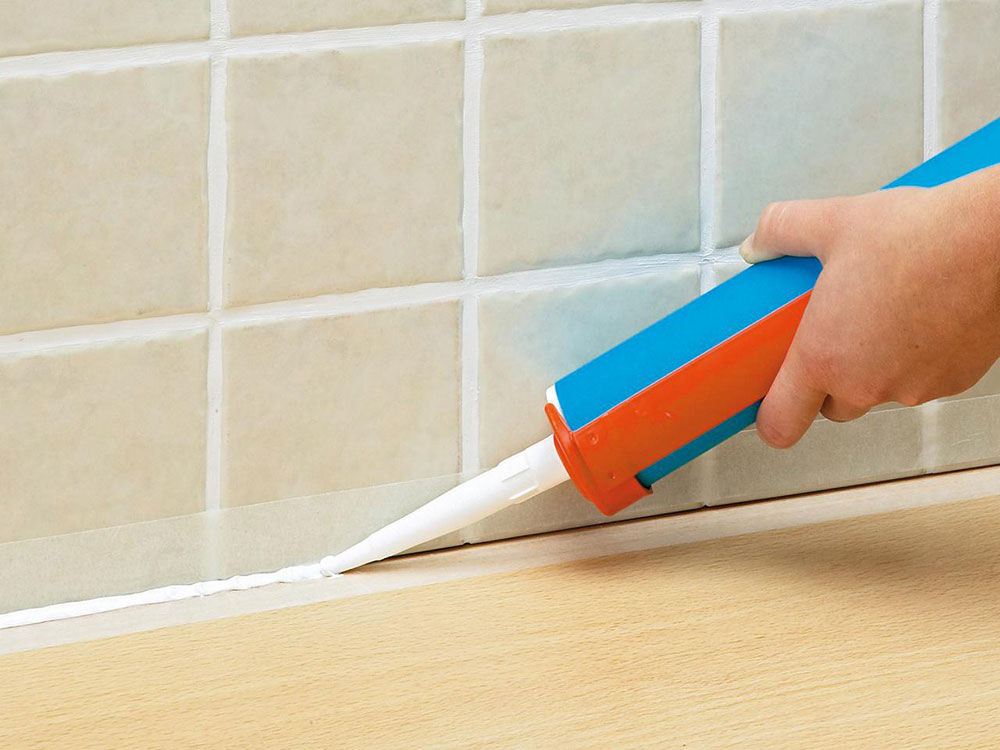
Caulk your backsplash along with the counters, windows, and any other corners. Apply a bead around the margins with care, and then go over the line with a lightly saturated sponge. To create the ideal line, push your finger over each caulk line and then smooth it with the sponge.
A grout sealer should be used. This section was quite simple. I rubbed it on liberally, using the squeeze bottle to ensure that I got it all the way under the sink and stove, where I create the most messes. Allow it to sit for a few minutes before wiping away the excess with a clean towel.
Your project is finished after the caulk has cured. Enjoy your lovely kitchen backsplash!
How To Fix Dried On Grout
Grout takes time to set completely, so the sooner you can get started, the better. Because Portland Cement is the principal constituent in most grouts, it will set exceedingly hard. Avoid the urge to chisel it off hastily; this will most likely result in tile damage.
Ending thoughts on how to apply grout to backsplash
Added Sugared Water – (not to be confused with sugar soap). Stir some regular white sugar into some warm water. It should be in the ratio of 1 part sugar to 10 parts water, but you can experiment to find what works best. You should sponge the sugar water into the grout you wish to remove and let it for an hour or so before rubbing and scraping it off while applying additional sugared water to keep it lubricated.
Vinegar – Because vinegar is an acid, you must be careful not to harm the tile surface. Test it first to see how the tile holds up, and make sure you have enough water on hand to dilute and wash away any extra vinegar that goes into places it shouldn’t. Wear gloves and don’t allow the vinegar to sit on the tile’s surface.
Brick and patio cleaners — As previously stated, they are excellent agents for loosening and removing hardened grout. Take the same care as you would with any acid-based cleaner, as this is what makes them so efficient. The brick cleaner may be purchased in 1 – liter tubs rather than the 5-liter buckets seen in most DIY stores.
We hope this article about how to apply the grout to the backsplash was useful and helpful!
If you enjoyed reading this article about how to apply grout to a backsplash, we also wrote about subjects like what type of caulk to use for backsplash, what backsplash goes with black granite, how much does backsplash cost, how to remove backsplash tile, how to hide outlets in the backsplash, what backsplash goes with Taj Mahal quartzite, how to clean brick backsplash, what backsplash goes with granite countertops or what backsplash goes with white cabinets.