Advertisement
In homes, the most common thing is that people have a concrete or tile floor. Although these look elegant, the truth is that they are cold, unwelcoming, and quite repetitive. There is nothing special about them; this is the reason why, today, many builders and owners alike have decided to put wood floors in the houses. These offer greater warmth, and there is also a great variety. Here is where the engineered hardwood appears. It is a material prepared to face problems that conventional wood cannot.
However, this does not mean that they do not have their difficulties. That is why today we will briefly teach you how to install engineered hardwood flooring without the need for a professional.
What is engineered hardwood?
Before you decide to install engineered hardwood in your rooms, you should know the material so that you know if it suits you.
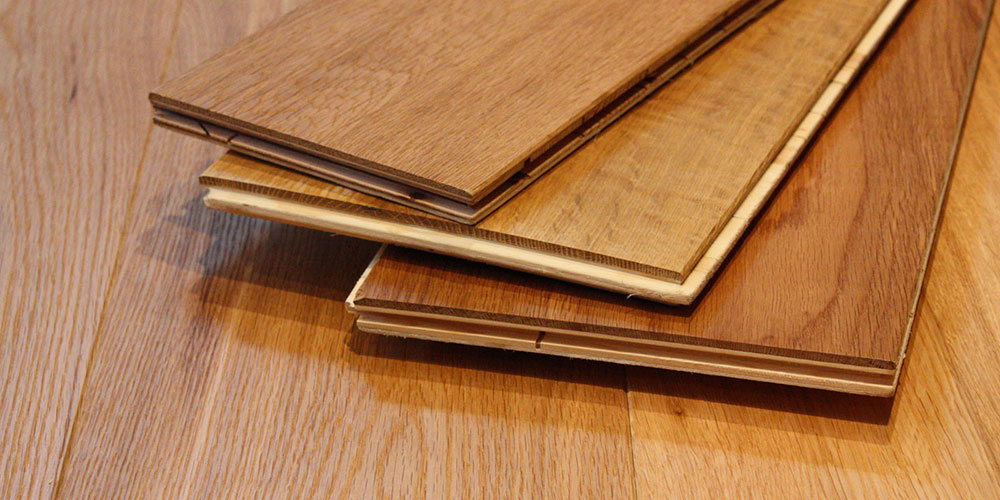
Although it sounds like a strange material, the reality is that its manufacture is easier than you think. Engineered hardwood is, basically, multiple wood layers compressed to create a much denser sheet. Although it looks similar to solid wood, it differs in that it is even stronger.
This makes it much better to face natural elements, even moisture, a feature that traditional wood does not possess.
Traditional installation for a modern material
Like other wood floors, engineered hardwood flooring is assembled using a tongue and groove type interlock. It is an efficient system that allows each piece to be firmly attached using its structure. You just have to fit them together to create the plate that will function as a floor.
As for the method to adhere it, you can opt for the traditional options available, serving nails, staples, or glue. You can even create floating floors with this hardwood.
How to install engineered hardwood flooring for beginners
Now, once we know thoroughly the material with which we will work, you can start with the installation process by following these steps:
Acclimatize the work area
Engineered hardwood flooring requires special conditions to guarantee its resistance. The first, of course, is a moisture-free installation area.
If you want to install this type of flooring in new construction, you should not order it until the construction is complete. At least 60 to 90 days should have passed since the last concrete pour.
During these days, you can take the opportunity to place any wall frieze you need, but try to do it in time for it to dry. Similarly, you cannot paint anything if you are installing the floor (the paint is liquid and wet).
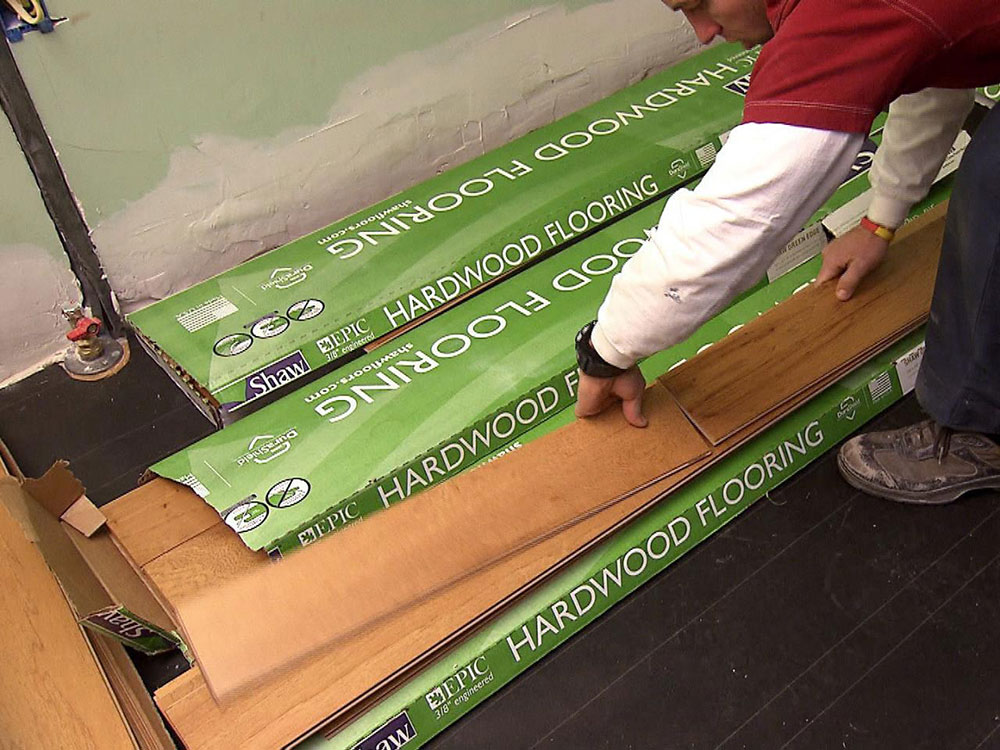
If you meet these requirements, the next thing is to order the engineered hardwood and store it in the place where you will install it for at least 48 hours. This storage process will help it adapt to the room’s weather conditions, allowing it to expand or contract before being assembled.
The only exception to the above rule is if you want to install engineered wood floors in basements or garages. You cannot store the material in these places, or else the humidity levels could seriously damage it.
How to install engineered hardwood flooring in previously built areas
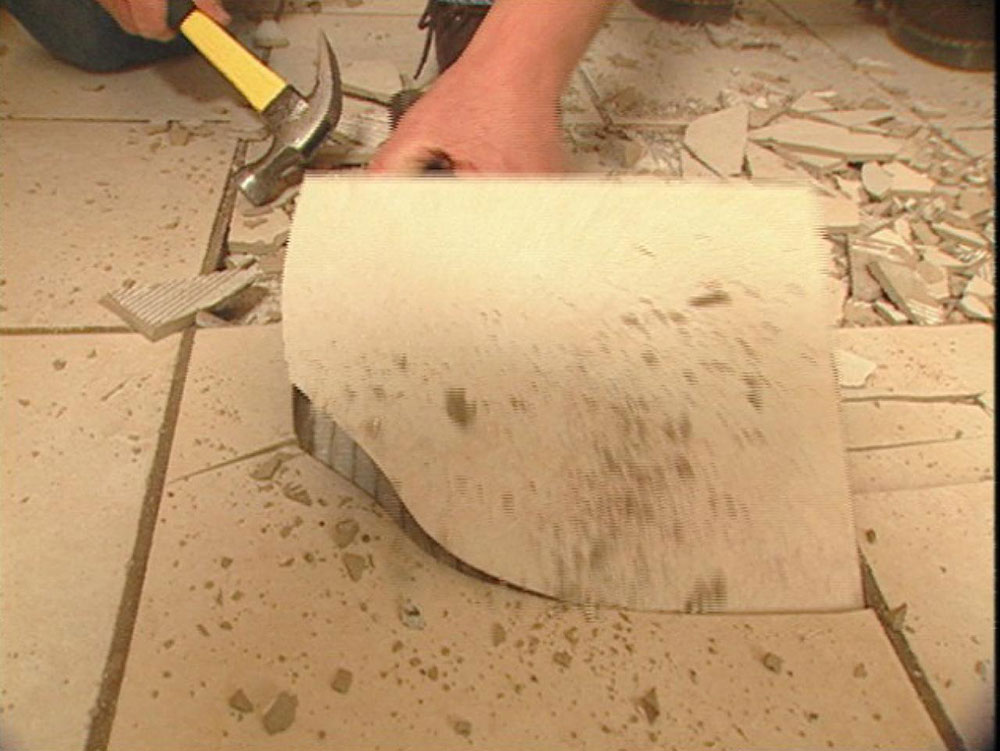
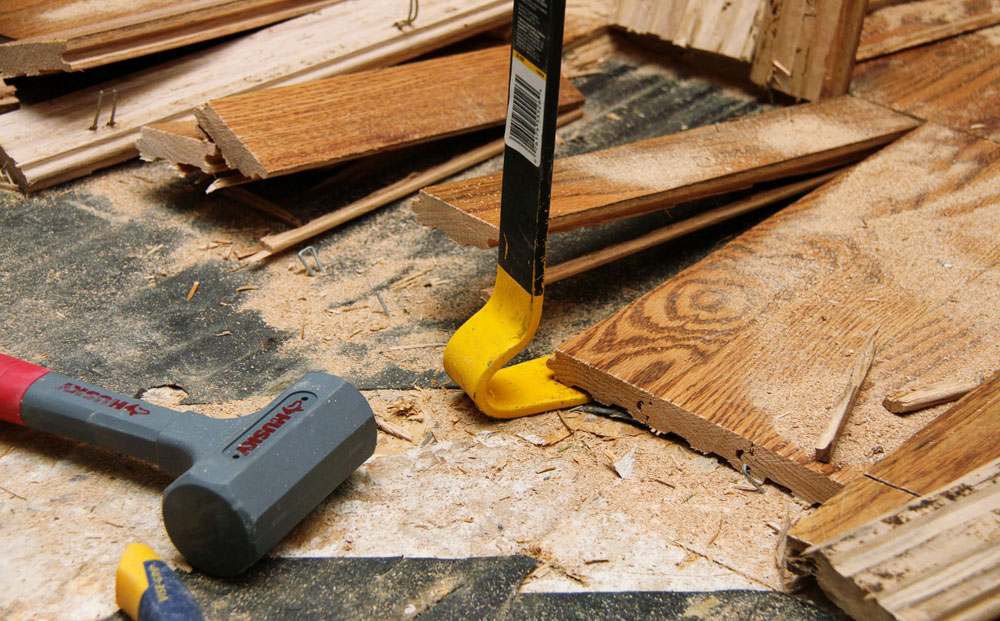
If what you want is to replace your old floor, then you must first uninstall the material that you have installed.
There are two ways to approach this new installation. The first is by placing the new floor on top of the existing one, avoiding the financial expense of removing the installed tiles. This, of course, is not the optimal or desirable case in many situations.
The second alternative is the opposite. All existing floors would have to be disassembled or broken to work directly on the concrete foundation. This is easier if the cladding is made of wood sheets, as it can be removed.
Remember, however, that you must remove the base trims first, or you will not be able to remove the rest of the flooring. You can also remove the baseboards, but it is not necessary if you do not consider that this will interfere with the installation of the new floor.
Working on existing plywood subfloor
You will need to prepare a couple of things if you want to do a floating installation over a plywood subfloor.
The floor has to be smooth and level to be able to place the new wood. The plywood subfloor, when worn, begins to break down, resulting in holes or substantial drops that must be removed.
Bumps can be quickly fixed with sandpaper, while openings can be filled using a cement-based compound.
After you have leveled the plywood, you should clean it of any dirt with special emphasis on removing debris.
Sometimes repairing the floor will be impossible, so you will have to remove that piece and replace it so that you have a large smooth surface.
Finally, you must make sure that there is no excessive moisture in the floor. If the plywood has more than 12% moisture, or if it has a difference of more than 4% with the engineered hardwood, the installation will be faulty. This check can be done with a calibrated moisture meter.
Time to install the engineered hardwood floor
With all the previous steps completed, it is time to begin the installation of the new flooring.
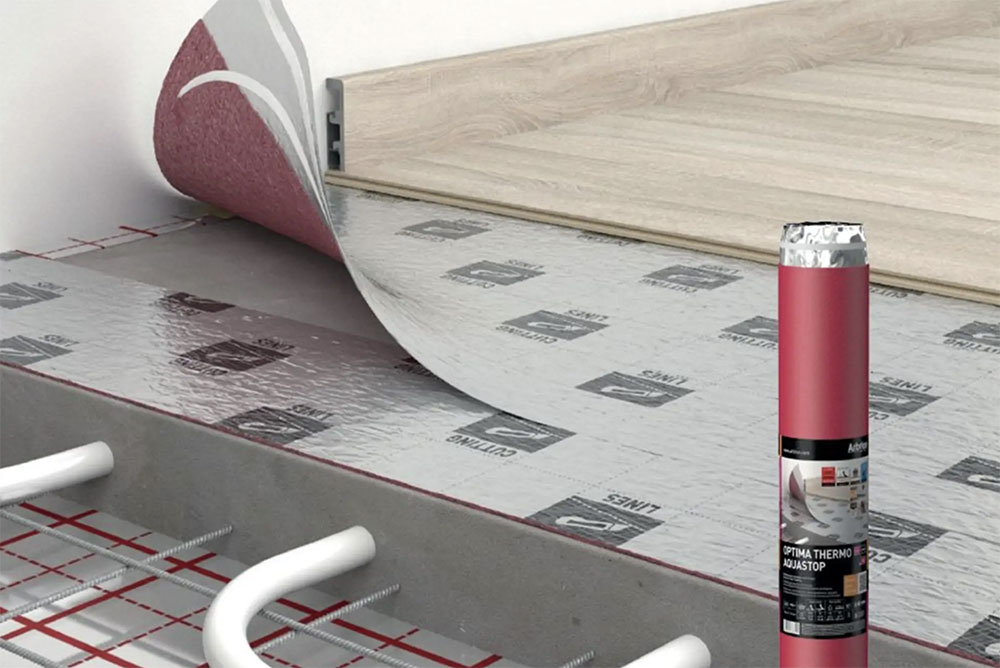
Some engineered hardwood boards need an extra underlayment to act as a protective layer between them and the plywood. This also works as a base to place the nails, or failing that, for floating floors.
In the case of floating floors, an extra layer of foam rubber is also required that prevents the movement of the boards.
Roll Out Tar Paper – Insurance against Moisture

Tar paper is a material that prevents moisture from being transferred from one material to another. To prevent it from reaching the subfloor, it is necessary to place it throughout the entire place.
What you have to do is to fix a large strip with staples to ensure that it does not move out of place when the humidity is present. This prevents the floors from starting to rot from below.
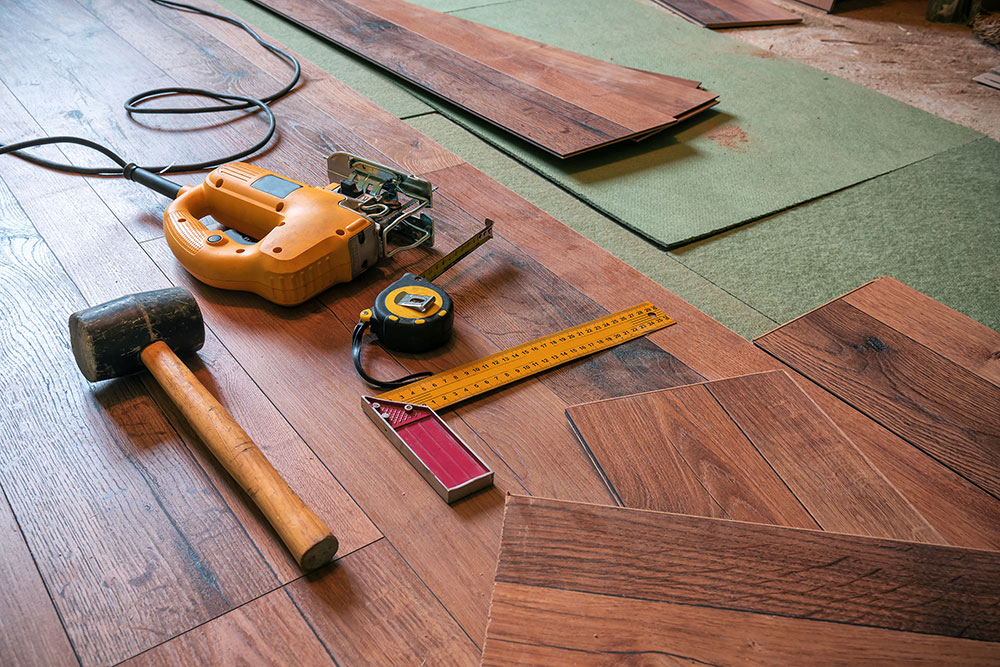
The assembly process
The assembly of the first row
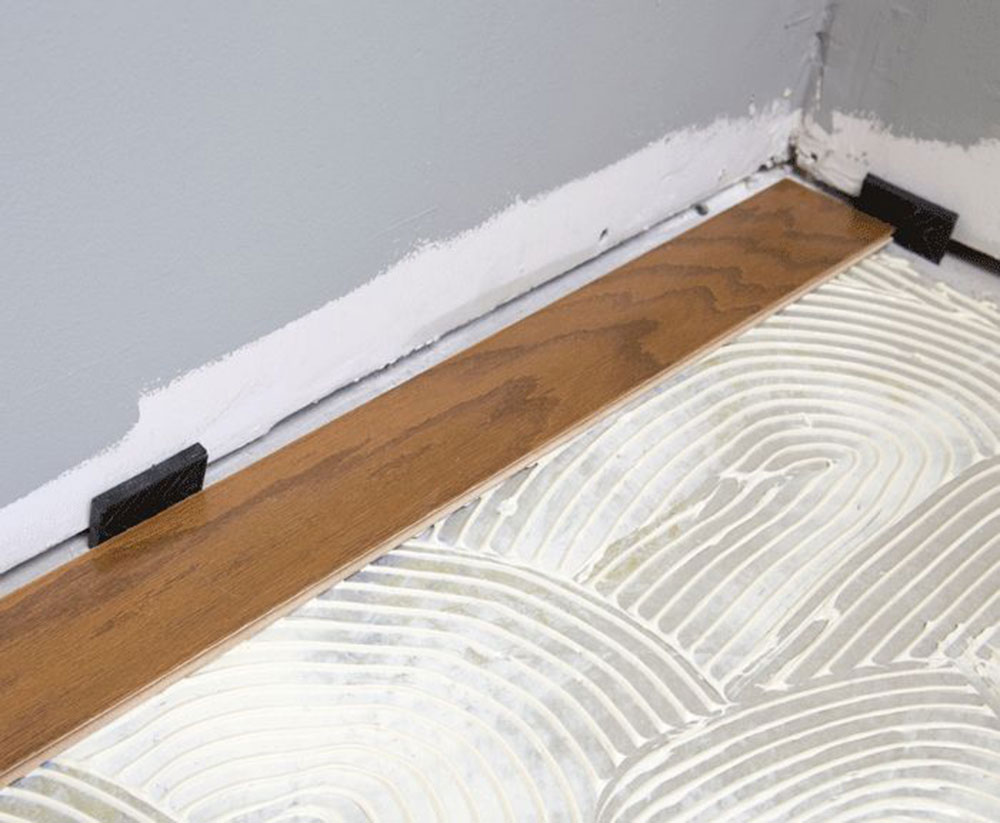
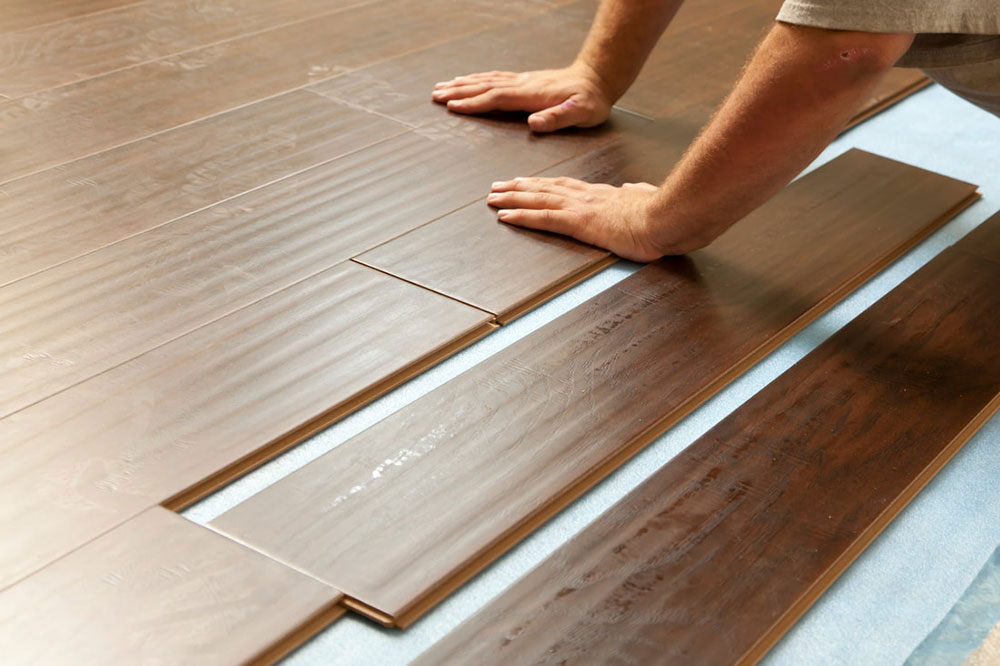
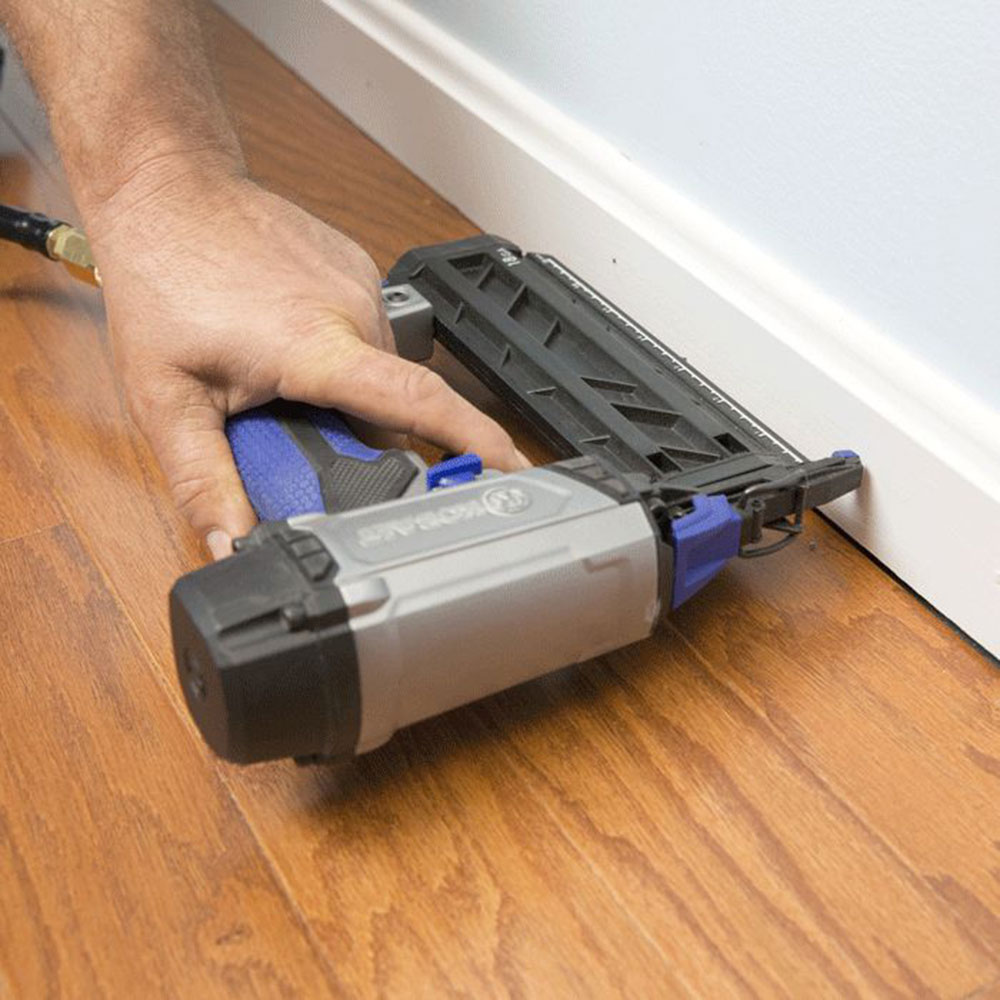
Now you can start to manipulate the hardwood. Depending on the manufacturer, the installation materials may be different, but the process is mostly the same. As these are tongue and groove sheets, you will always have to place a bit of glue on the tongue that protrudes on the side of one of the boards. Then, you will insert it into the slot of another, as if you were putting together a puzzle. You will repeat this process until you finish the first row.
Once you reach the wall, you must cut the last piece to fit perfectly, always taking into account the manufacturer’s instructions.
If the last piece fits perfectly but is difficult to insert, you can use a putty knife or other piece of wood to insert it. It is recommended to use a lever as needed.
Continuing with the rest of the rows

For the second and subsequent rows, it is best to start with the cut piece from the previous row. This will allow you to save material and fit the pieces together. Depending on the type of lock you want to use, you may need to trim the board a bit more.
The rest of the wooden boards should be laid by repeating this process until they are completely laid across the entire floor.
How to install engineered hardwood flooring – The secret is in the end
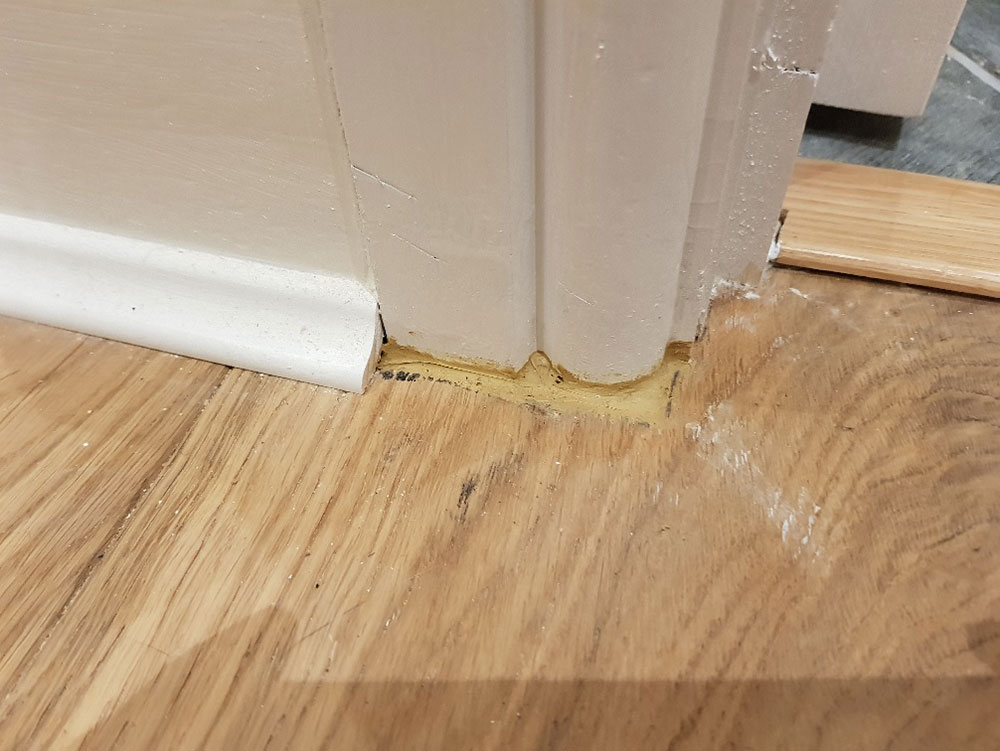
To finalize the assembly process, accurate measurement and cutting of the planks must be made in their width and length. As with the rest of the rows, you should leave an expansion gap on the sides to prevent the boards from breaking in hot weather.
It’s time to fill in the excess space
The best way to install a hardwood floor is with the use of a guideboard that will always keep you level. However, you must remove it at the end, and then the area that was left uncovered must be filled in.
Try to work without stepping on the boards that you have installed, and do not walk on them for at least 8 hours so that the glue dries completely.
The final touches of the installation
If you wish, you can reattach the trim base. You can take advantage of this moment to make repairs if necessary.
In case the parts are badly damaged, you can choose not to install or replace them. The latter is recommended since it hides the existing expansion joints between the wall and the floor.
The last step
The last thing you need to know about how to install engineered hardwood flooring is the placement of the transitions.
All manufacturers include a set of transition pieces that allows the creation of a smooth transition between rooms. To lay it, it must be cut to size and laid flush with the last row of boards. In some cases, nails must be used to place these pieces.
One last tip. If you decide to install a floating floor, you should avoid placing heavy furniture on the wood. It turns out that this floating floor requires some freedom to move, which allows them to distribute the weight on the foundations so as not to break. If heavy furniture is placed, the movement is limited and they cannot release the loads, having a greater possibility of breaking.
If you liked this article about how to install engineered hardwood flooring, we also wrote about how to remove hardwood flooring, how to install hardwood flooring on stairs with nosing, how to repair scratches in hardwood flooring, how to remove glue from hardwood flooring, how much hardwood flooring costs, how to lay hardwood flooring, how to restore hardwood flooring, and how to choose hardwood flooring.