Advertisement
Is it time to give your kitchen a transformation with a new backsplash? If this is the case, understanding how to remove tile backsplash in the kitchen will be on your to-do list. You must understand how to do the task without damaging the walls.
The time-consuming procedure of removing kitchen backsplash tiles appears to be one for a professional. However, if you are cautious and patient, you may save tens or even hundreds of dollars by learning how to remove kitchen backsplash tiles yourself.
If you want to remove your kitchen tile backsplash for whatever reason – maybe it’s old, or it’s outdated, or it’s not your style – this article about how to remove backsplash tile will be a helpful resource before you start.
Gather Your Tools
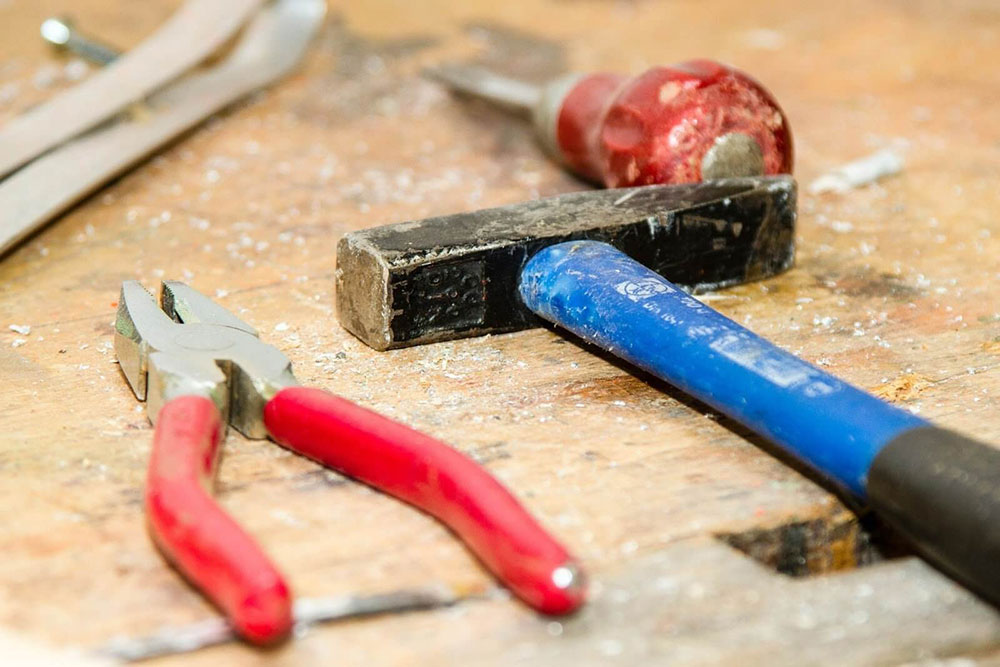
Anyone, with the right skills, materials, and safeguards, could execute this do-it-yourself home repair project for very little money. Before you actually learn how to remove backsplash tile, gather these tools you’ll need to do the work. Here’s a basic rundown:
- Heavy-duty kitchen cleaner — Before beginning the process, wash the backsplash with any brand of heavy-duty kitchen cleaner.
- Work gloves – Because you’ll be dealing with concentrated liquids and instruments, work gloves are vital for protecting your hands.
- Safety eyewear – utilize plastic work goggles if possible. If you don’t have one, ordinary safety glasses will suffice to protect your eyes from the dust generated by the tiles as you begin cutting through the grout lines.
- A putty knife will be used to remove each tile.
- A rubber mallet – if you don’t have one, a hammer will suffice. A rubber mallet, on the other hand, is more secure to use.
- Screwdriver – If a power outlet is located in the backsplash, you’ll need to remove the faceplate with a screwdriver.
- Grout removal tool – When undertaking carpentry or home improvement projects, employing strong equipment will help you do the work faster and easier. However, this is not always an option, particularly for homeowners who want to conduct one-time DIY projects in their houses.
Tile removal may be a tough and intimidating task. There are a few elements to consider when determining whether or not your tile can be removed.
Follow these simple actions. Find an unobtrusive location, such as behind a stove or fridge, where you can attempt to remove whole tiles. You might also try the edge tile, which is located where the backsplash stops.
Prep Your Area & Remove Light Switches
You should clean your counters and sink. Before you begin, you may wish to cover everything with Red Rosin heavy-weight paper.
Tile removal is arduous and time-consuming demolition labour. You don’t want any blemishes on your counters, sink, or faucet. Take the time now to prepare and secure your belongings. Because once you start, the removal of debris will be all over your kitchen.
Keep a garbage can handy to dump your tiles into, and keep an eye on the weight of the trash can as you proceed. Because tile accumulates rapidly, you’ll need to empty the garbage can on a frequent basis.
Begin by removing the faceplates from any light switches and outlets that are mounted on top of the tile backsplash.
If you are unsure about dealing with the power outlet and your kitchen has adequate natural illumination, you should first turn off your home’s main power switch for the length of the task.
Put the stopper into the sink drain if you’re removing tile near the kitchen sink (if you’re removing a kitchen tile backsplash). This will prevent errant tile fragments from falling into your drain and clogging it or destroying your disposal.
How to remove tile – Method 1

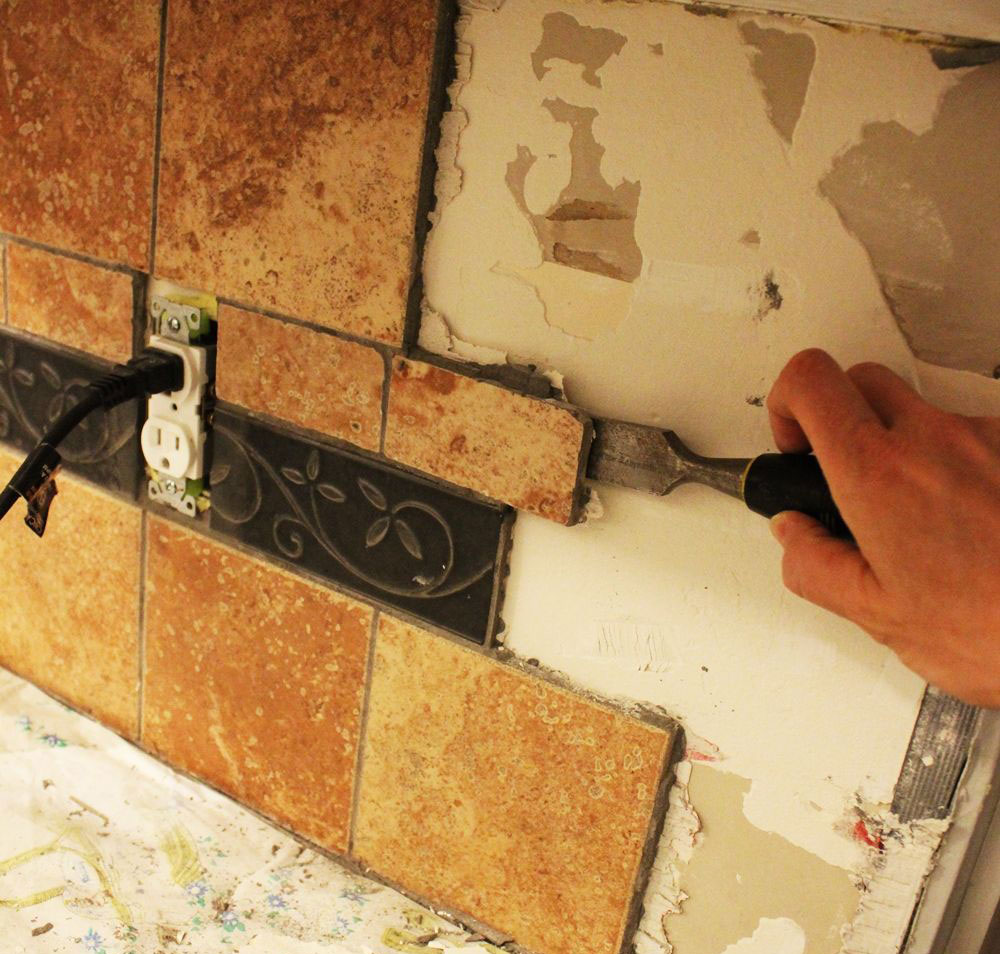
Remove tiles one by one. Begin by carefully tapping a chisel with a hammer between the back of the tile and the wall (for example, on one side of your backsplash).
When the tile itself will come off reasonably easily, leaving little or no harm to the wall behind, this tile-by-tile procedure is advised.
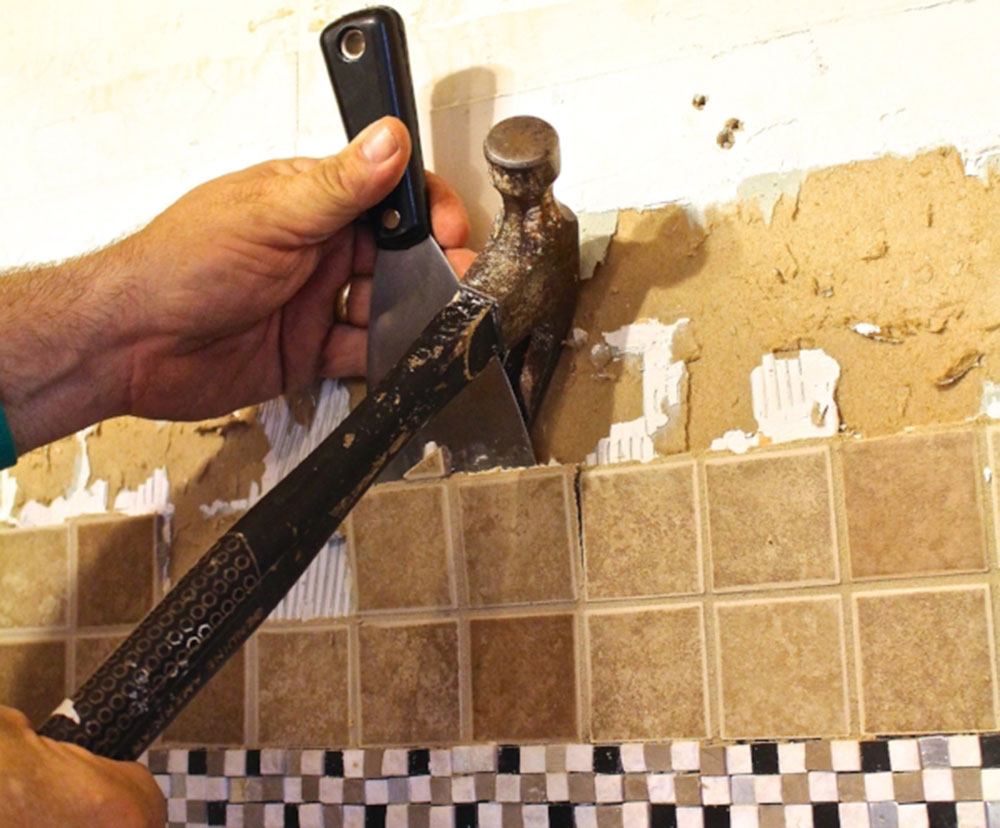
Using a hammer or rubber mallet, gently use the sharp edge of the 6 in 1 painters tool, chisel, or blade of your putty knife (whatever fits best) to begin to break up the grout lines.
The tiles will loosen when the grout is broken apart. When loosening the grout, be careful not to hammer it too hard, since this might harm the drywall underneath the tile. Do not be too zealous in this approach. You want to get rid of the tile without causing any damage to the walls.
Continue removing tiles one at a time, going from top to bottom, until all of the tiles have been removed. Working with one tile at a time may appear tiresome, but it will likely save time in the long run because your drywall repairs will be modest.
There is no way to emphasize enough how important it is to maintain your chisels and 6 in 1 tool parallel to the wall when attempting to remove the tile. If you enter at an angle, you will slam square into the drywall.
Remove the caulk from the tiled backsplash’s top and bottom edges. Lift an edge at an exposed corner using a utility knife and work down the caulk line until it is gone. A heat gun may be used to remove sticky caulk from the tiled backsplash edge.
For the next step, sand your walls.
Now that the tile has been removed, there will be remaining mortar or mastic on the wall that must be cleaned before you begin installing your new kitchen backsplash.
Take your wall scraper and hammer and go to town to get the remainder of it off.
Please keep in mind that we did end up laying down the heavyweight paper on the counters before we began this section.
If you have a green board or drywall up and don’t want to spend a lot of time scraping, you may just cut away the old green board and replace it. If your drywall or green board was damaged during the tile removal procedure, you may need to replace it.
How to remove kitchen backsplash tile – Method 2

Did you remove the first tile, and it took off a whole section of drywall with it? Here’s the 2nd method to help you in this situation.
Large sections of tile and drywall should be removed strategically. (To use this procedure, you must replace the whole area of drywall beneath your old tile backsplash.) Cut through the drywall all around your tile backsplash with an all-purpose or wood bit on a multifunction tool (also known as a Dremel tool).
Cut through the grout between the countertop and the lowest row of tile. Use caution while using your multifunction tool near the countertop to avoid damaging the surface.
From the top of the countertop to the top row of tiles, cut down the side of the backsplash tiles. The idea is to cut through any grout or caulk as well as the drywall behind, but not through the 24 frames within the wall itself.
Score and cut beneath the cabinets using the tool. In essence, you are removing all of the “walls” of your tile backsplash. Cut all the way around the backsplash, then slowly pull outward, beginning at one of the outside corners.
If you cut the drywall sufficiently, a significant portion of tiles and the associated drywall should come off in one fell swoop.
Continue this process – cutting the perimeter of the tile backsplash entirely through the drywall, then gently tugging to remove huge chunks – all the way around the rest of the tile backsplash until it is totally gone.
Ending thoughts on how to remove backsplash tile
You’ve just successfully removed your old tile backsplash. You’re one step closer to realizing your ideal kitchen! Bravo!
Even if you’re not going to tackle the new tile installation yourself and will hire it out, you can save a ton of money by performing the demo and removal yourself.
Learning how to remove backsplash tile is a simple DIY project that even a beginner can complete because you don’t need much experience or access to a lot of supplies.
If you enjoyed reading this article on how to remove backsplash tile, we also wrote about subjects like what type of caulk to use for backsplash, how to apply grout to the backsplash, how much does backsplash cost, what backsplash goes with black granite, how to hide outlets in the backsplash, what backsplash goes with Taj Mahal quartzite, how to clean brick backsplash, what backsplash goes with granite countertops or what backsplash goes with white cabinets.