Advertisement
Modular wardrobes are a great alternative to furnish any room in the house. Wherever a good storage system is needed, they offer practical but also decorative solutions, which adapt wonderfully to the available space and to the needs of each one. The result is custom furniture that makes your life easier.
GF Interiors System offer exclusive modular wardrobes in their shop. They focus on made in Italy which exports design furniture solutions and innovative and exclusive modular wardrobes to the world.
The advantages of this type of wardrobe are endless, but today, we are going to talk about some ideas and tips for have a innovative modular wardrobe in your home. Take a look!
8 tips or ideas for assembling a modular wardrobe at home
A modular wardrobe is the option you need to gain storage space in any room in the house at a controlled price and in record time. To encourage you to do it yourself but as if you were a professional, we are going to give you some tips.
1. Measure well
The first thing when you decide to set up a modular wardrobe is to measure. You must think that the cabinets of modular wardrobe of GF Interiors System begin to be mounted on the floor and when they are assembled, they stand up to fix them to the wall.
So, there must always be a few centimetres or we will not be able to stand up the module.
2. Look the colour of the carpentry
Look at the colour of the carpentry and floor of the room in which we are going to mount the modular wardrobe. This serves to coordinate the colour of the wardrobe structure and doors to choose the one that best suits the room.
You can play with the contrast between structure and fronts or everything the same (interior and exterior). White is always a success, but collared doors can personalize a lot.
3. Think in advance the interior distribution
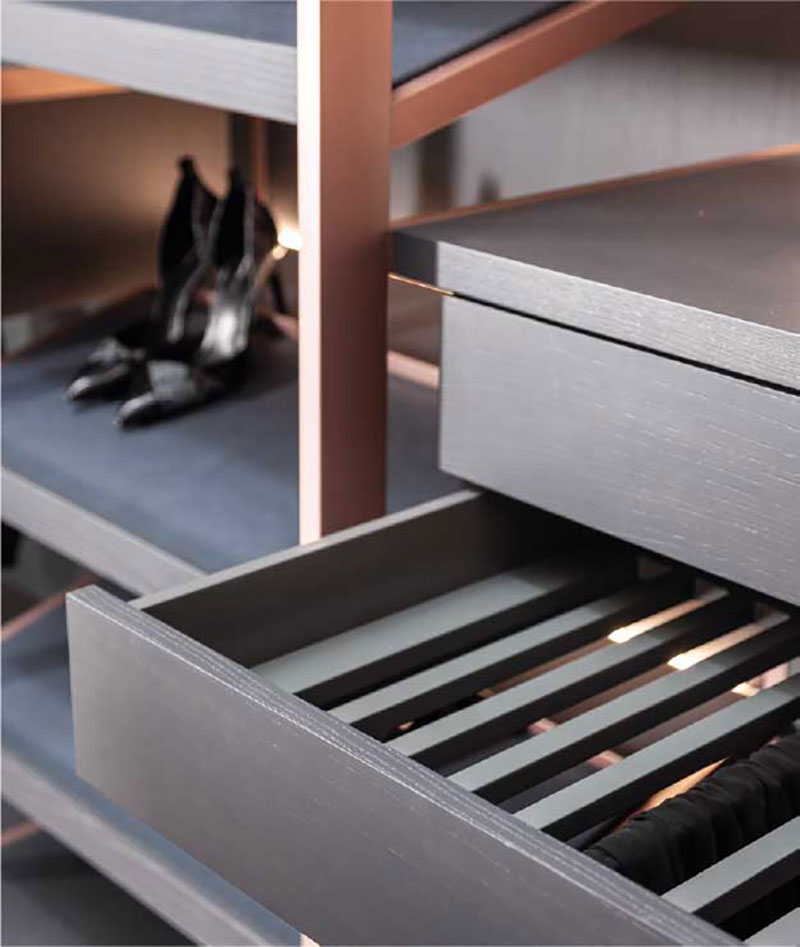
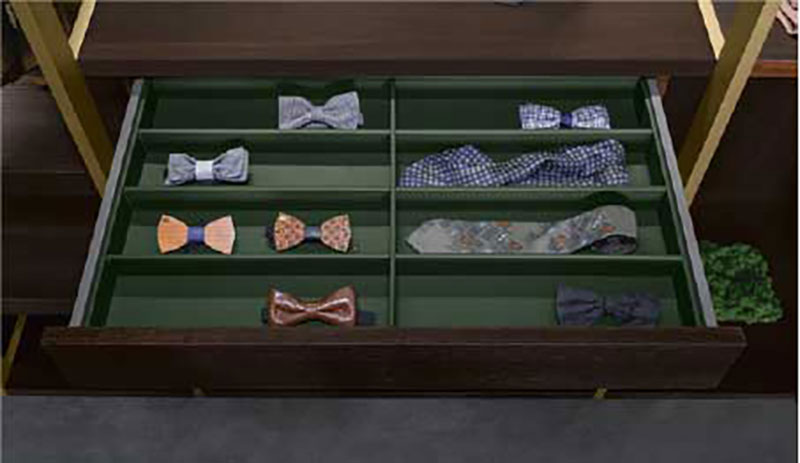
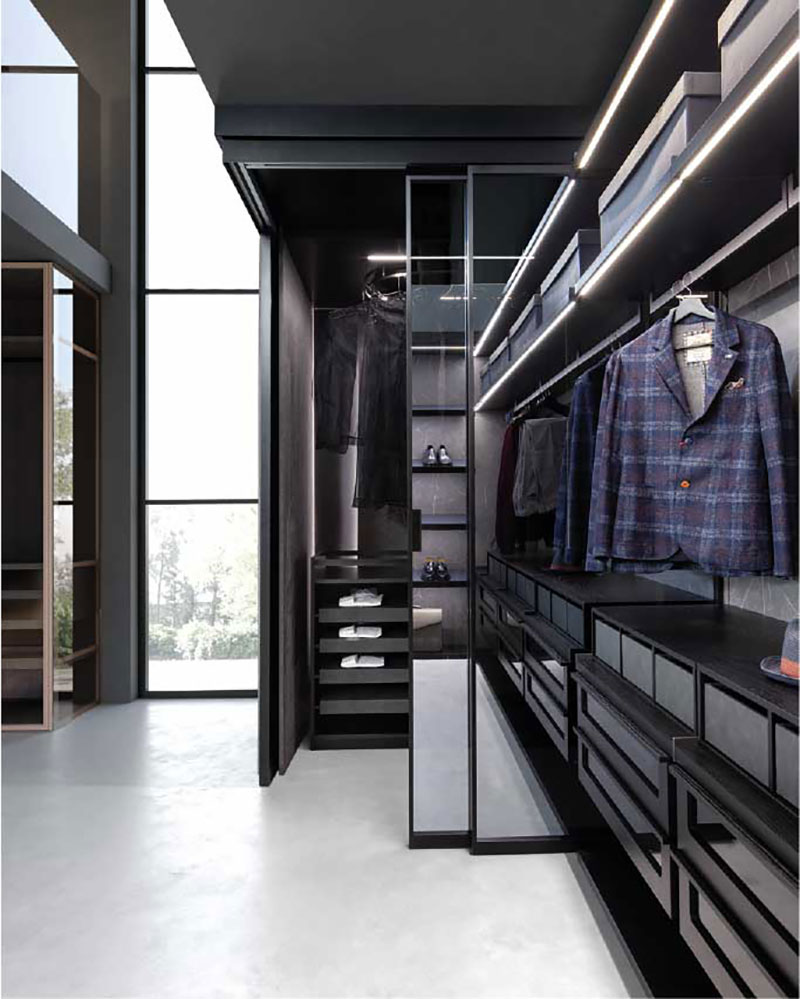
It is very important to plan the interior of the modular wardrobe in advance. When we know the width and height, decide how many and what elements you will need depending on what you are going to store.
And at this point, you can also think about the lighting that you would like to integrate to see the contents of the closet well.
4. Assembly the wardrobe
The time has come to face the closed boxes of your modular wardrobe. Before doing so, prepare an area large enough to be able to mount the cabinet on the floor and then lift it up.
You can use a base mat to avoid marks and scratches both on the floor and in the new closet. You can use an old sheet to protect the carpet from dust and even the same cardboard box as the packaging.
5. Anchoring the modular cabinet to the wall
Once the structure is ready, it must be anchored to the wall. This step is essential to avoid accidents (that the closet does not expire when the doors and drawers are open).
You must take into account the type of wall (brick or plasterboard) to choose the appropriate dowels.
6. Check that the cabinet is level
Before attaching the interior accessories and doors of your new modular wardrobe, check with a level that the structure is level.
You can put it on in case of any unevenness with a small wedge at the base.
7. Install the cabinet doors
A trick to avoid damaging them is to use your feet as a base between the door and the floor while you have not fixed them to the structure.
You can use some stacked books to bridge the gap between the floor and the door when you need to square the hinges on the front with those on the frame (in the case of the casement opening). Install all (without handles) and then level.
8. Put the correct handles
When you have already reached this point, you will only have the satisfaction of finishing your work, that is, placing the handles. Do not do it up to this point so as not to damage them in the assembly process.
Never force the hinges when screwing the handles and before doing so check that the chosen screw is not longer than the thickness of the cabinet door.