

Patios are an absolute must if you like spending time in the sunlight and just relaxing in your own comfortable space.
Even so, the weather won’t always be on your side and there’s an upgrade that can give you the chance to spend time outside regardless of the conditions – a patio roof. If you’re here to learn how to attach a patio roof to an existing house, it’s probably the most straightforward guide you will get to read.
Patio roofs don’t require expert planning and proficient skills. Following each step mentioned here should be enough to put together a patio roof on your own.
Finding the Right Tools for Installing A Patio Roof

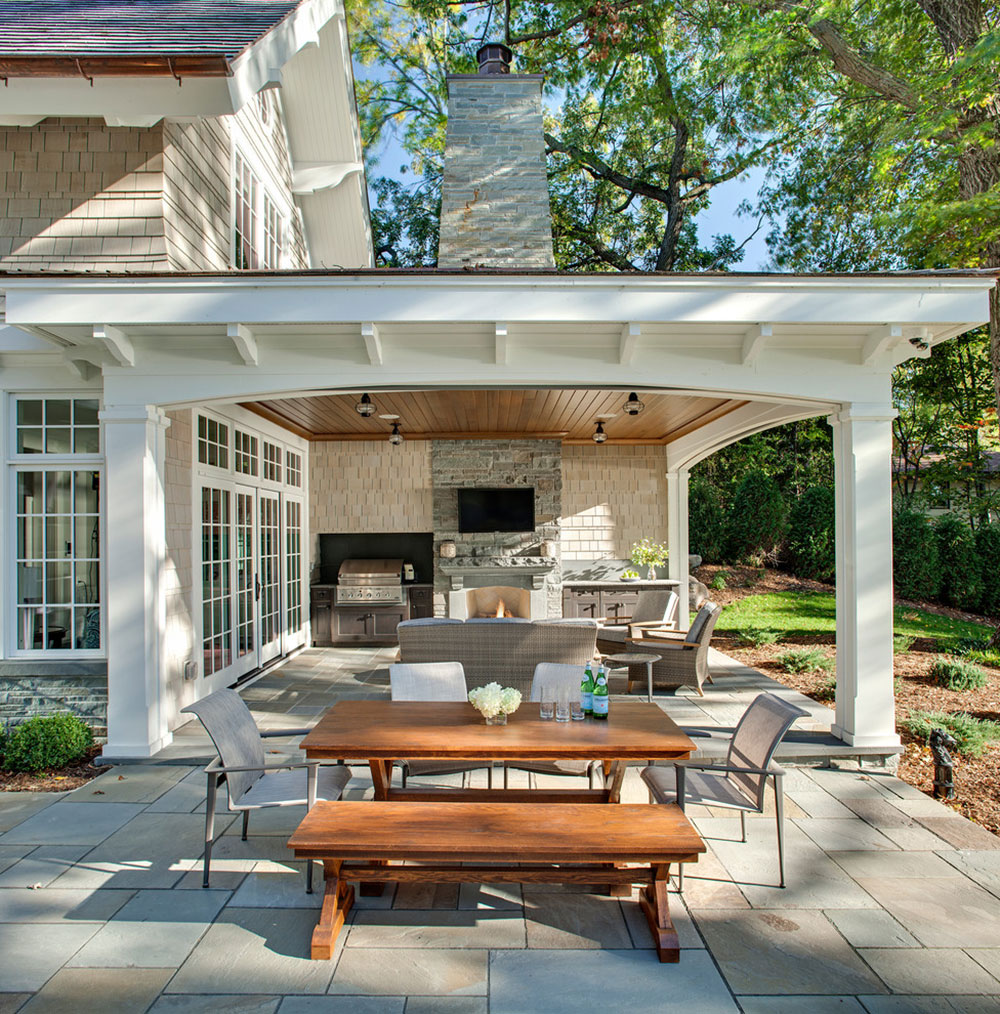
Image source: Michelle Walker architects

Attaching a patio roof to an existing house is no easy job. It is doable, but it takes a lot of motivation and attention. Besides strong morale, you’ll also need the appropriate tools to get this project completed. Patio roofs can be dangerous if they are not installed properly, especially if the area in which you live is known for harsh weather conditions that often cause roof damage. In order to avoid any risk and to keep yourself and the ones around you safe, make sure you use tools correctly. You’ll need:
- Carpenter’s pencil to mark spots
- Level
- Ladder
- Power drill
- Saw
Material wise, make sure you have those handy:
- Planks
- Nails
- Bolts
- Strand board
- Shingles
- Rafters
- Beams
- Ledger
Choosing Where the Patio Roof Will Go
There are multiple positions in which you can attach a patio roof. Each position involves more or less different attaching processes and comes with benefits and downsides. Analyze each of these and see which option suits your case the most. Once you do that, you can learn how to attach a patio roof to an existing house.
Eaves-Level


For one-story houses, the most appropriate positioning for a patio roof is below the eaves. It is perhaps the most common way of attaching a patio roof and it is also the easiest to install. You’ll only have to use two rafters inside the roof to put it in place. The only downside is that its fixed position at eaves -level is neither high or low.
High Patio Roof

Instead of installing your patio roof at eaves-level, you can go higher and remove the house’s gutter. The backchannel will be placed much higher than in the case of the above case, and the effect will be a high patio roof. The difference between eaves-level patio roofs and high patio roofs is that you’ll need to install transfer flashing to the patio. This is the factor that gives you a few centimeters of extra height.
This is mostly recommended for two-story houses, where the ledger can be tied into a band joist. Band joists – or rim joists 0 are normally located between the floors. Finding that spot and attaching the patio roof there will have an aesthetically pleasing result while maintaining its effectiveness.
Masonry Walls Patio

This is definitely the cleanest way on how to attach a patio roof to an existing house. It’s neat, it’s easy, it’s convenient – attaching the backchannel directly to masonry walls. This patio roof position gives you the best look and the best protection from the rain.
Tips to Consider During the Installation Process
The local building codes might not allow you to add a patio roof

Before starting anything, make sure that the regulations in your area don’t impose obtaining a building permit for making such a change. The local building codes differ, and you might find yourself paying a fine if you don’t respect them.
Roof design load


All roofs are designed to support a certain weight caused by snow or other additions. You’ll have to make sure that your roof is designed for supporting an extension such as a patio roof before starting to build. The terms used for defining roof loads are “dead” and “live” load. Dead load is the actual weight of the framing material, and live load is any type of addition.
Slope
Make sure that your roof has enough pitch for the type of roof extension you are choosing. When learning how to attach a patio roof to an existent house, you’ll have to inform yourself about all restrictions from the roofing manufacturer.
Rafter

Pay attention to the rafter’s size, length and the spacing left. The lumber you’re using will alter the final result, so pay great attention to these dimensions. There’s an online SPAN CALCULATOR (link) powered by the American Wood Council. It will help you determine the calculations needed.
Footings
If you live ina colder area, you might need to opt for deeper footings because of the frost line factors. The easiest way to determine footings size is to read the International Building Code and your local building codes as well.
Support Columns

To make sure that the patio roof is safe, you’ll have to add support columns. The easiest way to design those is by adding one in the two corners, farthest from the walls of the house. You can build them yourself by putting together a frame. The frame can be set in place using brackets and screws. Cover the frame in whatever material you prefer and that’s it.
Add the Ledger Board

After attaching the patio roof to your structure, you need to deal with the ledger board. The ledger is the part that holds the patio roof together, supporting it on the walls. Positioning and mounting a ledger board is the aspect that determines how angled the roof is, as well as how high or low it is. It also secures the structure additionally.
Flashing
Flashing will keep water away from the ledger board. When learning how to attach a patio roof to an existing house, this step is often overlooked. Don’t forget to add – preferably – aluminum flashing under the siding. Bend it down over the ledger board for extra protection and to ensure that water won’t get to the wall.
Rafters
Rafters and joist hangers go hand in hand. Prepare the joist hangers by attaching them to the house and get rafters in whatever color suits your design. Then, fasten the rafters and use joist hangers to create a sturdy structure. You can use seismic anchors as well, but joist hangers are easier to install, and they are recommended for patio roofs. 2×6 rafters are the most common ones.
At this point, you can use a sliding bevel to maintain the angle where rafters meet the ledger board. The end of the rafters might turn out crooked if your house walls are crooked in the first place, but you can fix this by repositioning the rafters at that specific angle and attach them to the beams. You can also trim them according to the specific needs of the building.
Planks and Shingles
Finally, you can form the roof on the rafter structure. You can do that by placing your planks across the rafters and fixing them accordingly. You can also add shingles on top, or whatever other materials you prefer. A layer of strand board would be recommended if you opt for shingles, along with black roofing felt.
FAQs about attaching a patio roof to an existing house
1. What materials are suitable for building a patio roof attached to an existing house?
It’s important to take into account both the aesthetic and practical factors when selecting materials for a patio roof. Wood, aluminum, steel, and polycarbonate panels are a few common choices. Metal alternatives are strong and low-maintenance, while wood offers a classic aesthetic but requires routine upkeep. Polycarbonate panels offer insulation and weather protection while permitting natural light to pass through.
2. Do I need a permit for attaching a patio roof to my existing house?
Depending on the locality, different rules apply to patio roof permits. To find out if you need permission, it is best to contact the building department of your local government. For structural work, such as adding a patio roof to an existing house, permits are typically necessary.
3. What kind of support structure should I use to attach a patio roof to my house?
Your choice of patio roof support structure will be influenced by a number of elements, including the size, shape, and climate of the area. Posts, beams, and trusses are examples of typical support structures. To maintain stability, it is typically necessary to fasten the patio roof to the house’s existing wall studs or roof rafters.
4. Can I attach a patio roof to any type of exterior wall?
In general, most outside walls can support patio roofs. It’s crucial to check that the wall can handle the added weight of the roof, though. For supporting a patio roof, load-bearing walls built of concrete or brickwork best. To offer enough support, a wooden outside wall on your home would need to be strengthened.
5. How much weight can the existing house structure support for a patio roof?
A house’s ability to sustain a patio roof depends on a number of variables, including the house’s age, condition, and construction materials. Additionally, the load capacity of the structure may be impacted by elements like wind, snow, and rain. To assess the proper load capacity for your patio roof, it is advisable to speak with a structural engineer or a certified contractor.
6. Should I hire a professional contractor to attach a patio roof to my house?
It takes specific training and experience to attach a patio roof to an existing house because it is a challenging job. A qualified builder can guarantee that the building is sound and that the materials were utilized in accordance with regulations. In order to ensure that your patio roof improves the aesthetic appeal of your house, they may also assist you in selecting the proper design, components, and arrangement.
7. Can I install a patio roof myself, or do I need a professional?
Even if it is conceivable, it is not advised, especially if you have no prior construction expertise. This is due to the fact that the installation procedure necessitates an in-depth knowledge of structural requirements, permits, and building codes. You may have peace of mind knowing that your patio roof complies with all of these regulations and that it is structurally sound by hiring a qualified contractor.
8. How do I ensure that the patio roof is properly sealed to prevent leaks?
In order to stop leaks from harming the patio and the home, proper sealing is essential. Use the proper sealant and flashing materials to make sure your patio roof is properly sealed. To make sure the roof is weatherproof and watertight, a qualified contractor will use premium supplies and methods, such as overlapping layers of flashing and sealant.
9. What are some design options for a patio roof attached to an existing house?
When it comes to adding a patio roof to an existing house, there are a variety of design alternatives available. Gable, hip, and shed roof types, as well as retractable roofs and pergolas, are a few popular choices.
Every design has a set of special benefits, such more headroom or sun protection. A qualified contractor can assist you in selecting a design that fits your lifestyle, your budget, and the architectural style of your home.
10. Can I attach a patio roof to a house with a flat roof, or does it require a pitched roof?
The load-bearing capacity of the flat roof must be carefully taken into account when attaching a patio roof to a house. The patio roof’s added weight and the framework that supports it can put strain on the flat roof, which might not be built to withstand such weight.
In rare circumstances, it could be required to include extra support joists or beams to guarantee the patio roof’s structural soundness. Your best option for attaching a patio roof to a house with a flat roof can be determined with the aid of a qualified contractor.
Ending Thoughts on How to Attach A Patio Roof to An Existing House
Once you’ve learned how to attach a patio roof to an existing house, you can get creative. Leave the beams exposed if it fits your home’s aesthetics. Use decorative trim or flashing to make the roof look premium.
Hide the nails and metal caps for a neat look. There are no limits once you get a grip on how to build the structure. Plus, once you’re done, you can enjoy the outside and recharge your batteries with a dose of nature, regardless of the weather conditions, from the comfort of your home patio.
I hope you enjoyed reading this article about how to attach a patio roof to an existing house that we created with the help of Tidewater Roofing.
If you liked this article, you can also check out these:
- Contemporary Sofa Designs For Small and Large Spaces
- Transitional decor: How to do it and have a great result
- How to decorate a minimalist house: Tips and pictures you should see