Advertisement
A fence is a construction that closes an area. It defines land and separates it from another land. A level fence top is both functional and aesthetically pleasing. It offers a crisp and sleek look, yet it is safe simultaneously. However, sometimes it can be challenging to have the perfect flat fence top.
It can be a laborious job to install a fence. The whole process requires an evenly separated level of the same depth in the ground. If they aren’t, you will see the unevenness when you add the posts of the wire. The most challenging thing in this process is ensuring all the support stakes are at the panels.
It can be expensive to call a professional to place your fence accordingly. If you don’t want any more expenses, then this article is for you. It will help you learn how to level fence posts evenly and in no time. All you need for this project are several items you can find at your home. By the end of it, you will have a clean, even line throughout your fence.
About Fence Posts
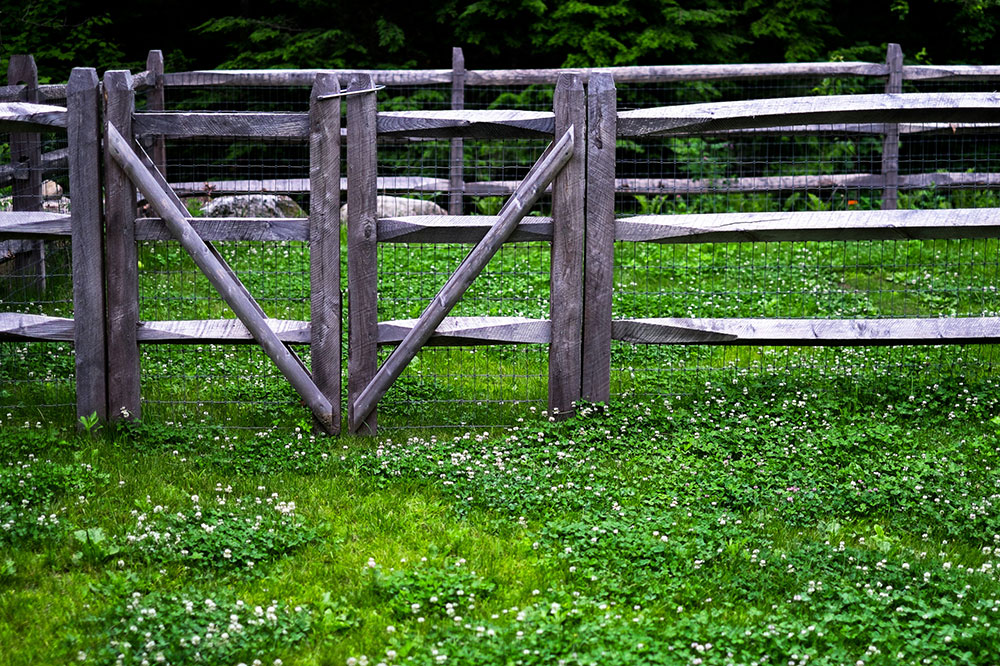
Image source: Natalie DeNormandie
Since the beginning of time, fences have served as a barrier to intruders. Now, they come in various styles. So how do you have the right fence wall? What is the key to a great barrier?
What makes a fence great is its foundation. Before you start building it, you have to plan several things first. Material, size, style, and height play an enormous role.
When it comes to materials, a concrete fence is typically the best. It guarantees that the fence stays immobile. Fence pillars are also great for connecting the fence as a whole. These pillars are secured deeply in the ground, usually with sand or concrete.
When you’re building a fence with posts, you have to make sure that the pillars are straight. Wooden fence posts often twist and bend. That is because wood is sensitive to environmental changes. That is why it would be best if you are able to use metal posts.
Types of Fence Posts
Corner Posts
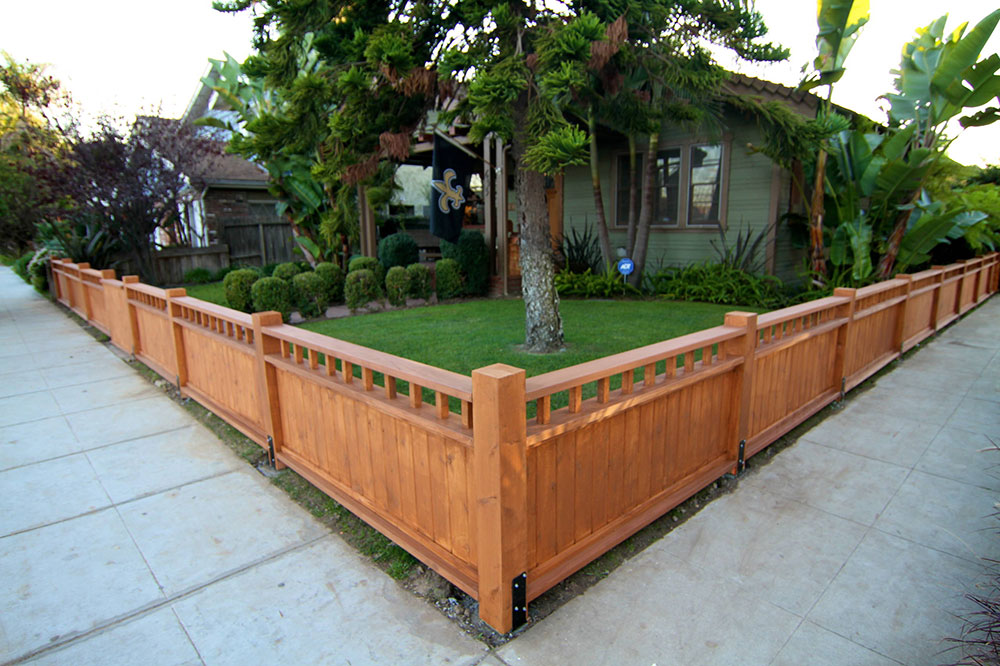 Image source: Dattola Designs
These types of pillars are more massive than standard ones. They are explicitly meant to secure your fence. They are bigger and stronger. Typically, they are placed at a straight angle. During the fence installation, they are the ones that provide the most flexibility.
In-line posts
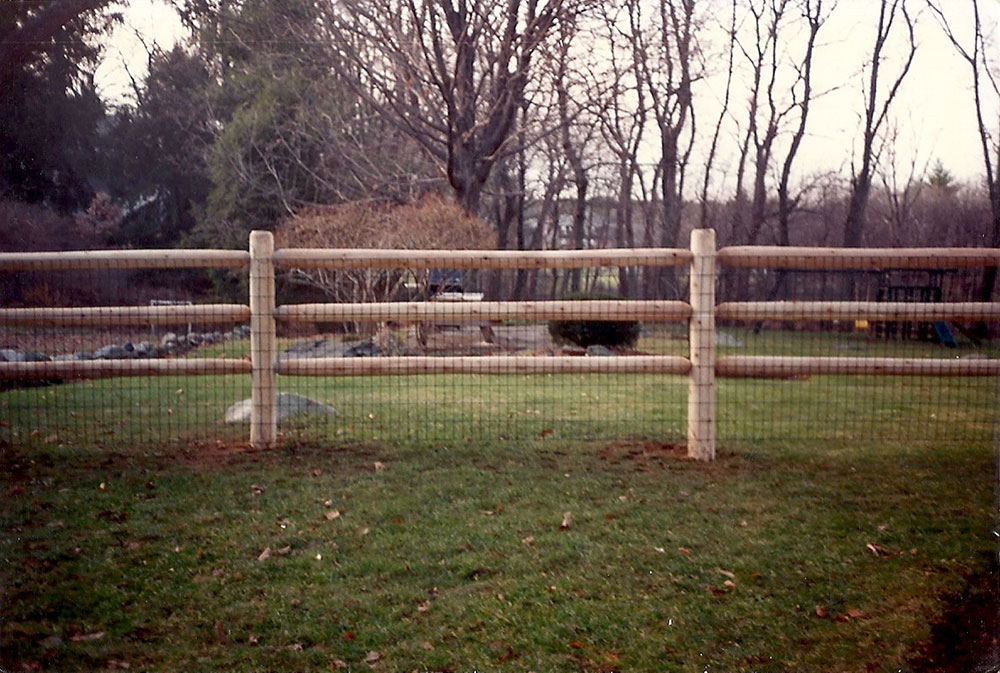 Image source: AVO Fence & Supply
These kinds of pillars are placed between the corners of a fence. Their use for supporting the wire. They keep it straight and from bending. Unlike corner posts, they don’t have do be installed as deep. Instead, anchor them in the low ground but make sure they are adequately sealed.
End Posts
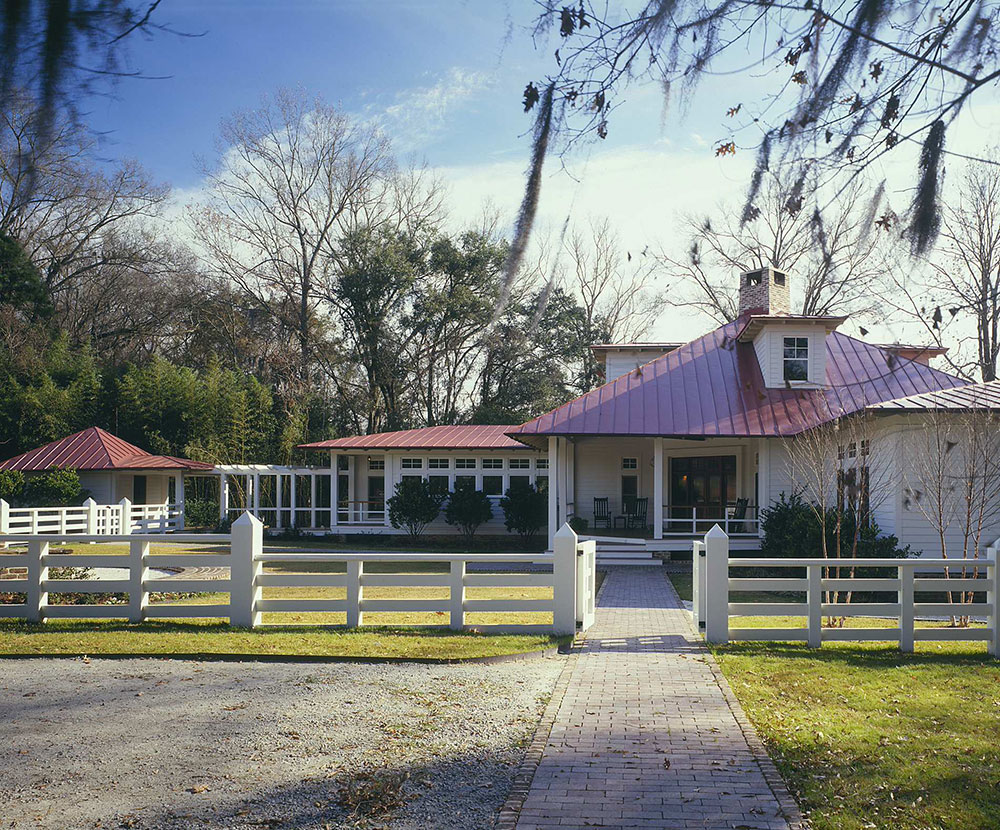 Image source: Frederick + Frederick Architects
The name says it all; they are placed at the end of the fence. They serve as a mark where the fence stops. The holes here are drilled from one side only. The wiring or the fence begins extending from the hole side.
Gate Posts
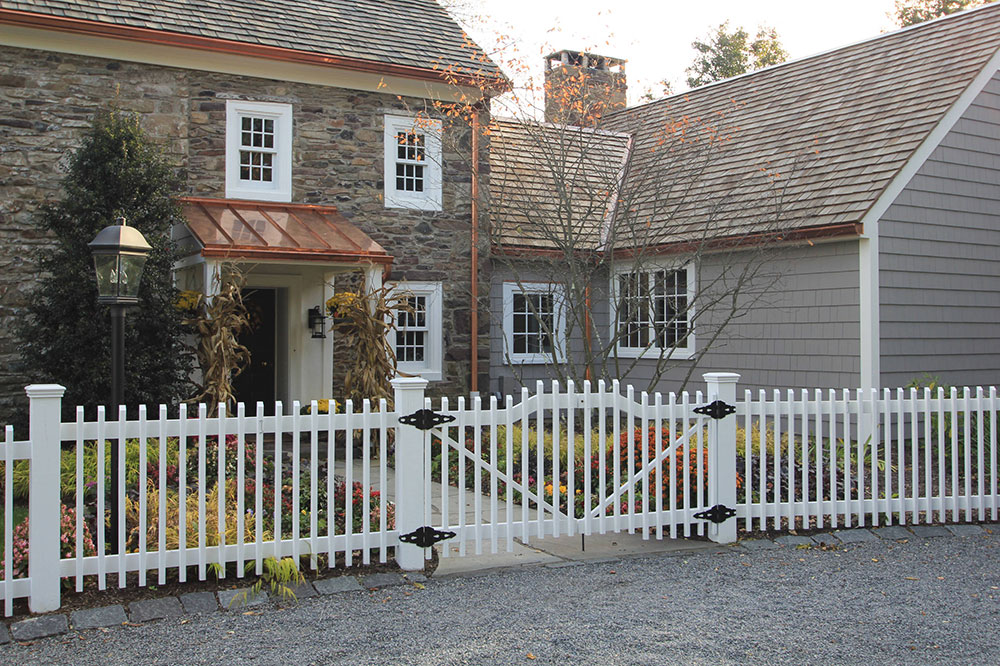 Image source: John Gehri Zerrer
This kind of fence is the most versatile of them all. You can use it as a corner, end, or line post, depending on the fence’s requirements. This kind of fence post has two pillars. And their job is to hold the hooks and locks in place. Before installing this fence post, make sure you know the right size.
How to choose the right location of the posts
The location where you install the fence post is incredibly vital. If you’re not sure where to install them, follow this rule:
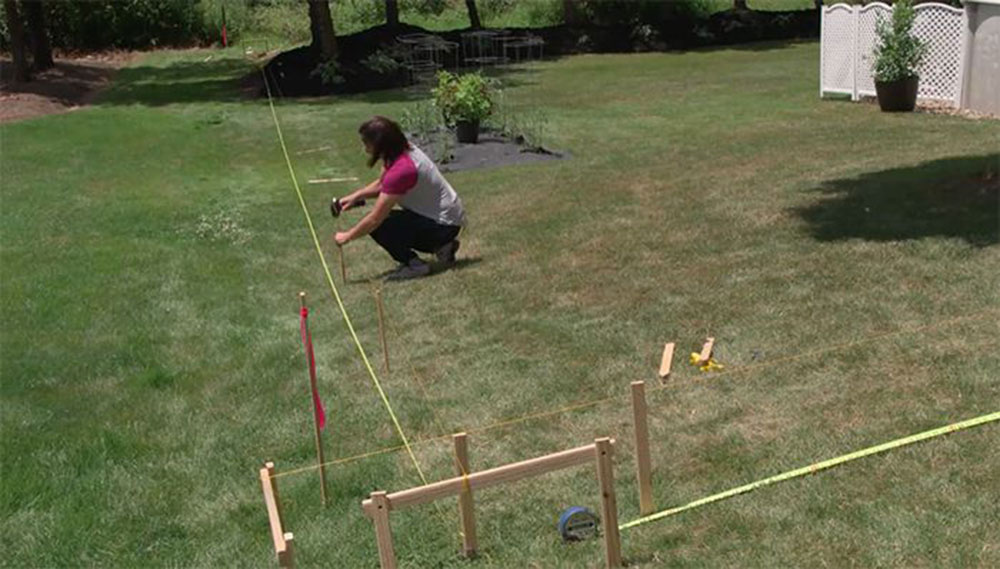
Set the pillar on the 8′ on center. That means that it should be placed on the 96” from the center of one post. You can mark these measurements with chalk or a string line.
The exact spacings will be determined by the length of the fence panel or type of fence you are going for. Measure the total width of a fence panel to see how far apart posts will need to be placed.
Fence Post Holes
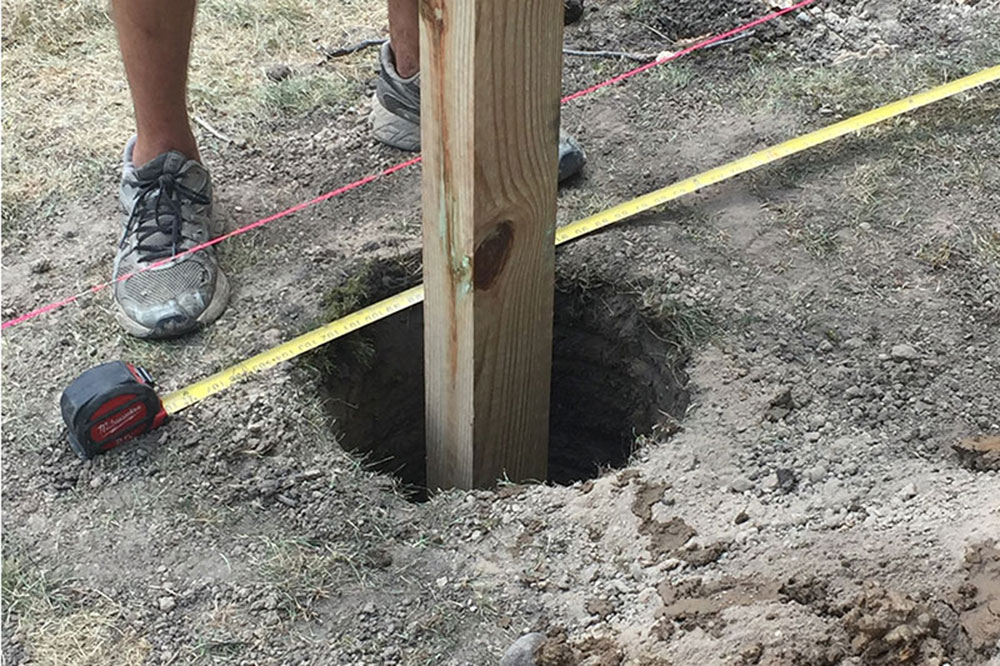
How to level fence posts the right way? There is also the right and wrong depth your holes should be at. First of all, numerous factors play into this. The type of fence, its height, and method all are essential things you should consider. If you aren’t sure, check the guidelines on the back of the product packaging.
You have to make the hole three times bigger than the post. For example, if the pillar is 4×4 inches, make sure the spot is three times greater, so 12 inches. When it comes to depth, ensure that 25% of the whole length should be in the ground. If the post is eight feet high, 2 feet should be buried in the terrain. Measure the height of your posts, as it is necessary.
Tips on how to level fence posts
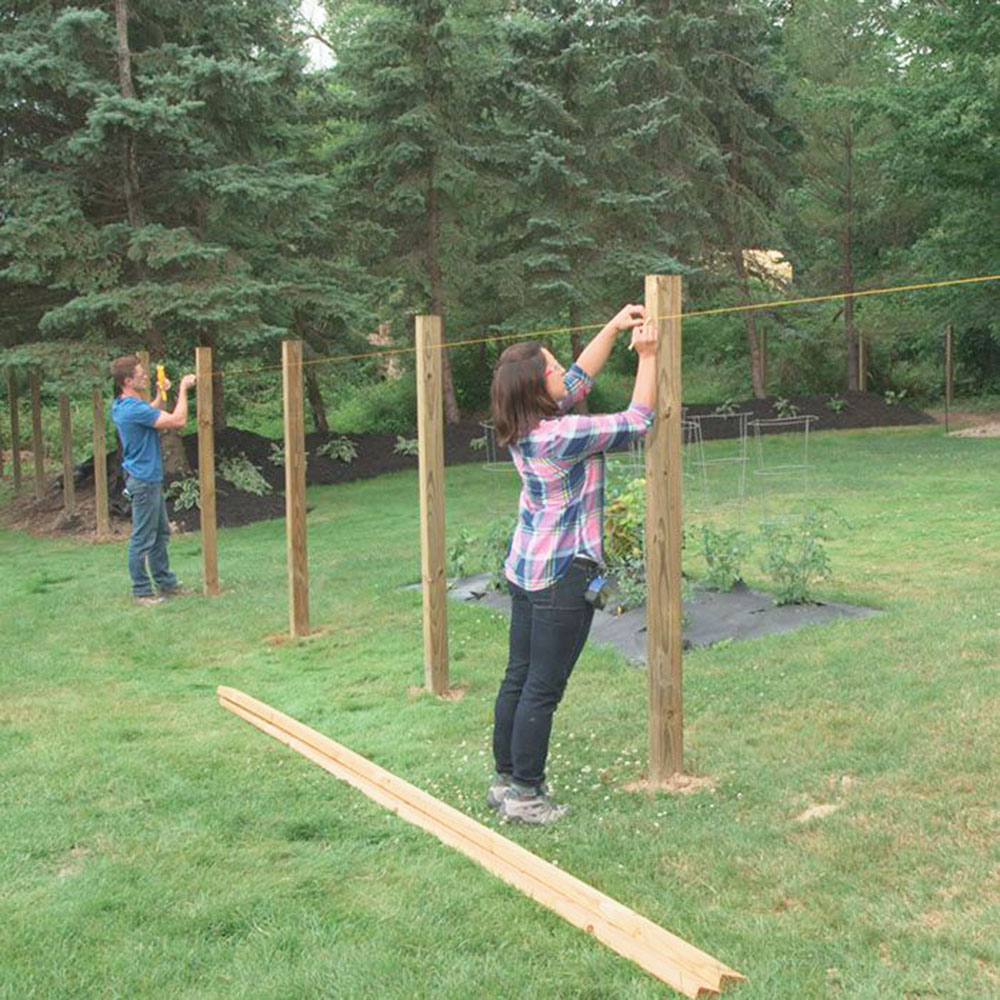
First, make sure to mark the posts. Label the height you want your fence to have. Measure from top to bottom. You can use a tape measure for this.
When you’re done, ensure that all posts are marked at the same height.
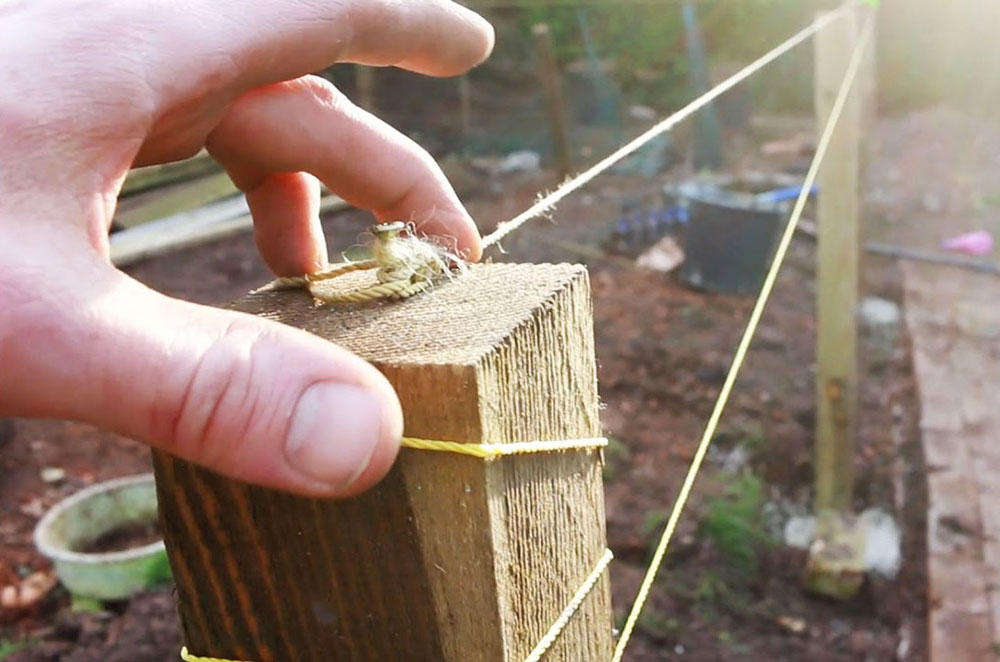
Once you have leveled the posts in the ground, it is time to balance their height. For this to work, you need to run a line between the two end posts’ tops. After you have marked them, you’ll need to cut them with a handsaw.
To make all the pillars the same, make sure to use some level or a deck board. Have a stake in hand if there happens to be a post that is not in place.
How to level fence posts by using a level post?
You can define a post level as a spirit level. This spirit level finds the level and the plumb in the pillar or other 2×4 type posts. All you need to do is attach the post level to the material. Use a rubber band to connect it. It is supposed to be tight around the material.
After the material is measured according to the ground, bubbles should be centered in the lines.
How to level fence posts for uniform height?
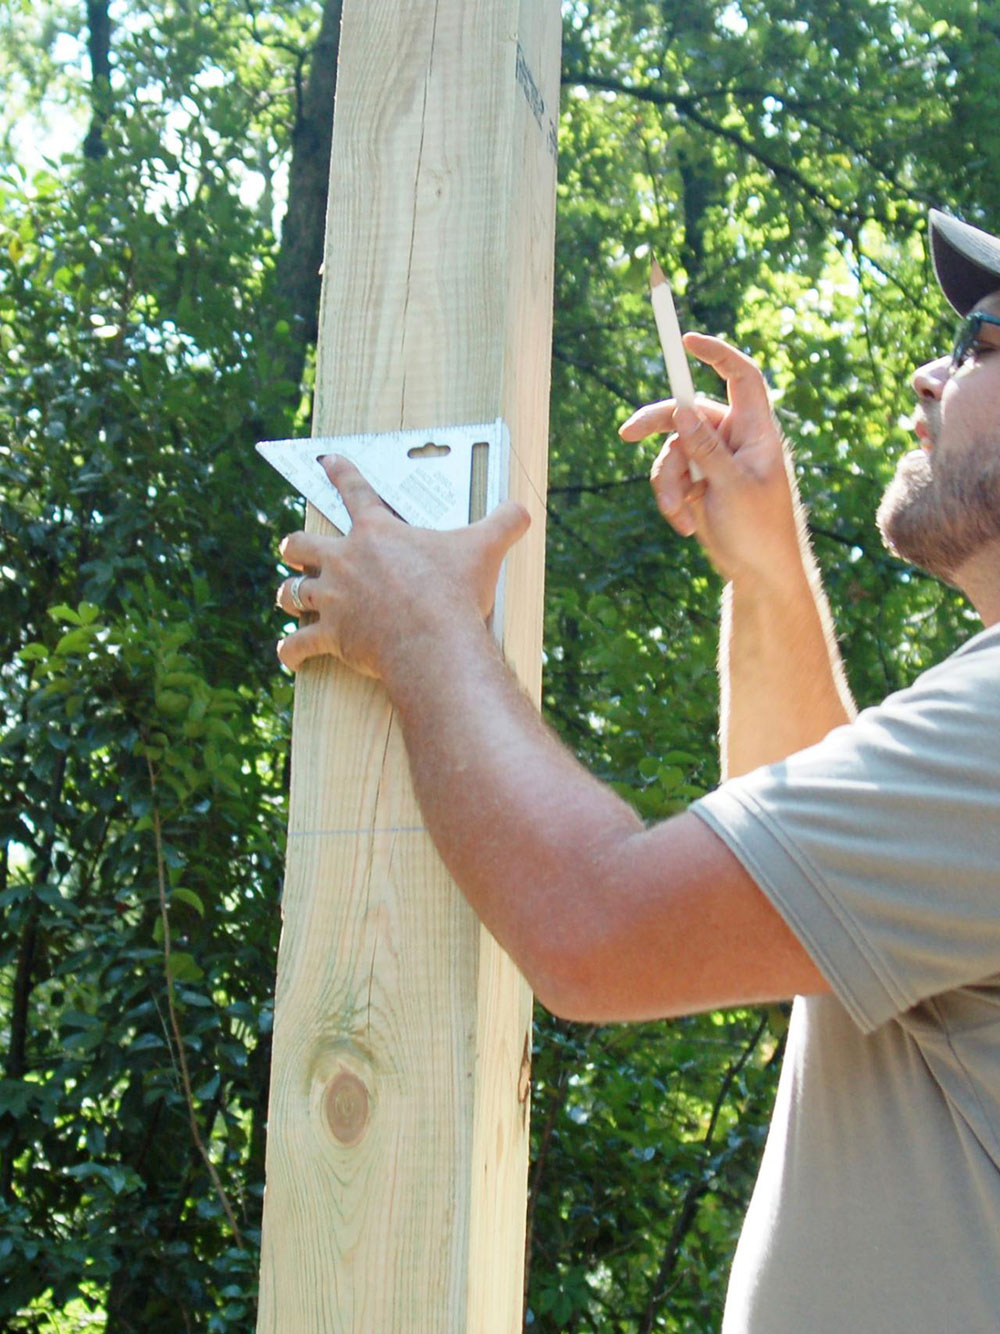
It is not a difficult job to level the top of the fence. All you need to do is first take a measure of the fence posts at the far end. Then label where your desired eight is and mark it all around the pillar. You can use a speed square to make straight lines. Then, with chalk, line the length of the fence.
You can ask someone to help you achieve a continuous line. You can also use a string if you want your lining to be even straighter. When you’re finished, release the strand.
Then, line up the blade of your circular saw. Use the mark on the front of the post and slowly cut through the center as deep as possible. Make sure it is about two and a half inches.
Do the same process again, this time at the back of the post. Cut through it until you have a clean, equal top.
You should be able to cut through the post with two cuts. However, if your job isn’t finished, reposition the blade once again. This time place it on the third side of the pillar. Then just like before, cut to remove the post.
If you follow these steps, you’ll be able to DIY your fence posts. This project will be ten times easier if you choose wooden fences. They are modern yet easy to work with. Not only that, but wooden fences are rising in popularity. You can find them in almost any residential area.
Ranging from looks to functionality, wood is always a great choice. It can be painted and varnish to enhance durability. If you treat it right, it can prolong its lifespan even more.
But there is one downside to it. It can shrink over time. This can be detrimental to the concrete underneath it. It can rot and decay.
Remember, before you start working, you need to wear proper equipment.
FAQs about leveling fence posts
1. How deep should I dig the hole for my fence posts?
The height of the fence and the type of soil you have will determine how deep to dig the hole for the fence post. Typically, you want to dig a hole that is at least a third the length of the post. This would entail a two-foot-deep trench for a fence that is six feet tall. Additionally, make sure the hole’s breadth is at least three times the post’s width.
2. How do I ensure that all of my fence posts are level with each other?
Using a string line is the simplest way to make sure that all of your fence posts are level with one another. Use a level to make sure the string you tie between the first and last fence posts is level. After that, measure the height of each additional post using the string as a reference.
3. What tools do I need to level fence posts?
A post level, a small level that fastens to the side of the post, is required to level fence posts. To make sure all the posts are level with one another, you might also want to use a standard bubble level and a string line. A wheelbarrow, a post hole digger, and a shovel are additional items you could require.
4. How do I know if my fence posts are straight?
If you want to make sure your fence posts are straight, use a level or a plumb bob. To check if the post is absolutely upright, place the level or plumb bob against the side of the post. The post is straight if the level’s bubble is in the middle and the plumb bob hangs straight.
5. Should I use concrete to set my fence posts?
Fence posts can be set in concrete to help ensure that they are secure and won’t move over time. However, utilizing concrete can actually cause your posts to move if you reside in a region with extremely damp soil or regular frost heaves. Instead, think about using gravel since it enables water to flow away from the post.
6. How long should I wait for the concrete to dry before attaching the fence panels?
Concrete dries in a certain length of time depending on a number of variables, such as humidity and temperature. Generally, you should give the posts at least 24 hours to dry before fastening any fence rails or panels to them. However, it’s best to wait 48–72 hours to make sure the concrete is fully dry and set.
7. How do I adjust the level of a fence post after it’s already been set?
After a fence post has been installed, if you need to modify its level, you can lift it with a hydraulic jack, add or remove gravel from the hole as necessary. As an alternative, you might remove the post and reposition it.
8. How do I prevent my fence posts from leaning over time?
Setting fence posts far enough into the ground and securing them with concrete or gravel will keep them from bending over time. In order to increase stability, you might use longer posts or braces to strengthen the posts.
9. How far apart should I space my fence posts?
The height of your fence and the kind of material you’re choosing will determine how far apart your fence posts should be. For a six-foot fence, you should generally place fence posts no more than 8 feet apart. It may be necessary to place posts closer together if you are using a heavier material, such as stone or brick.
10. Can I use a laser level to ensure my fence posts are level?
Yes, you can use a laser level to check the levelness of your fence posts. Once the laser line is level, just fasten the level to the post and adjust the height. However, keep in mind that wind might impact laser levels, and they might not function as effectively on exceptionally sunny days. To make sure that every post is level with the others, a conventional bubble level might still be required.
If you enjoyed reading this article about how to level fence posts, you should read these as well: