

Wood has been the prime building material for centuries. Ever since the old times, people have been using wood to construct tables, chairs, bed frames, and many other furniture items. There are so many things you can make with wood!
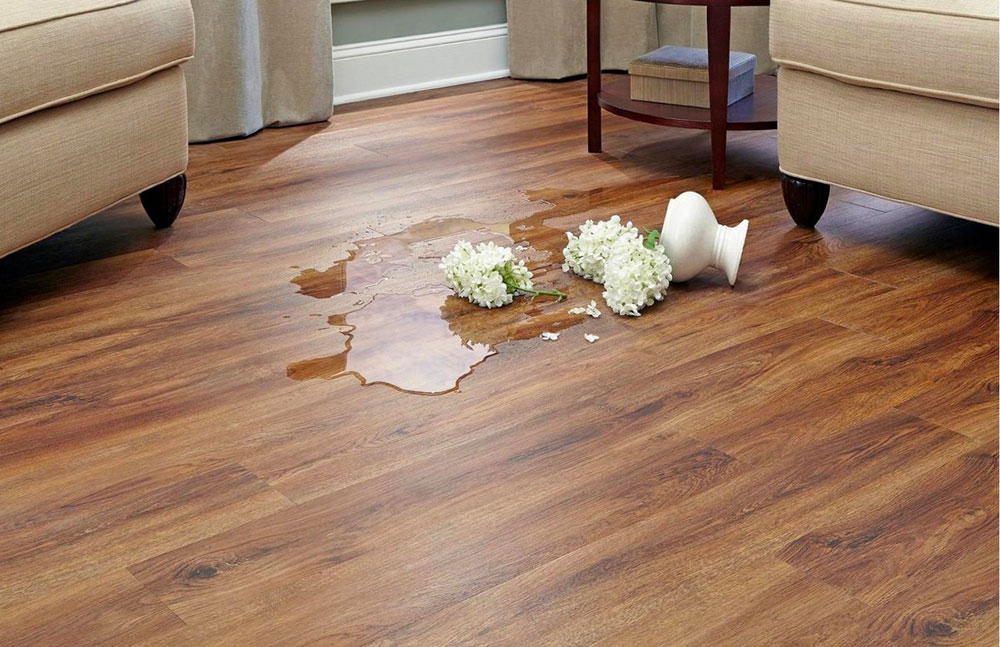
Unlike plastic, wood is a natural material. While it is definitely more eco-friendly, it is also not as durable. Wooden furniture can swell and rot as a result of humidity and moisture. It can also be damaged by direct sunlight or bug infestations.
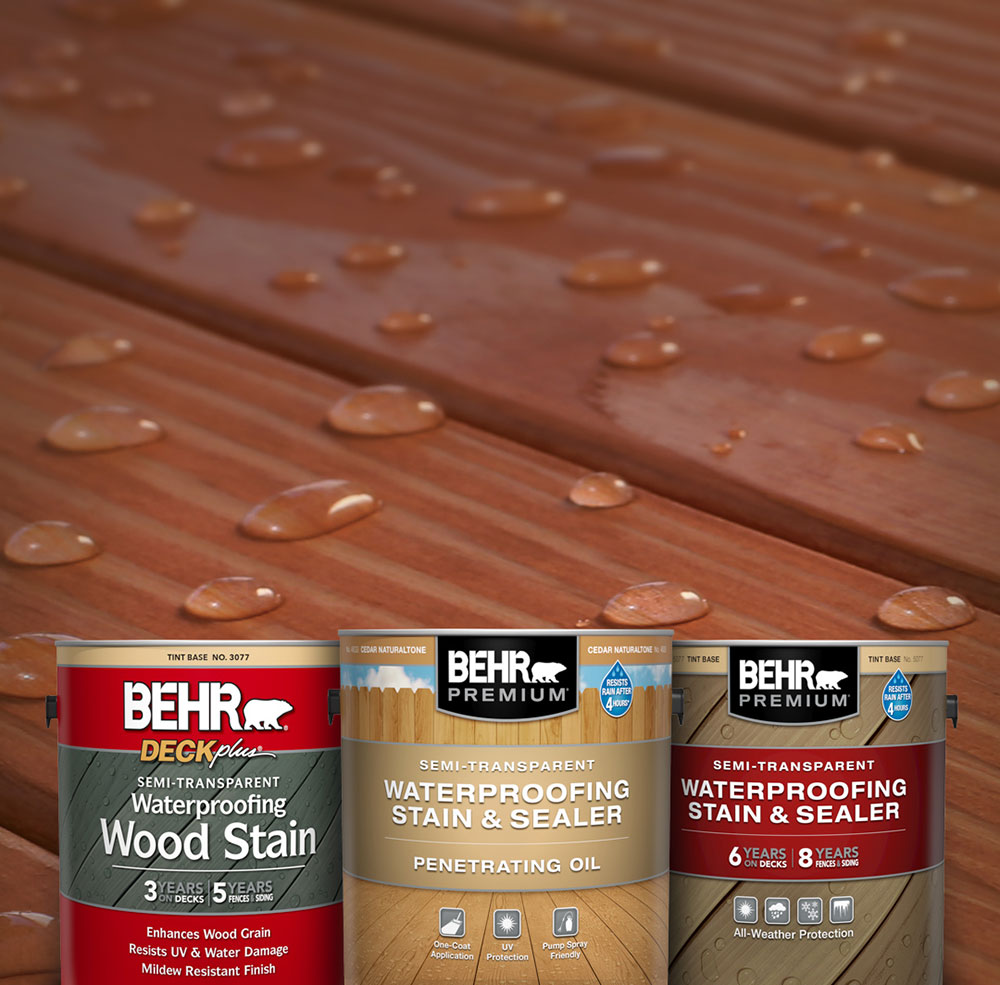
To prevent that and give your wood a long life, you can waterproof your wooden items. Waterproofing doesn’t take away from the beauty of the furniture. On the contrary, it can make the wood even shinier and richer in color.
If you want to find out how to waterproof wood successfully, keep reading!
Why Should You Waterproof Wood?

You might be wondering, why should I waterproof my wooden items? To sum it up, it will make your items last longer, look better, and remain firm and sturdy.
Wood is easily affected by water. Even light moisture can harm wooden furniture. It can become weak over time and even develop mold!
Waterproofing also helps to protect the wood from UV rays, frost, and insects. Of course, this is not a permanent antidote! If you leave your tables and chair in heavy rain for several weeks, they will experience some damage. However, waterproofing your wood can add a few years to its lifespan.
Waterproofing your wood can prevent the formation of cracks and splits from excess moisture. It helps with tearing and discoloration from the sun. It can also make the wood resistant to scratches. Finally, waterproofed wood won’t develop mold.
To get the best results, you need to prepare your wooden surface and waterproof it. It’s best to repeat that regularly!
Here are three common ways that work best.
How to Waterproof Wood with Oil
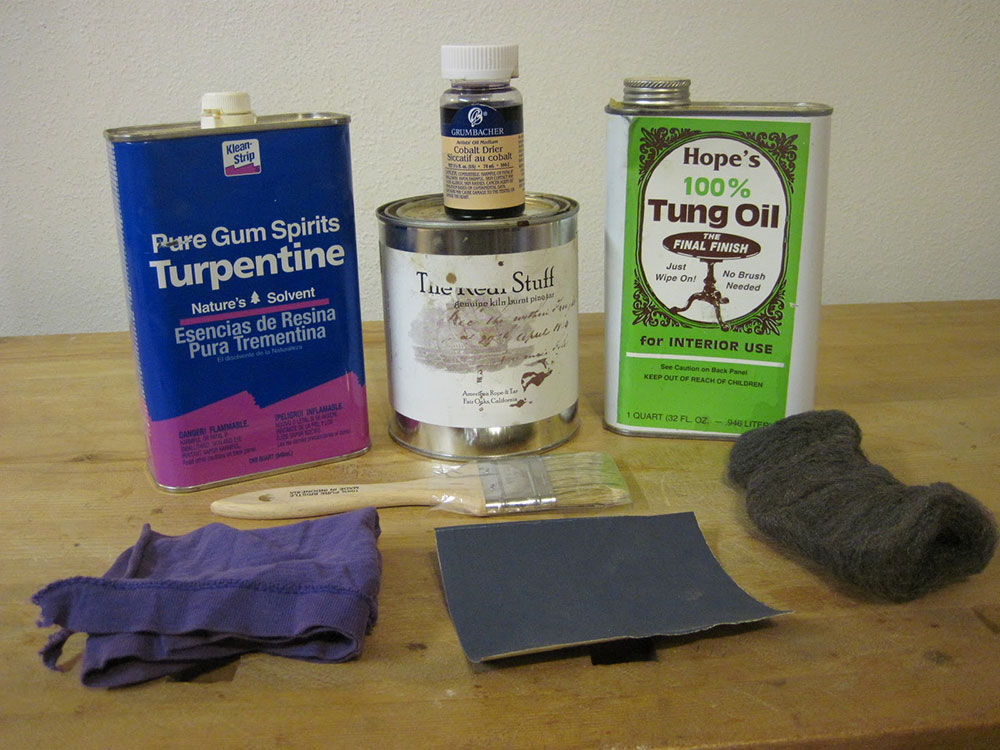

For this, you will need a mix of linseed, walnut, and Tung oil. These oils help the wood develop a rich and dark color. This method works best for furniture that is frequently exposed to moisture but doesn’t suffer from pressure from friction.
Tung oil is often used in commercial products. You can even buy raw Tung oil, but it’ll be much more expensive. For that reason, raw Tung oil is usually used on smaller surfaces.
You can find walnut oil in almost any grocery store, along with olive oil and coconut oil. This one is not common in commercial products, as it contains nuts and can trigger allergies.

You can buy a pre-mixed solution, or mix the solution yourself. A pre-mixed solution will likely have some chemicals added.
If you want to mix the strongest solution, you will need oil, apple cider vinegar, and turpentine. Mix 1 part oil of your choice with 1 part turpentine oil and half part apple cider vinegar. This will give the wood a perfect finish and provide the best results.
A pre-mixed solution will contain oil, mineral spirit, and polyurethane. You can usually find it in a drugstore.
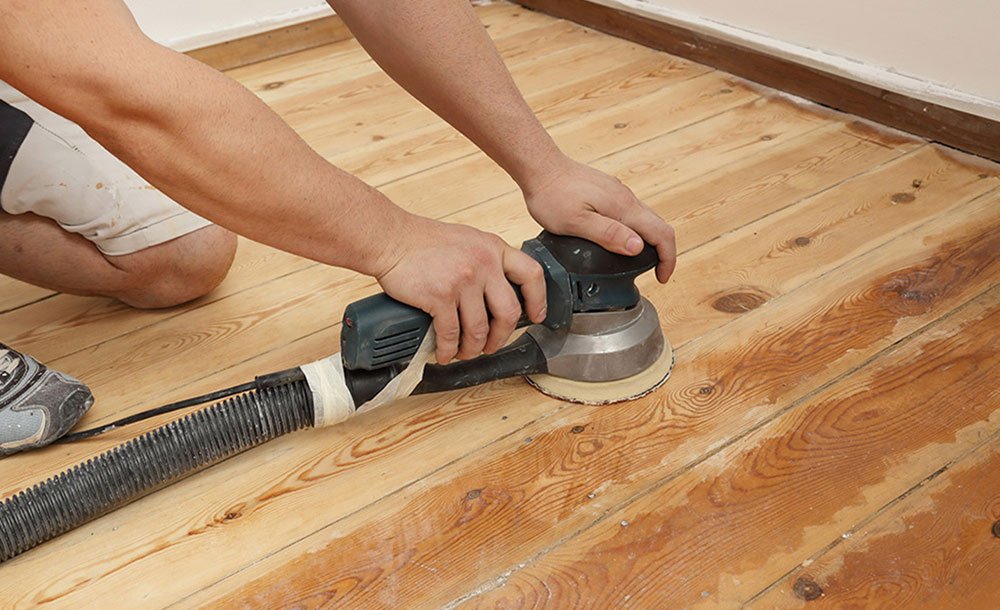

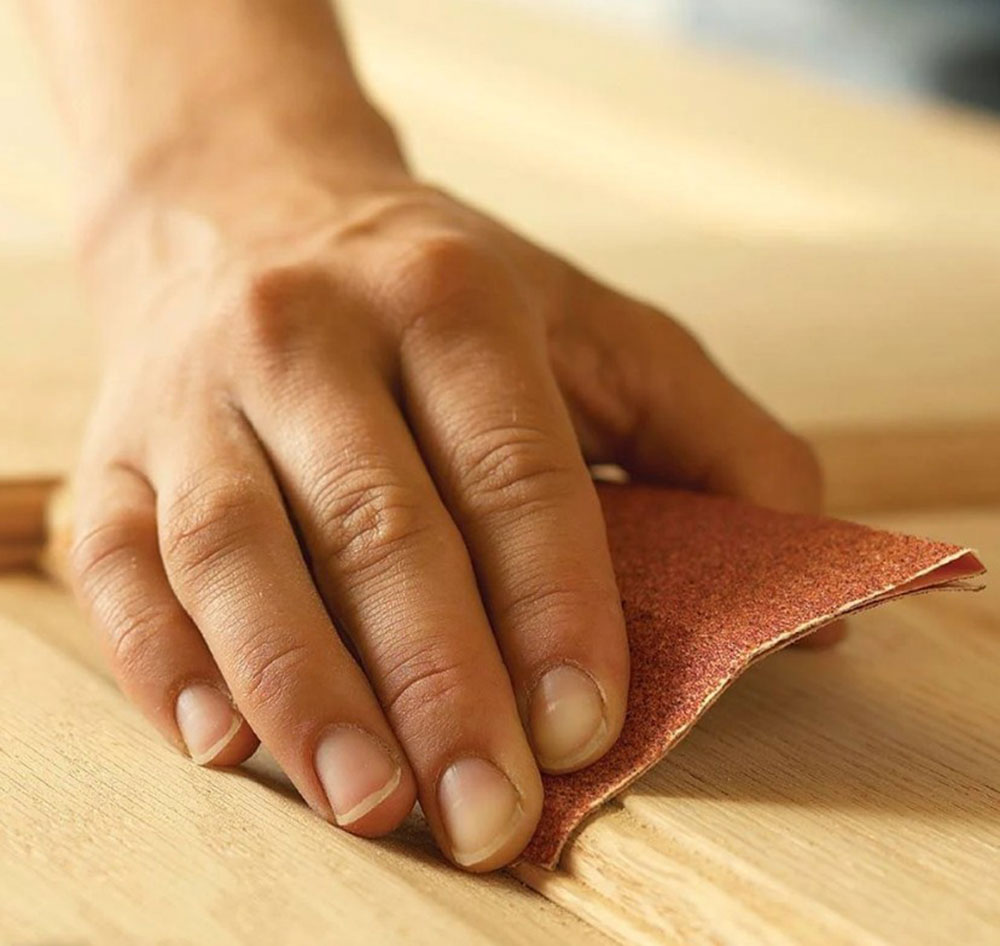
The oil will point out all the imperfections and unevenness of the wood. For that reason, you need to prepare the surface before the application. Start by sanding the surface. Use sandpaper or a metal file to file and scrape all the imperfections off. Sand the surface with fine-grit sandpaper to prepare it for the oil.
Once you’ve done that, get a dry cloth and sweep the surface to get rid of all the little scraps.
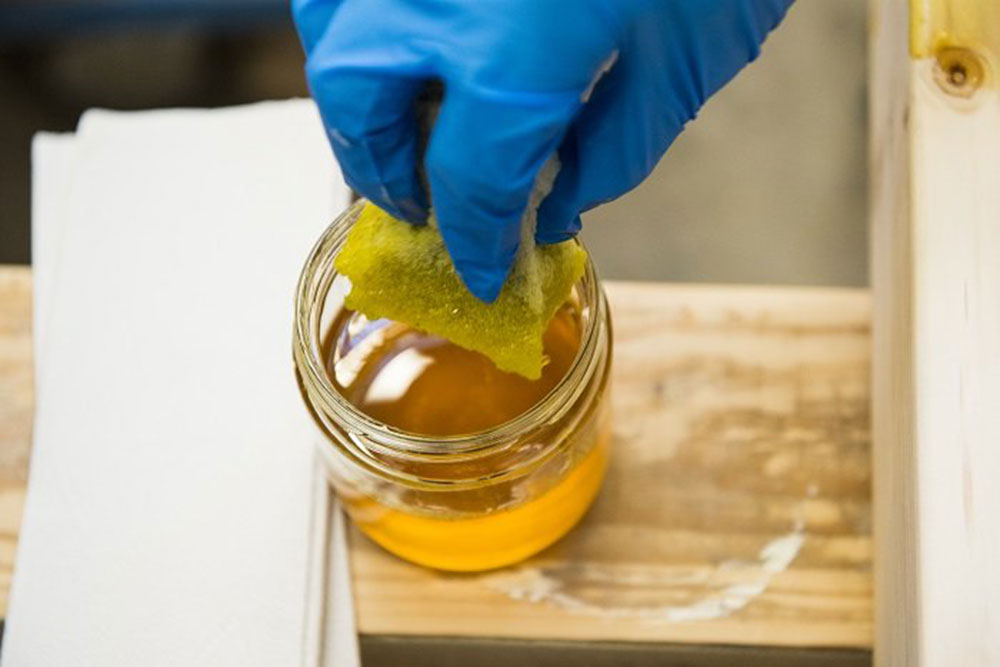
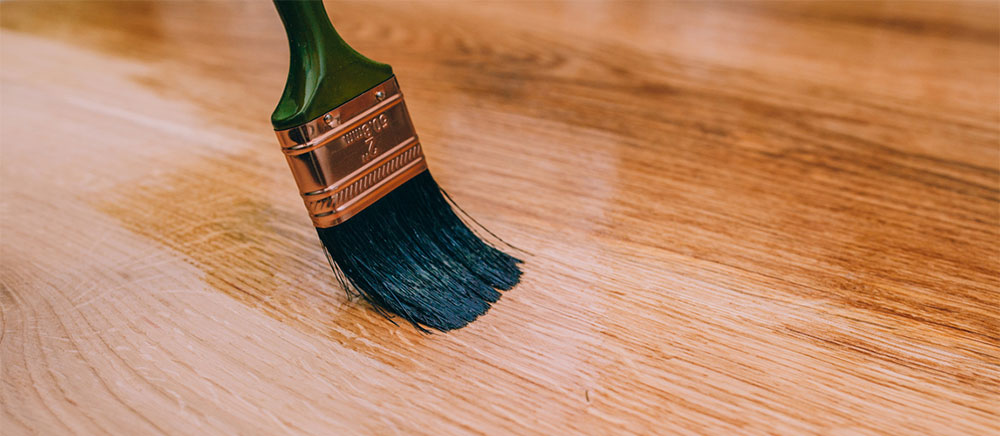
Get your solution and pour a little bit on a rag. Never pour it directly on the wood! Rub the rag on the surface from interior to exterior. Do your best to apply an even coat and don’t touch the oil while it’s absorbing.
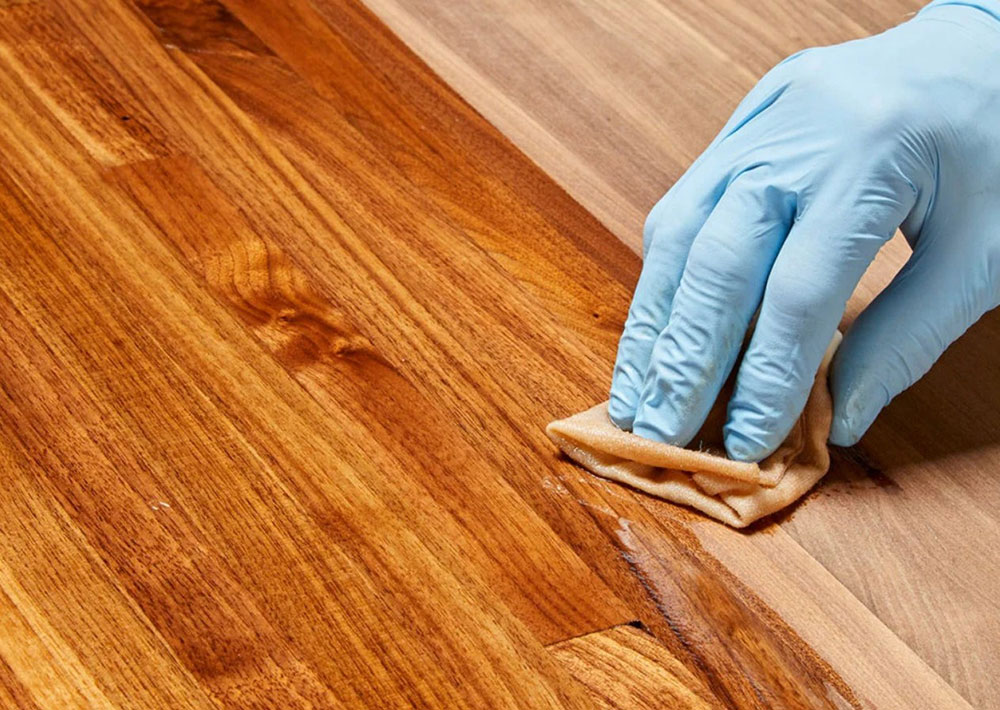

If the surface needs more oil and the rag is soaking all of it in, just pour some more oil on the rag. Don’t try to rub the oil in harder. At the same time, don’t overdo it and leave puddles of oil on the wood.
Give the oil 30 minutes to settle and soak in, and wipe the surface with a clean cloth to remove excess oil. Then, give it around 24 hours to dry.
Once the wood is dry, you can sand it with fine-grain sandpaper, so the surface doesn’t get too slick. Repeat the process and add more coats if you need to!
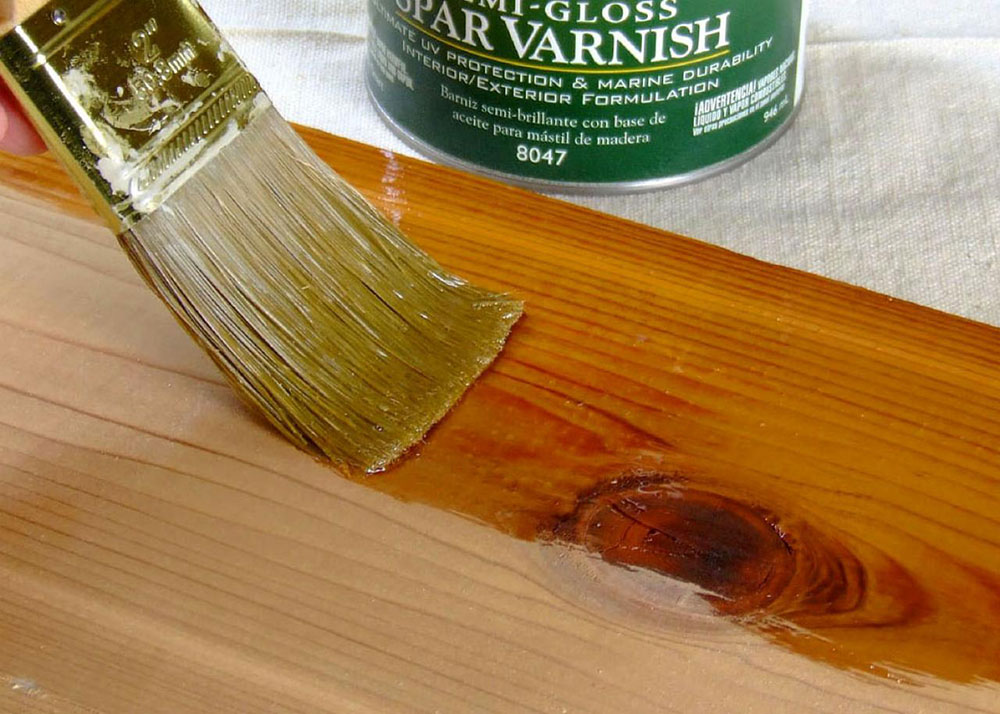
How to Waterproof Wood with Sealants
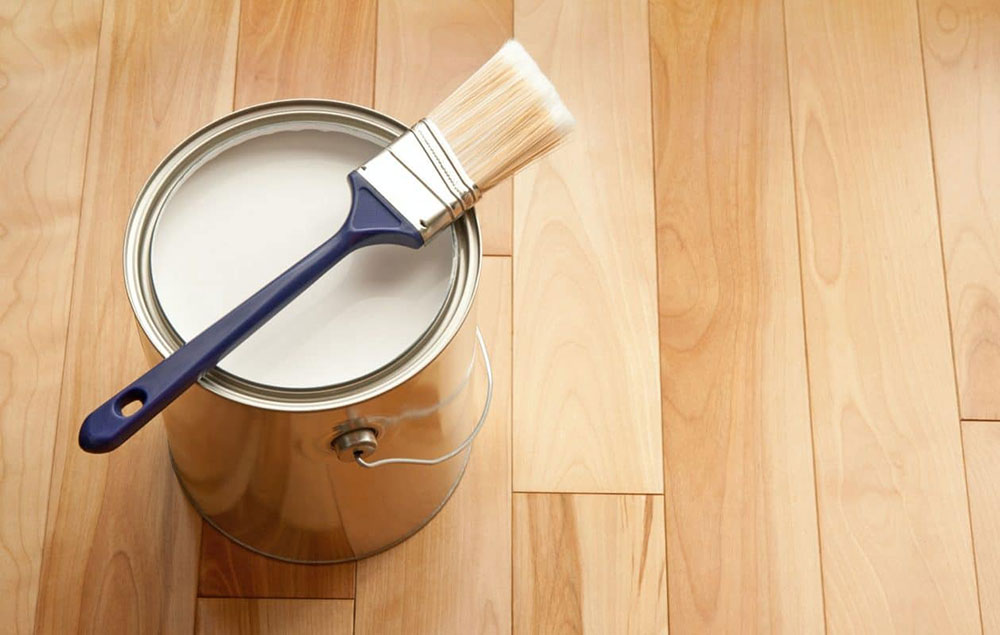

Artificial sealants are probably the most popular option for waterproofing wood. They’re the most reliable. Sealants are usually made of polyurethane, varnish, and lacquer.
Sealants dry fast and don’t require frequent reapplication and touch-ups. They come in cans or bottles, like paint.
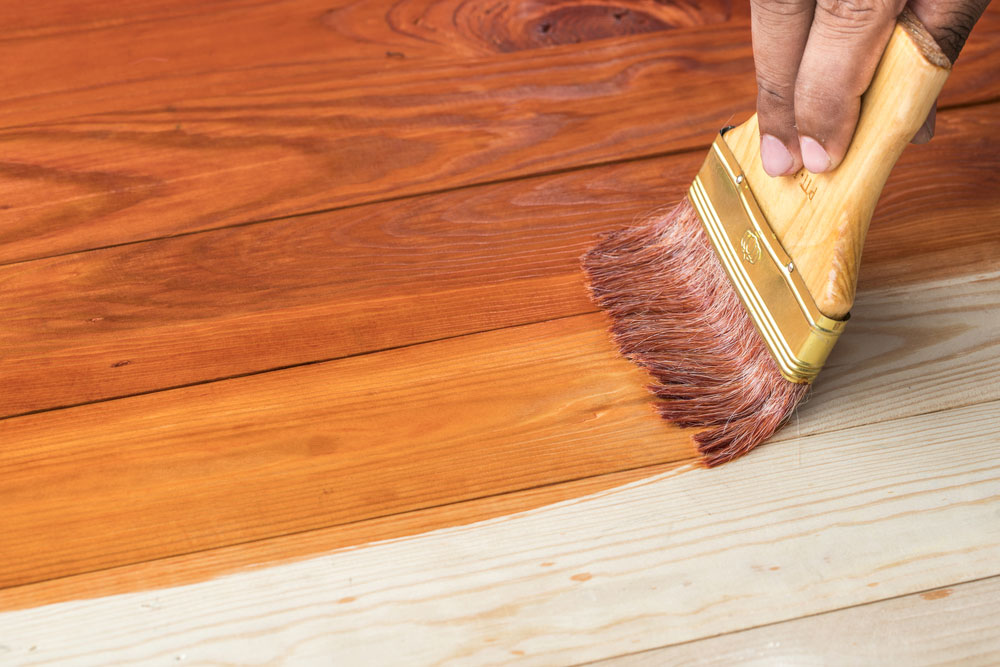
You already know how to prepare the wood. Once your surface is clean and dry, you can apply the sealant with a paintbrush and wait for it to dry. Sealants contain chemical solvents, so some of them dry in only 15 minutes! That’s perfect if you’re in a hurry.
After the surface has dried, you can go in with another coat. Repeat until you’ve reached the desired look. Keep in mind that since sealants are rather rich in chemicals, you need to ventilate or air out the space you’re working in.
Here are some pros and cons of using sealants to waterproof wood:
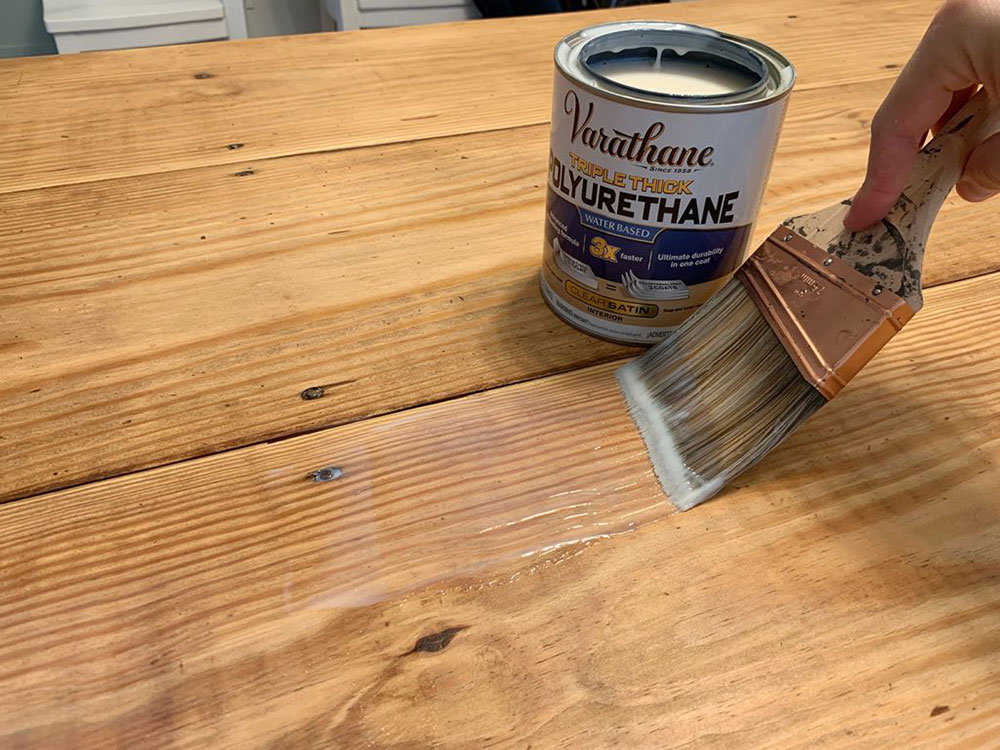
- Polyurethane sealants offer a wide variety of final effects. You can choose a high-gloss shine or a soft and gentle sheen. On top of that, they don’t make your wood yellow over time.

- Varnish is scratch-resistant and doesn’t get yellow either. If you’re working with outdoor wood, get marine varnish. It protects the wood from sun damage.
- Lacquer is the best for wooded furniture! Unfortunately, it can get a little yellow, which doesn’t look good on light wood. At the same time, it brings out certain richness and warmth in darker wood. Lacquer makes your wood scratch-resistant, and you can pick from a variety of sheen choices. You can also use lacquer thinner if you need to.
Whichever method you choose, make sure the wood is dry and clean before application.
There is no need to mix the sealant with anything else. Apply it as a spray or use a brush, wait for it to dry, and apply two more times if needed.
How to Waterproof Wood with Stain-Seal Combo

A stain-seal combo has the fastest drying time and the biggest variety of color options. If you’re looking to finish very quickly or get the most precise color, definitely opt for this method.

The application process is the same; wipe the wood dry and sand it with sandpaper. Then, apply the solution with a brush. Let it dry, wipe it with a dry rag, and reapply up to three times if needed.

A stain-seal combo comes in liquid form. There are instructions on the box, so follow them. In the end, there is no need to wipe off excess liquid, as it soaks into the wood. That also makes the wood dry faster and doesn’t leave any excess.
Ending Thoughts on How to Waterproof Wood
Wooden furniture looks lovely and can last you a long time if you take proper care of it. Remember to reapply your waterproofing solution every few years for the best effect.
Waterproofing your wood protects it from rain and sunlight. The best part is, it’s not difficult at all and you can definitely do it yourself!
Prolong the life of your wooden items and protect them from moisture and rotting!
If you enjoyed reading this article about how to waterproof wood, you should read these as well: