
Advertisement
Even with a pretty successful DIY portfolio behind them, many homeowners struggle with grouting, spacing, and mortaring floor tiles. Yet, they’re not willing to give up the floating tile floor idea and for a good reason – it looks wonderful!
Are you ready to replace boring vinyl flooring with some neatly arranged ceramic tiles that are not attached to the substrate? If so, let us guide you through the process!
Here are some tips and ideas on ceramic plank flooring that you could use:
Floating tile floor –the basics
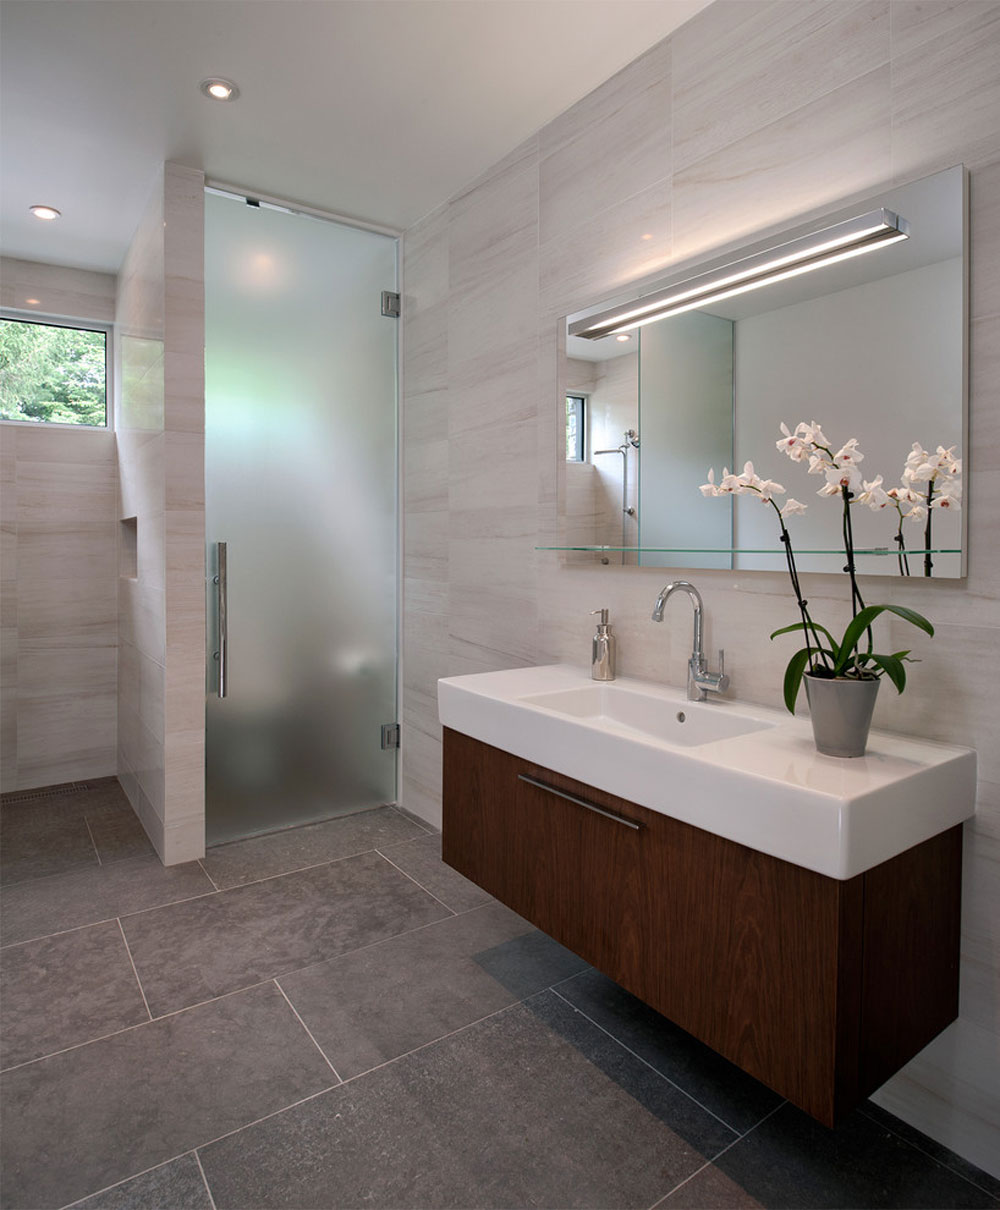 Image source: Terra Nova Building Corporation
How does a floating tile floor look like?
Any floor can be a floating floor, as long as the individual pieces are joined between them, but not at all attached to the subfloor surface. Basically, you can have a floating floor made of ceramic tiles, laminate, wood, or any other materials.
Of course, the floating concept sounds considerably less stable than any regular floor structure, but that doesn’t have to be the case. Millions of homeowners have installed perfectly functional floating floors, especially when working with laminate.
Recreating the scenario with porcelain and ceramic tiles is more challenging, as one’s got limited choices on how to link the tiles’ sides. With laminate, on the other hand, floorboards already have click-and-lock features on each side, and the process is literally a walk in the park.
So, how should you proceed?
DIY tiling – a proper challenge
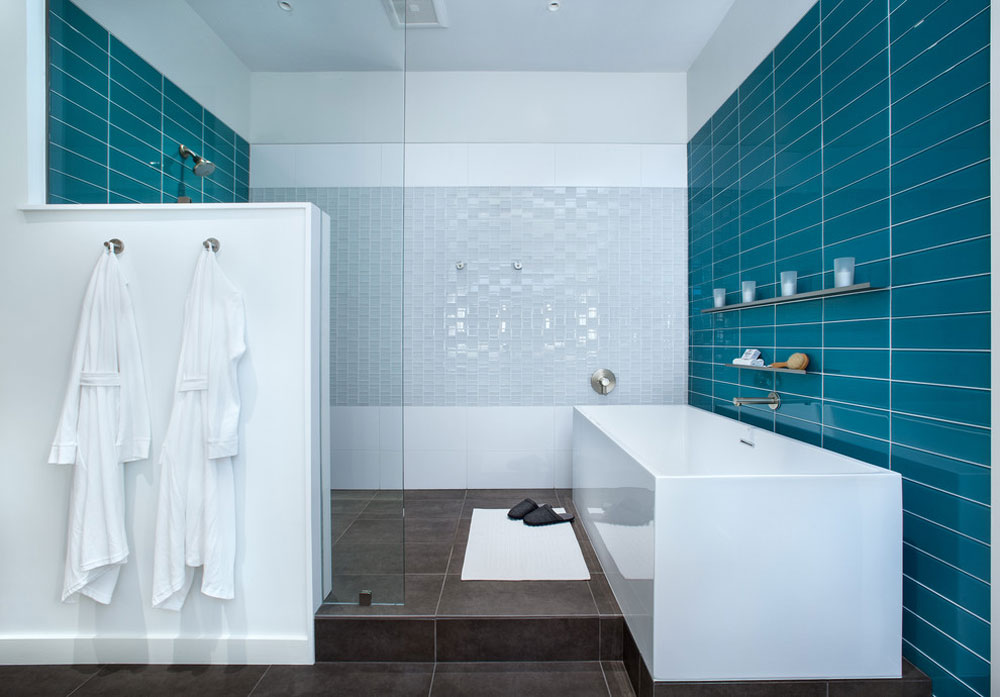 Image source: CG&S Design-Build
Tile mortar won’t be an issue for experienced professionals – they deal with it every day. Homeowners who had nothing to do with it, on the other hand, are seriously challenged to get it done. And yet, this doesn’t change the fact that floating tiles look just amazing.
For starters, you will have troubles mixing the right consistency for the tile mortar, which is why you’d better off buying pre-mixed one.
You are also likely to struggle applying that mortar to the backer boars and regulating its flow – with no notched trowels or experience to rely on, you may end up making it too thick or too thin.
Of course, you will take enough time to think the process through, but there are circumstances you can’t predict. If it takes a day to arrange the tiles, for instance, the mortar may stiffen and become inoperative.
 Image source: Oswald Homes
Another hurdle will be proper spacing, as you don’t have the plastic spacers of professional tillers, and you will likely play it by ear. What happens next?
If tiles are spaced too close to each other, there won’t be enough space for grout. If they’re too far apart, on the opposite, the grout may crack.
Last but not least, you may have to deal with ‘lipage’. According to the President of Kwik-Tile Van Conners, this is a problem for both professional and DIY tillers, and refers to the proper vertical alignment of stick-together tiles.
If the base it too soft, he says, tiles won’t be evenly aligned, and the floor will be neither safe nor good-looking.
This is why we recommend you to learn more about floating tile floors before you decide to make one. If you don’t have enough time, considering hiring a professional.
The old-school alternative: Is laminate flooring still better?
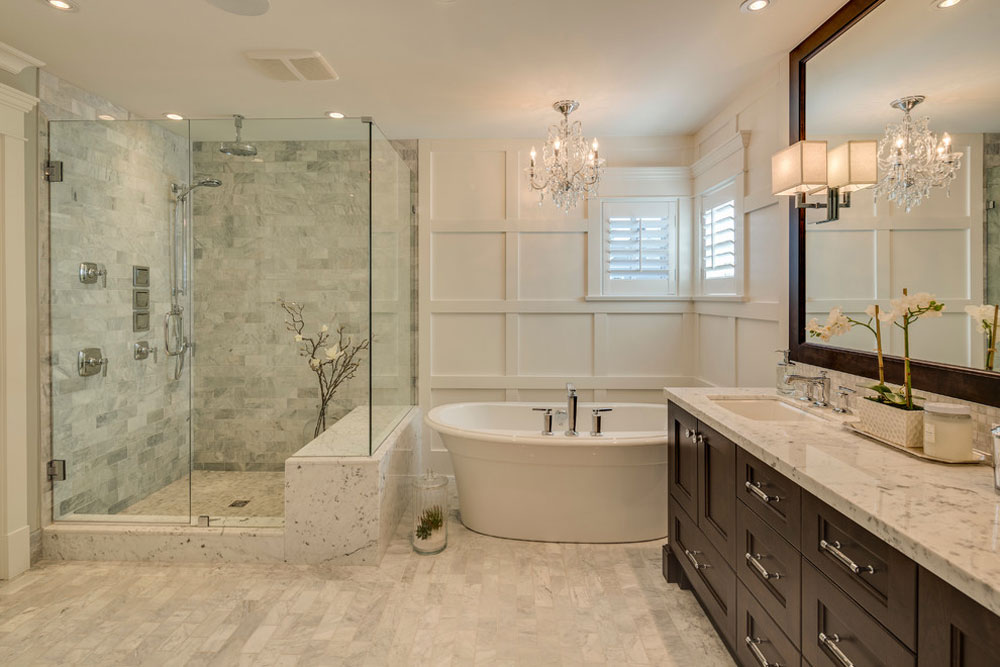 Image source: Clay Construction Inc.
Van Conners is once again right to point to professional laminate installers as the right people for installing floating floor tiles. Their experience makes it less challenging to install click ceramic planks.
Thinking like this will give you a whole new perspective on tile floors. Even though it is real tiles to be handled, the laminate flooring crew has more to do with that than actual tillers.
They’ll be dealing exclusively and only with floor tiles, unlike tillers who have to work wall tiles, shower pans, tub surrounds, and other conventional applications.
The base tray
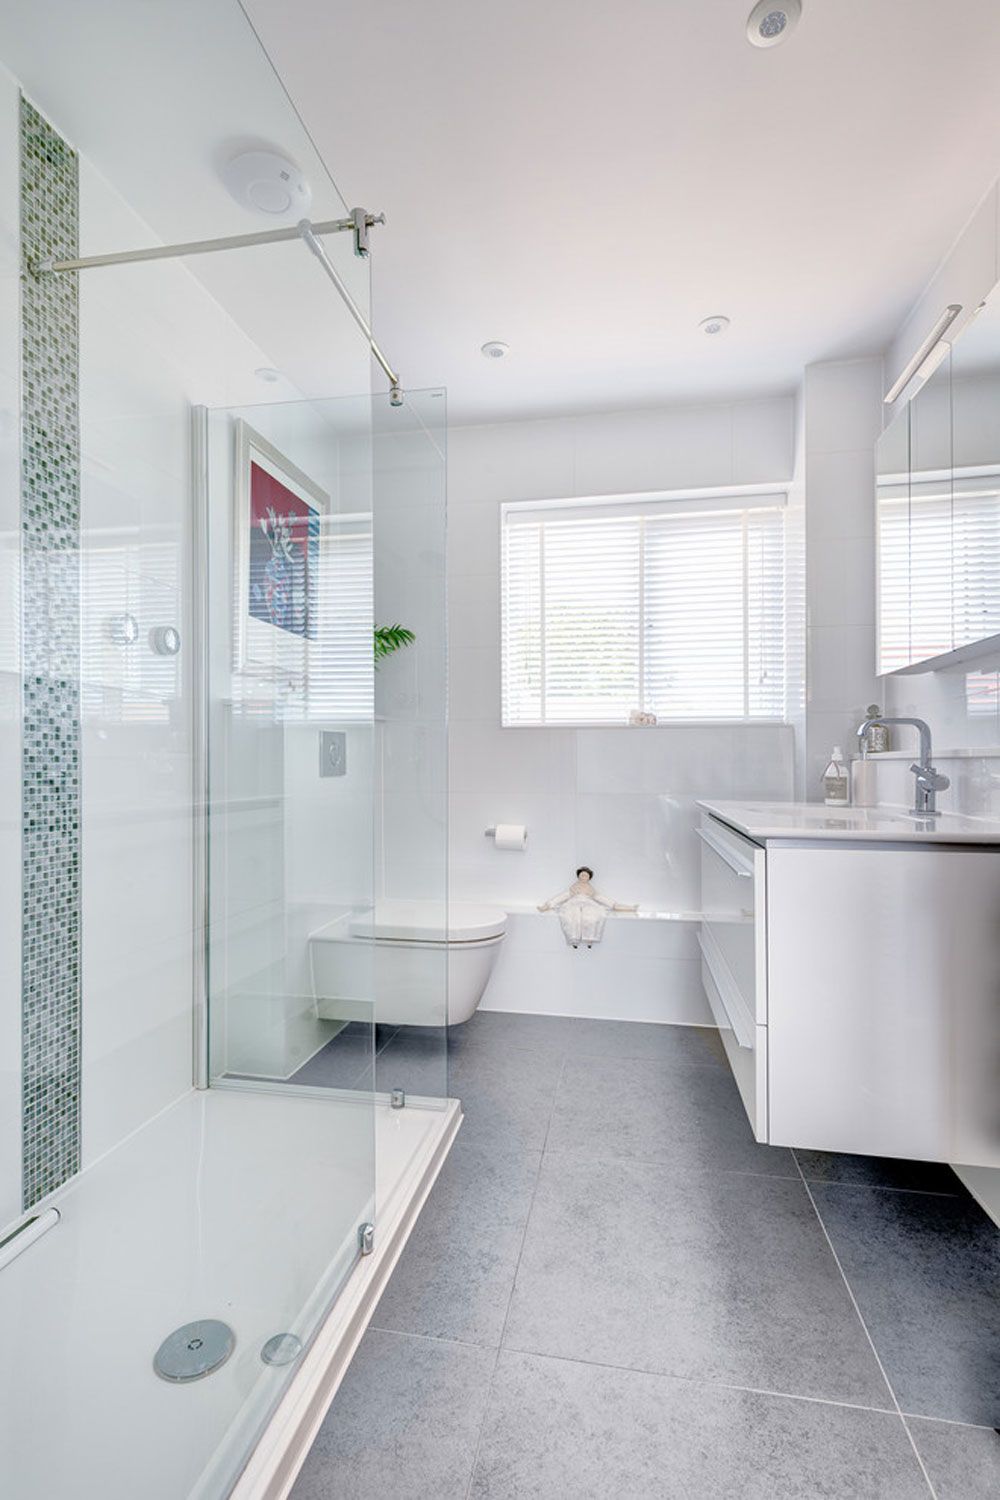 Image source: Colin Cadle Photography
To join floating tiles, you will need a plastic base tray. The type of tray differs form one brand to the other, but the method of application is more or less the same – you need to securely attach it to the tiles, and stab it into the adjoining base tray.
The trays will space the tiles automatically, and you won’t have to use plastic spacers. This way, you will have a perfectly aligned floating tile floor.
Once you’ve installed the tiles, apply some grout between them. Note that you won’t have to seal the grout, as it is acrylic-based.
Which are the benefits of floating tile floors?
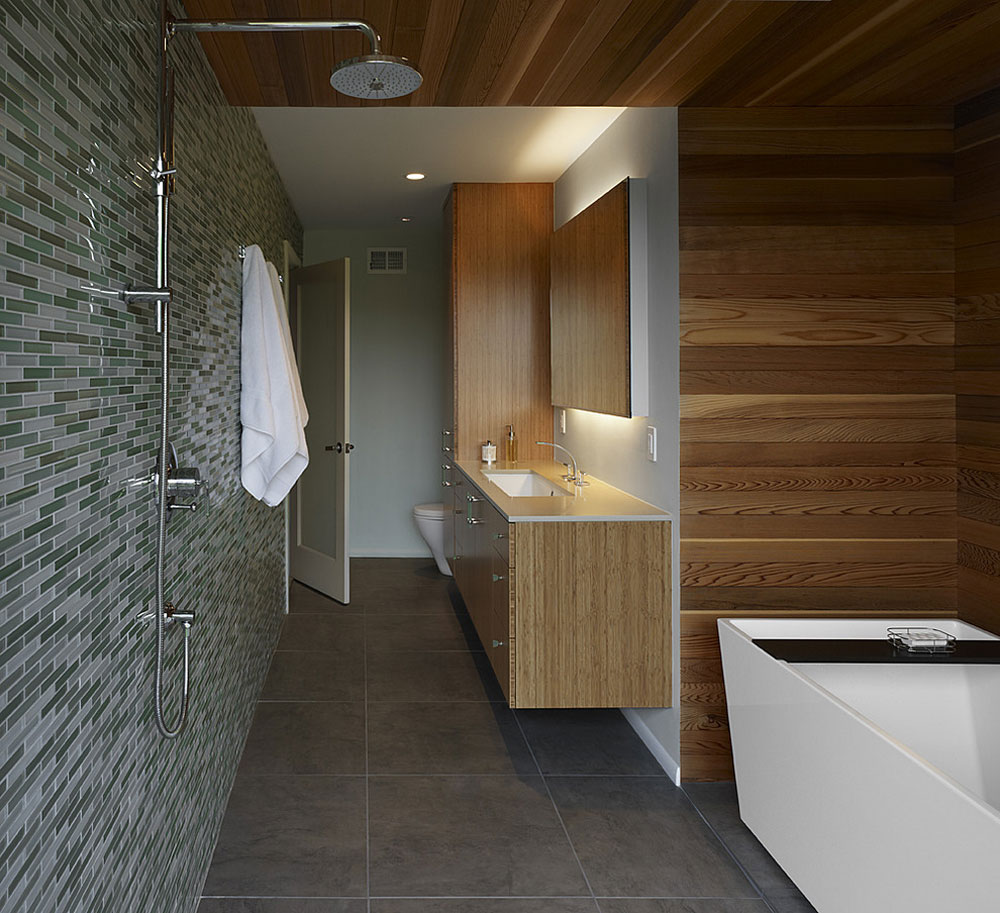 Image source: AT6 Architecture : Design Build
Creating a floating tile floor is certainly a handful, but it pays off. Here are some of the benefits it is best known for:
- No mortaring work
- No spacing issues.
- Thanks to the plastic tray, all tiles have a safe resting base
- You won’t have to wait for the mortar to dry
Which are the downsides of floating tile floors?
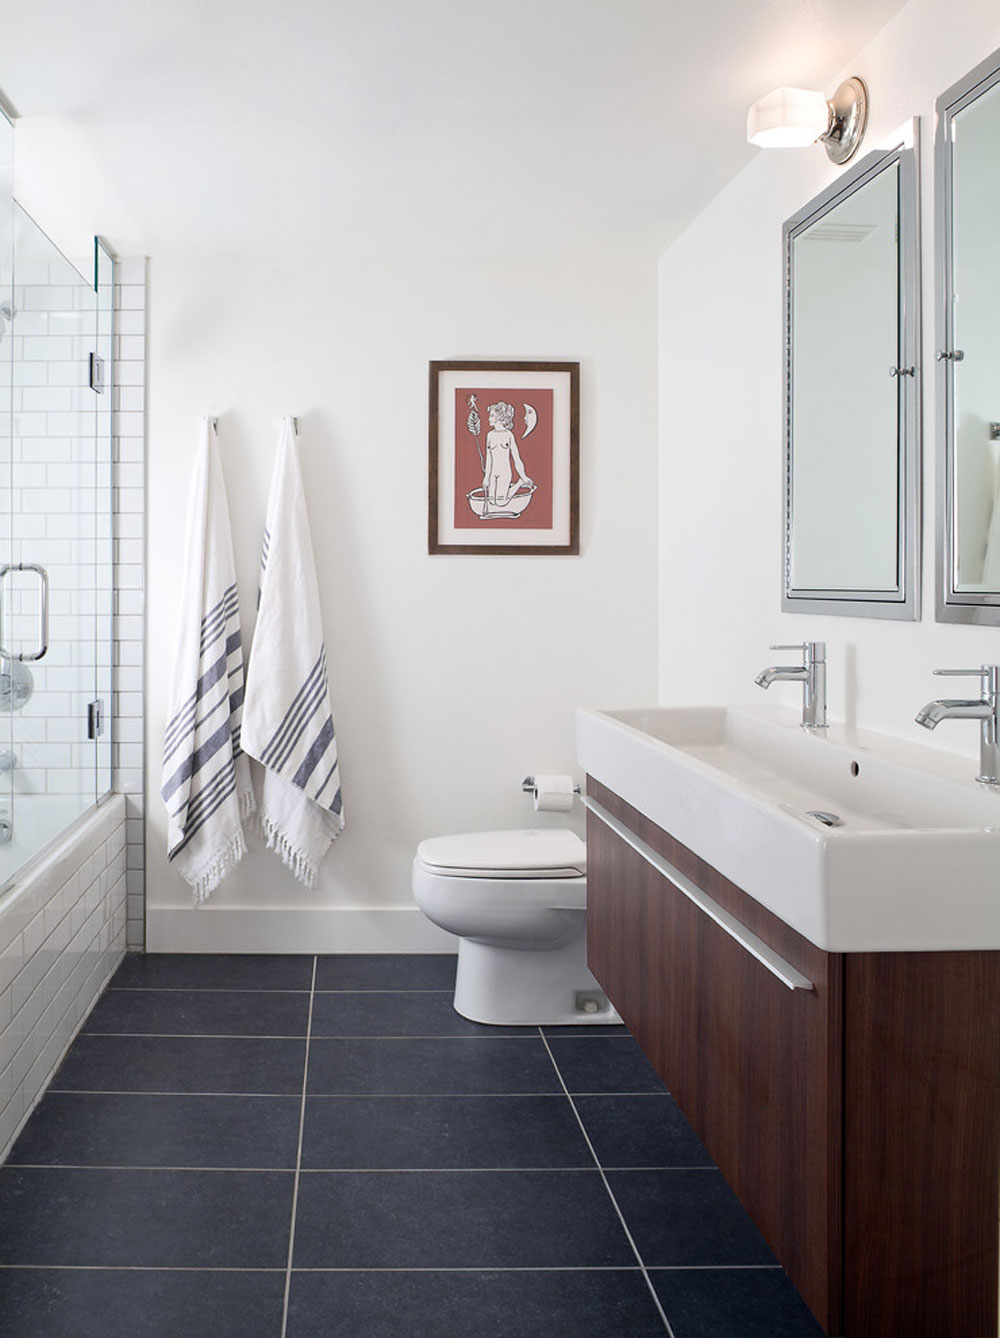 Image source: studiovert design
- There are no click ceramic tiles or interlocking ceramic floor tiles, which means that you have to be very crafty to get the job done.
- Some homeowners complain that their tiles have cracked. According to them, it is the hollow spaces on the base try that cause tiles to crack (as soon as weight is a little bit exerted). Such thing would never happen with mortar, as tiles have a solid and durable base.
- Mortar works are off, but you can’t go around grouting the tiles.
- Cracking is usually a result of laying heavy items over floating tiles, such as washing machines and refrigerators. Yet, there are tillers who believe that these tiles crack even when only walking across them.
- You need tile strips of at least3”. Otherwise, they won’t be stable.
- The choice of styles and colors is limited.
- It will cost you more. On average, you’ll be paying $17 peer square foot for a casual tile floor, compared to a marvelous, conventional solution that costs $3 per square foot.
The two most popular floating tile manufactures are Snapstone and Kwik-Tile, one located in Omaha, Nebraska, and the other in Dalton, Georgia.
You can reach out to any of them for tiles pre-bonded to their trays. Another product you can consider is Unika’s Cerama-Lock – instead of tiles, you’ll be getting a base tray that fits any type of ceramic tiles, provided that they’re at least ¼” thick and 12” x 12” long.
Floating floor tile
 Image source: k YODER design, LLC
The main upside of floating floors is their raised structure. It is formed of metallic cross-beams and adjustable supports, and it needs no expensive works or adhesives to stay stable. This is how floating floors ensure:
- Detailed, yet easy inspections
- Facilitated maintenance of cables and ground pipes
- Great thermal and acoustic isolation, improved by the airspace between the floating floor and the substrate
- Easier renovation due the lack of raceways and pipes.
Floating floor panels
 Image source: Rusch Projects
To prepare the best floating floor panels, you’ll need to combine diverse materials.
Cover the surface with porcelain stoneware tiles. You can also get some of Refin’s very resistant porcelain tiles, as these are available in many different sizes, colors, and finishes; and they’re no trouble to clean.
The slab usually consists of higher-density materials, as for instance calcium sulphate or compressed wood.
Do you have to start from scratch?
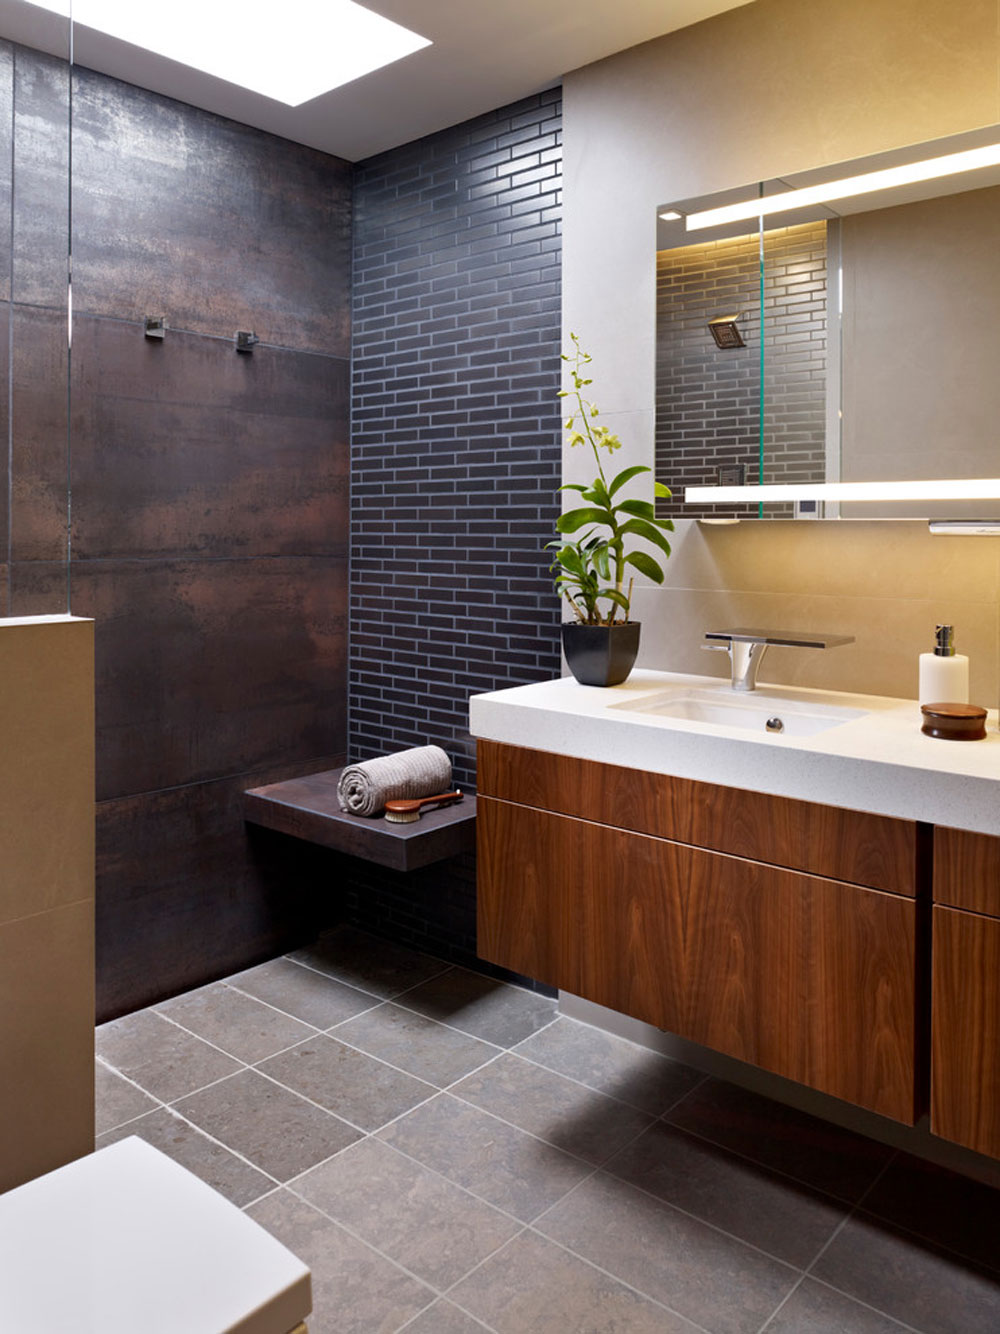 Image source: k YODER design, LLC
The answer is – you don’t. Floating floors, unlike their traditional solid-wood strips, don’t have to be nailed down. You’ll either need to strap them together or to fix them with glue, and it won’t matter which materials are underneath. Basically, you can place the floating tiles on plywood, vinyl, concrete, or even other tiles.
Can laminate floors be installed over ceramic tile floors?
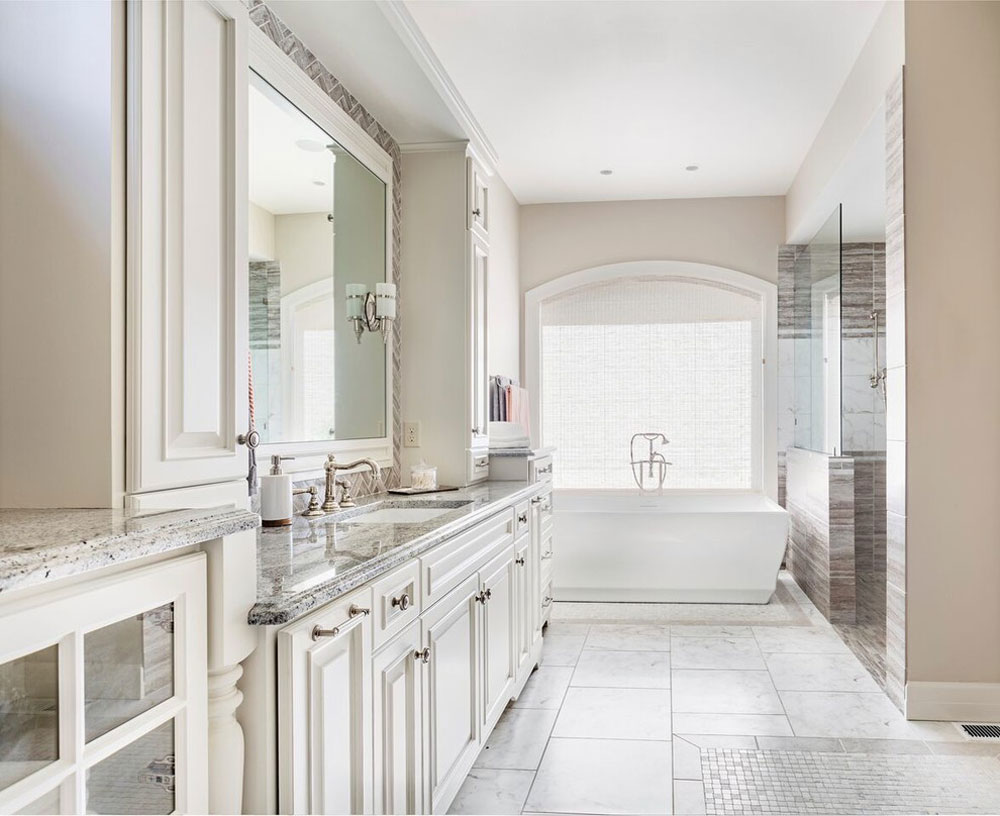 Image source: AXIS ARCHITECTS
Yes they can, given that the tile floor is well preserved, flat, and leveled. The process is not much different than installing laminate planks on concrete slabs.
With a tile floor that is not very smooth or flat, or where the tiles have protruding corners, laminate won’t lay right.
An interesting floating floor idea is to install engineered wood, and we’re about to show you how to do that.
Take a look at our step-by-step guide:
Step 1: Prep works
For the purpose of sound-damping and cushioning, engineered flooring is always laid on thin foam sheets. To ensure that the floor moves freely as a single unit, professionals glue the planks together; but leave 5/16 inch gaps between the baseboard (wall) and the floor to give it some space to expand.
Most of the time, these floors can be installed on an existing baseboard, only be concealing expansion gaps with quarter-round or shoe molding. There is always the option of removing an old baseboard and reinstalling it on top. You can choose any of these options, as long as you remember to nail the molding to the walls (not the floors) to give it a chance to move.
Once you’ve completed the prep work, think of the direction in which you’ll lay the floor. The best option is to run your planks in parallel with the room’s largest wall.
Next, you should measure how wide your room is (considering the 5/8 inch expansion gap for each side), and divide the measures by the width of your flooring planks to see how many you will need.
To fit the last course, you may be required to trim or rip. For instance, with a final course of 1 ½ inches, you’ll need full-width planks. In case it is narrower, the first course should be trimmed to give the last course the appropriate width.
STEP 2: Trimming the door casings
To let your new floor slide neatly underneath the doors, trim the bottoms of the door cases with a dovetail saw.
Lay down a piece of flooring and some foam underlayment to gauge the exact height of the cut. Remember to do this upside down to avoid scratches on the finish.
Last, make careful cuts holding the saw flat against the planks.
STEP 3: Installing the foam underlayment
Unroll the underlayment in a vacuumed room. Apply one layer all around, and trim it with a utility knife until it fits perfectly. Use duct tape to seal the seams together.
STEP 4: Installing the first course
Take the first-floor plank, and lay its grooved end against a space blocker in the corner. Lay spacers all along the first wall, making sure that the plank’s tongues face out, and that its cuts end against the wall.
To put the first course in the right place, measure the distance between it and the last plank you will install. Save the measurement for the next plank, and ensure its groove end meets the tongue of the last plank.
Then, cut the planks to length, and glue them together. Once you’ve pushed the pieces down in place, take a damp cloth and remove any excess glue.
STEP 5: Installing the rest of the flooring
Start the new course by using a left-over piece from the previous cut, assuming that this piece is longer than 8 inches. In such way, you’ll ensure that the joints are staggered. Keep in mind that you will also need spacers placed against the side walls in order to lay the plank right.
Next, squeeze a continuous bead of glue into the plank’s groove, and slide that plank up against the installed row. Get a hammer, and tap a wood block on the external sides to ensure all planks are brought together.
As described in Step 4, measure the distance between the plank you’re installing and the end of the row to finish the course right. Here and there (ideally after every sixth course), cover the joins with blue painter’s tape to keep them in good condition.
STEP 6: Prepare for the last course
Before you jump on the final course, check how wide your last plank should be. You should once again measure it to the spacer against the wall, and keep the expansion gap in mind.
In case the plank runs across doors, notch it until it fits the doorway. You can examine its exact width by measuring the distance to the closest edge of the doorstop molding.
STEP 7: Rip the planks to width
You can rip the planks to width and cut all necessary doorway notches with a jigsaw. The goal is to enable the plank to reach the doorstep and to fit easily under the casing. You should cut carefully and slowly, ideally with a fine-tooth blade.
STEP 8: Get the final course in
Be patient and persuasive. To get the final course in, start by removing all spacers from the wall, and using a pry bar to tighten the pieces against each other. It may be necessary to coax some the planks with blocks and hammers until it slides exactly into place.
Glue will need at least 12 hours to cure, so don’t remove the painter tapes and the spacers immediately. You should also give it some extra time before trimming the floor with molding.
STEP 9: Installing the finish trim
To get the job done, trim each doorstop on the doorway until you reach the exact height of your transition molding. Next, cut a transition piece that fits exactly between the doorjambs.
Prepare the subfloor transition. The flooring should overlap on each side, but there should be a 5/16 inch gap between the base and thee floating floor. To ensure that the transition molding doesn’t split, fasten it to the subfloor base with 4D finishing nails.
Next, do some shoe molding measuring on the walls. In the best scenario, you will be able to complete each of the walls with a single piece; but if you don’t, you can always scarf-join several pieces.
You can miter the two inside corners, or use a coped joint instead. Remember to cut the same miters for the outer corners.
The best place for the molding is as tight against the floor as it goes. It should be fastened to the baseboard instead of the floor, ideally with 4D finishing nails.
So, is a floating tile floor really worth it?
 Image source: House Doctor
All things considered, it is not. We can all agree that it looks amazing, but it has not yet been perfected.
Yet, you can try it out on a small surface to check how it works. It’d make absolute sense in your laundry room, for instance, as you’ll be avoiding all the mortar and grout works.
If you liked this article discussing using a floating tile floor, you should check out these as well:
- Dark Wood Floors – Tips And Ideas
- Advantages And Disadvantages Of Hardwood Flooring
- Polished concrete floor: Advantages and disadvantages of having one
- Modern Kitchen Flooring Options – Pros And Cons
- Painted Floors Design Ideas