

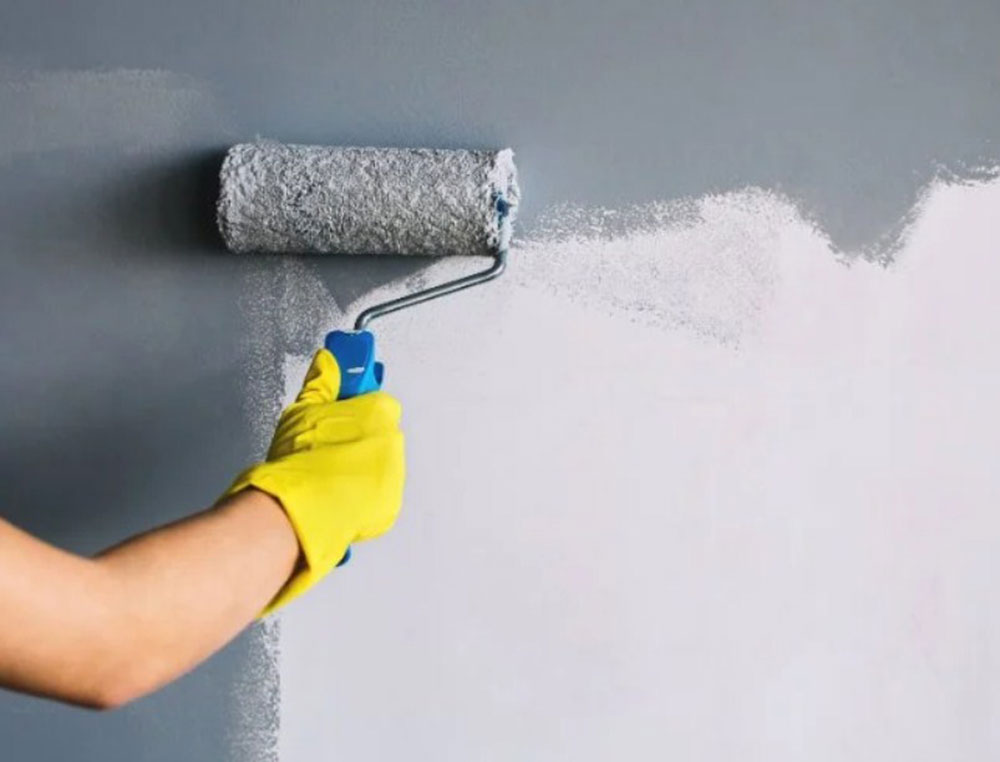
It’s evident that when you are painting that you’re doing that to improve your rooms look. Painting is not a hard job. But it can be quite rumpled. Some straight errors can demolish the whole place.
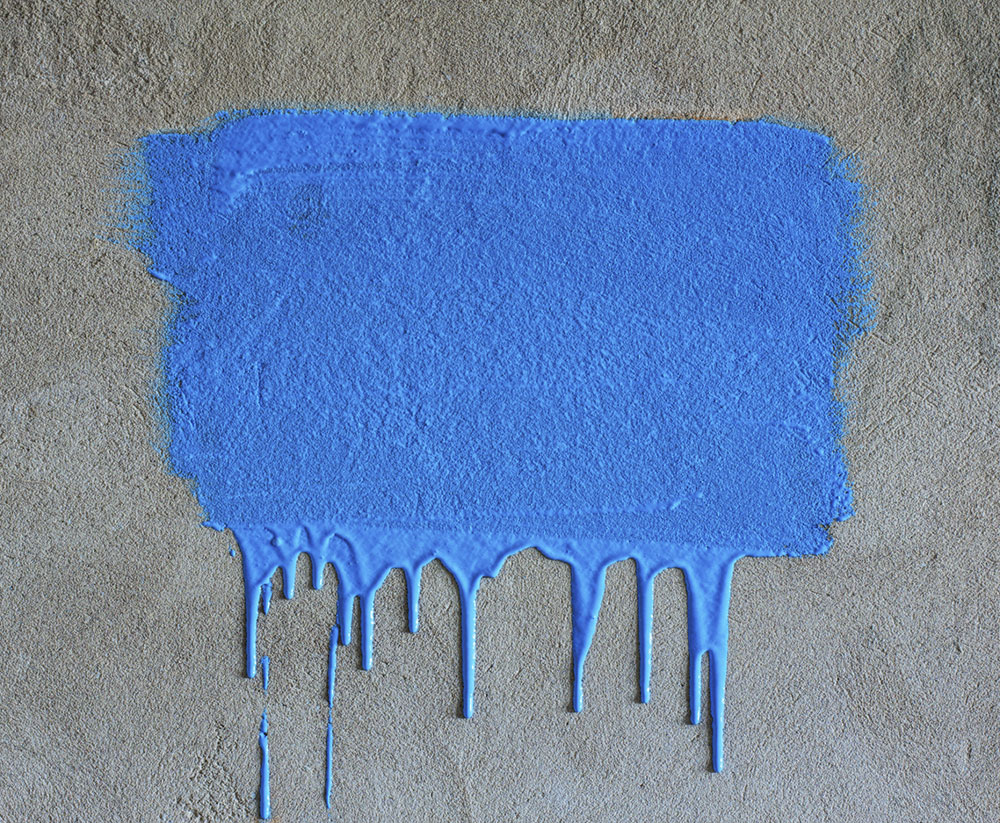
It doesn’t have to be that way. Paint drips are the most normal thing to happen. They appear by adding too much paint to whatever project you’re working on. Because of gravity, excess paint drips down and, if not treated immediately, dries.
It can be an eyesore to later look at that hardened paint. But it is not an unsolvable problem. You can treat the drip immediately after it falls, but you can treat the hardened paint as well.
Knowing how to fix paint drips is a great skill to have. With simple tools, your room will look as if it was done by a professional.
How to fix paint drips when the paint is still wet

Suppose it would be best if you painted your project in broad daylight. That way, you can instantly notice any irregularities on your wall. If the wall is still wet, you can use a brush to even it out. To do this, take a clean rag. Softly touch the drop. If the rug gets wet, the paint is also wet. That is a good sign. The blemish is fixable.
But you have to be careful. Take a clean brush and stroke the drip. If the paint is tacky or barely moves, don’t continue. That signals that the color is in the process of drying. Any movement will destroy everything.
Remove Dried Paint Drips

The main point of this article is knowing how to fix paint drips when they’re too dry. You’ll notice the paint drip almost immediately. It stands out from the rest of the wall.
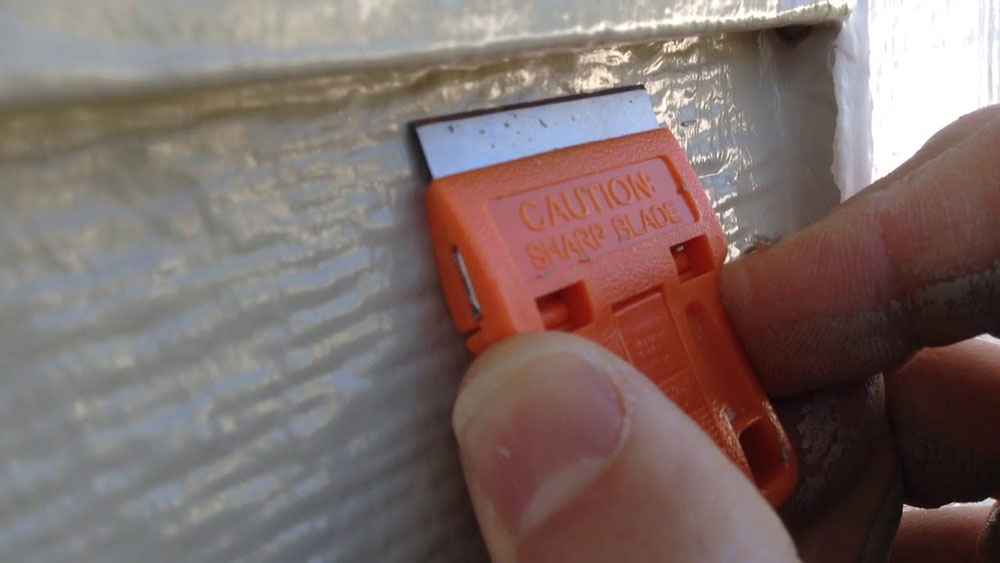
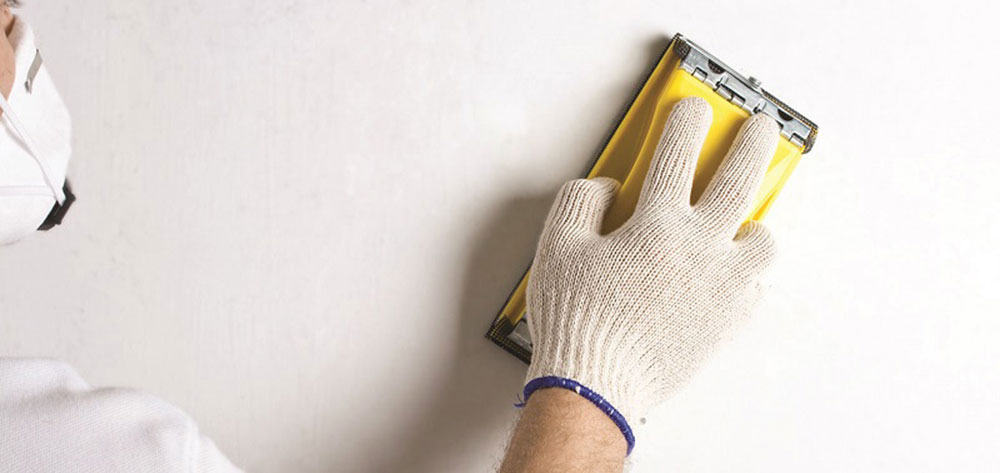
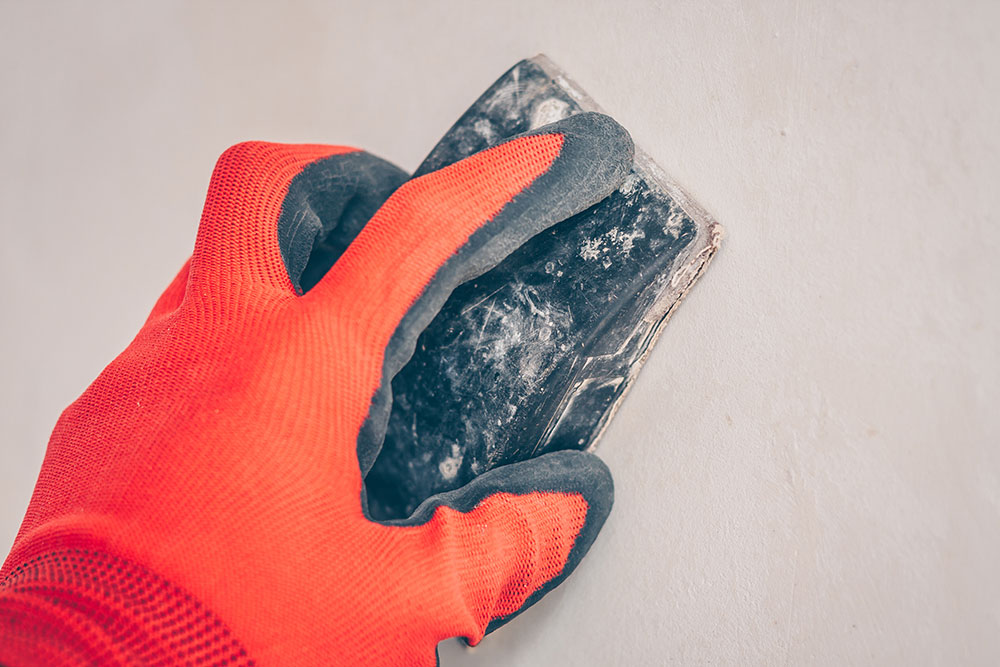
There are several ways to remove that irregularity. For starters, you cut off the coagulated paint. Use a razor blade or any knife to do this. You can also use sandpaper to smooth it out. The 180-grit paper will work best.
To successfully do this, you’ll need several things at your hand.
- A paint scraper or Windows scraper
- Sanding paper and sponge
- Bucket of water
- Towel
- The same color paint you used initially for the wall
1. This is optional but make sure to use masking tape. This kind of semi-sticking tape is suitable for this type of job. It protects the neighboring areas from getting ruined. Ensure those areas are dry first as the tape can stick to the wet paint and peel it off the wall.

2. With a paint or window scraper, abrade the dripped paint. But don’t use too much pressure, as it can scrape off the wall as well.
3. When you’re sure that all of the dripped paint is removed, use the sandpaper to smooth out the wall. It would be best to use a 220-grip paper. But be careful! Sand in the direction dry paint was. If you do the opposite, it can ruin the surrounding paint. Thus, that will result in the surrounding paint to wrinkle and create a more prominent spot.
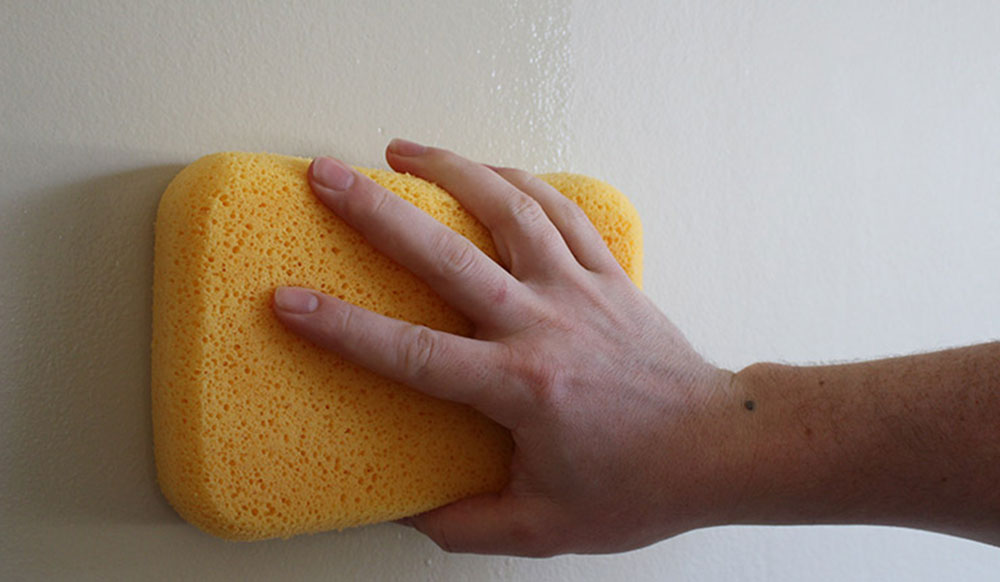

4. Once you’ve done that, make sure to clean it properly. Graze the spot with a towel. If there is a spot that is still wet, leave it to wither off. When you’re confident that everything is as it should be, begin painting again.
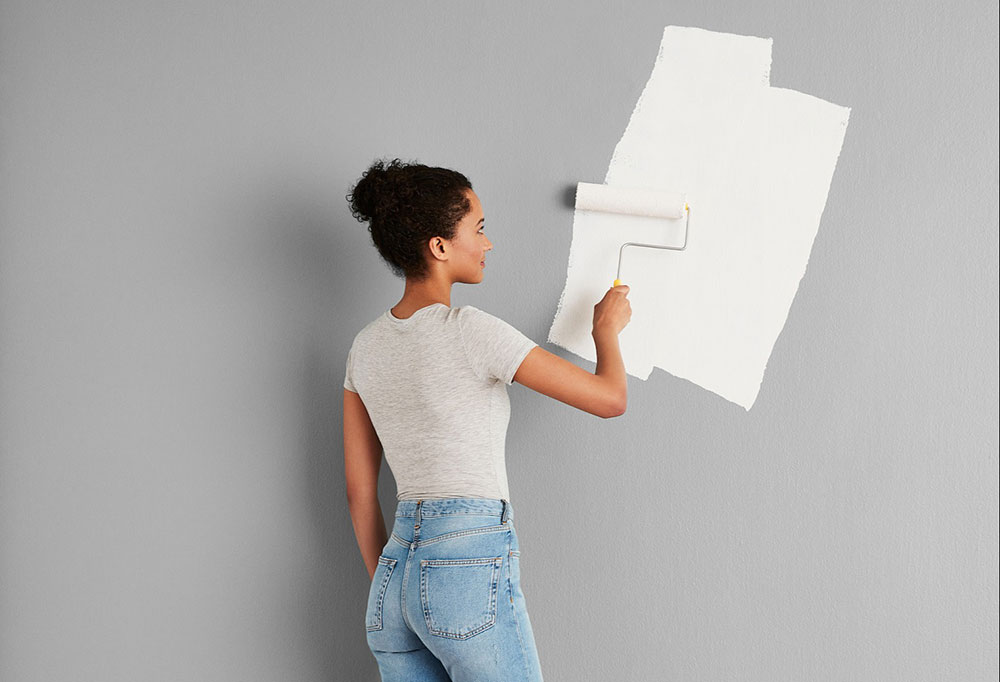

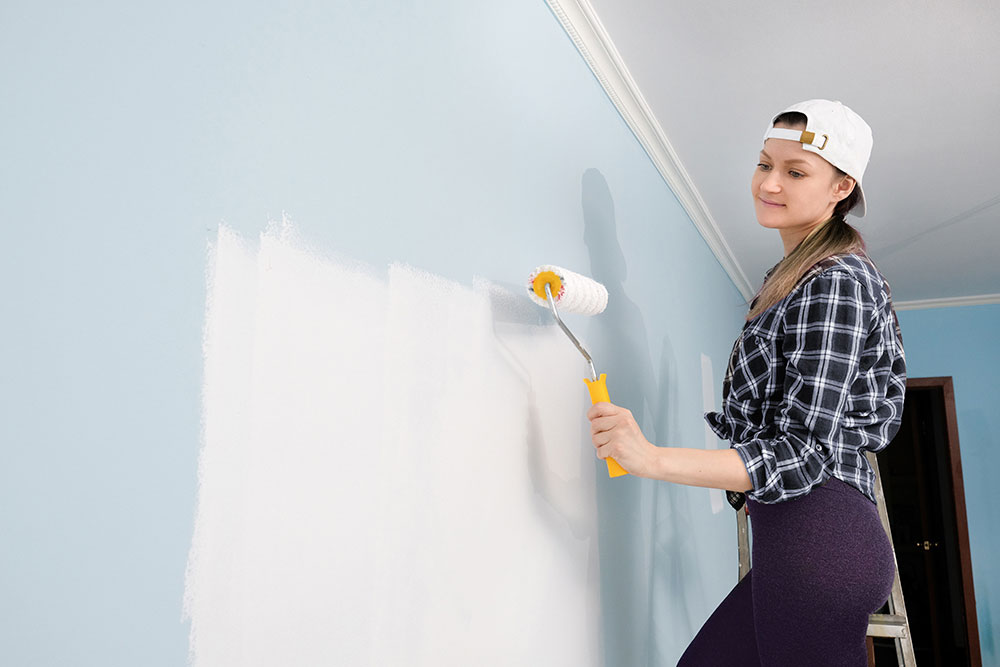
5. Apply primer first. A thin coat would be sufficient. You can use a smaller paintbrush for that affected spot.

6. Then, when the primer is dry, it is time to move on to the next step. Coat the spot with the final paint—feather out the sides so that there won’t be a noticeable circle. Depending on the intensity of the color, apply a second coat of the paint.
When you’re finished, the final result should be an inconspicuous spot. You shouldn’t be able to tell where the problem occurred.
What to do if you abraded the wall when scraping?


It happens so that sometimes you scrape too much. This action can cause holes and depressions to form. To treat this, apply glazing putty to the affected area.
- First, apply the right amount of the glazing concoction on a knife. If you’ve added too much, you can scrape it off. Then, use the mixture on the wall and let it dry.

- Use sanding paper once again. Sand out any excess off the wall.
- It is recommended to apply a special primer before applying the glazing material. This will prevent any future problems with the coat on top. The reason for this is that seldom the final paint can form craters.

- After treating the wall with putty, apply several coats of finishing paint.
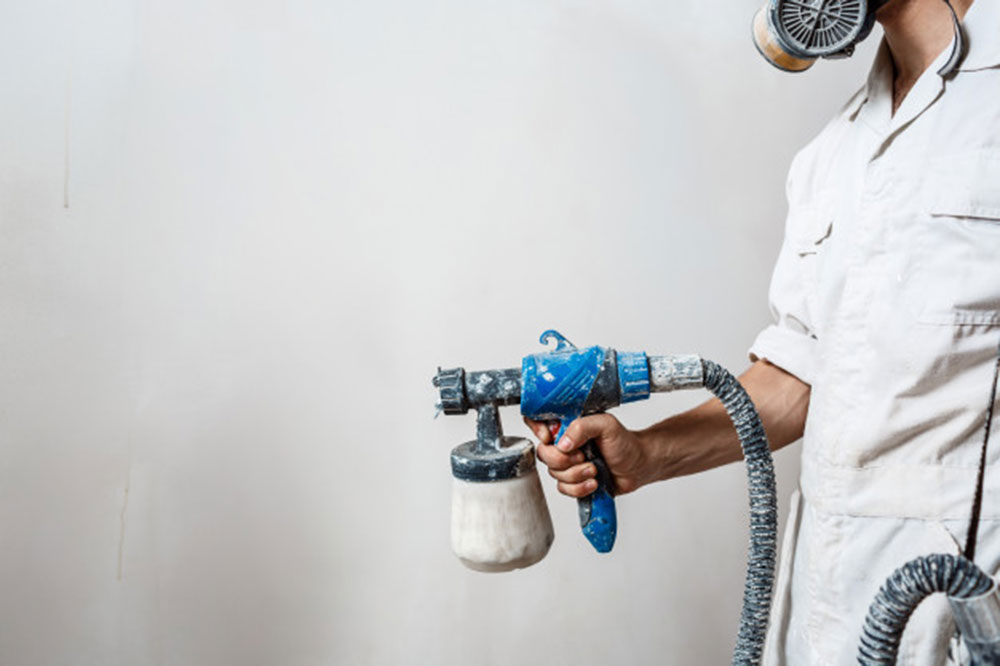
Removing spray paint drips
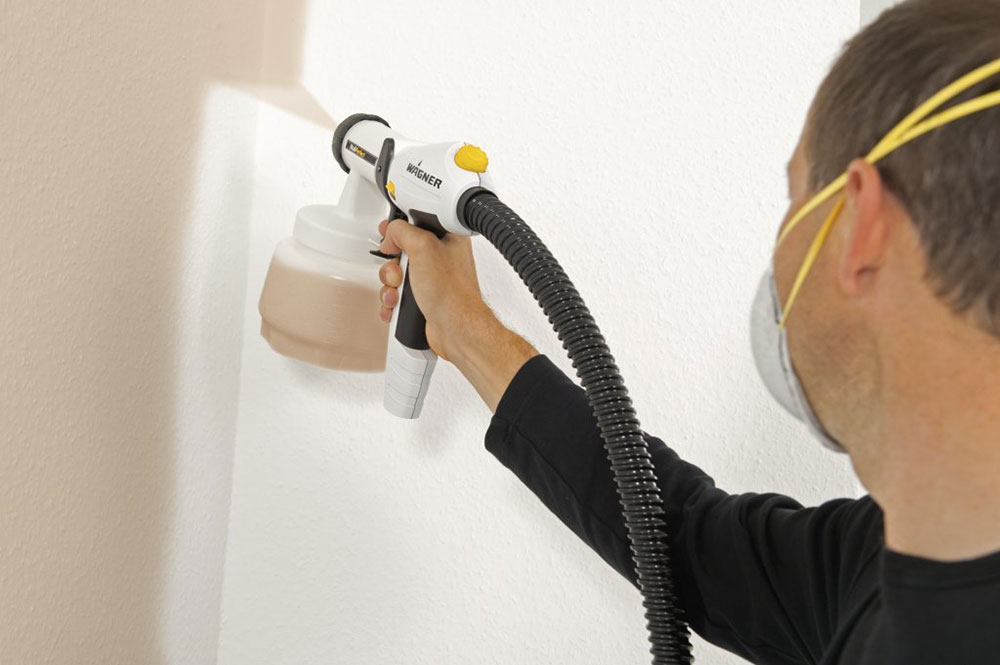

Spray painting is a faster and more flexible alternative to traditional painting. But, just because its spray, it doesn’t mean that you can’t have paint drips.
The most often cause for this is it is not waiting long enough between each coat. It’s either this or spraying too close to the pained object. These drips can be more severe than usual paint. So how to fix paint drips from spray paint?
- 1000-grit sandpaper is just for this job. Soak it in foam water. This will make it work as an eraser.
- With little pressure, rub the affected area. By doing so, you don’t have to repaint the space. But, if you do take away too much of the paint, you might have to.

- Let the facade dry. Pat it with fingers to be sure. Then slowly and with great care, apply a thin coat of paint. Ensure you’re at least 8-10 inches from the surface.
So how to avoid paint drips when painting?
It is entirely normal for paint drips to occur when painting. Nonetheless, there are successful methods on how to avoid these issues. If you know how to fix paint drips, you also have to understand how to prevent them.
Keep this little advice in your mind and create projects that look professionally done.
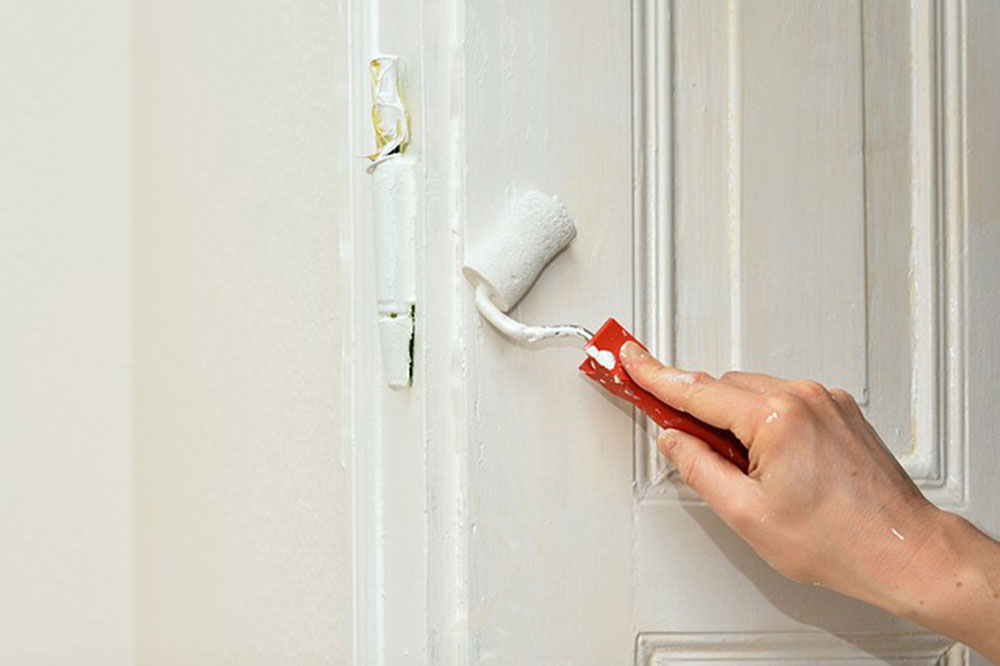
- For Drip-Free Doors: To prevent getting paint smeared on your door hinges, coat them with a thin layer of petroleum jelly. Do this before you begin. This is a more painless process to do, notably because you can wipe off the jelly when you’re done. Make sure also to keep your distance. Hold the spray a couple of inches away. By doing so, you can get an even coverage to the desired area. You will also prevent the paint from puddling.
- For the rest of the furniture: Aluminum foil serves excellent as a protector from color. You can shape it any way you want. It is perfect for covering any details such as doorknobs, drawer pulls, and other small projects. When you’re done, take off the foil.
- Completely dry coats: You can achieve incredible results when you have patience. That is why it is essential to wait for the coats to dry completely. If you don’t have any patience, don’t even begin painting. Wet paint can clutter and look messy. Make sure to touch the coats with your hands to check if the object you’re painting is dry.
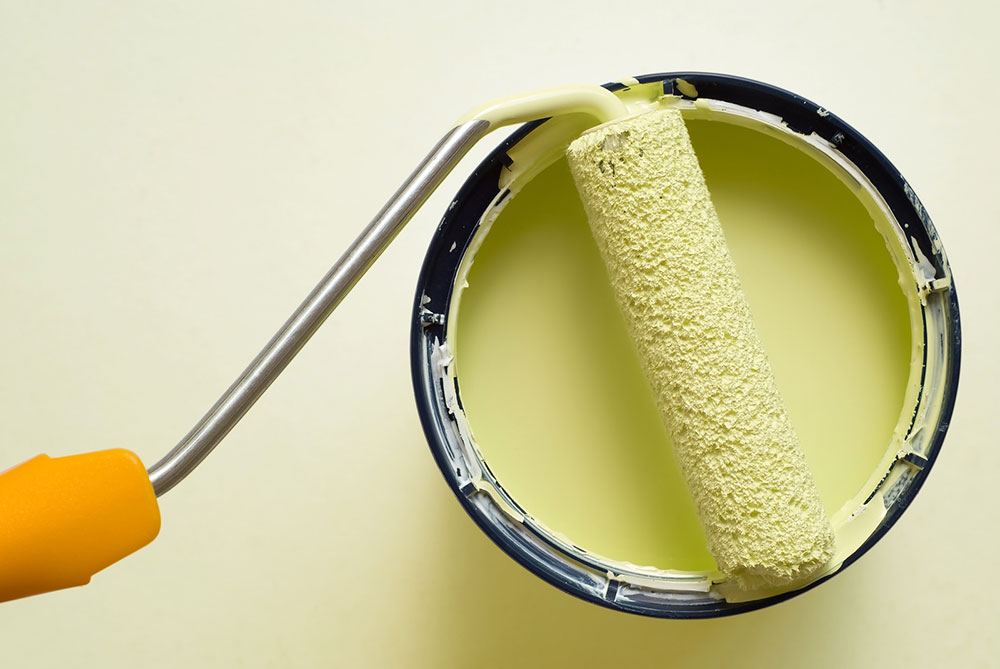

- High-quality paint: A lot of the time, you can be tight on budget and carelessly buy paint. You might think that cheap color can be as good as one that is tens to hundreds of dollars worth. Cheap paint is often thinner and serves more as a primer. Do not be afraid to invest in high-quality color. It will be thicker and provide more generous coverage.
Poor technique is often the leading cause of many paint drippings. You overload your brush, thus resulting in paint dripping down the object. Ruined paint can worsen your results. That is why we believe that knowing how to fix paint drips is crucial. Keep these tips in mind and impress everyone with your skills.
If you enjoyed reading this article about how to fix paint drips, you should read these as well: