Advertisement
You probably know that hardwood flooring is one of the most beautiful ways to improve your home. Most hardwood flooring is used for decoration in many homes. Most people find it difficult to learn how to lay hardwood flooring in their house.
If you are the type of person who will take matters into their own hands, then this article is for you. You will learn everything you need to be able to install hardwood floors.
First of all, there is preparation. The most important thing in every job is to prepare well so that you do not have problems. In hardwood floors, in particular, you need to make sure that the place where you install them is dry and clean. You can use various preparations to prepare the substrate for work.
There are several ways to set up hardwood flooring nicely, but today we will talk about the most common. Keep in mind that if you work properly, you will not have any problems. Always read the manufacturer’s instructions on how to lay hardwood flooring before attaching anything to your wood floors. If the instructions seem too complicated for you, and you have doubts about the project, don’t hesitate to contact floor installers. It’s always better to be safe than sorry.
Steps to set down hardwood flooring:
Planning
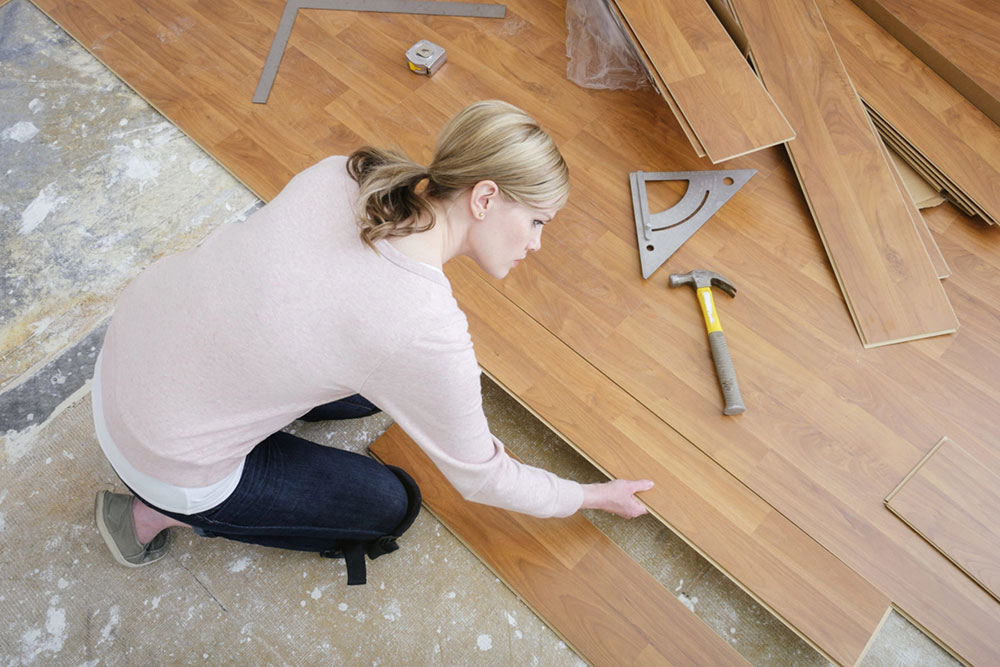
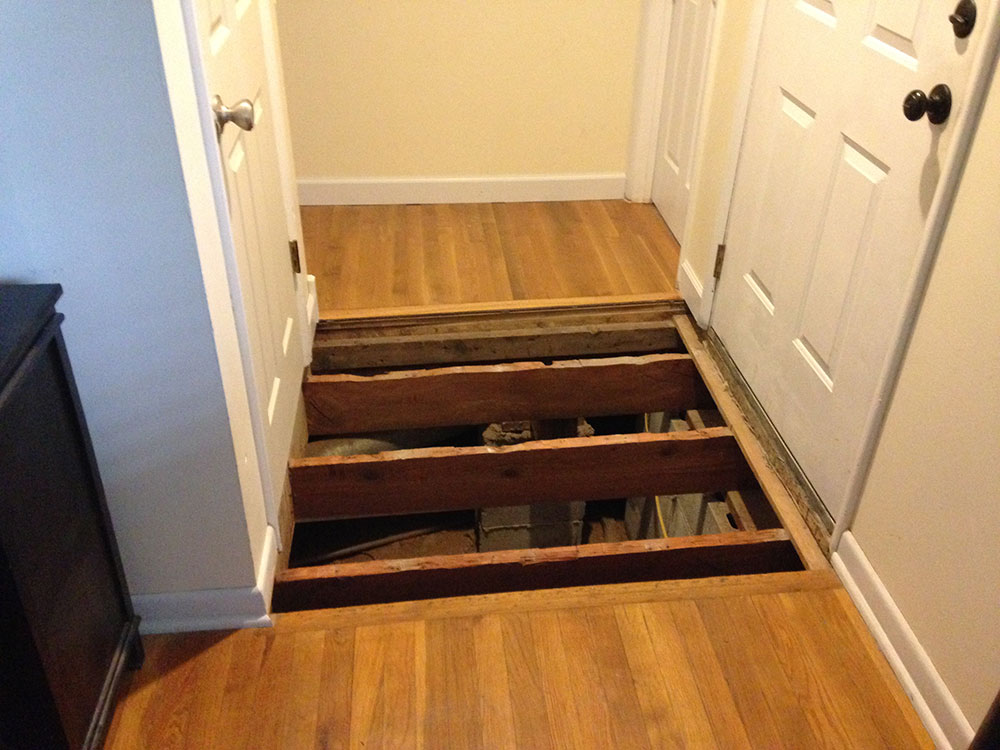
Planning is maybe the most important thing when you want to install hardwood floors. On the off chance that you know the places of the floor joists, mark them on the divider where the base embellishment will shroud checks later.
Your hardwood floor needs to be planned correctly so the job won’t be a failure. When you want to install hardwood floors, many things need to go into consideration.
Cover edges of the art paper by 3 inches. Utilize a utility blade to manage the paper around articles like a chimney hearth. Affix the underlayment to the subfloor utilizing a staple weapon.
Decide the bearing of the floor joists that help the subfloor and plan to introduce the deck opposite to them; this isn’t basic. However, it is, for the most part, the best practice.
Measure 48 crawls toward the room, mark these measurements with a pencil and afterward snap a chalk line between imprints to fill in as a rule.
From this imprint, measure to the contrary divider to check for equivalent distance at the two closures. In the event that the estimations are something very similar, the contrary divider is equal.
In the event that it isn’t equal, the ground surface will not be either, so it very well might be necessary to change the rule somewhat. At that point, snap chalk lines across the art paper at each floor joist area so that you will want to recognize where the best support is for nailing.
Your hardwood floor now is ready for installation. Make sure to make every row the same, because that is important for the measures.
Measurements of the Room
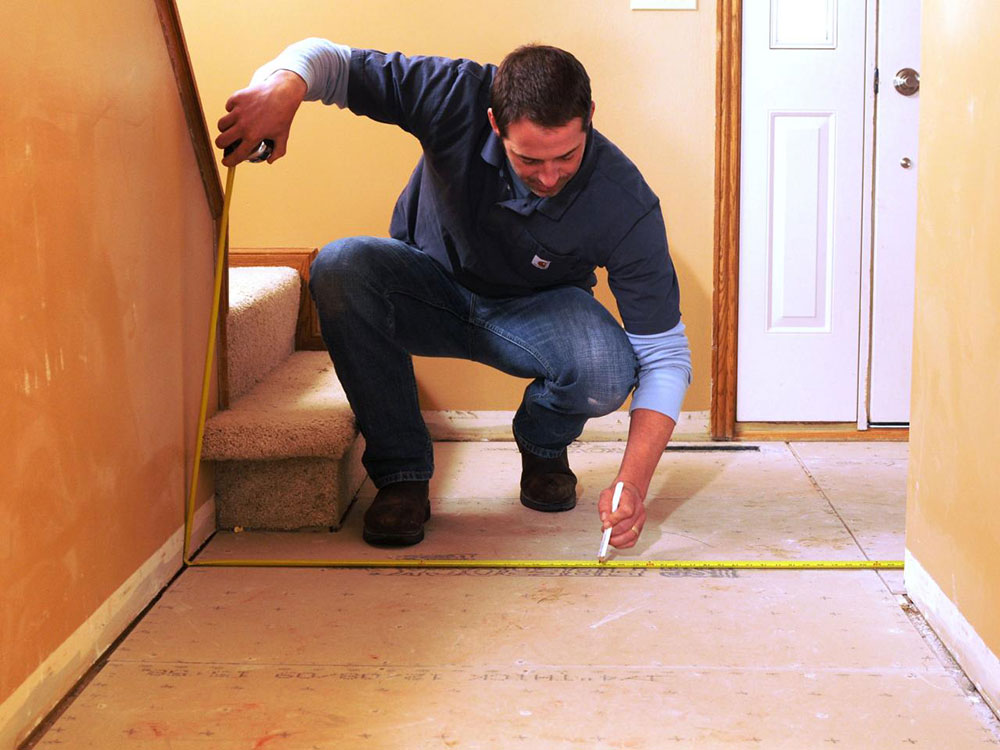
In case we’re laying another floor in one specific room, similar to a room, for example, it’s wisest to apply the flooring sections corresponding to the most extended divider in the room.
In the event that laying them opposite all things being equal and the room is fairly long and restricted, the floor will wind up taking after a stepping stool. When you want to install hardwood floors, you need the measurements first.
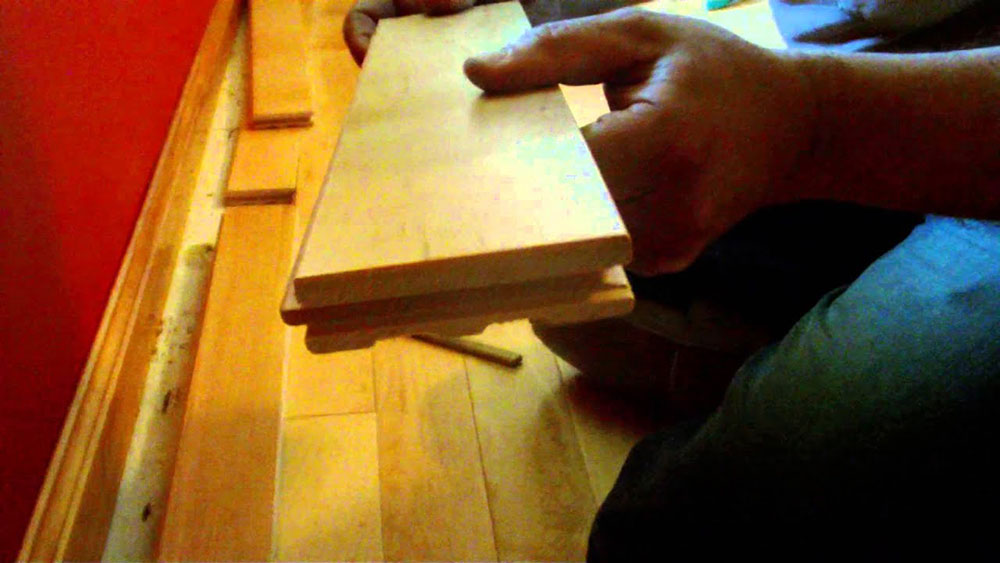
Cutting hardwood flooring
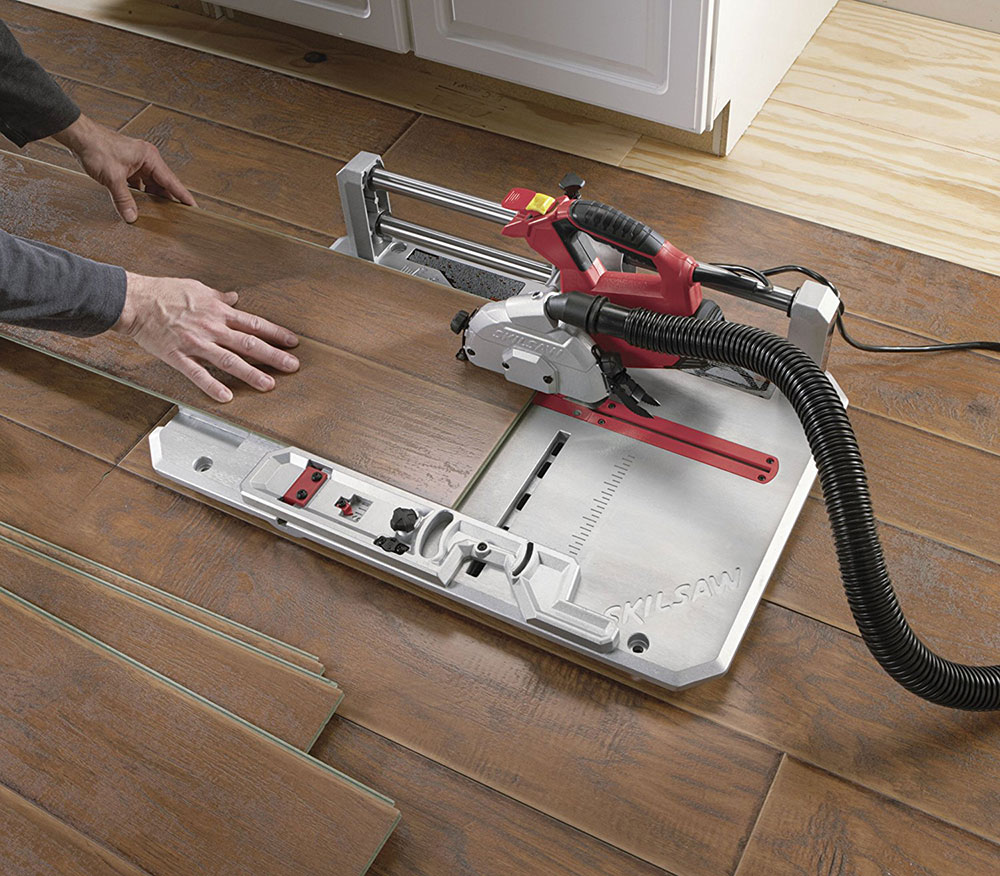
Chop the planks face down with a round saw or face up with a task saw, table saw, or force miter saw. Be certain all end cuts are unequivocally square. Your wood flooring must be cut the same way.
If you don’t know how to do it, you can always check the manufacturer’s instructions on how to cut wood flooring.
Man’s hand cutting a hardwood flooring board utilizing a force miter. A force miter saw makes smooth and straight cuts. For making bent or unpredictable cuts, operate a compact saber saw.
The sharp edge on those kinds of apparatuses cut on the upstroke, frequently fragmenting the top surface.
In this way, if the cut won’t be covered by embellishment, make certain to turn the ground surface face down during cutting. In the event that the cut will not be apparent, it’s generally simpler to work with the ground surface face up.
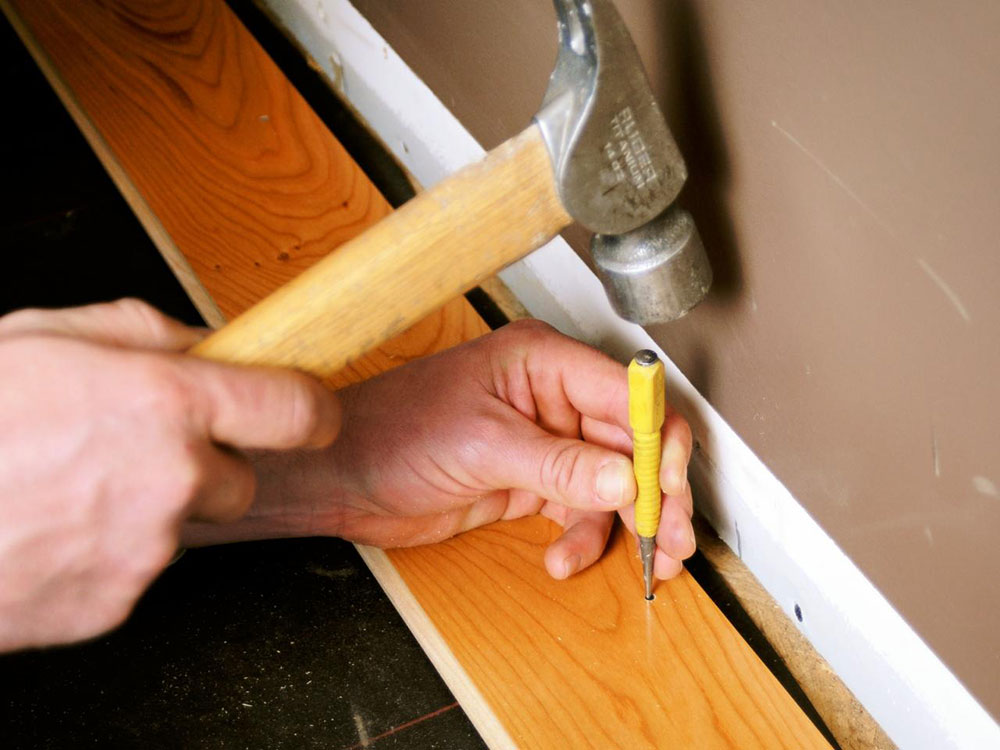
Attaching hardwood flooring
When nailing boards to the subfloor, you can utilize two techniques: face nail and dazzle nailing. Your wood floors must be attached correctly. Your hardwood floor must be attached accordingly.
We can lease these apparatuses if we don’t desire to get them for only one work. Set the head beneath the surface utilizing a mallet and nail-set and fill the opening with a wood clay that matches the floor.
To utilize a force flooring nailer, simply position the instrument and pull the trigger—it should sink the nail beneath the surface; fill the opening with wood clay, and wipe away the abundance.
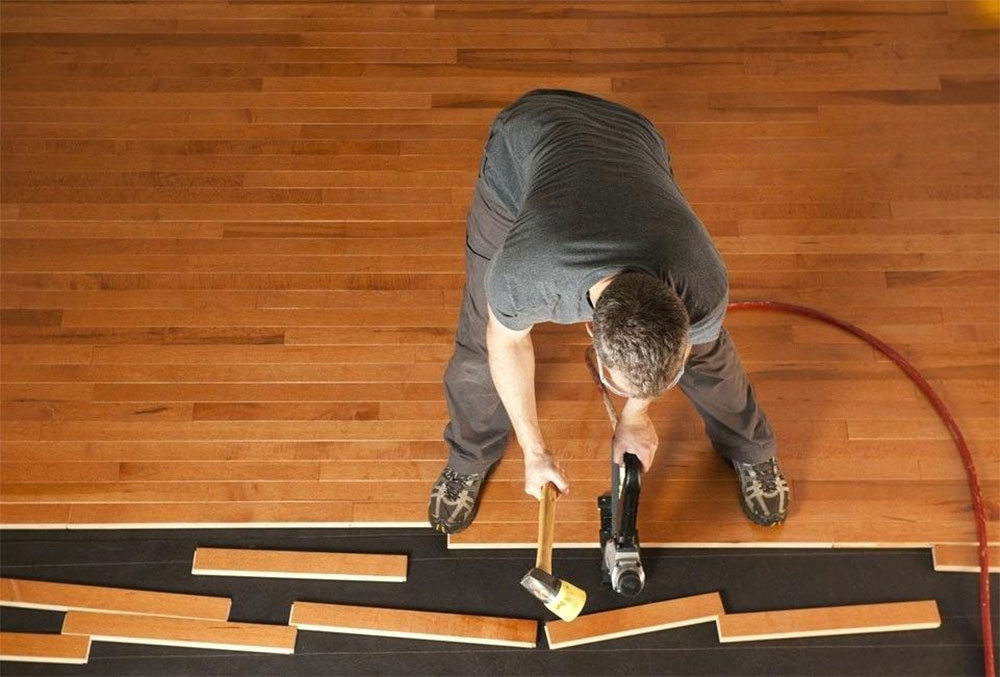
To dazzle nail wood flooring, drive a nail at a point through the tongue. At the point when the section of the following board is fitted ludicrous, the nails are covered up.
For this work, we totally need a ground flooring nailer. This instrument is intended for simply driving a unique ring-shank flooring nail at a point through the deck’s tongue into the subfloor. We simply hit the device with a dead-blow hammer, one decisive strike for each pin.
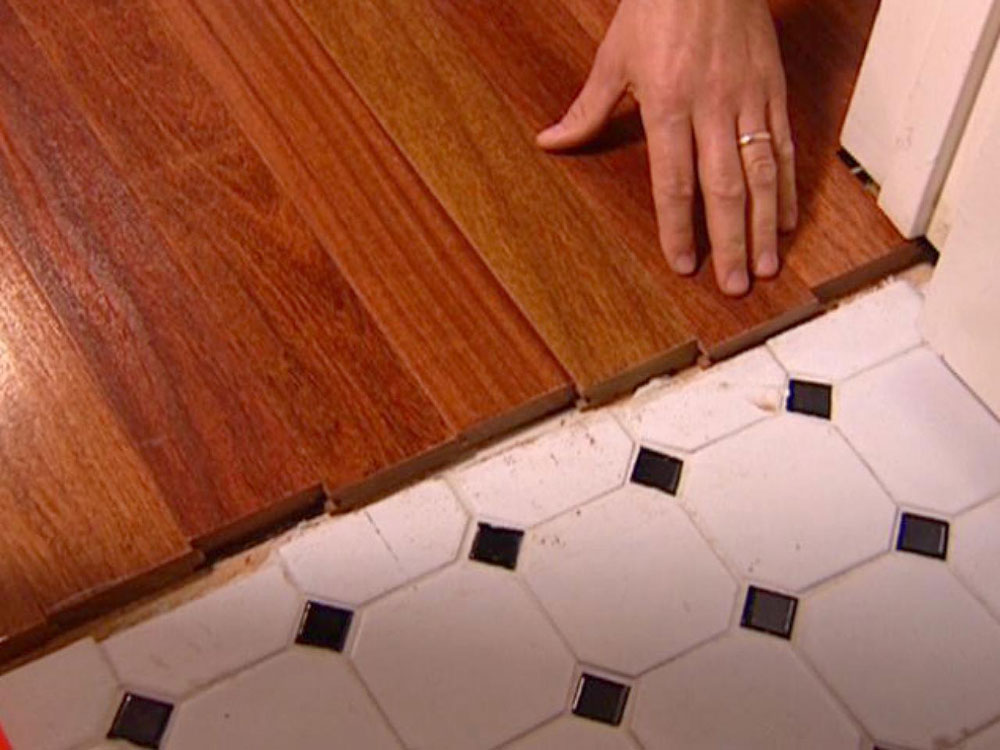
Fix the principal row of the board
The off chance that the boards have tongue-and-depression edges guarantees the tongue and groove are confronting the divider and starting from a corner.
Nail or paste contingent upon how we have chosen to fix the boards and recall that the development hole should go around the edges of the whole room, including at the closures of the boards.
Face the tongue of the mainline of boards from the divider and dry-fit the boards set up. Utilize 1/2-inch spacers along the foundation of the divider to give an even extension hole between the deck and the divider.
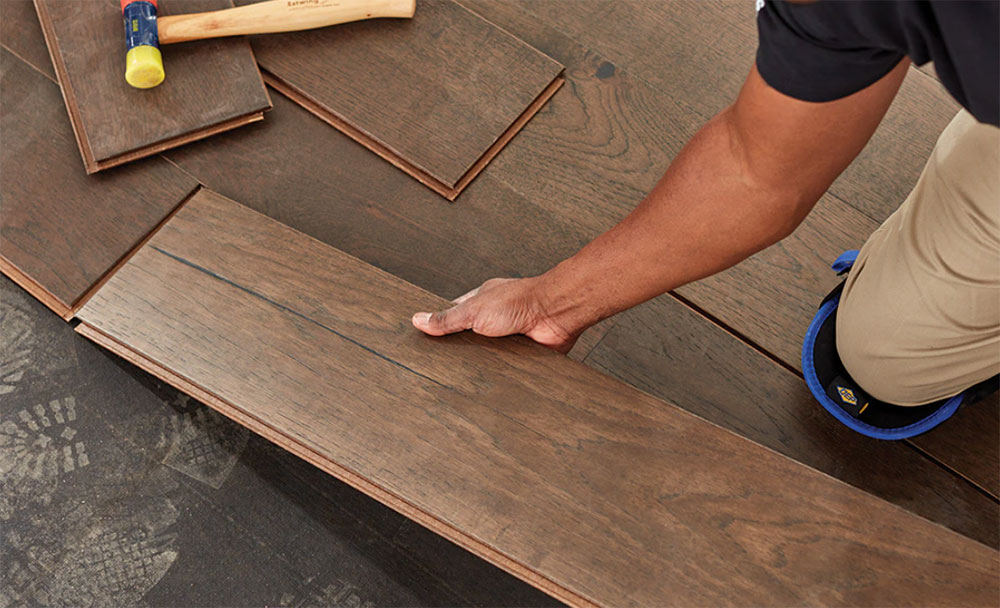
Lay the subsequent column
Lay the subsequent column beginning with the segment remove the board toward the finish of the last line laid. Stun the end joints of the nearby lines by around 30cm.
We can purchase fitting devices to push the closures of the boards together. Work route across the room, fixing each joint with an edge block. You must do everything you can for your hardwood floor to be ready.
Fit on board for the second line so its section interlocks firmly with the tongue and groove of the central column. Utilize a tapping square or tiny piece of the deck to secure the tongue and tap the second-column boards firmly against the principal line.
Last line
When getting to the last line, we will most likely need to cut along the length of the boards. Measure the hole between the boards and the divider, deduct 15mm, and saw the boards fit. Fix the joints and power them into place.
At that point, dazzle nail through the tongue, putting a nail 3 to 4 creeps from the finish of each board, and each 8 to 10 crawls along its length; where conceivable, nail through the subfloor into the floor joists.
Make sure to check all installed planks and nails. Check everything prior to installing to make sure that everything is in the right place.
Finishing a Wood Floor Establishment
Arranging and situating the boards for a satisfying example and appearance. Make sure to amaze the end joints by 6 inches. The planks nailed and stuck with glue should be solid and of good quality.
Toward the finish of each row, slice boards to fit. It’s savvy to pull flooring from a few unique bundles or boxes to stir up any wood tone and grain varieties.
Poke everything except one of the free lines from the connected second column and, if conceivable, start the cycle of visually impaired nailing with a pneumatic flooring nailer.
Utilize a short pry bar to compel the last strip against its mate as we drill and nail it. Utilize a short piece of the ground surface to shield the divider from being harmed by the pry bar. Wipe away any overabundance stick.
Look at joists
Whenever we’ve decided the floor joists’ course and position, mark them on the divider where the base trim will shroud them when introducing them.
This will permit quantifying in from each finish of the long divider, mark estimations, and afterward snap a chalk line between the two imprints on the underlayment to fill in as a rule when laying first columns of boards, keeping them straight and corresponding to the divider.
Those were all the tips on how to lay hardwood flooring. Make all into consideration, the installation of your hardwood floor isn’t something that you can do easily. Make sure to follow all the instructions, and you will have your hardwood floors ready in no time.
When you install your hardwood floors, you don’t have to do it alone. Installing will take you longer if you tend to install it all by yourself. Gather friends and family and the installation will take much less energy and less time.
If you enjoyed reading this article about how to lay hardwood flooring, we also wrote about how to remove hardwood flooring, how to install hardwood flooring on stairs with nosing, how to repair scratches in hardwood flooring, how to remove glue from hardwood flooring, how to install engineered hardwood flooring, how much hardwood flooring costs, how to restore hardwood flooring, and how to choose hardwood flooring.