Advertisement
Removing cabinets sounds like a job for a professional, but even a beginner can turn this task into a successful DIY project. Better yet, you won’t need any special tools or equipment, and the project won’t require a lot of time or construction experience. All you need is a basic tool kit, a free weekend, and a friend willing to help you lift the cabinets.
Take some time to observe the cabinets and see how they were constructed and fastened. Half of the work will be done – you only need to disassemble them and make place for the new ones. Store them in the garage and you can always put them together when you need extra storage space.
To make things easier for you, we created a step-by-step guide on how to remove kitchen cabinets. Some of these tips will help you get rid of old kitchen cabinets without damaging them.
How to remove kitchen cabinets: step-by-step guide
Gather supplies and necessary tools
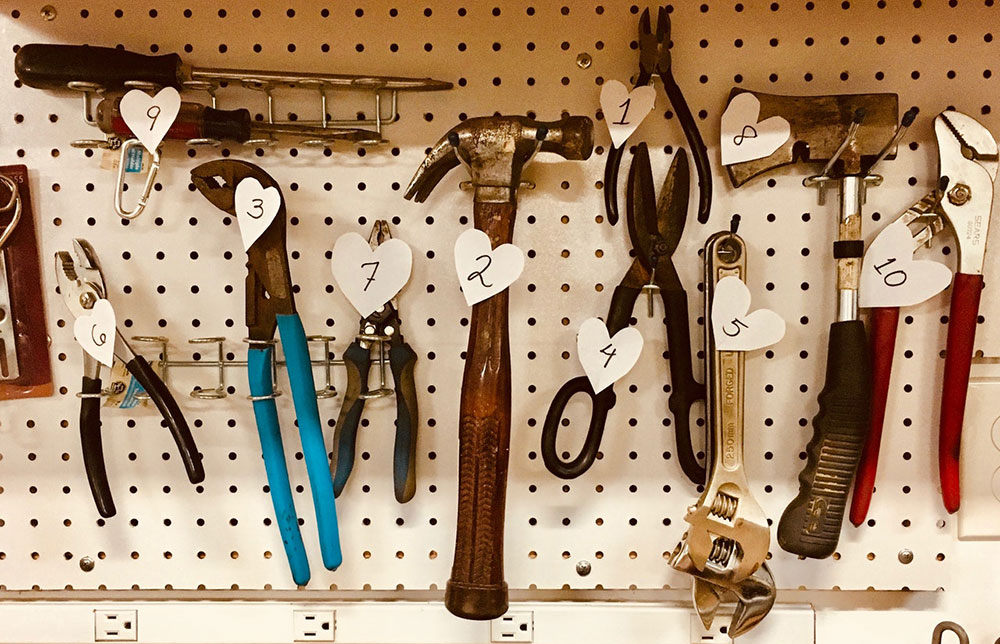
For older cabinets disassembly to be successful, you need some power tools. These are the materials and tools you need to remove the screws:
- Philips, Flat-head, and square-bit screwdriver
- A flat pry-bar for lifting countertops
- A hammer to divide stubborn units
- Slip-joint pliers
- Wrenches
- A sharper knife to cut caulking around the edges
- A putty knife to pry up the backsplash
- Utility knife
- Gloves
- Safety goggles
- Drills
- Furniture pads
- Scrap wood that can support the cabinetry
Take everything out
To remove the screws successfully, make sure there is nothing inside the cabinets. Take the pots, pans, plates, and silverware out and you can begin. Otherwise, the content may break and even hurt you, so store everything away. This way, you will also make sure there is no extra weight to slow down your work.
Some extra help will be welcome – call a friend or two who know how to remove kitchen cabinets.
If you want to keep the countertops, cover them
If you intend to keep the countertops and reapply them on the new cabinets, make sure they are not damaged. You can cover them with thick sheets to prevent dirt and dust from falling over. You can even go a step further and lay a flat wood layer over them – if you drop a tool over, it won’t cause any dent or crack.
Remove the inset lighting
Any installed lighting in the cabinets needs to be detached before you proceed with the removal. Begin by checking hidden electrical connections and locating the electrical outlets. First, turn off the switch on all circuit breaker boxes. Make sure they are off with a voltage detector pen – if there is a light on the pen, it means that there is still power going through and that the wires are hot. In this case, check the breaker box again and turn the right switch off.
Once power is all out, take the installment out by removing the screws holding it.
Removing kitchen cabinets for reuse purposes
If you want to save your cabinetry for reuse, there are additional steps you need to consider:
Don’t throw anything away: save the loose hinges all the screws in a plastic bag and use them when you assemble the cabinets in the future. It is also a great idea to store all items in one place with the cupboards so that you don’t have to look for them when the time comes.
If you plan to reinstall the cabinets in the same room, it makes perfect sense to label where each item was before you remove them for good. By doing so, you won’t get confused and mix them later.
Once all these steps are done, you are ready to begin removing cabinets.
Divide the fixtures
Now is the time to get your project up and running. Do yourself a favor and remove everything around you to have enough place to work. This means:
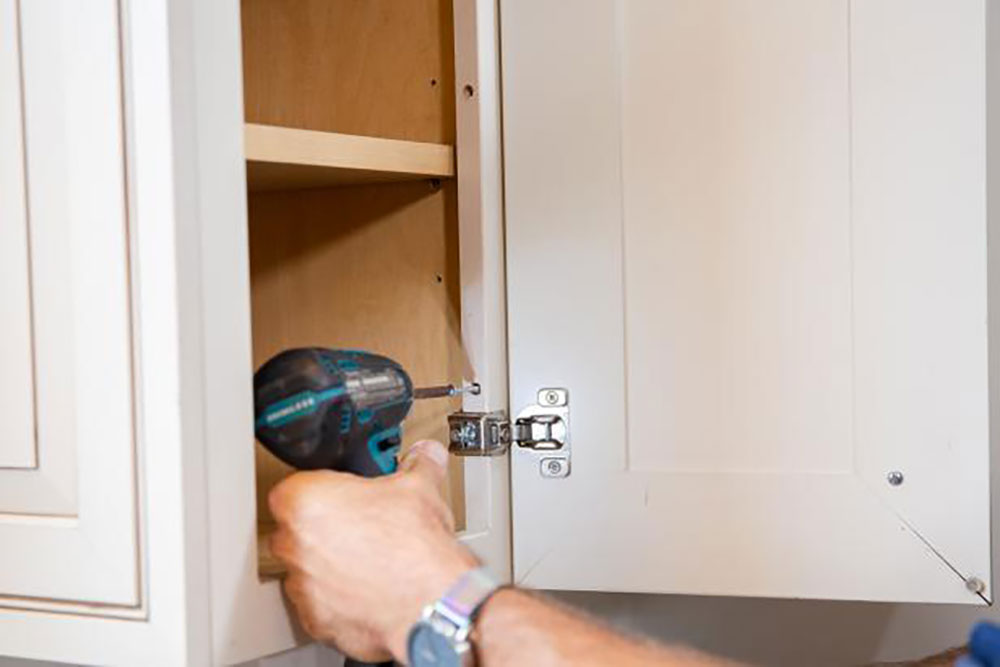
Removing cabinet doors: Unscrewing the door bracket from the body of the cabinets, so that the hinge remains attached.
Removing shelves: You can either lift them from the support pegs and take them out or unscrew the brackets the same way as on the doors.
Removing drawers: Take the drawers out, lift them, and keep pulling. If the drawer doesn’t come out, it means there is a sliding bracket in place which you need to detach.
Take off seals and trim
You can either decide to save the trim molding or to remove it. If you don’t need it, grab a slim pry bar or a screwdriver and wedge them under the trim. Make sure the trim goes straight through the nails, and then pound them into your cabinet to ensure nobody gets hurt.
Saving the molding, on the other hand, will require more time. You shouldn’t pull the trim all at once, but pill one nail out at a time. If you want to save time, you can pull everything out and do some damage control by disguising the holes with wood putty. This is particularly important for prefabricated cabinets.
Once done, roll your sleeves up and prepare for the heavy lifting. It is time to remove the bare bones of your upper kitchen cabinets. For this, you will need the screwdrivers, hammer, and drill.
Use supports
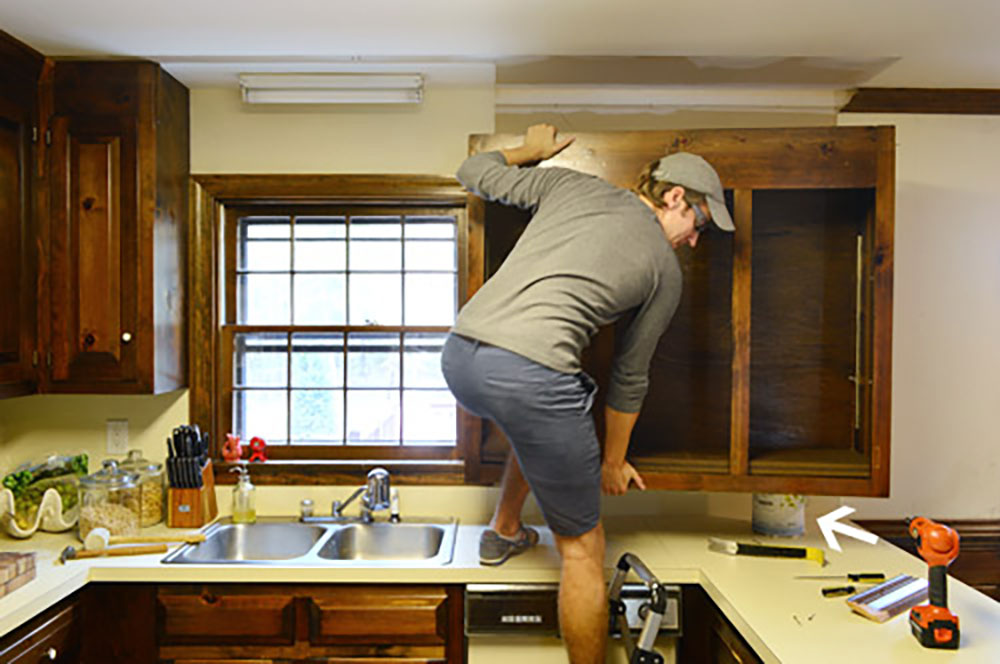
It is important to leave cabinets undamaged. To do this, measure the length between the bottom of the cabinet and the countertop. Cut some 2×4 support pieces and place them under the cabinet corners.
Keep in mind that these supports aren’t a permanent solution, and you still need to be careful. A helper or support system will keep the upper cabinets in place only for a short time.. Do not skip this step if you are working alone.
Detach cabinets from each other
To enhance stability, cabinets are usually attached to each other and the walls at the same time. You will therefore need to detach them before you take them down. Check where the screws are on the internal walls and remove them with a driver. There shouldn’t be more than 3 on each side.
Start removing wall cabinets. Locating the screws is the most important part of the task – after that, you will just need a couple of minutes to get the job done.
Before you begin, remove the shelves and the cabinet doors.
Take the cabinets down
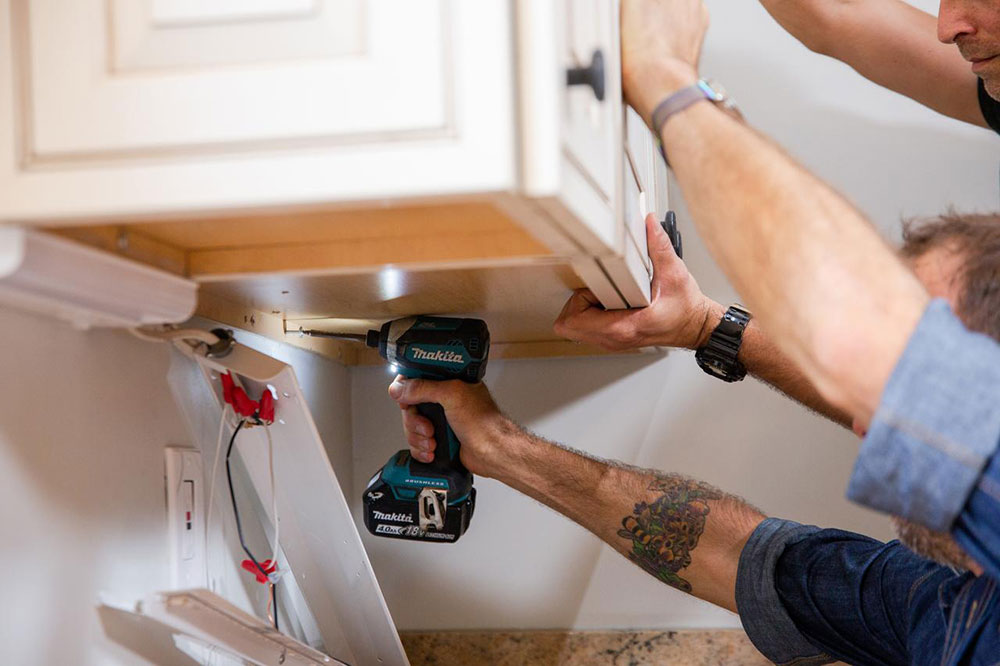
Most of the time, cabinets are attached to the wall on their backs with drywall screws. These screws are normally located on top of the cabinet. Take a screwdriver and remove cabinets with counterclockwise movements. You can also run the power drill in reverse to make the process easier.
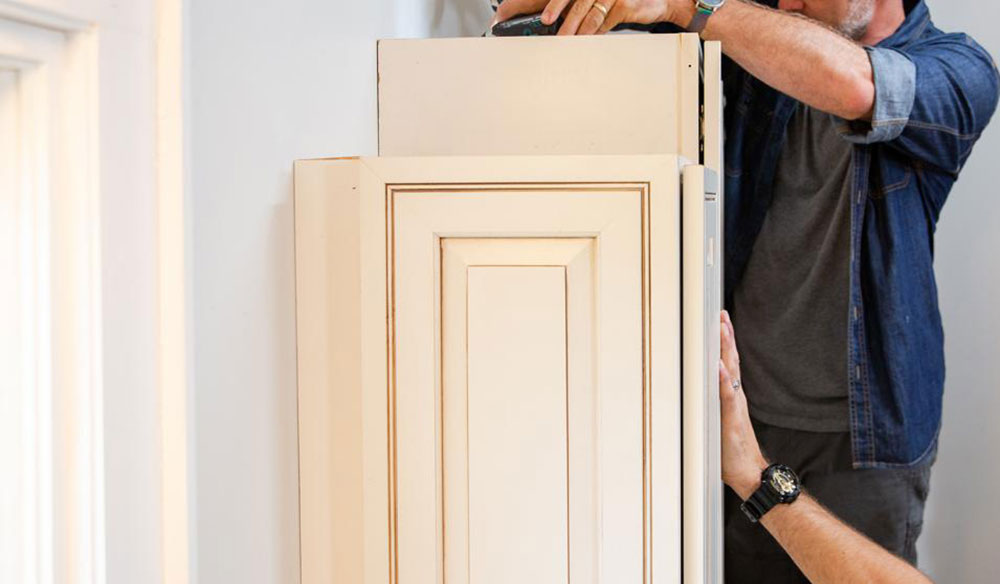
Sometimes, there will be extra screws on the bottom of the cabinet that provide additional support. You need to remove these too but have someone hold the cabinets while doing it. This way, you make sure the cabinet won’t fall and hurt you.
If you can’t take the cabinet down even now, look for additional attachments and remove those too.
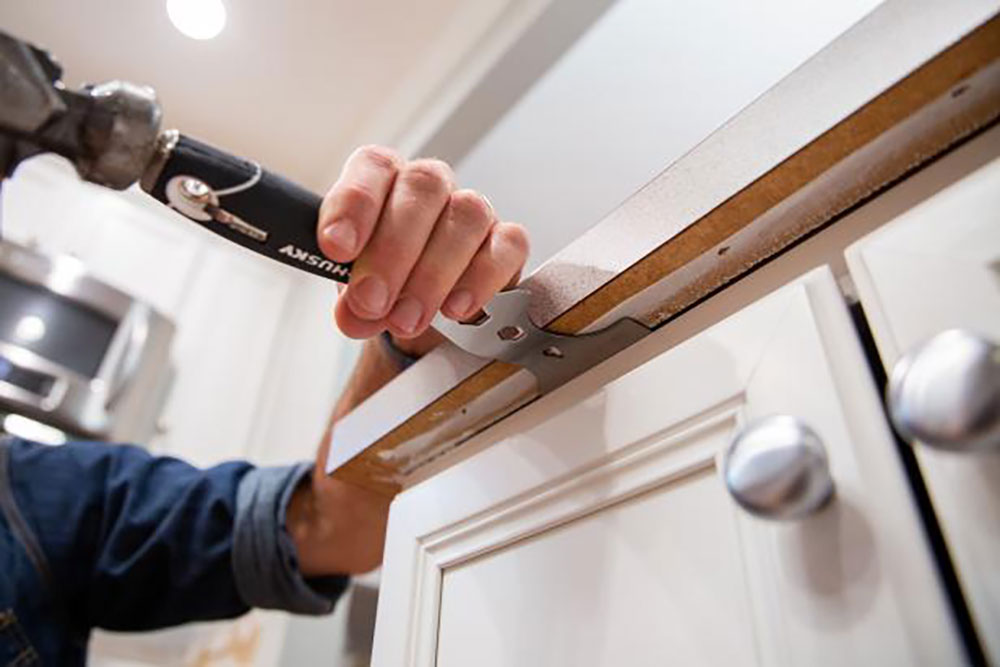
It is also possible that you will need to remove glued kitchen cabinets. If that is the case, you can use a pry bar and a hammer to detach them from the wall. Make sure you pry straight over the stud so that you don’t damage the drywall.
Always begin on the sides – the hammer will help you wedge the crowbar between the wall and the cabinet. You can place a wooden block between the wall and the crowbar lever to ensure extra protection for the drywall.
Repeat the process on the bottom and the top and pry the cabinet from the wall until it is completely loose. It is time to remove cabinets slowly and carefully.
Removing lower kitchen cabinets
The procedure to remove lower kitchen cabinets is very similar to the one we already described. Still, it requires slightly more know-how and experience. The reason is that you need to pay attention to the sink and the appliances, as well as the countertops. Don’t get discouraged – despite these obstructions, you can still take lower kitchen cabinets down on your own.
Dry out the sink
Before you proceed with removing the countertops from the base cabinetry, pull the sink out. Turn off the water supply to prevent damage.
Take the cabinet doors and the drawers off
You can remove the smaller parts with a screwdriver or a drill, depending on how they are attached. For the drawers, you will need to unscrew all the fastenings and sidebars to make sure they come out easily. Think again about whether you want to reuse the cabinets or not. If so, clean the hinges and the nails and store them in a plastic container.
Take the countertops off
There are many different countertops, but most households opt for a wood slab, marble, tile, or laminate.
While the removal process is pretty much the same for all types, preserving them undamaged is very difficult. Tile countertops, for instance, are usually made from glass, which means they can easily chip or break. We would recommend you dispose of them and get new countertops.
Marble, both genuine and imitated, is very easy to remove. All you need is a putty knife or a utility knife and a solvent.
If your countertop is made of plastic laminate or wood slab, it is probably fastened to the cabinet. Check underneath and look for the nails and screws. Take all of them out carefully, and save them in case you reply on the same countertop.
Don’t forget the piping
Detaching piping will not always be necessary, but we still suggest you keep an eye on it. If your dishwasher and your sink are on different ends, it may mean that water pipes are attached to the side of the cabinet. This way, they distributed water where necessary.
You can detach the pipes in two ways. For cabinets that don’t’ have a back panel, take a jigsaw and cut off the side so that no wood remains between the wall and the pipe. If there is a back panel that obstructs you, get a wrench and detach the pipes to be able to remove them.
Remove the base molding and the toe kick
For those of you who don’t know it, the toe kick is the thin board nailed to the cabinet base which serves as a middle point between the cabinet and the floor. This is the first base part of the cabinet which you need to remove.
Take your pry bar and use its straight end to wedge between the toe kick and the molding. If it is not going as fast as expected, help yourself with a hammer. Pull the pry bar in your direction and the base molding will eventually pup off. This method works for all types of base molding.
Unfasten the cabinets and take them out
If all steps so far are completed, you can take the cabinets out. Detach them from each other and the wall before you pull them out. If not sure how to do this, check our instructions on removing upper cabinets.
Keep in mind that wall cabinets and upper cabinets are more difficult to remove. Have someone assist you.
Be proud of yourself!
The old cabinets are now out of the way, and you can begin reinventing your kitchen. It is time to install new flooring, paint the walls, and prepare the room for some new and elegant cabinetry.
It doesn’t take to be an expert to know how to remove kitchen cabinets. It sounds complicated, but the steps are pretty much the ones used to install cabinets. You don’t need experience, but rather a sharp eye to see how cupboards were made and fastened. If you are careful, you even get to keep cabinets intact and earn some extra bucks on them.
If you enjoyed reading this article about how to remove kitchen cabinets fast, we also wrote about subjects like how to accessorize a kitchen counter, how to get rid of cockroaches in kitchen cabinets, and what is the effect of oven cleaner on the kitchen countertops.
Besides those, we also have similar articles like how to get a smooth finish when painting kitchen cabinets, how to clean sticky wood kitchen cabinets, how to hide a washer and dryer in the kitchen, how to get rid of ants in the kitchen, how to unclog a double kitchen sink, and how deep are kitchen counters.

