

Plaster remains as one of the best building materials available in the market. Used for ceilings, floors and walls, this material has the quality of hardening to create a tight seal against elements, such as fire or mold. Although its use has declined in favor of wooden houses, there are still many houses before the 50s that use plaster. That’s why you might want to know how to repair plaster walls and ceilings since, after so much time, they start to crack.
Luckily, there are several things we can do to repair the various flaws that the plaster could present. Using fiberglass and plaster washers, we will be able to restore the characteristic resistance to the material.
Reasons why a plaster wall is damaged


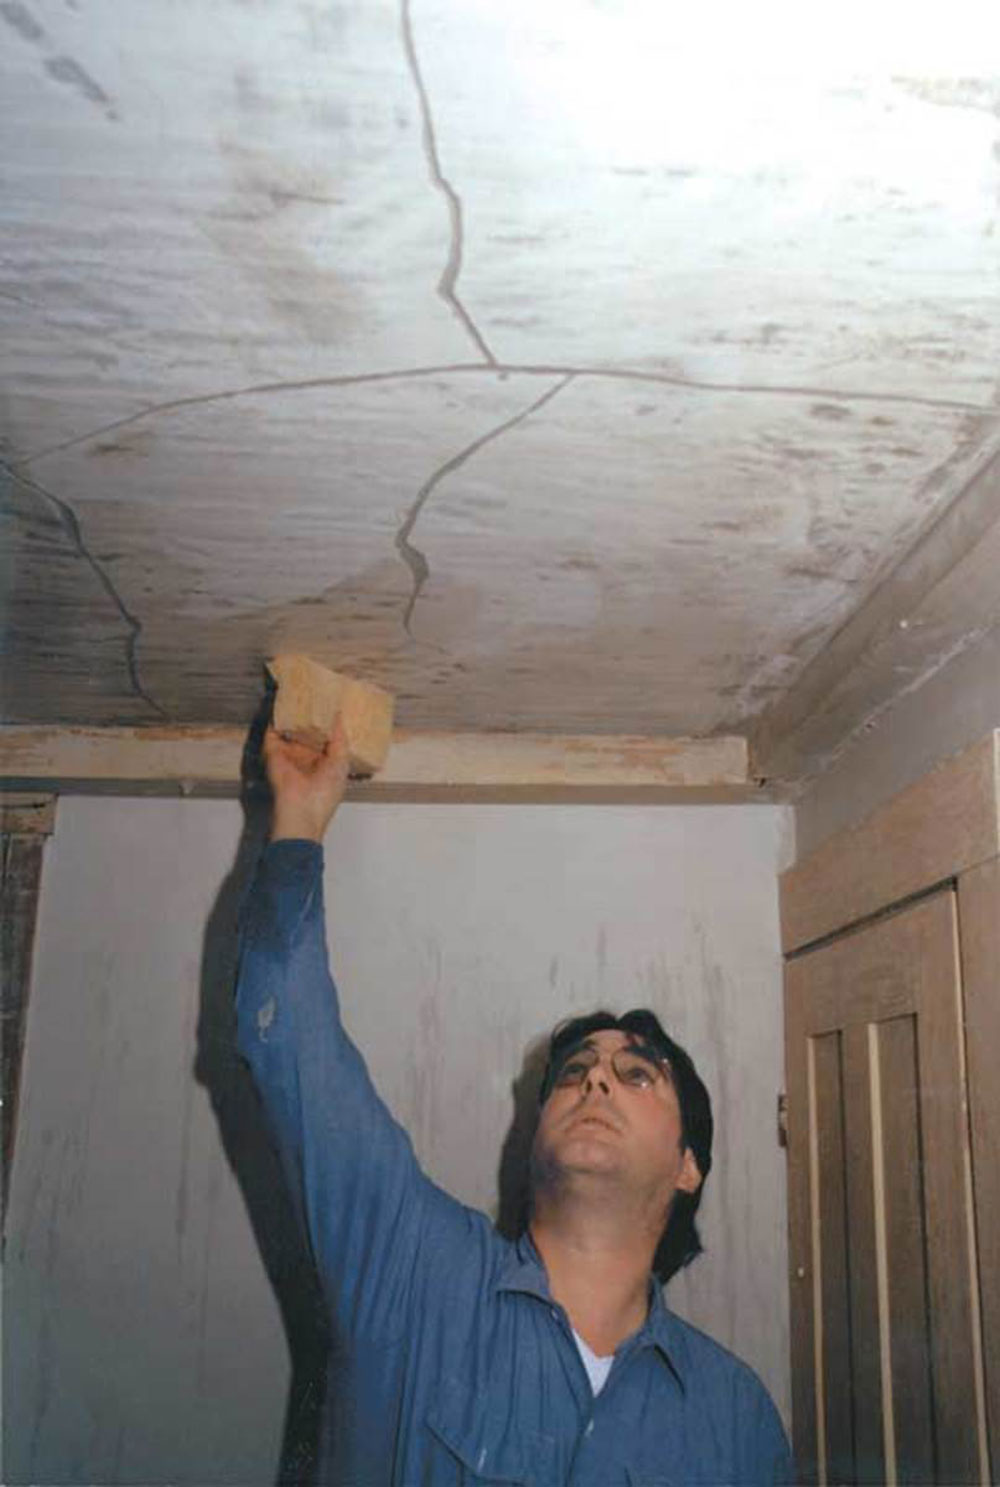
The first cause that makes a wall plaster to fail is that the material has been separated from the support structure, in this case, wood laths. If during the plaster wall repair the structure is not rejoined with the plaster, it will continue to crack regardless of all the repairs we make.
Plaster, despite being hard, breaks easily if it is not supported by something. Over time, the elements that hold the plaster together with the wooden slats break, which ends in a weak wall. The wear process is much faster if the house is constantly moving due to earthquakes or sedimentation.
How can we repair plaster walls and ceilings with this defect? There are two options for our budget, according to https://myplasterersmelbourne.com/. The most economical is to use plaster washers to reconnect the wall with the wooden structure, although it has the disadvantage that it does not work on all occasions. The second alternative, which is more expensive and requires trained personnel, consists of removing the present flaws in the plaster and replaster the area.
Like other building materials, we will need to repair plaster walls if they are being attacked by water. The leaks can be seen from the outside of the wall because they cause a discoloration of the plaster.
Finally, there is the human factor. The plaster is not indestructible, so hitting it with furniture, spilling liquids on it, and other things could gradually deteriorate its resistance.
How to repair plaster walls – Small cracks
Before starting small crack repairs on our own, we must be sure that the plaster wall is attached to the back support. Simply push the wall and see if it flexes freely (do not apply as much force or it could break if it is loose). In case it has come off the wooden slats, we must hire a specialist to redo the joints.
With the wall in proper condition, you should follow these steps for patching plaster walls.
Broaden the crack

As ironic as it sounds, the first step is to increase the size of the crack using a lever or screwdriver. At most, the crack should be 1/8 wide to be considered small. This is also the size that we must achieve to work on the plaster.
Clean damaged areas

Now you must prepare the area to work, removing debris and imperfections that will be generated around the crack. To remove the bumps, it is best to use a hammer or a cold chisel, while with a spatula or scraper you can cut the excesses.
Finally, remove the dust created by these works using water, trisodium phosphate and a brush to rub the wall.
Prepare the new mixture
Once the cleaning of the cracks is finished, it is time to prepare the plaster mixture. Just mix the amount you need to perform maintenance work, always following the manufacturer’s instructions.
A well-mixed plaster will have a consistency similar to the icing of a cake and will not have lumps.
Apply the plaster
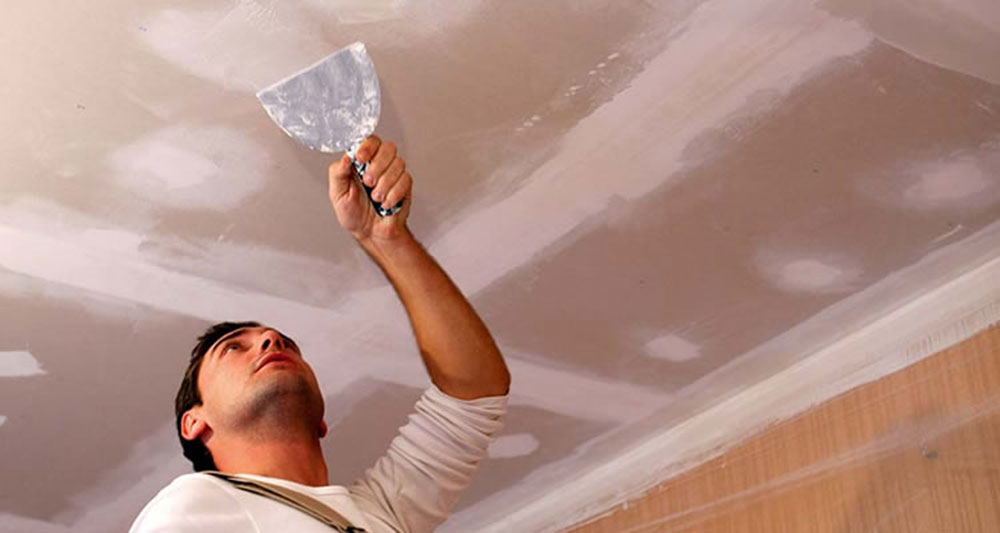

The process of applying the plaster is done in several layers. Using a 10” wallboard knife, we will apply a first layer that does not exceed a quarter of an inch thick. Once applied, before the plaster dries, draw crossed lines (preferably with a spatula) to create a surface for the next layer.
Once it dries, proceed to apply a second ¼” or 3/8” layer, and make the same cross-line drawing to allow the next layer to adhere.
Preparing the finish
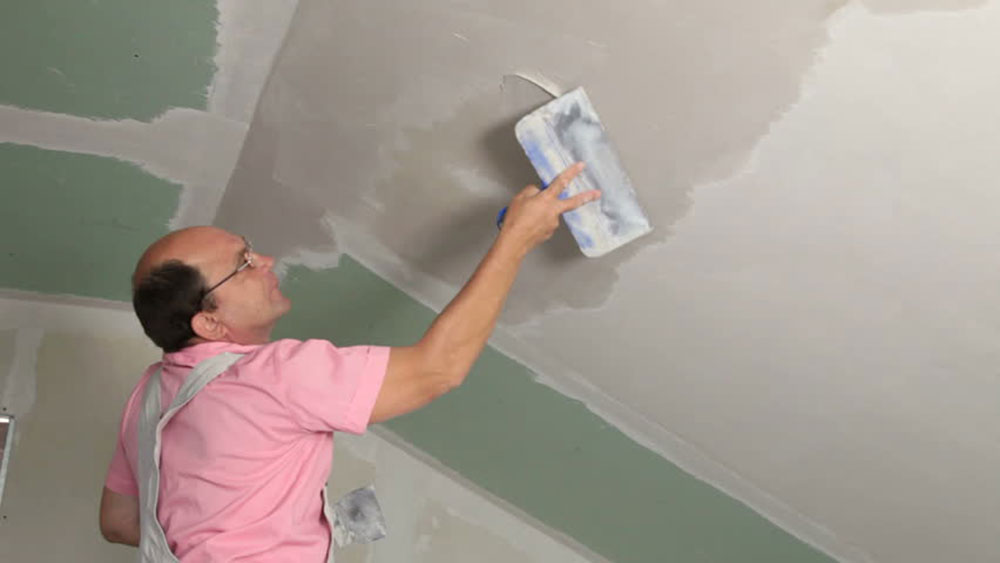

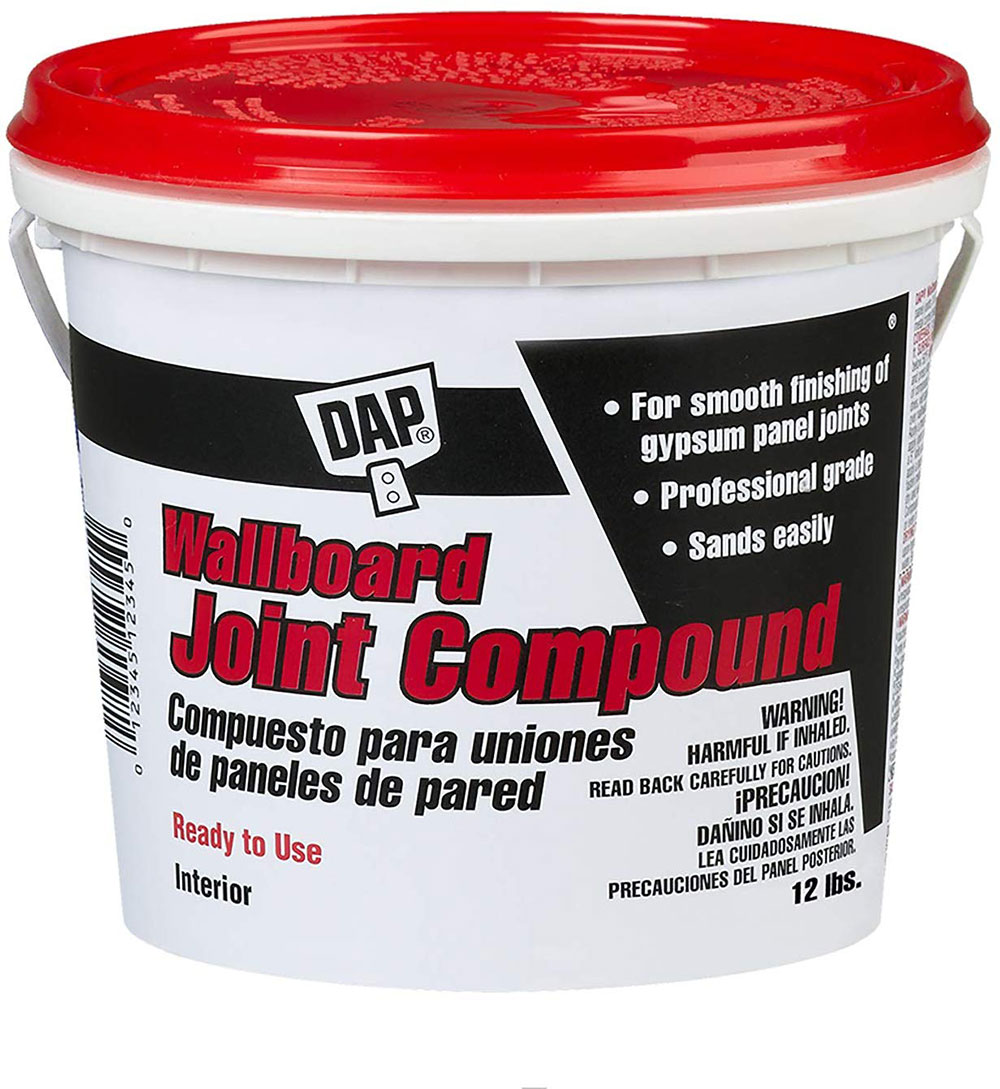
When the second layer of the plaster is dry, it is time to apply the joint compound on it. Again, follow the manufacturer’s instructions for its preparation, and use the 10” wallboard knife to apply it.
Finishing the work
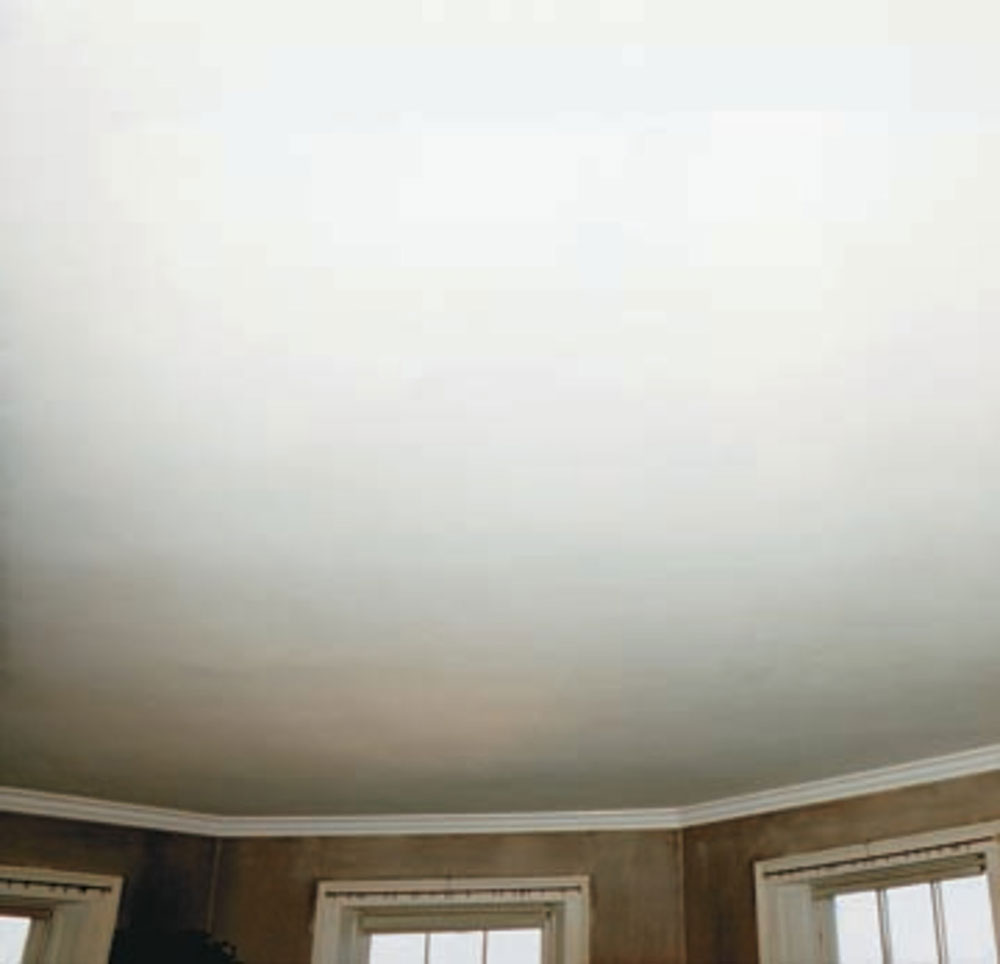

Now that the joint compound has dried, the plaster must be firm and the crack sealed. All that remains is to sand the area with fine-grained sandpaper, clean the excess dust with a damp cloth, and paint the area with the corresponding color.
How to repair plaster walls – Large cracks
Protect the room
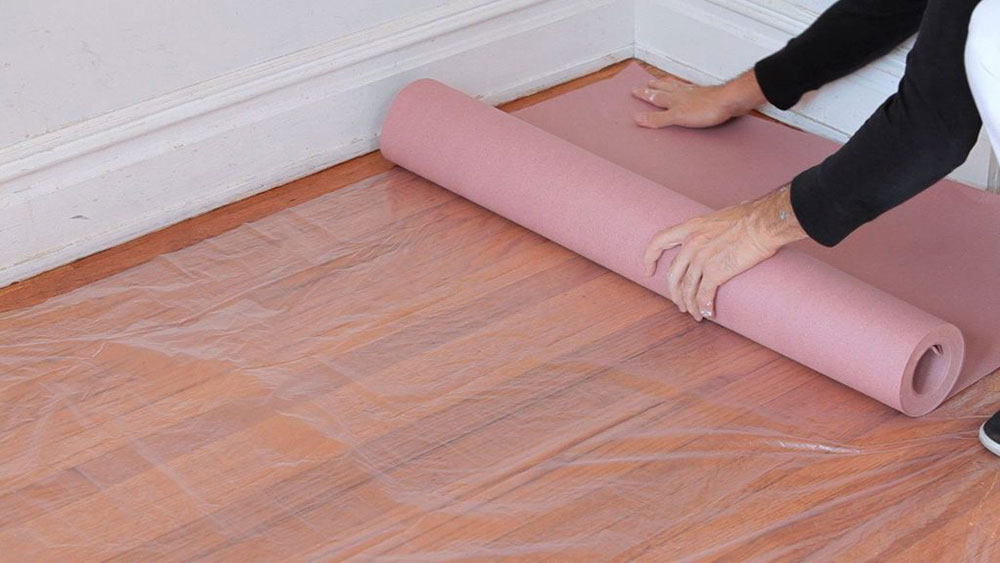
Unlike small cracks, larger holes require the use of heavy tools and techniques that will make our environment very dirty. That is why before starting, it is best to cover the floor with cloths or plastic blankets.
This will allow us to more easily clean up any splashes of plaster or joint compound. If you have vents for an HVAC system, cover them to prevent them from absorbing dust.
Expand the hole
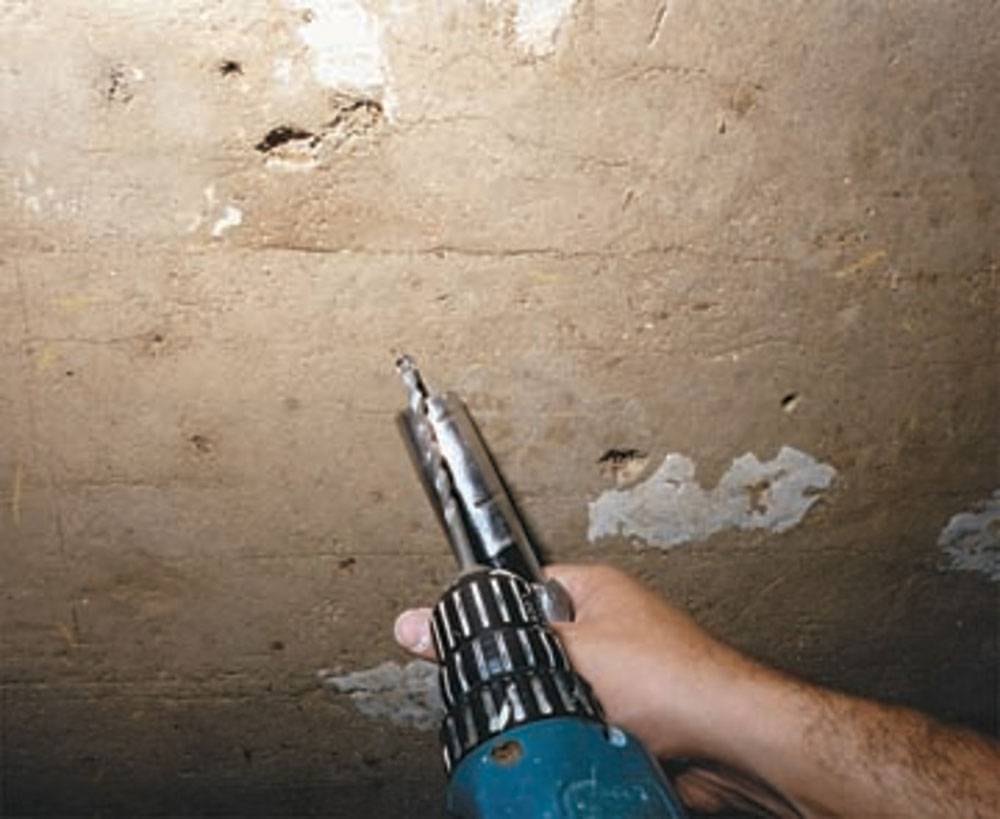

To enlarge a large crack, you will need to use a drill since we will have to drill a couple of holes around it. About 2 inches apart from the crack, and using a 3/16 masonry bit, drill a hole until it touches the wooden slat.
Repeat this process several times, separating each hole 3 inches from each other and keeping them 2 inches apart from the crack. Thanks to the masonry bit, we will not drill any wooden slat by accident, so we should ensure that every hole we drill is touching a lath.
Apply the conditioner
Using a sprayer, apply some acrylic conditioner on each hole you drilled. You should also apply the conditioner to the edges of the crack, cleaning any excess that is generated. This should penetrate the wood and plaster in about 10 minutes.
It is time to inject the adhesive
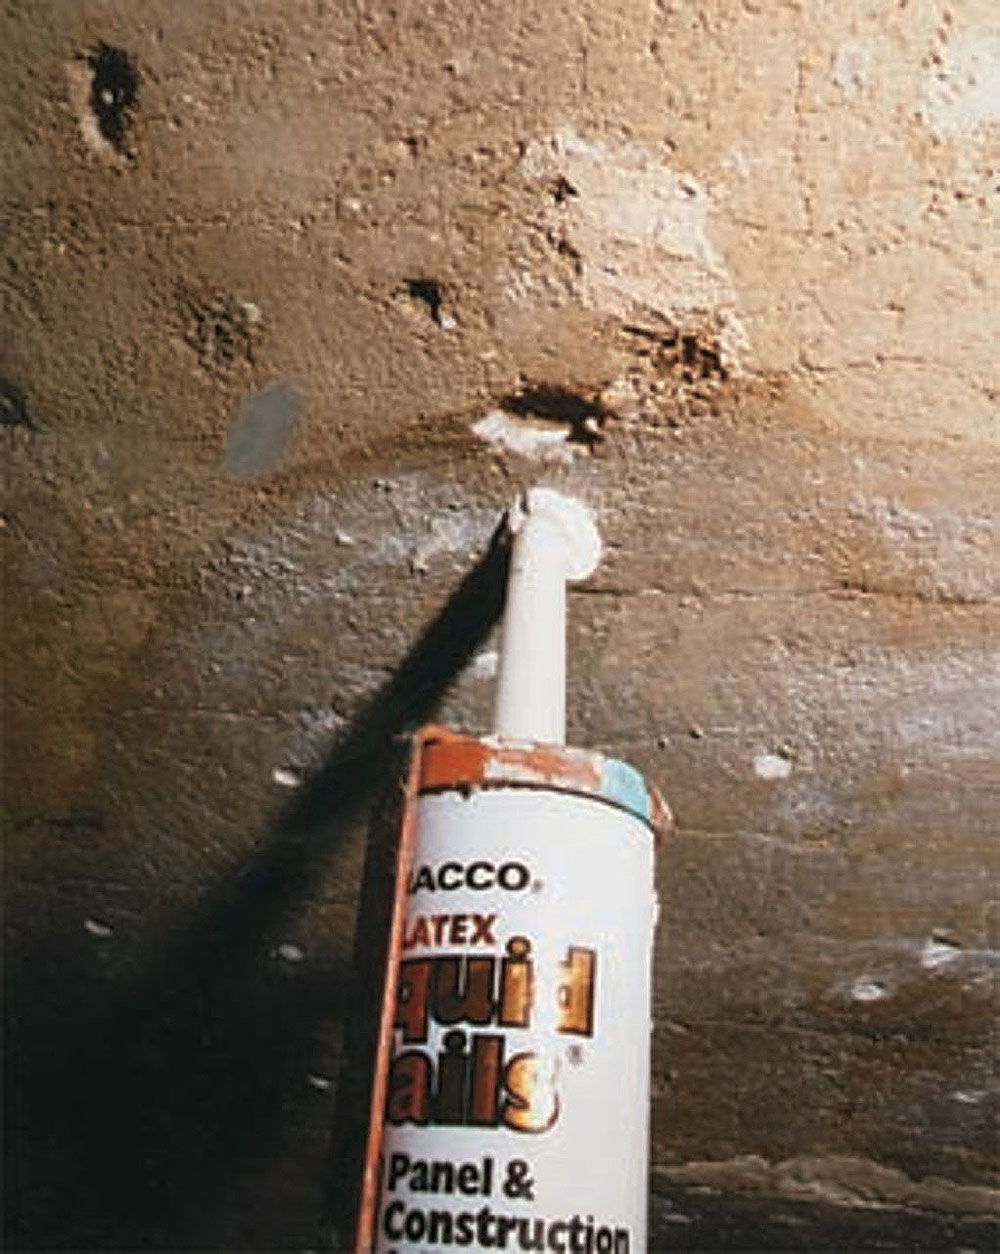

Now that the conditioner has done its job, we must proceed to apply the adhesive that will bond the plasterboard to the wood. It is best to do it with a caulking gun so that we can control the amount of glue that will enter each hole.
Install the plaster washers
Insert a 1 5/8” drywall screw with a 2” plastic washer into one of the glue-filled holes. In this way, the screw can apply enough pressure to the drywall while the glue dries.
Now place washers on both sides of the crack, each with a gap between 8 and 12 inches. After the adhesive dries, remove the screws and plastic washers. In case the washers adhere to the wall, use a spatula to remove them.
Finishing the repair
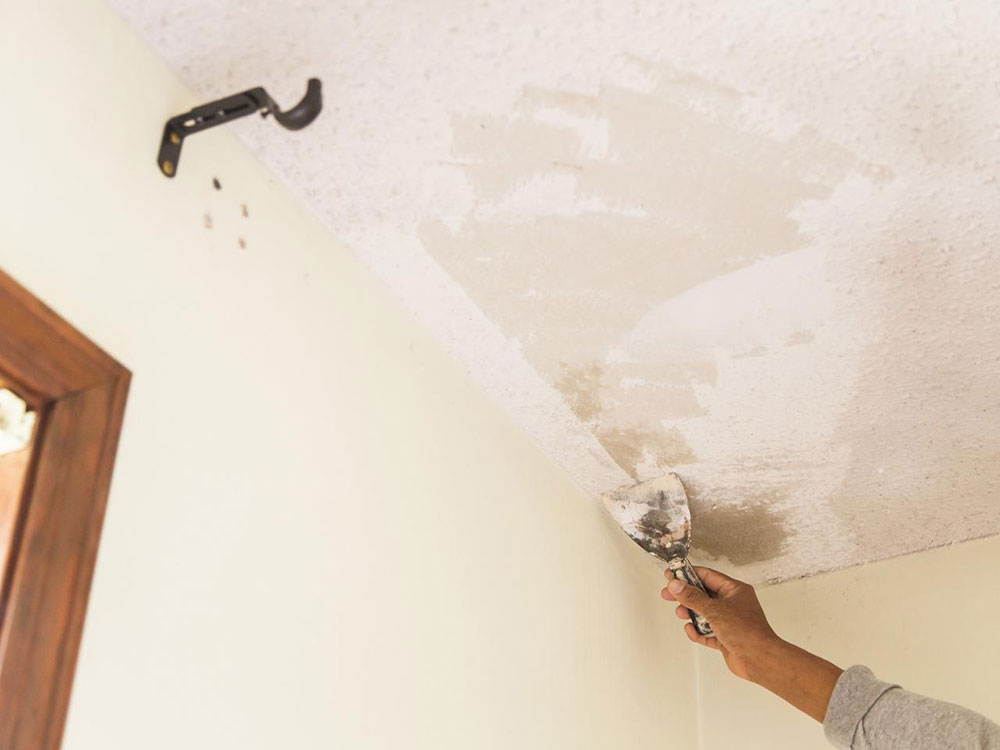
On some occasions, the adhesive may spill out of the holes. Once dry, remove this excess with a spatula.
When the wall is smooth, apply a layer of joint compound, and let it dry overnight. With a 120-grit sandpaper, remove imperfections and rough edges that were left on the wall.
Finish by applying a thinner layer of compound, apply the primer and paint the wall.
Alternatives for fixing plaster walls
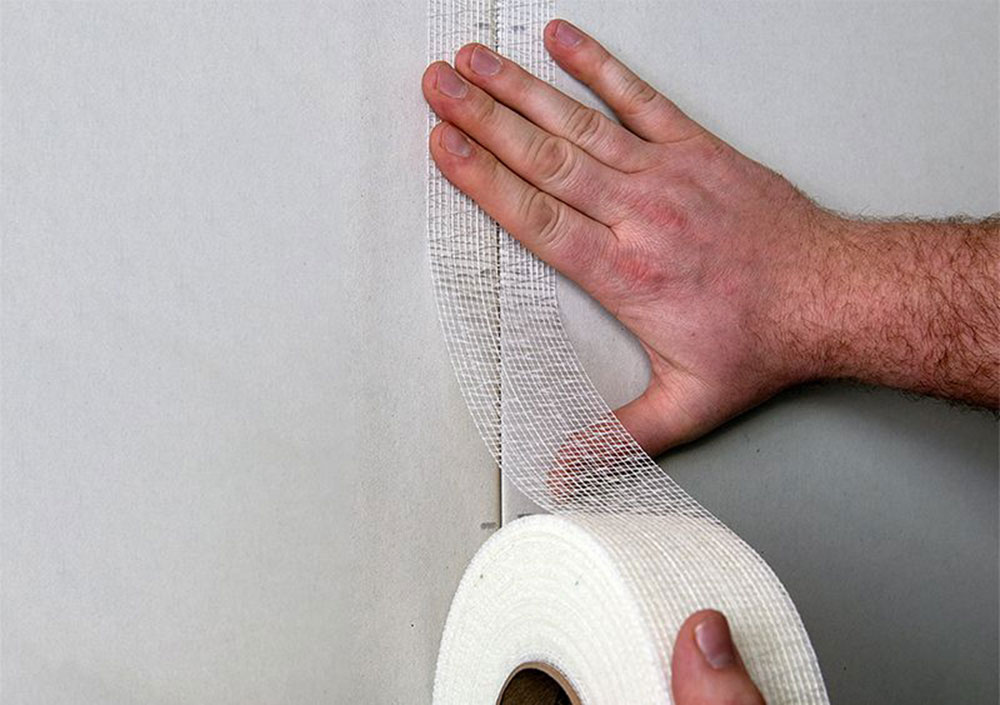

In case our plaster wall is perfectly joined to the structure, but it has large cracks, we have the option of installing fiberglass sheets to seal them.
The construction stores have self-adhesive fiberglass sheets, which we must simply glue to the wall and cover with joint compound layers so that the installation is not noticed.
Another option that guarantees us to create a flexible protective layer to avoid future cracks is known as Nu-Wal. In this, we will apply a latex layer on the crack in the plaster wall, and then we will place a fiberglass sheet so that the latex absorbs it.
How to repair plaster walls – Repair the wooden slats beforehand
Before starting with the repair of the plaster wall, the structural slats must be in perfect condition. Sometimes the wall cracks can also be found on the wood, so it is necessary to repair it.
Replace wood with metal
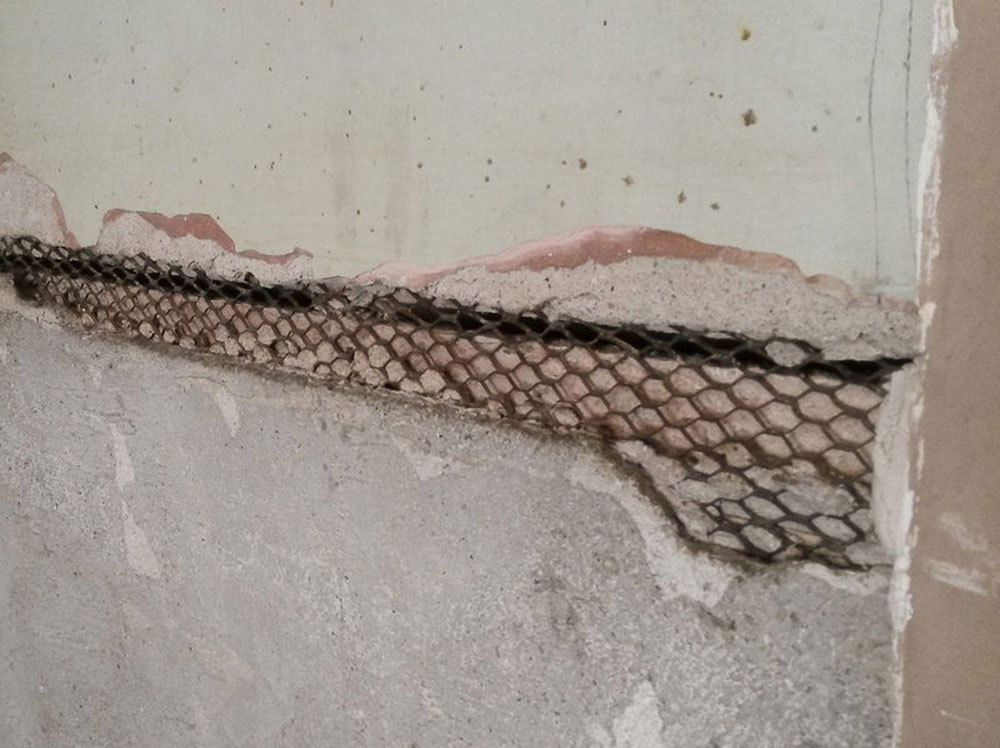

The first thing is to remove the piece of damaged wood using a saw, or a chisel and a mallet. Find a piece of metal mesh and insert a wire loop in the middle.
Place the mesh on the damaged part, insert the metal strip through the hole, and pull to tighten it, ensuring that the mesh is firm on the wood.
Create a replacement with plaster
Roll the piece of wire over a wooden spike and fill it with a plaster layer. It does not matter that you exceed the amount of material that you apply since you will have to remove the excess anyway.
Apply the joint compound

With the dry plaster, you can remove the damaged wooden strip. Cut the excess wire with a plier, and finish the job by applying a layer of joint compound, sealing the holes that remained between the wooden structure and the new plaster. Your new structure will be ready after 24 hours of drying.
If you liked this article on how to repair plaster walls, you should check out these as well: