

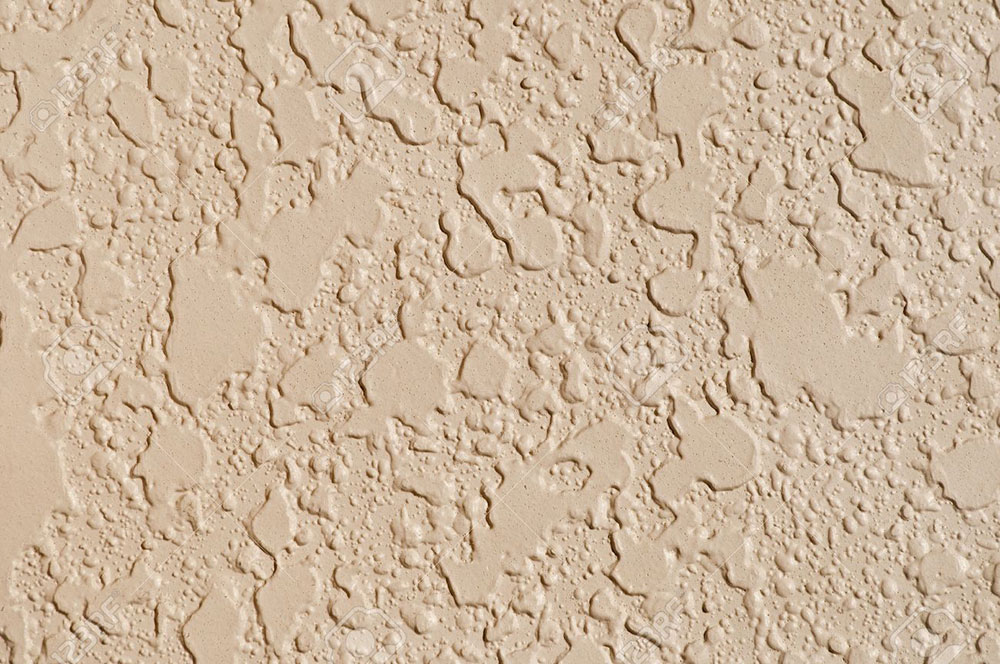
Textured walls are a great way to add a bit of personality to your home. Not only that, but they’re also a great way to cover any imperfections on your walls. However, textured walls aren’t meant for everyone.
Perhaps it doesn’t match your overall house aesthetics, or you don’t like their look on your walls anymore. Whatever the case is, getting rid of them can be a time-consuming project. It can also be hard to remove and make a lot of mess. However, if you do it right, you will achieve a smooth and flat finish on your walls.

You can always hire a professional to do this job quickly. However, this can often empty your pocket. Chartering people usually requires paying for both materials and labor. On the other hand, doing this by yourself might save you a lot more money. On the downside, it can take up a lot of time since you have no professional help.
With these tips, this article has been put up that will show you how to smooth textured walls. You will professionally remove these unwanted textures. But, you have to remember that it won’t be an easy job and most certainly won’t be done quickly.
Spray & Scrape Method For Smoothing Out Textured Walls
Preparation
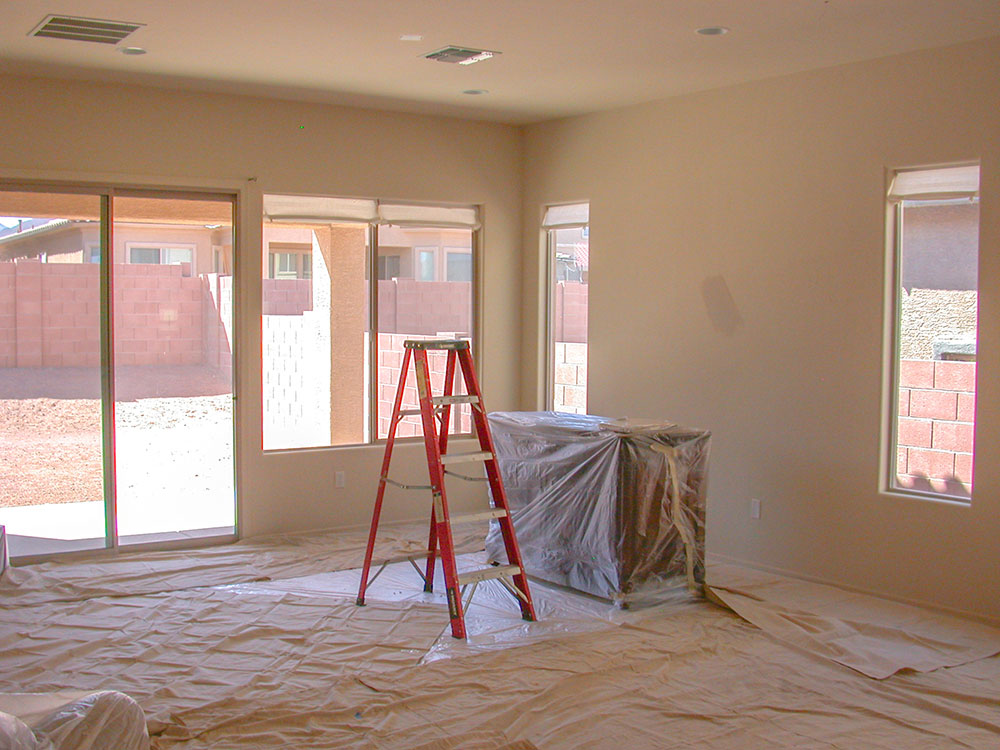

It is essential to prepare the area. This job will make a lot of mess. That’s why you have to cover everything with nylon or take everything out. Make sure also to protect the floor as it can get ruined or dirty.
Gather necessary equipment
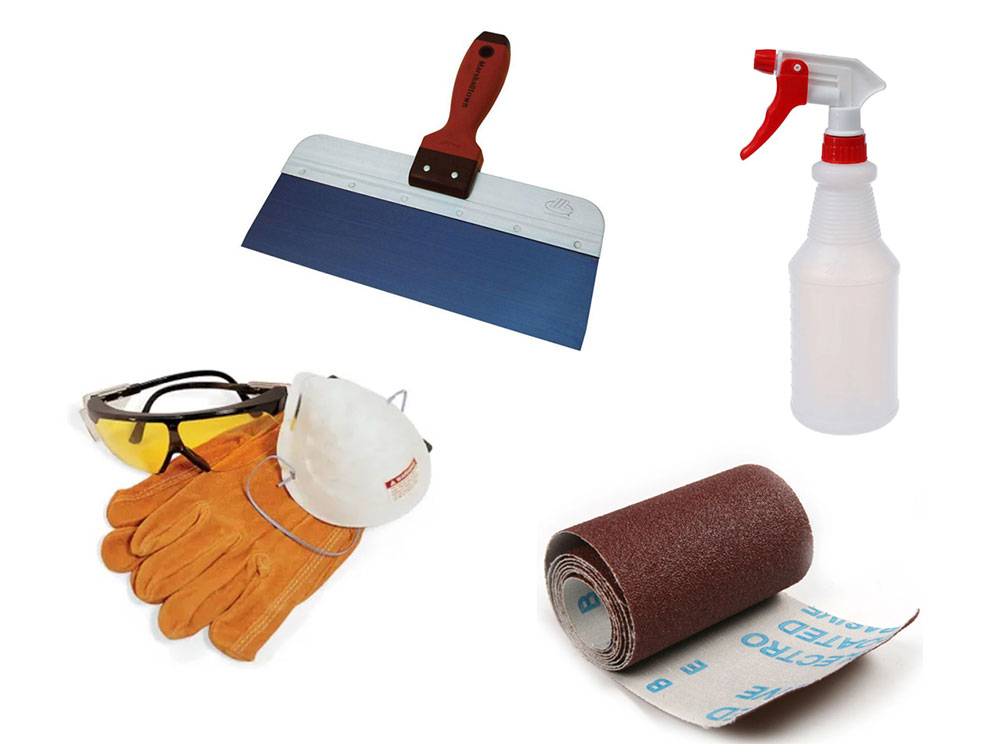

What you need to do next is gather the required tools. First, buy protective equipment. Safety goggles and gloves are the essential gear you need to have. Then, buy a spray bottle, a wallboard knife, and sandpaper.
Spray and let it soak
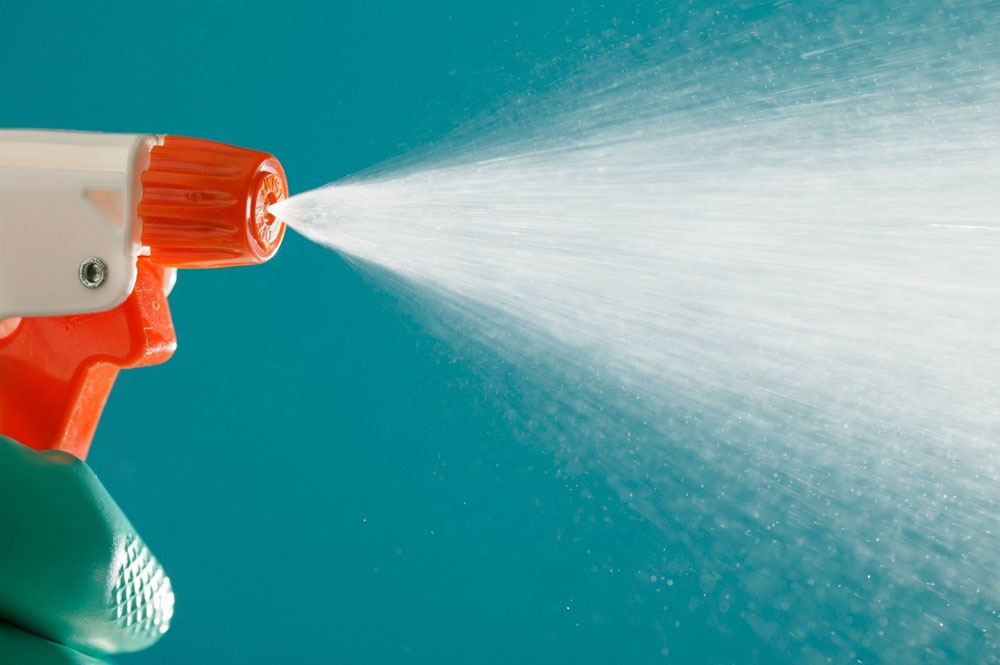

Fill the spray bottle with water. Then evenly spray the wall. This is necessary as it softens the texture. Do know that depending on the surface, you will have to spray it several times. Wait for 15 minutes for the wall to soak in the water. Then, softly touch the wall with your fingers. If the texture is soft and you can rub it off with no effort, you can start scraping.
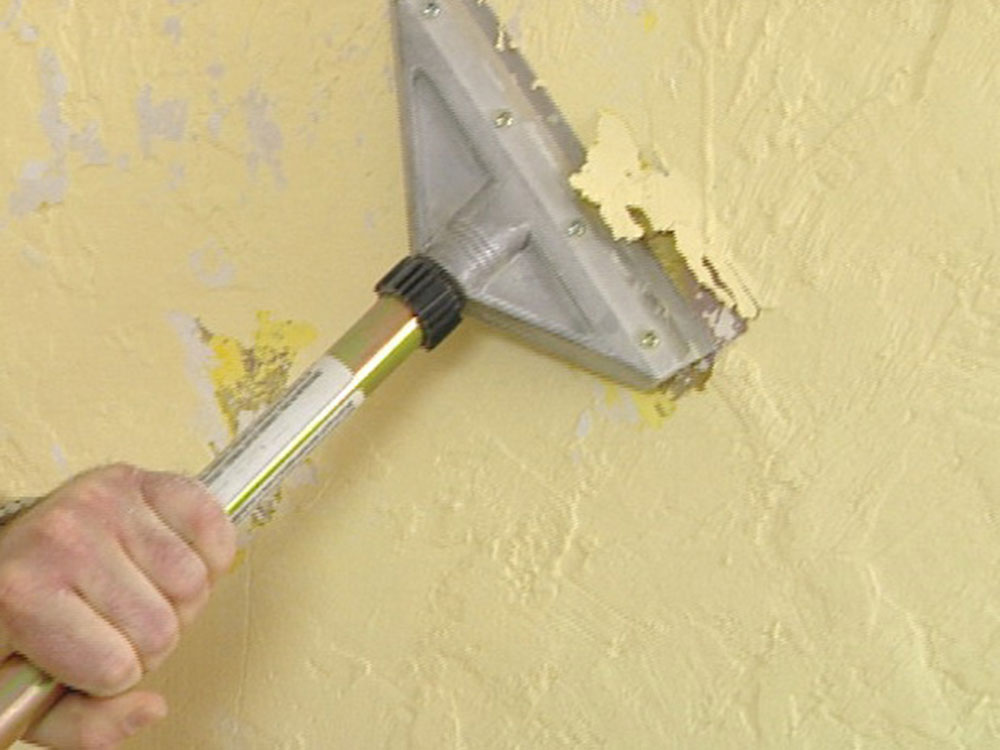
Begin with scraping the wall
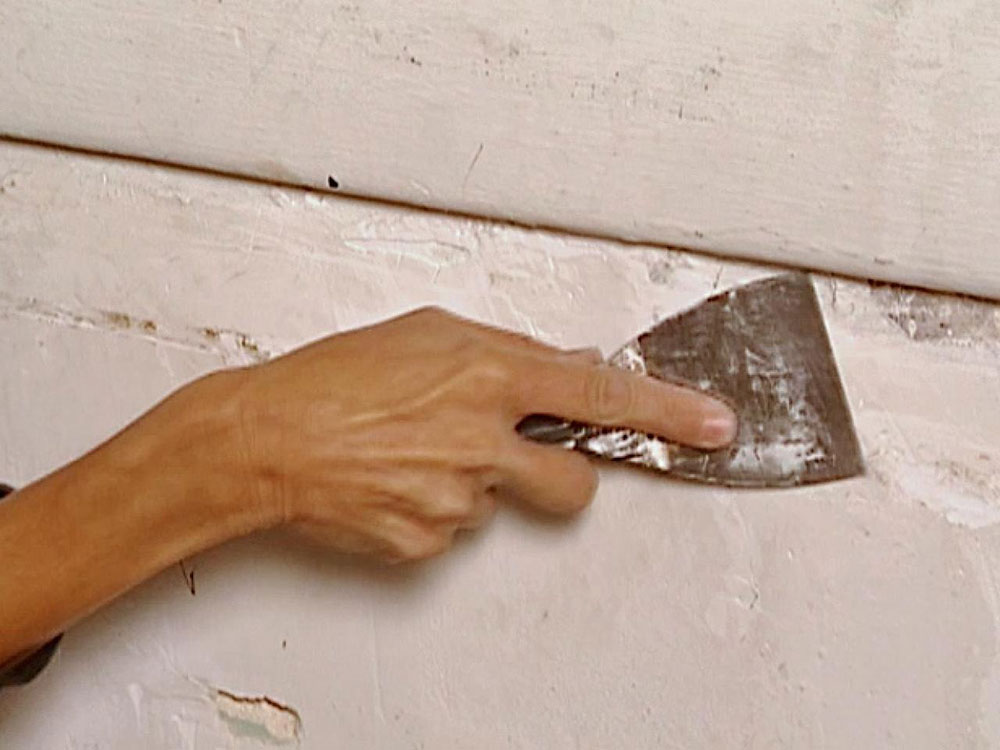
How to smooth textured walls by scraping the wall? Begin at the top of the wall. You can use a ladder to reach the highest ends. Use a drywall taping knife to rub the soft bits softly. Hold the blade at an angle to scratch easily. Use long but gentle strokes. If you have trouble scraping off some part, wet that area again. Make sure it is smooth before continuing.
Work in small sections
Make sure to work on one area at a time. The areas can be of different sizes. It may be bigger or smaller than the previous one. Keep moving around the room until you’ve scraped all of the texture off.
Ensure you’ve covered all spots. If you miss a specific part, you will get an uneven finish. That’s why you need to work section after section. Plan before you start. That way, you will have an excellent idea of how much time you’ll need to have for each part.
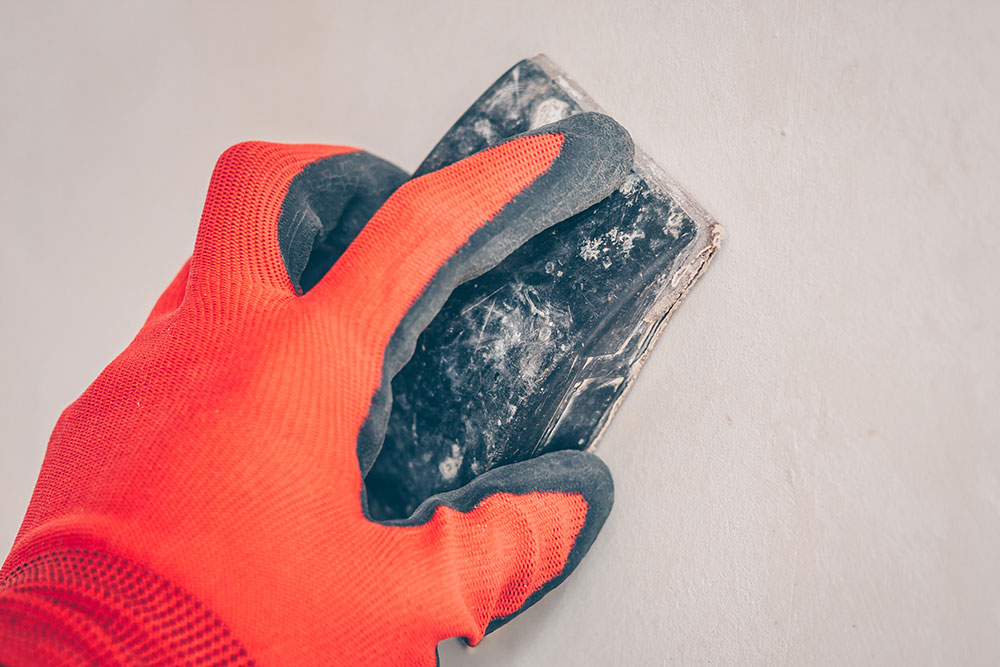
Sand the wall
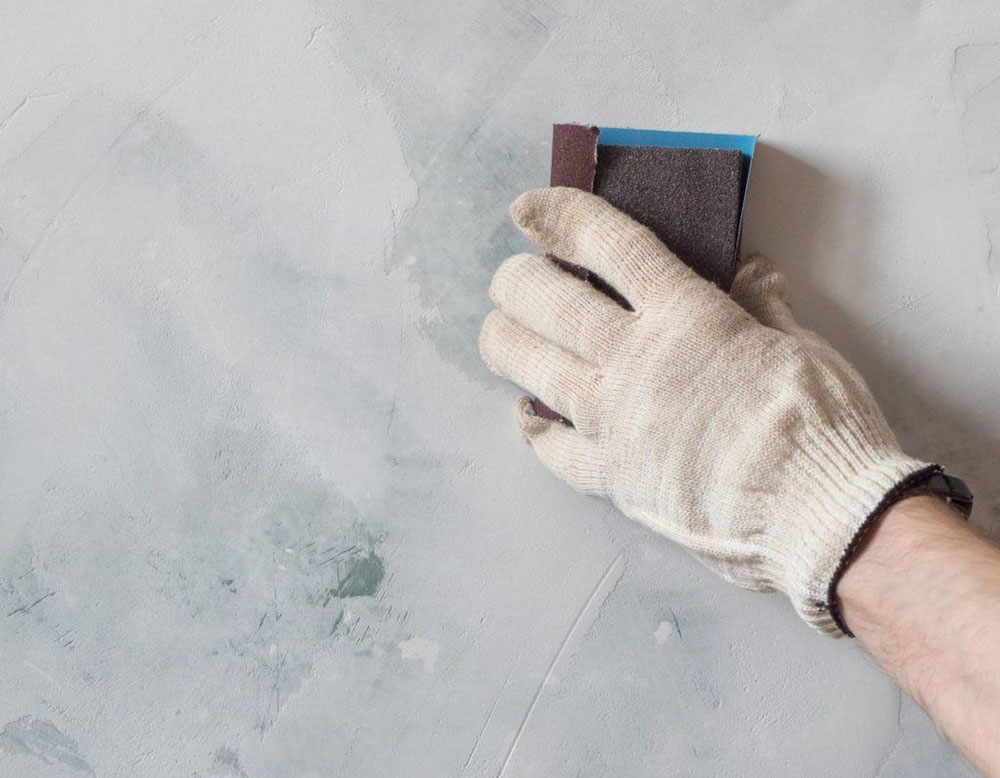

After you’ve removed everything with the knife, it is time to move onto the next part. For this, you will need sandpaper. Using sandpaper can help smooth out the wall and any irregularities. However, it is essential to wear proper protective equipment. A dust mask will prevent any wall residue from entering your eyes, mouth, and nose. You might also want to use a flashlight when using sandpaper. That way, you will see if you have missed any spots. If the wall looks smooth under bright light, you can move onto the next step – painting.
How to smooth textured walls with Skim & Coat method
If the texture is painted, you might need to skim the surface with a drywall solution. Since paint doesn’t dilute in water, you can’t use water to remove it. You can’t merely soak it in water. Since color acts as a sealant, you might need to cover it up. The whole skimming process requires a delicate touch, too. That’s why you’ll have to be patient.
Wall Preparation
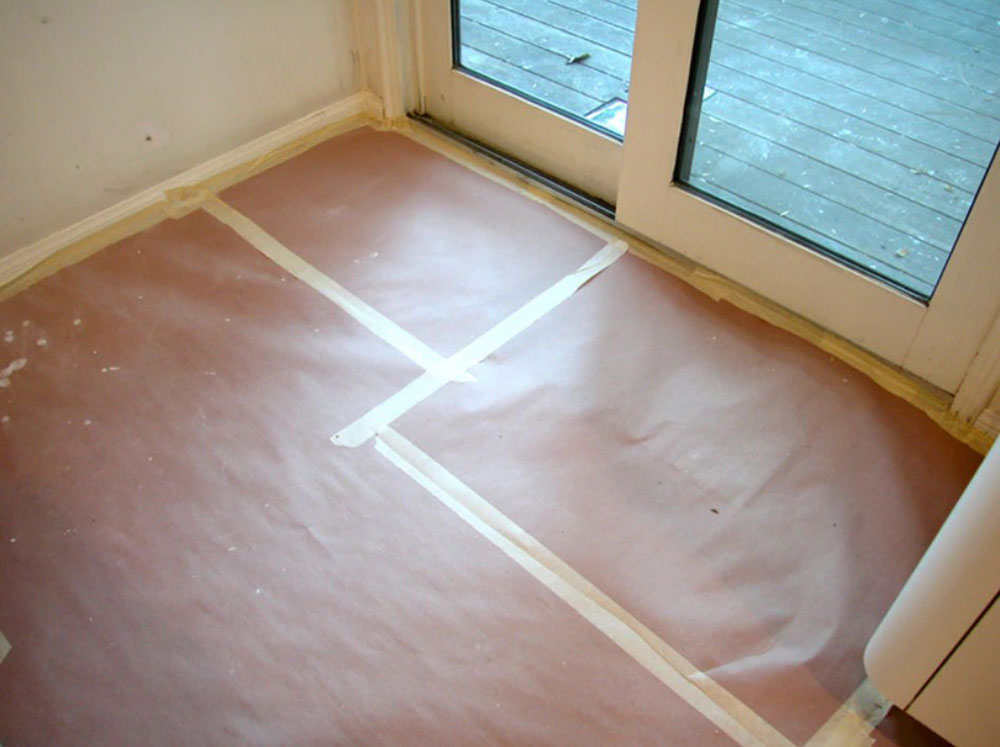

Just like before, it is essential to prepare for the whole area before working. You can use cloth or nylon to cover the entire region. You can tape them to ensure more significant security. But you have to remember that nylon is plastic. When it gets wet, it can become slippery. Use nylon on objects and cloths on floors. It would help if you also taped the window and door frames. Put on goggles and wear old clothing.
Step by Step Instructions on how to smooth textured walls:
- Step 1: Make sure to put clothes on the entire floor area. Then, use a primer made explicitly for drywall. After you have done that, skim the coating.
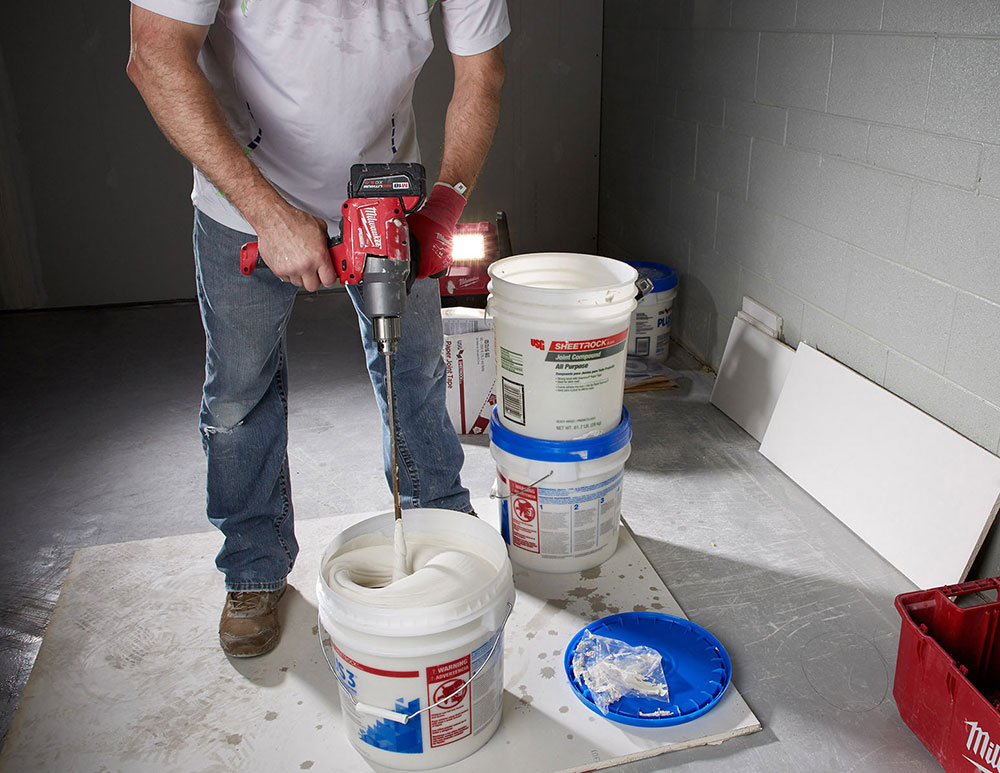

- Step 2: You should then apply the premixed drywall joint compound. Or you can mix the powdered combined mixture with water. Make sure to get the consistency of peanut butter. Then, test the consistency. To do that, take some out of the mixing bucket with a drywall knife. It should stay on the blade without running off when you hold the knife straight.
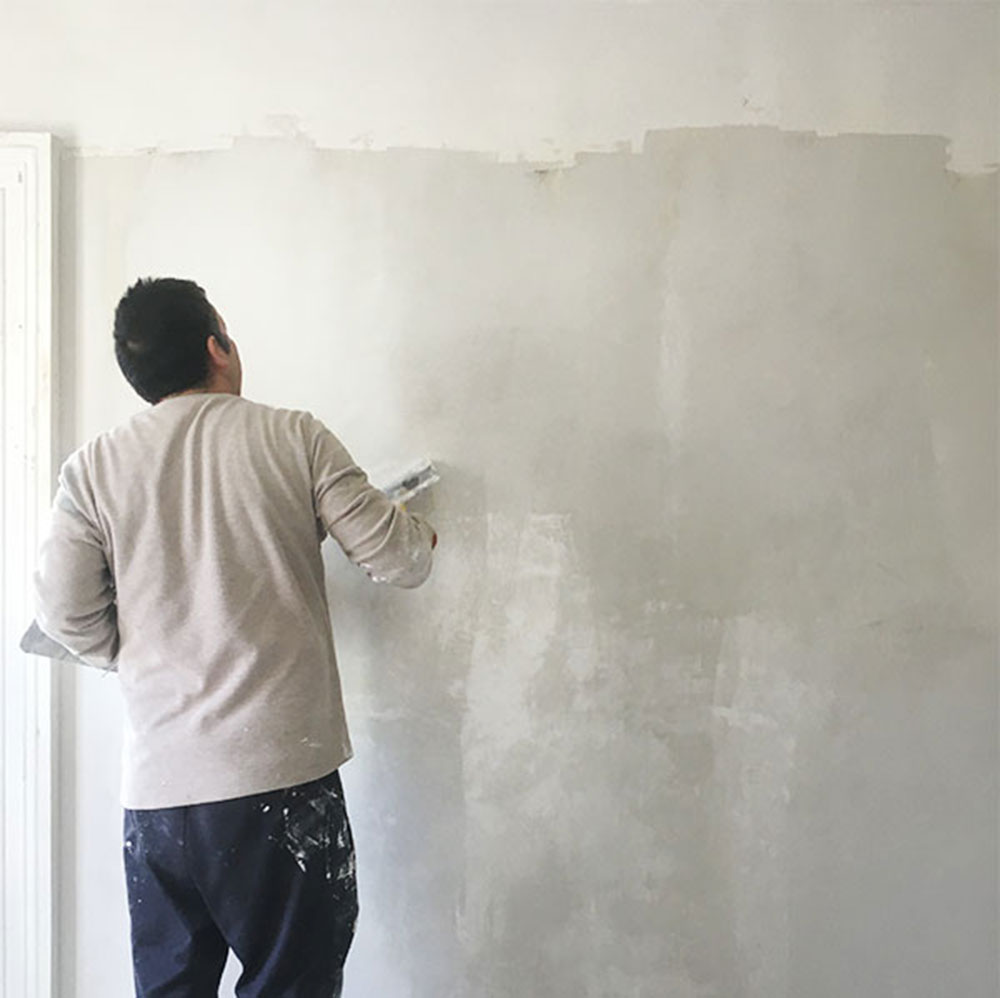
- Step 3: You should take some of the pre-mixed compounds into the mud pan. It should have a texture of viscous peanut butter. The whole process should result in a smooth wall. Start slow. Then once you get comfortable with movements, you can more confidently apply the coating. If this is your first time skim coating, practice on a less critical wall first!


- Step 4: it is crucial to clean the knife after each use. That way, you won’t have any excess coating dripping off your blade and mudding the floor. To clean it, press the blade on a sharp edge of the container and drag it down. After you’ve done that, scoop from the coating mixture once again and start coating.
- Step 5: it is best if you work in a 2-foot area. Pull the compound downwards and then upwards. Then pull it back and forth in smooth motions. Do this until it begins to set a little bit. The mixture becomes harder to scrape as it dries, so the final swipes with the taping knife can create a reasonably smooth surface without seam lines.

- Step 6: If the paint is glossy, lightly sand the surface of the painted texture. While the drywall compound you will be applying typically sticks very well to painted surfaces, it’s a good idea to knock the sheen off high-gloss paint. In most cases, wall paint isn’t glossy, and you’ll skip this step.
- Step 7: Letting the compound overnight will allow you to apply another coat the following day. It would be best if you did this several more times to achieve a smooth wall.

- Step 8: Again, sand the final Coat with a pole sander and 120-grit sandpaper. Do this under a bright light to ensure you have no missed spots.
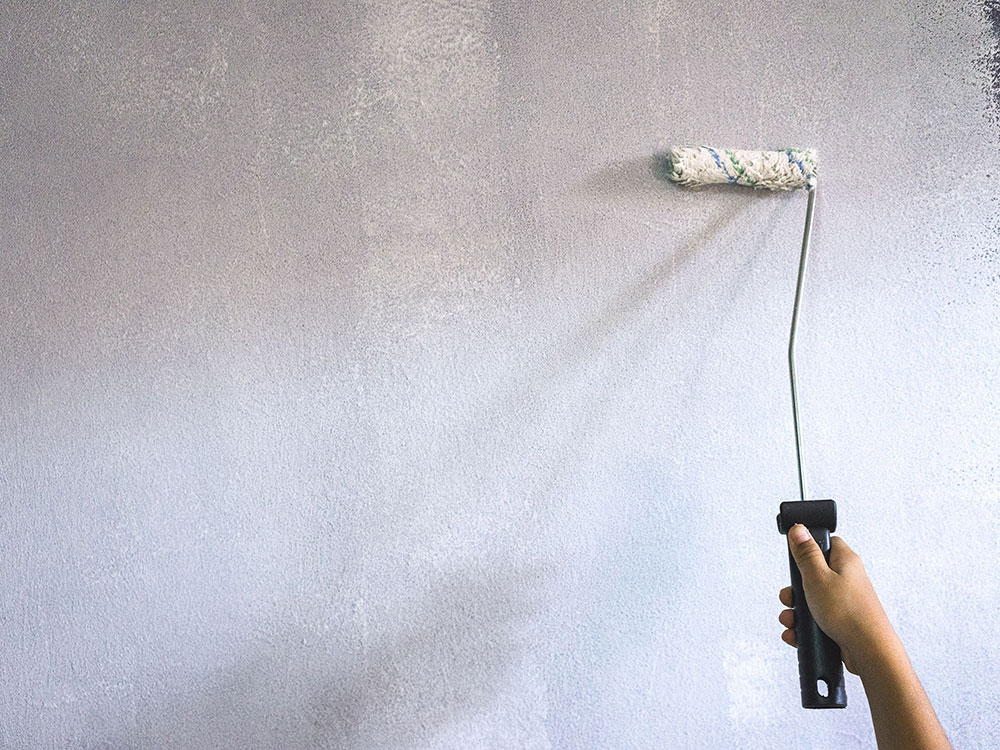
- Step 9: After you’re sure that the surface is entirely smooth, make sure to apply a primer to the wall. It would be best if you did this before you start painting the wall. You can use the primer with a paint roller. That way, you will evenly cover the surface.
Before you do this, ensure you have mastered everything. You can practice on a small area of the wall or choose another division that isn’t the house’s focal point. Make sure you wear the proper gear and protective equipment.
Since you’ll be using harsh chemicals, make sure to ventilate your room continuously. Ventilation can also be great to keep the dust away. With these tips, you will know how to smooth textured walls in less than a week.
We hope this article will help you learn how to smooth textured walls like a pro.
If you enjoyed reading this article about how to smooth textured walls, you should read these as well: