

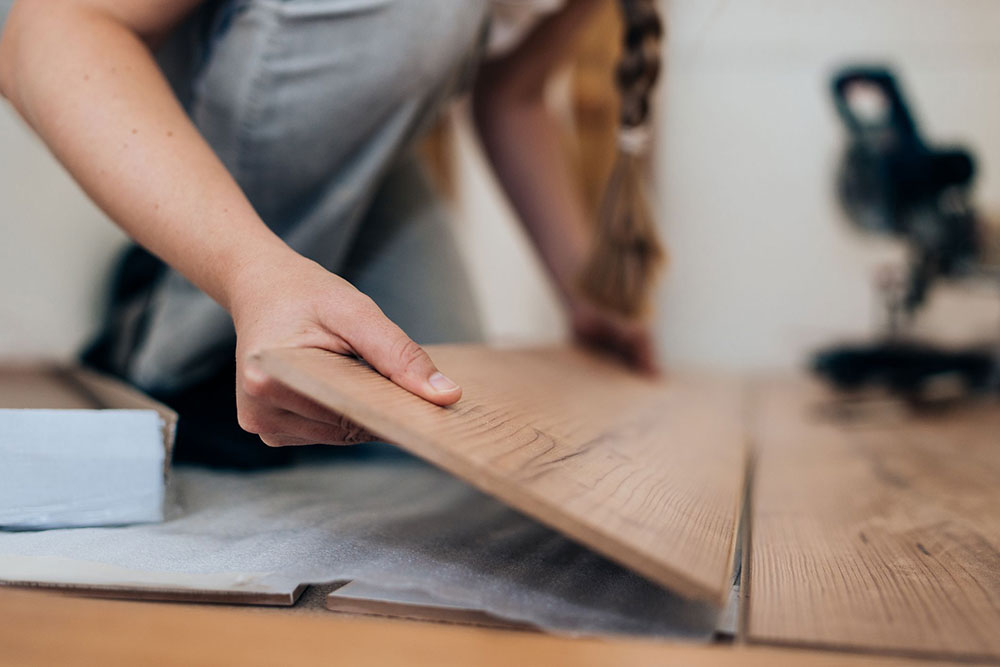
One of the most important aspects that every house has is the floor. There are many possible finishes in this element, but one of the most striking and elegant consists of using laminate floors. It turns out to be a resistant material and easy to install throughout an entire room. However, what happens when we get to the doorway or the transition from another floor?
Many users do not consider this moment. But do not worry if you did not think about how to solve it since it is quite an easy job, but you have to know how to do it step by step. For that reason, we will help in that process and we will show you how to end laminate flooring at doorways.
The great advantage of installing laminate floors is that you do not need special tools or a pro builder to do it right.
You have to be aware of some aspects before starting, such as the type of finish, or the floor expansion space. Even the external factor that can damage the laminate should be considered.
Keep in mind that the process can always be a challenge in itself, especially if the transition is in a doorway. The difficulties are very similar to those present when the laminate floor is installed.
Which sections of the boards must be trimmed? How much space must be left for the expansion joints? How the excess spaces on the sides will be hidden? All this, of course, has a solution, although you have to be somewhat ingenious and skilled to apply them.
Where should I put the transition?
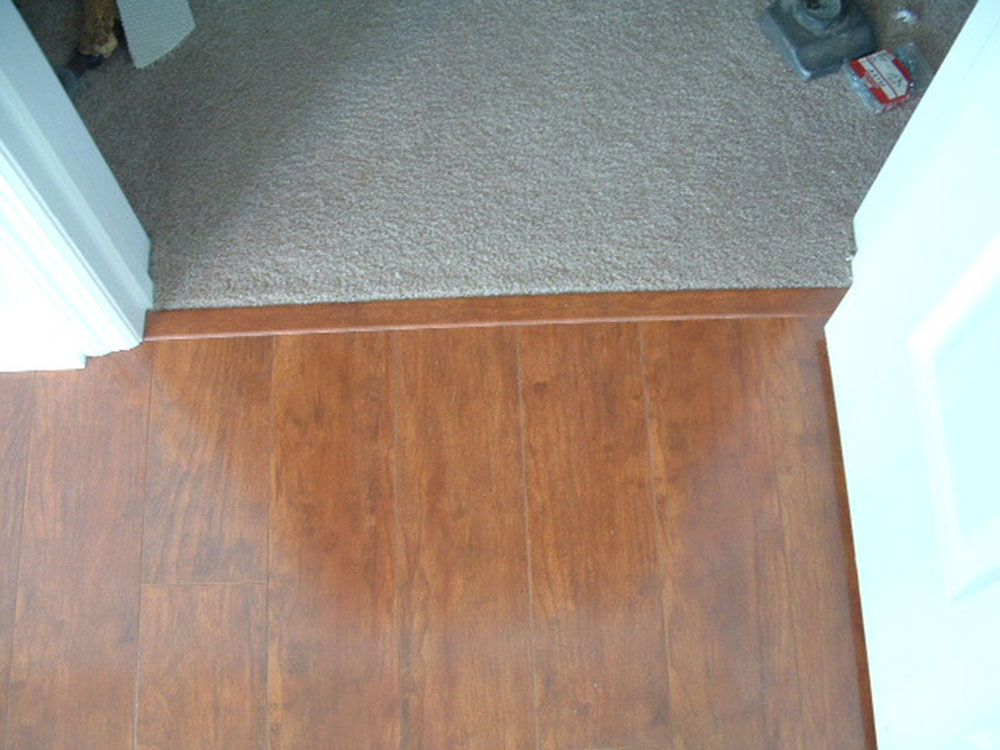

Usually, and for aesthetics, the transition should be made at the midpoint of the doorframe. In this way, you will be able to align any type of transition that you decide to place, be it the manufacturing one or another. In addition, being at the midpoint of the doorframe, any imperfections will be better hidden.
If you have decided to embark on this construction, you will need to prepare a couple of basic tools such as a pencil, a square, a hammer, a saw, and a push bar. With all this ready, here are some tips and tricks on how to end laminate flooring at doorways.
The best option
Clean the floors before working
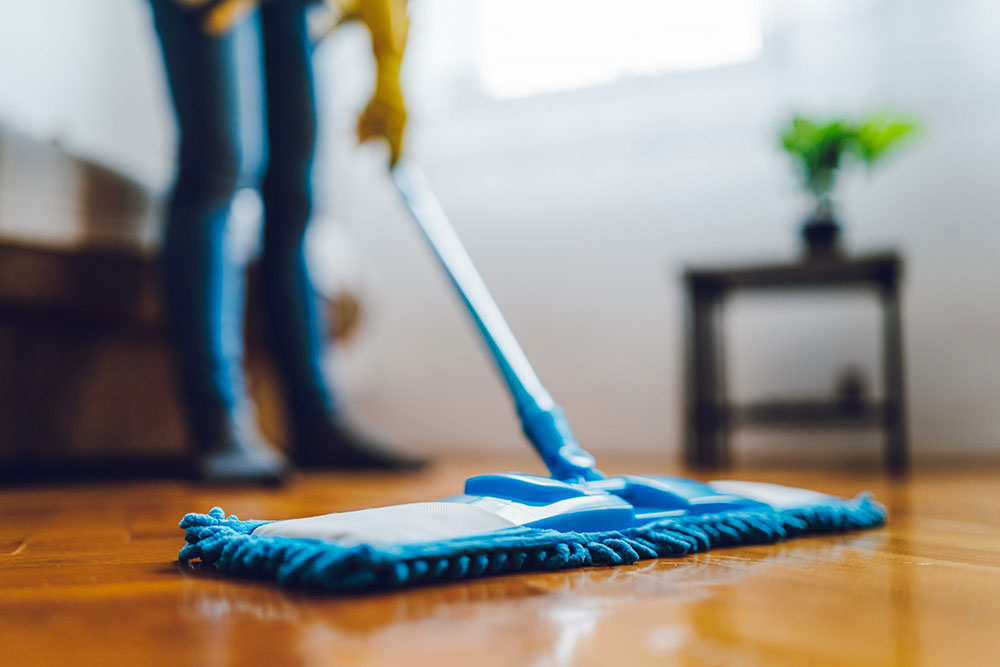

Before starting, the first thing you have to do is to clean the entire area, as dust could cause problems during the process. It is important to check well that there is no type of debris in the room where the laminate floor is going to be laid before starting. If you put a carpet in the doorway, it is time to remove it.
The doorframe must have enough space underneath
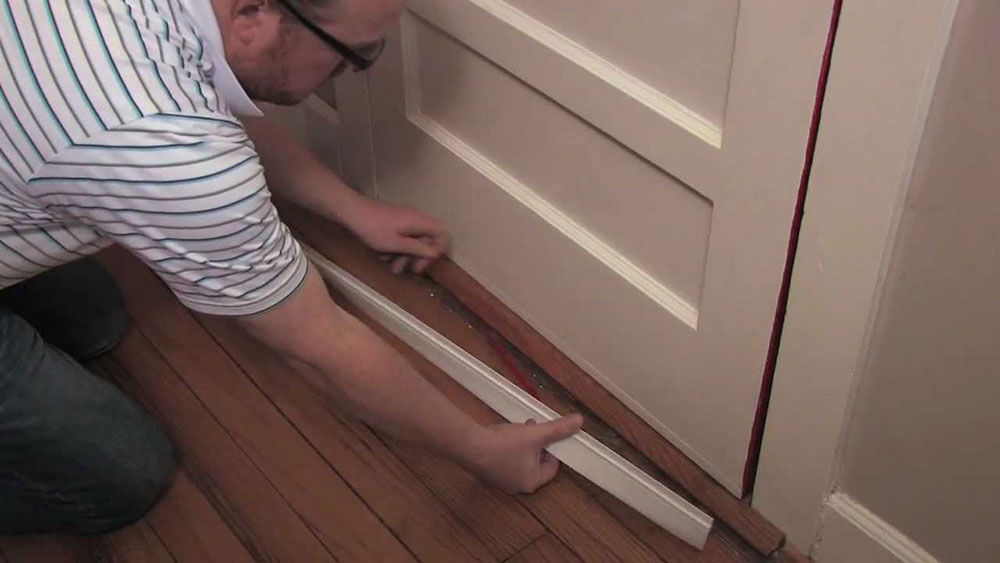

It is time to start working. This task will vary depending on whether you are working on an existing floor or if this is your first time installing a laminate floor in the room.
Doorframes should have enough space at the bottom to allow the floor to slide under them. For this, you will generally need to cut out a section of the frame using a saw. This task, however, may not be necessary if you already had a previous laminate floor, as it is likely that the frame is already trimmed.
If this is not your case, then you will have to trim the doorframe. To do this, simply lay one of the laminate flooring boards on the bottom edge of the door, and with a pencil mark exactly how high you will need to trim.
You also have to know what the thickness of the room subfloor is before starting to work. If your floor did not include it from the factory, you will need to add an extra couple of millimeters to the height of the trim. It is preferable that you entrust the subfloor installation to a pro.
With both parts removed, check to see if the door opens properly.
Prepare the planks that will constitute the transition
Once the doorframe is properly trimmed, you should start marking how many pieces of laminate wood will be placed through the door.
The number of wood boards you will need to trim and install will vary depending on how the rest of your laminate floor looks.
If they go perpendicular to the transition, these could be between 4 to 5 tables. If the installation is parallel, the amount is reduced to one or two tables. Obviously, the direction will be determined by the room laminate floor.
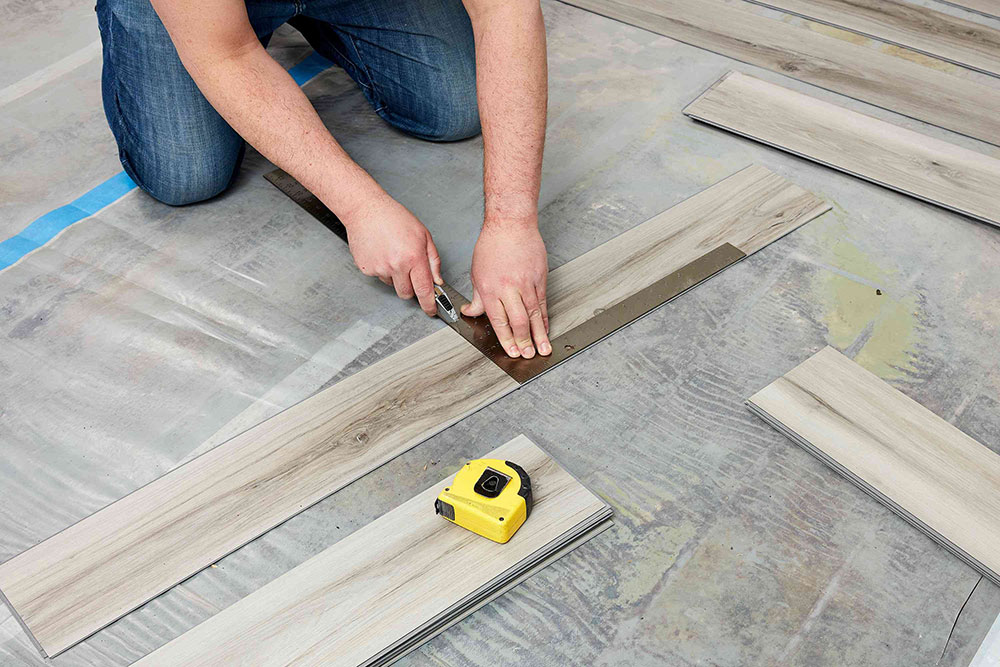
Using the cuts made to the doorframe as a guide, lay the boards close to the gap and mark the rectangular sections you will need to trim out on the sidepieces. In the same way, proceed to mark the width that you will have to cut from each plank to be able to fit them in the transition.
It is advisable to verify the measurements with the use of a square. Especially those made at the ends of the door and close to the wall, to be sure that you will do a 90-degree cut.
Make the corresponding cuts
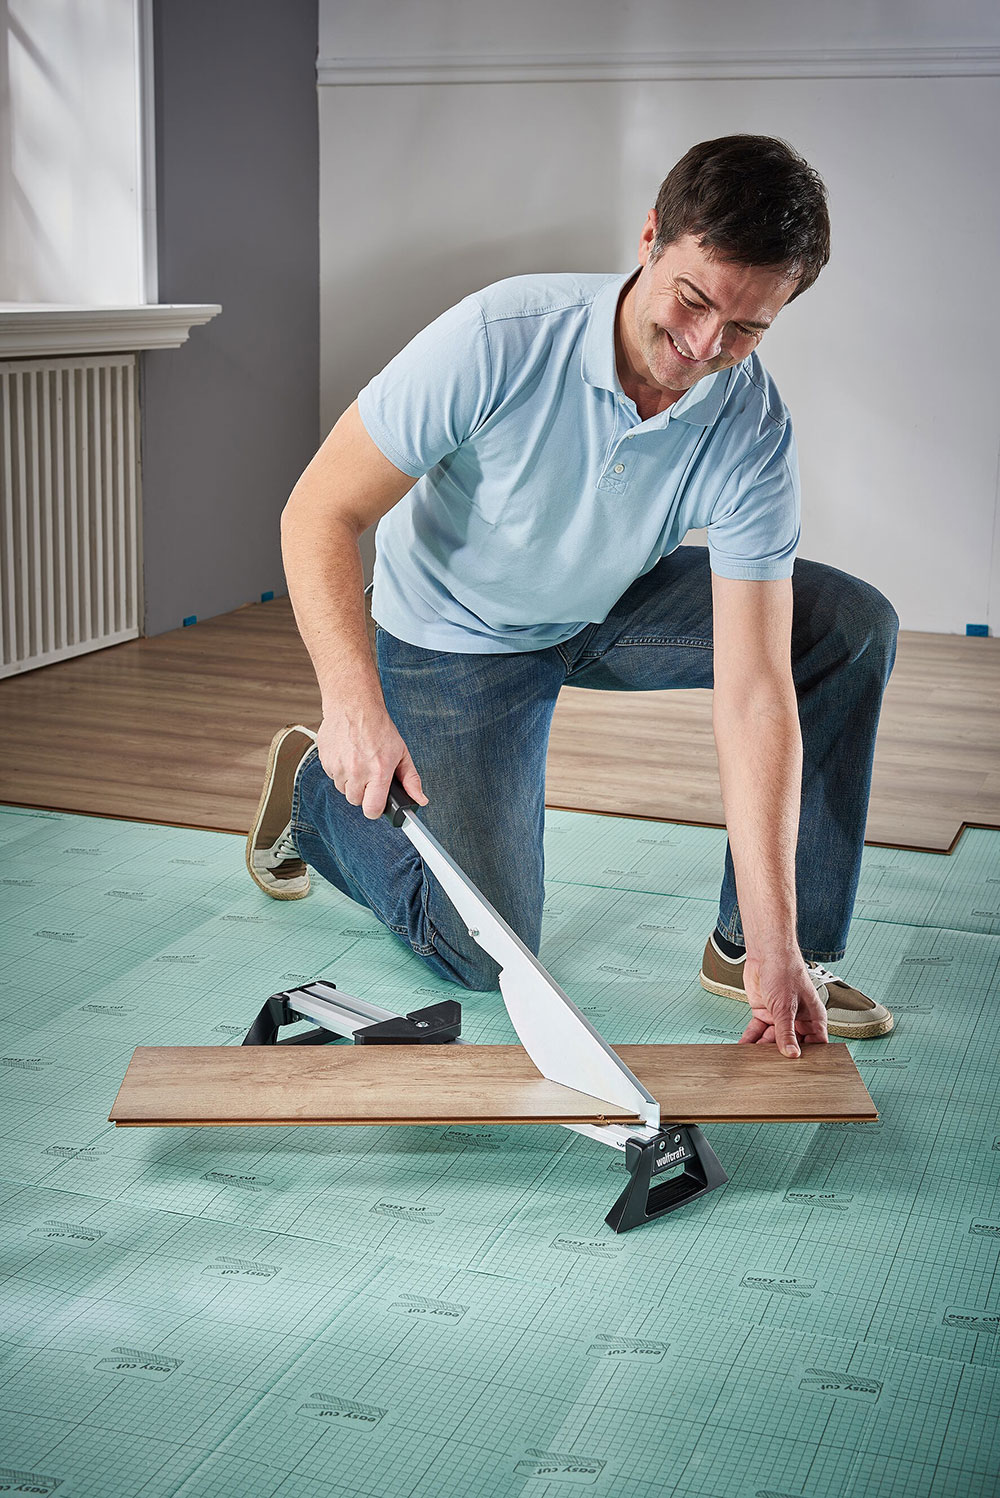

Much of the secret to how to end laminate flooring at doorways is in the cutouts of the wood pieces. With all the measurements and markings on both the laminate and the door, it’s time to start cutting the boards to fit the gaps. Using a handsaw or circular saw, you will need to trim out all the marks you made.
For a better finish, the use of a multi-speed automatic sawis recommended. Not only do they drastically make the job easier, but they also cut upward, resulting in one side of the cut maintaining a flawless, chip-free finish.
This part can be tricky depending on the wood. Hardwood is much better to trim than softwood, as it does not chip as easily.
Assembling the puzzle
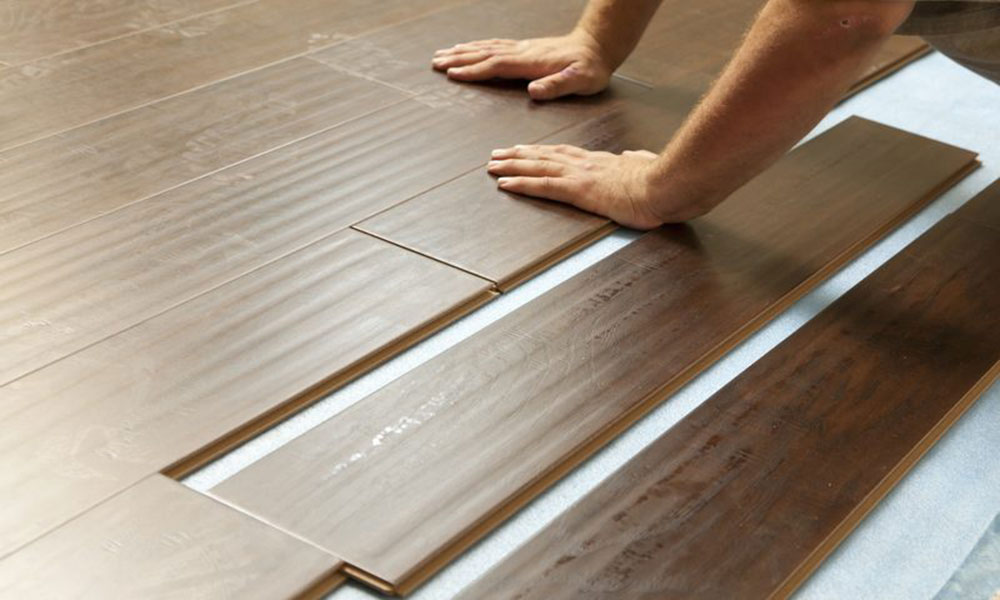

Now that you have the pieces cut out, you should check that they fit perfectly in the door transition. This means that you should install them in the doorframe, and make any necessary adjustments if needed.
The wood pieces must put together, but they must have some separation at the edges that meet the wall so that an expansion joint remains.
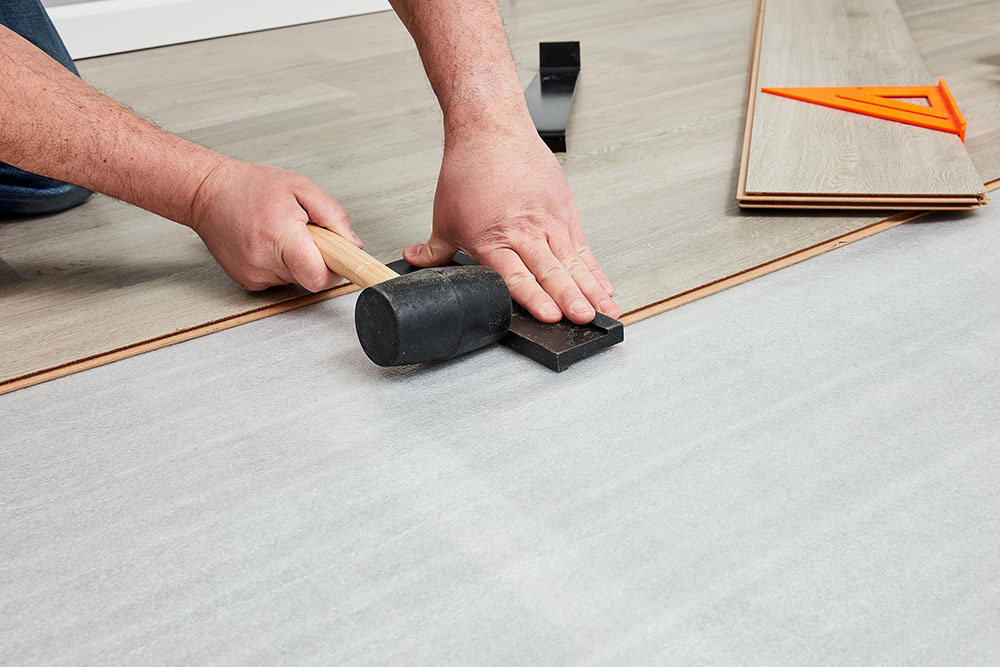
If everything fits in the gaps, the next thing is to join the tongue and groove pieces together using a hammer and a push bar. If your laminate flooring has a click-lock tongue and groove, you must remove the top groove of the board that comes before the notched piece. Otherwise, you would not be able to install them seamlessly under the doorframe.
If your doorframe includes an architrave, this will also need to be considered as a guide for the cuts. Its gaps will be the points where you will place the first laminate floorboard.
How to end a laminate floor like a pro
Now, all that’s left to do is install the rest of the pieces. As mentioned in the previous step, you will start from the architrave and finish at the other side of the door. The board that fits under the doorframe should fit snugly and stay in place with a little pressure.
As you install, you have to remove the slot in the board that is acting as the transition between floors. As a result, you will be able to appreciate a space that will serve as an expansion joint.
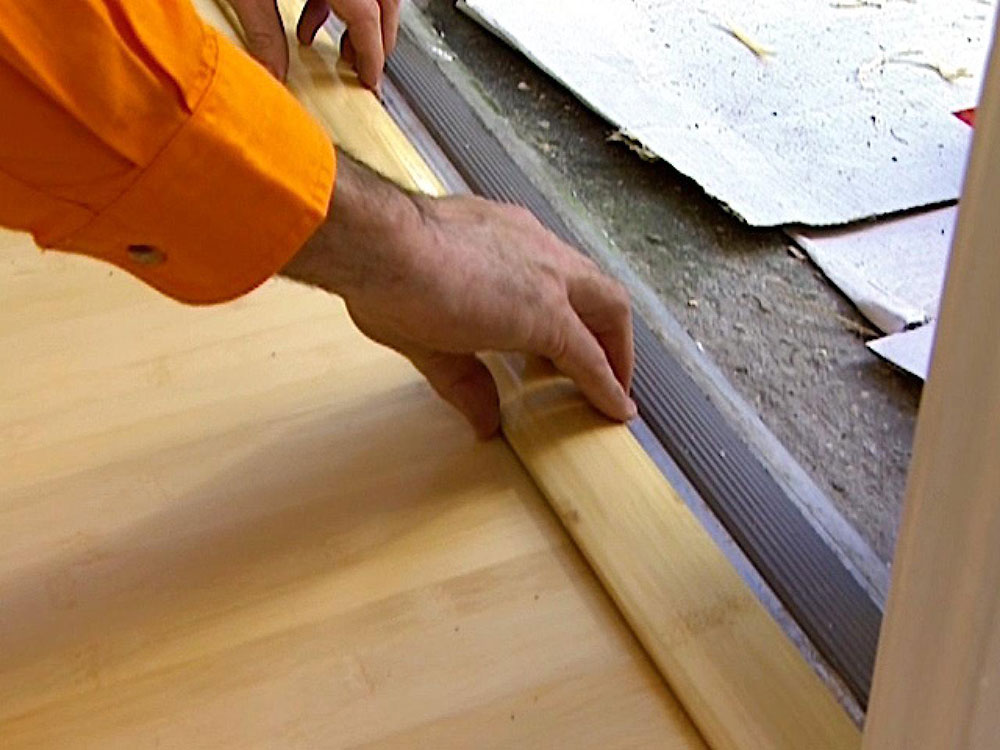
Once you installed all the boards in the doorway, you can place the transition piece to hide the expansion joint. If there are gaps around the edges of the wall, you should try to hidethem with the skirting board.
A faster but less aesthetic method
The previously mentioned steps will allow you to obtain a result that will look pleasing to the eye. Now, if you don’t want to take so long in this process, there is an alternative.
Once you reach the door threshold, stop placing the planks, and instead you will install a bar or vinyl in the middle. In this way, the work of making millimeters and measured cuts are avoided, and in the same way, it achieves the protection of the edges of the doorframe. However, the finish will not be as nice.
You can change the floor material
Another widely used alternative to creating transitions between floors is to place ceramic or mosaics. The result is not so natural, but it does provide much more creative freedom.
In addition, the installation process is simpler, since you only need to left the necessary gap between the floors to slide the ceramic piece.
FAQs about ending laminate flooring at doorways
1. How do I end laminate flooring at a doorway without using a transition strip?
The “cut back” technique can be used to finish laminate flooring at a doorway without the use of a transition strip. In order to do this, the planks that cross the doorway must be trimmed back until they are flush with the final complete board. Wood putty or caulk can be used to close the remaining gap. The door jamb can also be cut, and the flooring can be slipped below.
2. Should I use a transition strip at the doorway when installing laminate flooring?
Depending on the installation and personal desire, laminate flooring may or may not require a transition strip at a doorway. Transition strips can assist give the margins of the laminate a polished appearance and protect them, but they can also present a trip hazard. A transition strip might be required to ensure a seamless transition if the height difference between the two floors is substantial.
3. How do I determine the correct size of a transition strip for my laminate flooring installation?
When installing laminate flooring, measure the width of the entryway and deduct the width of the expansion gap on each side to get the right size transition strip. The length of the required transition strip is the measurement that results.
4. What is the best way to cut laminate flooring for a clean edge at a doorway?
Use a jigsaw or handsaw with a fine-tooth blade to cut laminate flooring for a neat edge at a doorway. With a utility knife, score the laminate’s top layer before making the slow, precise cut.
5. Can I install laminate flooring under the doorway threshold or should I cut it around it?
Generally speaking, it is advised to cut the laminate flooring around the threshold of the entryway rather than under it. This keeps the threshold from restricting mobility and ensures that the flooring expands and contracts as it should.
6. How do I finish the edge of the laminate flooring where it meets the door jamb or casing?
Use a piece of quarter round or shoe molding to finish the laminate flooring’s edge where it meets the door jamb or casing. The gap is filled and the appearance is completed. To seal the gap instead, you might use caulk or wood putty, but these options might not last as long.
7. Can I use caulk or silicone to seal the gap between the laminate flooring and the doorway threshold?
Although it is not always essential, caulk or silicone can be used to fill the space between the laminate flooring and the doorway threshold. It might be enough to leave the gap alone if it’s tiny and the threshold isn’t going to move any time soon.
8. Should I install the laminate flooring first and then the door casing or vice versa?
Installing the door casing is typically simpler after installing the laminate flooring. This makes for a cleaner, more accurate cut and guarantees a good fit.
9. What tools do I need to end laminate flooring at doorways?
You will need a saw (such as a jigsaw or handsaw), a measuring tape, a utility knife, wood putty or caulk, and a piece of quarter round or shoe molding (if required) to end laminate flooring at entrances.
10. Can I install laminate flooring in a doorway without removing the existing door?
Without removing the existing door, laminate flooring can be installed in a doorway, but it may be more challenging to get a clean, accurate cut. The door might need to be temporarily removed in order to facilitate the installation.
How to end laminate flooring at doorways – A better-looking house
This construction process seems intimidating at first glance. However, with enough time and patience, you can follow the process step by step until you achieve a professional result for your door and floor. This is proof that you do not need to be or search for a pro to create beautiful laminate floors.
If you find yourself in the middle of remodeling a room, you may have spent a lot of money. Especially if you chose to install a hardwood floor. And, although it doesn’t represent a large percentage of the budget, you can save some money by making the doorway transitions yourself.
If you enjoyed reading this article about how to end laminate flooring at doorways, we also wrote on how to remove glued down laminate flooring, how to install laminate flooring without transitions, how to install laminate flooring on a concrete basement floor, how to dry laminate flooring with water under it, how to seal laminate flooring seams, how to install laminate flooring on walls, how to repair swollen laminate flooring, how to repair laminate flooring, how to install laminate flooring on stairs, and how to stagger laminate flooring.