

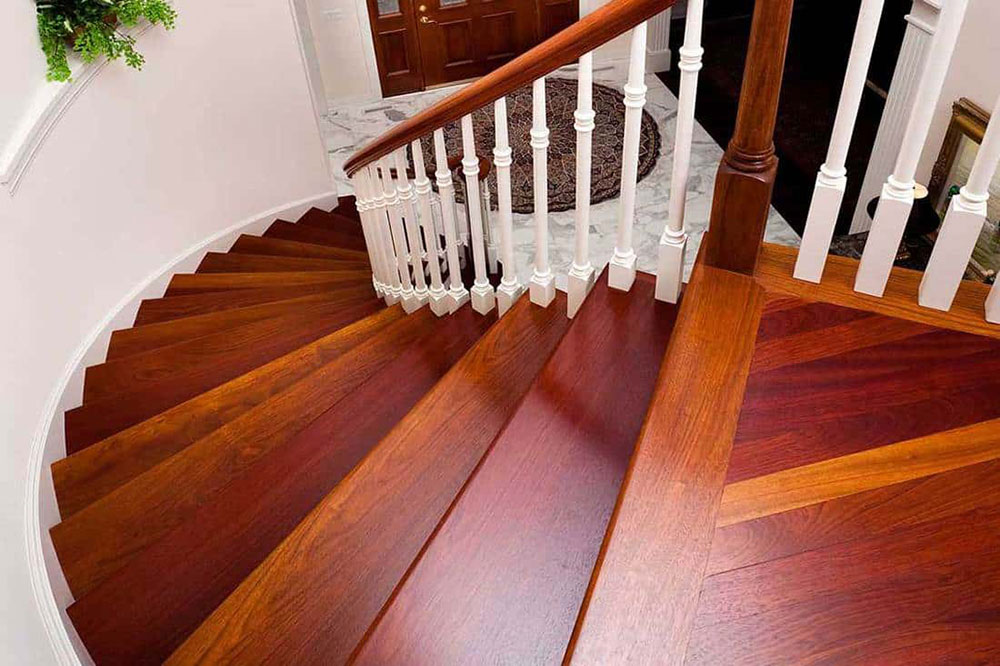
So, you want to know how to install laminate flooring on stairs?
Let’s dive in.
Laminate flooring became very popular nowadays. It is very durable and good for places with a great circulation of people. It is also coming in various colors and patterns, so it can fit almost every interior.
If you are living in a house or owning an object where people go up and down the stairs every day, laminate flooring is a great solution.
Yet, you should be careful when installing the laminate floor. You should do it carefully, with precision, proper tools, and good preparation. A bad installation can quickly lead to issues, as laminate floors may move and buckle. If the floor is not flat, this may be hazardous as it can lead to accidents (someone tripping over and falling). Besides, it can look messy. This is even more visible on the stairs.
Another good trait of laminate floors is they can copy the look of other materials, such as hardwood. It can look equally attractive, and cost less. Also, it is easier to install and maintain. Yet, you have to be careful when doing the installation by yourself. This process can be easy, with the right tools and good preparation.
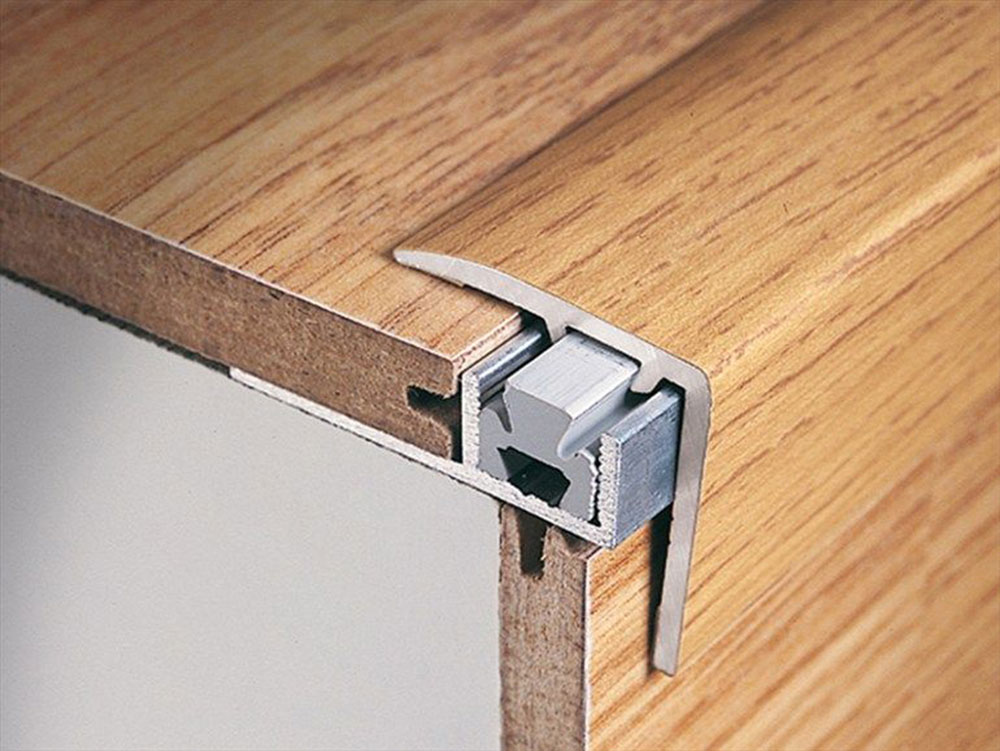
A grid locking system in modern types of laminated floors will prevent surface cracking and last for years.
Installing laminate flooring on stairs is a bit different from laying it in rooms. But it is not that difficult if you follow the steps and a few tips.
Laminated stairs don’t hold up the moisture as concrete flooring does. They also remain stable in contact with different household chemicals. This is one of the crucial reasons why laminate on stairs lasts longer.
In this article, we will share with you some useful tips and advice on how to install laminate flooring.
Preparation of flooring
Choosing laminate flooring


First, take your time and choose the type of laminated floor which will suit the best style of the room or house. Don’t forget to take into account both the practicality and style.
The biggest matter in question with the laminate flooring is its durability. Stairs are more commonly used than other parts of a house. That being the case, it is more susceptible to wear off and tear. This is why you should talk with the manufacturer and buy the most hard-wearing laminate floor they have in offer.
Laminate floors can be high gloss and very slippery, so be careful when choosing which to install. Especially if you have kids or old people in the house. Choose more rough and textured laminate to prevent any possible accidents.
Of course, laminate on stairs should also match the style of the rest of your house decor.
Also, always buy several boards more. Sometimes you’ll need few planks more. Either to fill in some unpredicted gaps or to replace a board if you damage it one day.
Let the laminate acclimate
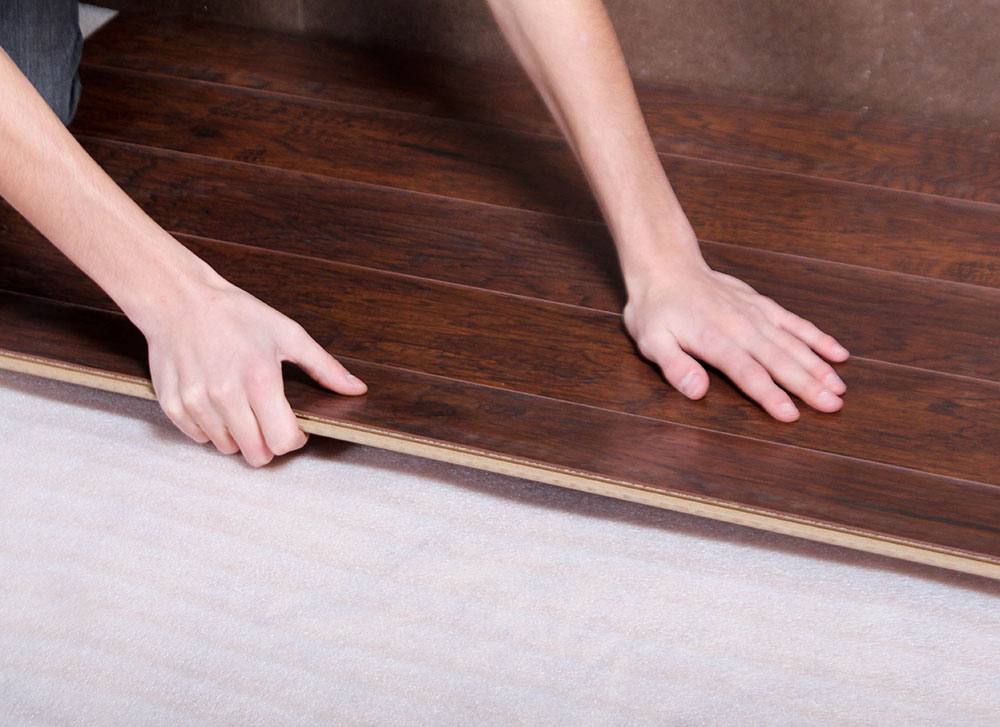

In the next phase, flooring laminate planks should acclimatize. The humidity of the house affects the laminate planks to expand and contract. If you want to avoid planks moving and buckling, let them rest.
To do so, unpack the boxes and position them in the lattice shape to provide airflow. Start installing the floors after a few days, 72 hours at least.
Installing laminate flooring on stairs requires preparation. The first step is to remove the existing floor and clean it from any paint, adhesives or tack strips. Preparation is essential.
If there is some older flooring on the staircase, get rid of it along with any underlay. Use tools such as pliers, a pry bar or a scraper to remove carpet and tack strip.
Don’t forget to wear a pair of protective gloves while doing this. You don’t want to have a splinter stuck in your hand or a nasty scratch or cut.
If there isn’t any earlier flooring there, and there is paint or adhesive leftovers – clean it. You want to have a nice and clean surface before you cover the staircase with the new flooring.
If you find some loose or creaking steps, fix those first. Nail them in a secure position. This will ensure a level surface to set down laminate on your staircase. Remove debris, bulges and high spots with some sandpaper if needed.
Remove any overhang
This is a part of the stairs standing above the riser. It is important to remove the overhang as well before you start installing the new floor. Use a jigsaw or reciprocating saw to cut it off. Then use a chisel to make sure the surface is flush with the riser.
In case you don’t want to remove the overhang or you don’t own the proper tools to do it, use a piece of plywood instead. Pad the riser to fill out the area under the overhang. Nail the plywood before you start laying the new laminate floor.
Cut the laminate to size
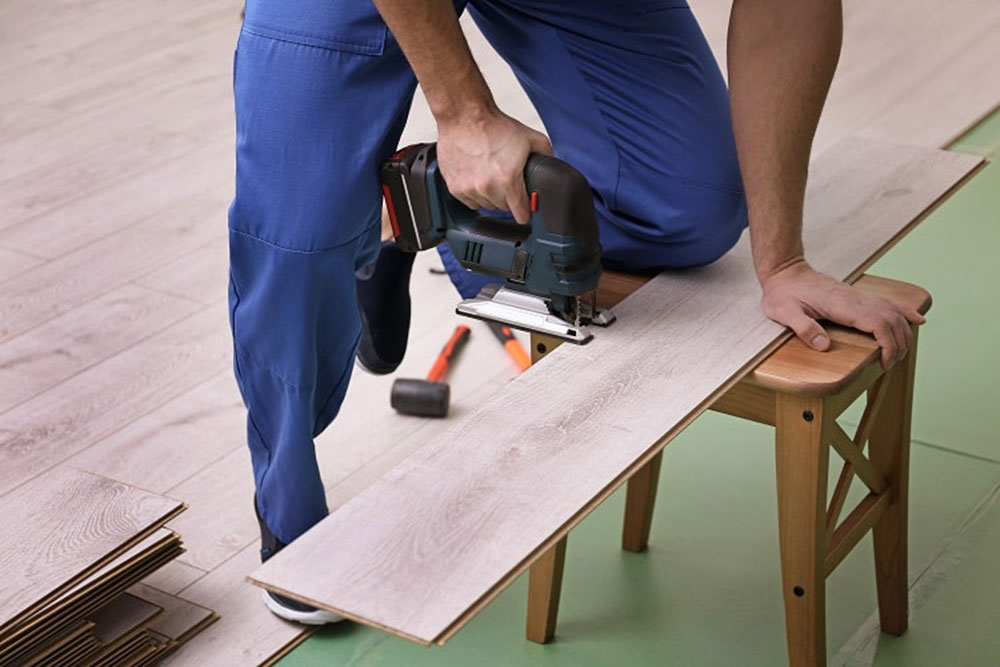

For the next step, you will need three planks. Position the first one on the top (side on which you step). The second one in front (riser piece, vertical side). And the third one at the corner – stair nosing which will form the overhang. Of course, you need to cut the pieces to the required length and width.
The tread piece should cover the step, from one side to another. If it doesn’t, measure and mark the line where to cut the plank. Sometimes one plank is too small. In that case, measure the length of the empty surface and cut the piece from another board. Glue the tongue to groove, to get one stable piece.
The riser plank is in the vertical position. The height of the riser of the staircase and riser piece should match in length and width. It should fit, from top to bottom. If it’s too high, you need to cut the board to the required size.
The third part, stair nosing, should match the length of the tread and riser piece. You will in most cases have to cut and trim the edges to fit.
Installation
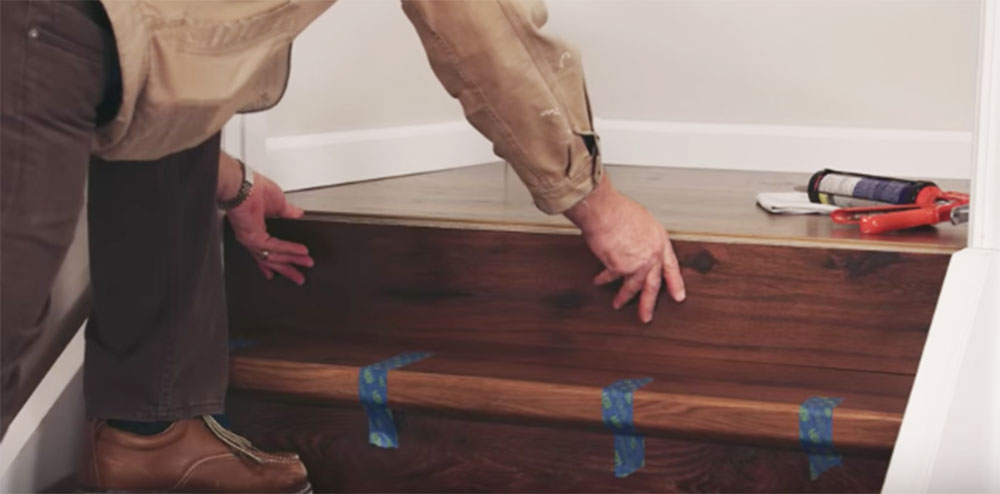
Lay the tread
There is an order in which you install the pieces. The first one is the tread piece. Work your way from the top to the bottom of the stairs. You don’t want to step right away on freshly installed boards nor do you want to be stuck on the upper floor.
- Apply the good quality wood glue, three beads will be enough, on the subfloor.
- Make sure non of it gets over the edges. Leave some room as you’ll need to keep that part clean for placing stair nosing later.
- Carefully place the board onto the stair so that the tongue edge faces you.
- Have a damp cloth nearby to wipe any glue that may squeeze onto the laminate board.
Place the riser

Placing the vertical part – riser – is the same as gluing the tread piece.
- In this next step, apply the wood glue on the plank, not on the subfloor.
- When you place and stick it on the stair riser, hold it that way for a couple of minutes to allow the glue to set.
- For more stability, you can nail the top of the riser piece. Placing the nosing will hide the nails.
Fit the stair nosing

This is the third and the last piece. To install it:
- Apply the glue on the subfloor.
- Place it so the tapered end overlaps the top of the tread piece.
- To increase the stability, screw the top nosing into place. Use clear plastic tape to cover the nosing and protect the laminate from any scratches.
- Measure about 9 inches away from the center of the nosing and mark where the screws will go.
- After you drill the countersink hole, insert wooden screws.
- Camouflage them with some wood putty.
- Remove the protective plastic tape afterward.
The final touch
Fill in screw holes
If you leave the screws exposed, it might leave a messy impression. It will look much more pleasing to the eye to cover them. You can use flooring filler or wood putty to fill these gaps.
Don’t forget to remove the plastic tape after you cover the nosing. Let it rest for 15 to 20 minutes. Before it is entirely dried, use a piece of damp cloth to even out the surface of the wood putty.
Clean the laminate

You should do this as soon as possible to remove all the dirt, dust and putty or filler leftovers. If the putty dries completely, you won’t be able to clean it.
After finishing the installation, leave the laminate to rest. You shouldn’t use the staircase for at least 12 to 24 hours.
As you can see in this article, installing laminate flooring on stairs is not that difficult. It is like putting together a puzzle. If you follow the steps and tips we presented you with, you will be able to do it all by yourself.
If you enjoyed reading this article about how to install laminate flooring on stairs, we also wrote on how to remove glued down laminate flooring, how to end laminate flooring at doorways, how to install laminate flooring on a concrete basement floor, how to dry laminate flooring with water under it, how to seal laminate flooring seams, how to install laminate flooring on walls, how to repair swollen laminate flooring, how to repair laminate flooring, how to install laminate flooring without transitions, and how to stagger laminate flooring.