

Before purchasing a new kitchen sink, you must ensure that it fits properly.
You will need to measure your sink at several points during the year. Before beginning any measurement, it’s important to understand what instruments you’ll need and how to measure a kitchen sink.
If you’re replacing an existing sink, you’ll want to measure the sink first and then remove it to determine the size of the existing hole in your kitchen countertop. If you’re replacing your countertops at the same time as installing your new sink, you’ll want to measure the sink before cutting a hole in the countertop.
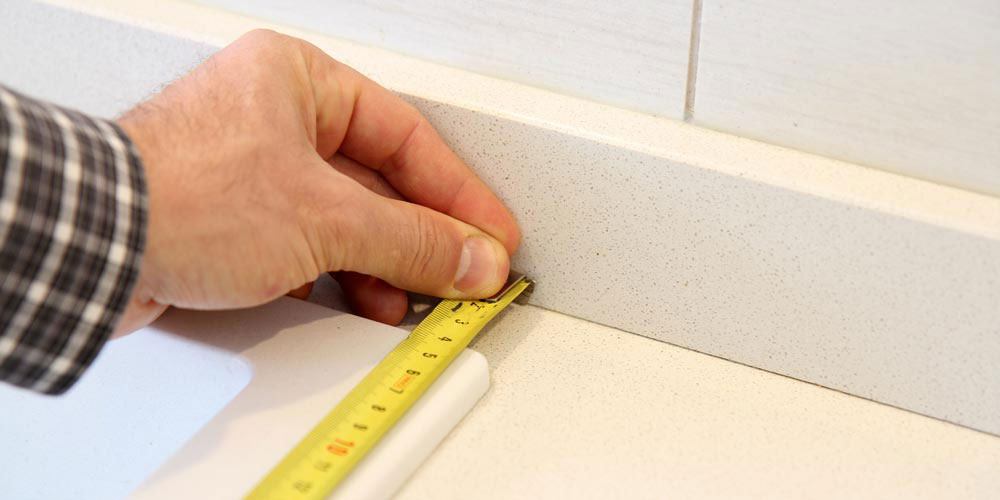
Take out a tape measure and prepare to discover how to easily measure kitchen sinks in our article below.
Tools for Measuring Kitchen Sink
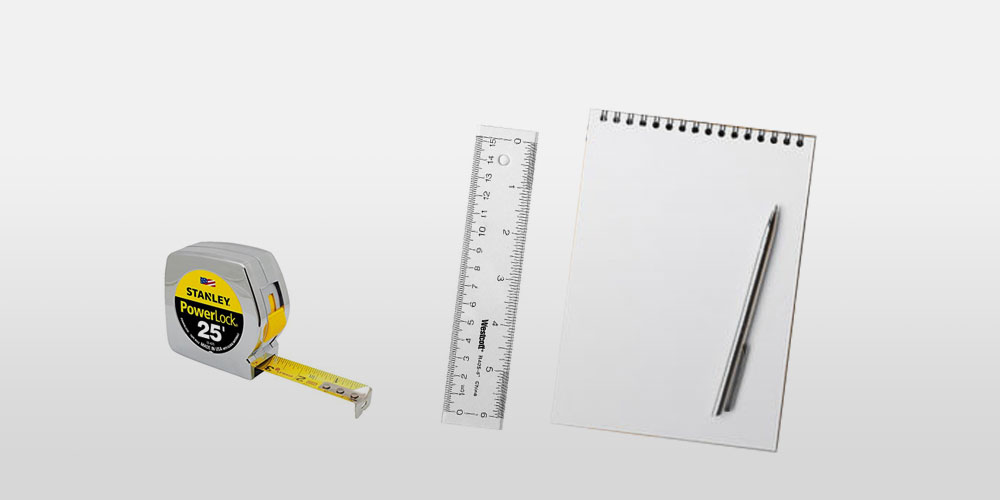

Accurately measuring the sink before purchasing a replacement is the prudent course of action. You need the appropriate tools to avoid making math errors or assuming the incorrect sink size.
- Pencil and paper
- Tape measure
- Rectangular ruler
Before You Begin

Before you can learn how to measure a kitchen sink for replacement, you must first determine the kind of sink you presently own. Sinks are classified into three categories: under-mount sinks, drop-in sinks, and farmhouse sinks.
- An under-mount sink is one that is placed under the countertop. The countertop completely encircles the rim of this sink, ensuring that no portion of the sink sits on the counter.
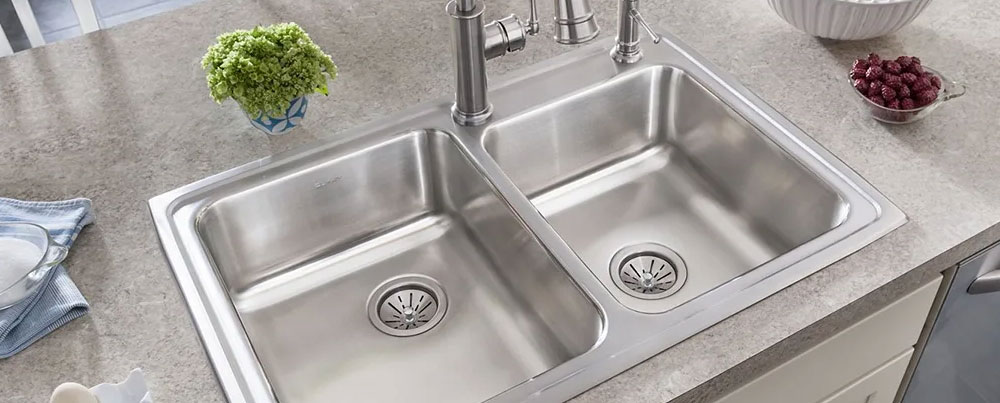
- Top-mount or self-rimming sinks are sometimes referred to as drop-in sinks. These sinks feature a rim that sits on the surface of the counter.
- Apron sinks, often known as farmhouse sinks, have an open front and a deep bowl. Cabinets do not cover the basin.
Once you’ve determined the kind of sink, proceed with the following procedures to obtain kitchen sink measurements:
- Empty your kitchen base cabinet to provide a clean workspace for measuring that space.
- Ascertain that your sink is free of dishes and clean.
- Take all measurements twice to guarantee accuracy.
Installing a sink varies according on its kind, and measuring guidelines may range somewhat.
Measuring the Old Sink
Measure the width of the sink’s top portion.
The top portion of the sink is often broader than the bottom portion, therefore attempt to get a precise measurement. This approach is applicable to drop-in or top-mount sinks, but not to under-mount sinks. Remove the sink and invert it, then measure the flush to the lip’s edge.
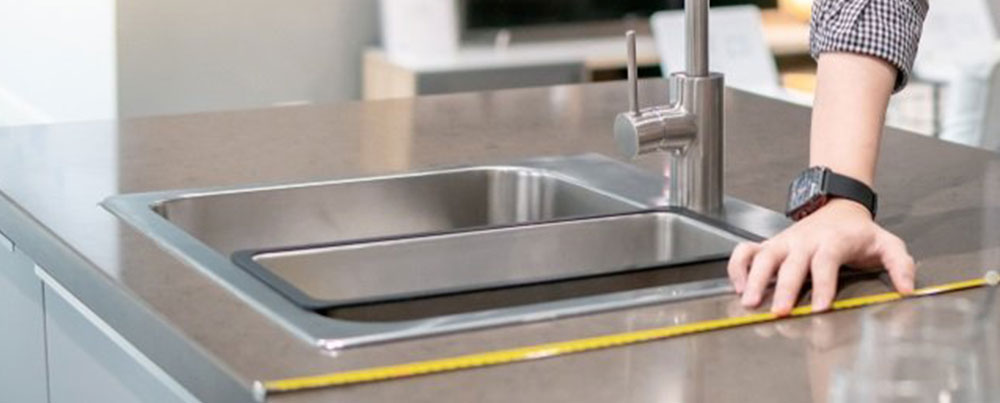
Find the Width of the Sink
To get the breadth, set the tape slightly higher than the sink’s bottom. Then, from back to front, extend the tape across it to the same location on the other side.
Measure the Length of the Sink
The sink’s length begins at a point somewhat higher than the location where the sink curves. The length of the sink basin is determined by stretching the tape to the same position at the bottom.
Get the Depth of the Sink
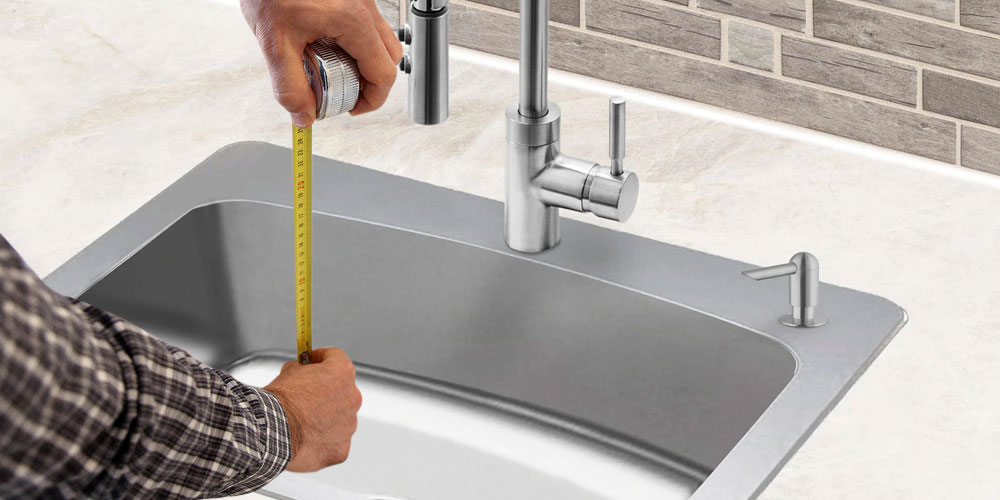
Place the ruler in the sink, with the bottom end next to the drainage hole. Now, measure the distance from the sink’s bottom to the straightedge you set across the top.
Measuring New Sink for a Countertop Installation
Certain new sinks include a template. These will be laid out on the counter and traced with a pencil. Always use this if your sink has one since it reduces the amount of measuring required.
If there is no template available, create one. Simply sketch the shape of your new sink onto the surface of your counter. To create a template, set the sink upside-down on the counter. When creating your template, allow a 1.5-inch gap between the back of the sink and the backsplash. Trace the sink with a marker or pencil and then securely move it out of the way.

Additional tip – If you have a top-mounted sink, you must measure the lip measurement. Measure to the edge of the lip against the sink basin while the sink is upside down on the counter. Increase the accuracy of the drawing by using this lip measurement in the template. Subtract 0.125 inches from the width of the lip you just measured and make a note of it within the template’s outline.
Make a note of the cut-out lines. Connect all of the lines you’ve drawn with a straight edge. This finished template now serves as a guide for drilling the hole for your new sink.
Measure the Countertop Cutout
To obtain these measurements, you will need to remove your existing sink. When doing this task, ensure that all water valves leading to the sink are turned off, that all water lines are disconnected, and that the faucet is removed. After that, remove the drain attachments and the sink.
Measure side to side first, then back to front. This is the overall width of the new sink.
It’s critical to keep an eye on your corner ratio. Ascertain that the corner radius and lip of your new kitchen sink are not reduced in order to fill any gaps.
For an under mount sink, the cutout should match the inside measurements of the new sink.
Consider the amount of overlap required between the lip and the counter when installing a drop-in sink.
Measure Your Cabinet
If you’re replacing a kitchen sink or working within an existing design, the size of your cabinet or sink is already established. If you’re just getting started, the first step is to determine the cabinet size.
Why is this critical? Because the size of your cabinet cannot be adjusted, your selections are restricted to a sink that fits inside the given area.
Your available under-cabinet and kitchen countertop space will dictate the size of your new sink. To determine the useable surface area of your countertop, measure from the front border of the countertop to the wall, taking into consideration the thickness of any backsplash.
This is the maximum width possible for your new sink. If, however, all available space is used, you will need to install wall-mounted faucets, which will require drilling new holes in the wall and rerouting plumbing lines.
To make this project more do-it-yourself friendly, we suggest measuring the base of your kitchen faucet and allocating that much countertop space for faucet holes and the rim of a drop-in sink (if you choose this as a new style).
When measuring for a farmhouse sink, keep in mind that this type might protrude somewhat from the face of the kitchen counter.
Following that, determine the inner length of the cabinet space underneath. Measure from left to right (side to side) within your cabinet, and then deduct three to four inches from the overall length to accommodate for sink-mounting hardware on each side.
To guarantee that your cabinet will fit your new sink, this size should be no less than the “Minimum Base Cabinet Width” specified in the sink’s specs.
Take the Measurements to the Local Store
Visit the shop and check to see if there are sinks available with the same measurements as your previous sink. The dimensions are indicated on the boxes that accompany new sinks. If you are unable to find them, get assistance from a home improvement shop employee.
Because the lips of top mount sinks often rest on the counter, it is OK if they are smaller.
How to Get the Measurement of an Undermount Kitchen Sink
Top-mounted sink basins have an overlapped lip that sits on your kitchen counter, so it’s normal and acceptable if your new sink’s dimensions are somewhat smaller than the hole.
If your sink is placed from below, the measurements of your new sink must be precise.
Take the precise measurement of your sink after relocating it from its countertop location. Because the faucet does not come apart from the sink, make sure you leave adequate room when installing a new one.
How To Measure A Corner Sink


Knowing how to measure a kitchen sink with the intention of replacing it needs a variety of different measurements. Allow sufficient space on the counter for the new sink and the pipe size that will accompany it.
Whether you’re using an under-sink or a countertop water filter, having the precise measure is critical. If you’re wondering how to measure a kitchen sink for replacement, follow these steps.
Calculate the measure of space available by measuring from the wall to the end of the counter. A properly placed sink should extend beyond the counter’s edge.
Horizontally align the tape from the far edge of the counter to the point where the sink terminates. Note the measurement since it represents the measurement’s upper limit.
Crawl under the counter and take a measure from the sink’s end to the floor. The measurement will assist you in determining the depth of your new sink.
Stretch the tape from under the counter to the location of the sink, starting at the closest pipe. The number you get indicates how much tubing to use to install the new sink.
Additional Tip
Pay close attention to the cutout on the radius of the corner. If the new sink is smaller, it will not cover it at all. You are not required to get a precise measurement; only ensure that the new sink adequately covers the space.
Final Words
Whatever project you’re measuring on, it’s critical to precisely measure a sink. Making a new sink hole, replacing an existing one, or installing new countertops. Each operation requires precise measurements, or you may wind up with an ill-fitting sink.
You must understand how to simply measure a sink, which you can do with our instructions and advice.
If you enjoyed reading this article about how to measure a kitchen sink, you should check out this one on how to organize a small kitchen without a pantry or this one on how to remove the kitchen sink drain.
We also wrote about similar topics like how to remove a Moen kitchen faucet, how long does it take to remodel a kitchen, how to remove an old kitchen faucet, how to clean kitchen faucet head, how to adjust kitchen cabinet doors, how tall are kitchen counters, why are kitchen cabinets so expensive, and how to restain kitchen cabinets without stripping.