Advertisement
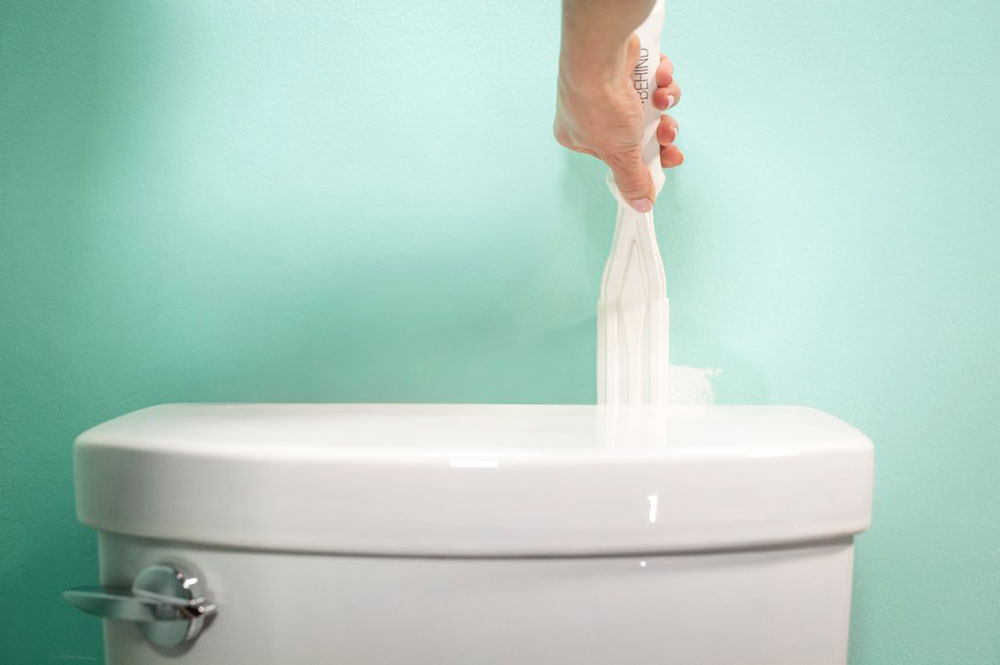
When you’re repainting the bathroom, it is natural to have some trouble reaching behind the toilet.
In that case, you have to give your best efforts to reach the back of it with a brush. Corner toilets are the worst. They don’t allow you to have any kind of movement when painting. The space is tight and dirty. This is the part where dust and debris collect the most. And, it is natural not to want to paint that area. No one will see it, right?
Although it is true, it is still a sign of amateur work. The painting process can be hard and tricky, but it will pay off once you finish. What’s even better, it doesn’t have to be as hard. If you prepare well, this won’t be so bad.
Read more to find out how to paint behind a toilet like a professional. You will have incredible results and everyone will be proud.
Steps for preparing for the project
Knowing how to paint behind a toilet means that you have to prepare well first. Do some prep work first.
The first thing you need to do is to buy quality supplies. The paint should go smoothly. This is a guaranteed way to get impressive results.
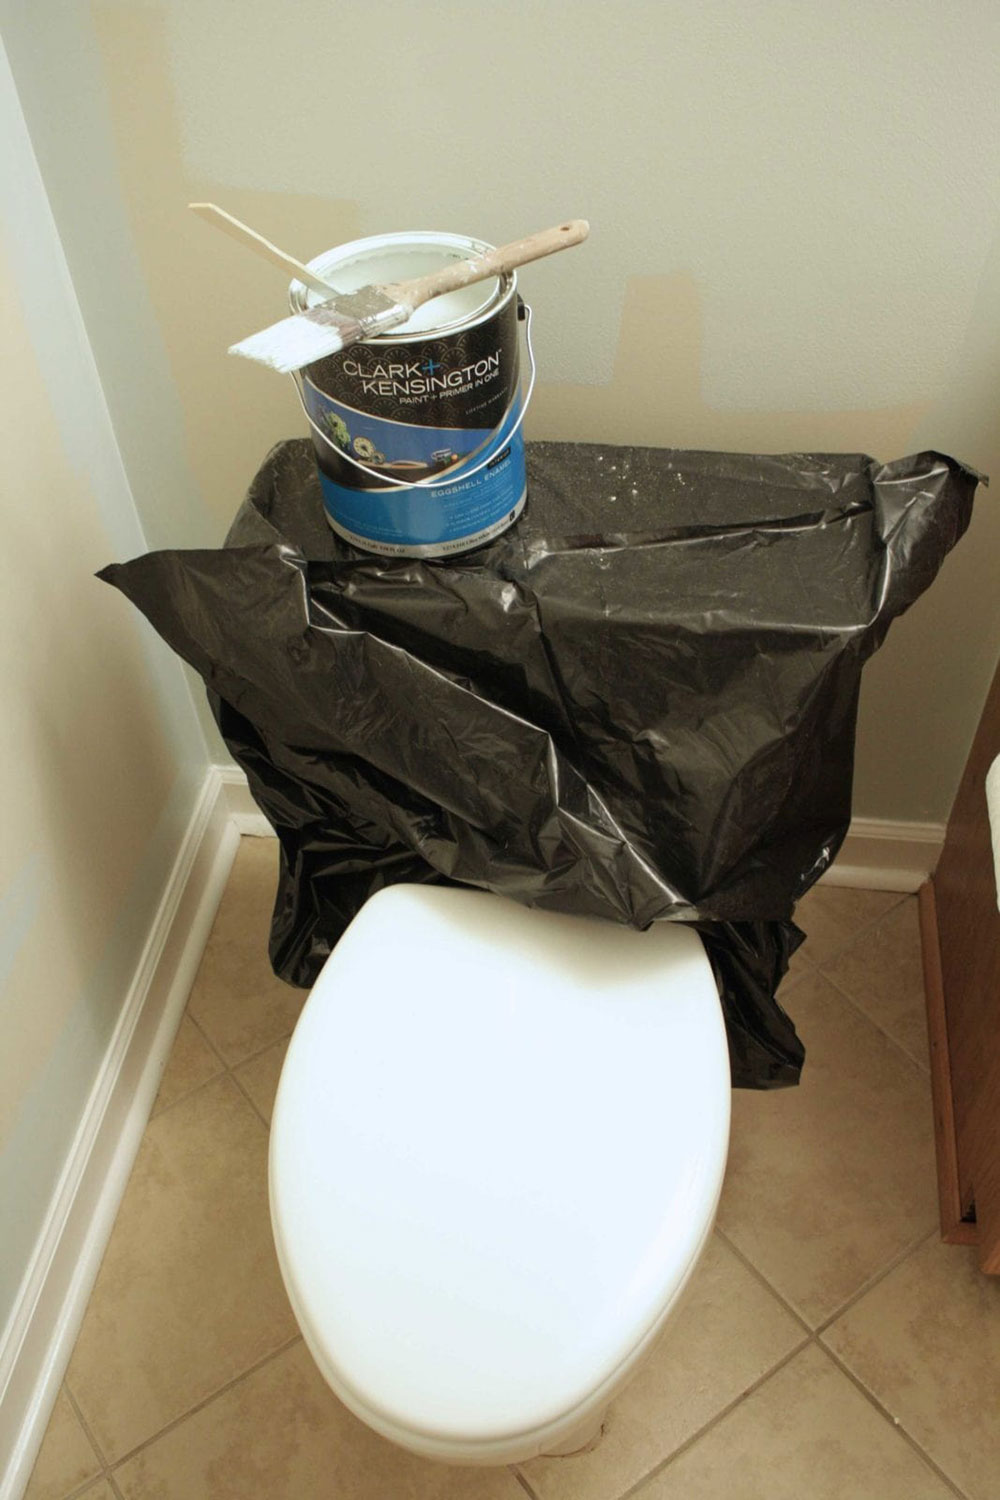
Begin by removing everything from the bathroom. That means you have to remove the floor mat, the towels, and personal items. Then, put on plastic nylon or a trash bag over the toilet. That way you won’t make a mess. It is an important step when painting the whole bathroom or even just the wall behind the toilet.
Make sure the bathroom has access to fresh air. You want to have ventilation in the room. When the room is closed, the paint expels toxic fumes. The fumes cause numerous health problems. You could have blurry vision or faint.
Paint can also drip on your clothes that is why it is crucial to wear old clothing that won’t mind being ruined. Also, another thing you should have is a proper primer and paint.
Materials you’ll need when knowing how to paint behind a toilet
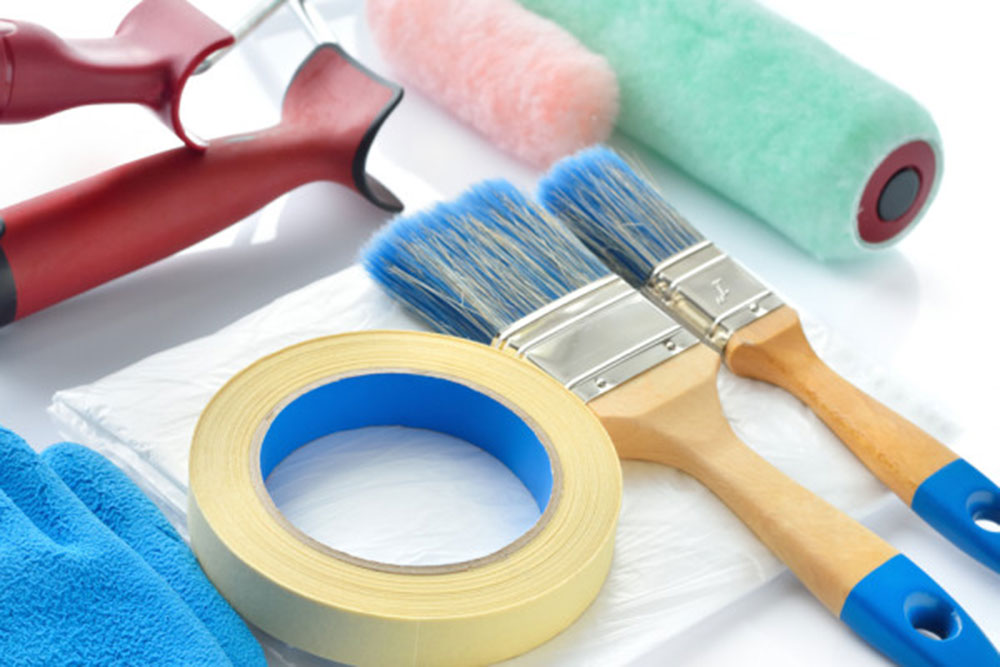
- Drop cloth
- Tack cloth
- Heavy-duty garbage bag
- 5″ Painter’s tape
- 16″ mini paint roller
- 4″ roller pad
- Angled 1″ paint brush
- Small detail brush
Step by step Methods for how to paint behind a toilet without making a mess
Painting Using the Mini Roller
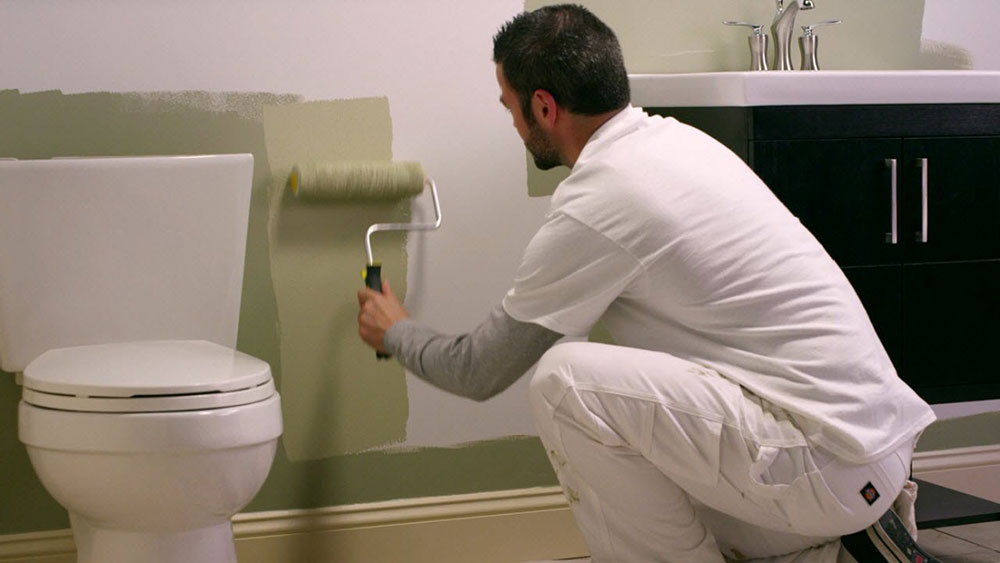
One of the best tools you could use for painting is a mini roller. This is the tool that always gets the job done. The roller is ideal for beginners, as well. They have a 16 inch neck and a roller pad that has a width of 1 inch.
- First, put the Roller into the Prepared Paint. That paint should be in a shallow container. You can also use a rolling tray. Then, dip the roller in the container and wipe the excess off.
- You don’t want the paint to spill everywhere. To avoid this, dip in small amounts.
- At a comfortable angle, roll the brush on the wall behind the toilet. Usually, you should move the roller from top to bottom. But this depends on the amount of room between the bowl and the wall.
Make sure you check the toilet for any spills and drippings. If there are some, clean the coved area immediately. If your toilet is made of porcelain, don’t worry. The paint won’t stick tightly. You can peel it off.
The Stick and Rag Method for Painting behind a Toilet
It is normal if the mini roller doesn’t work. Here is another way on how to paint behind a toilet using a stick and a rag. All you need is a painting stir stick. It doesn’t have to be that tool exactly. A wood stick will work equally as well. Then, put a tag on the tip and wrap it around. You can secure it with tape.
One side of the rag should be used to dip the paint. You can use a paintbrush to apply the paint on the rag. Apply a little paint. Do not over soak it. This will only make a huge mess. When pushing back and forth between the wall and the water tank. Do this until the wall is completely painted.
This is a very slow process. And, it doesn’t give a perfectly smooth texture. However, it will do the job more or less. The wall texture doesn’t matter.
Some Additional Tips for Painting behind the toilet
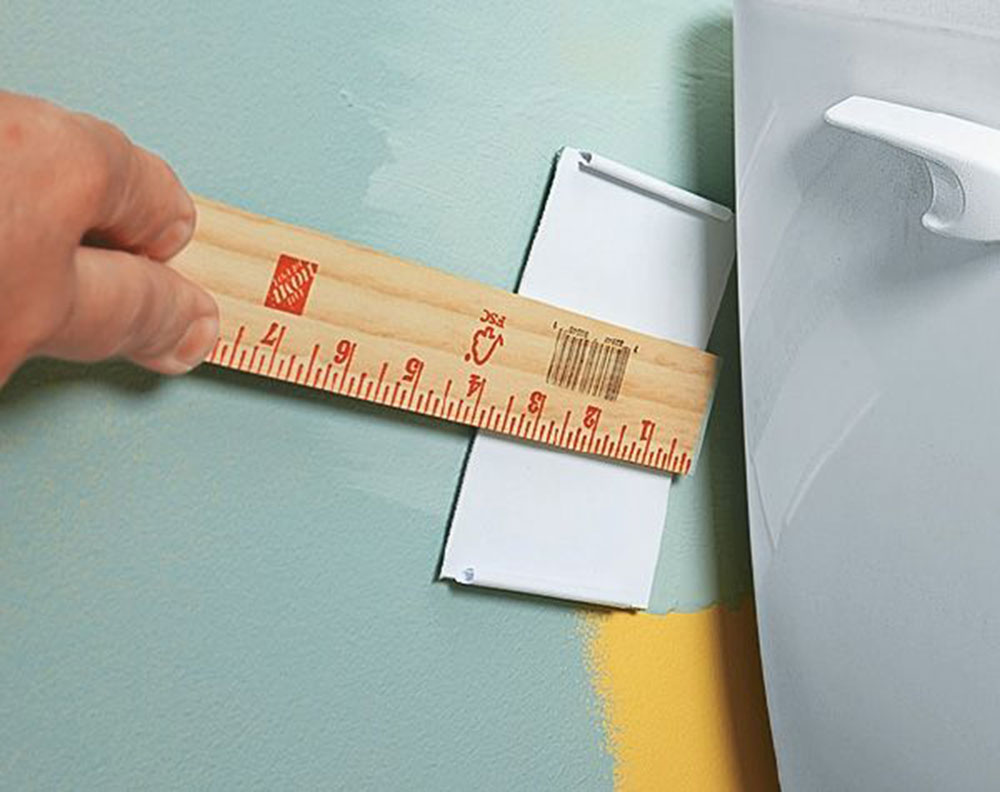
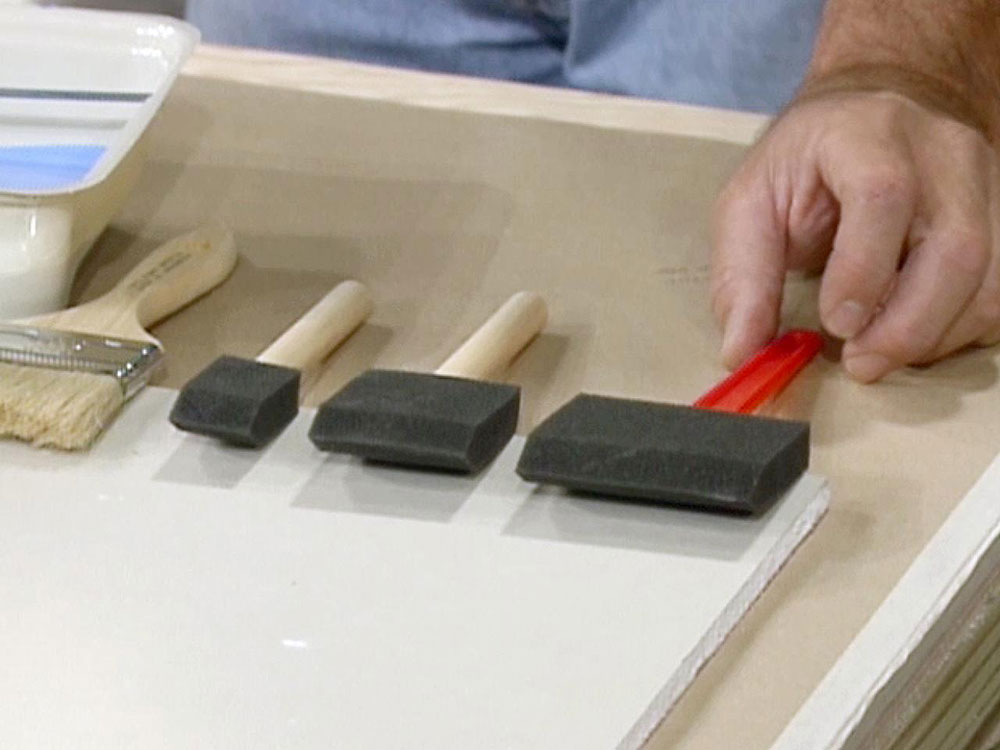
For two-inch clearance or more use Sponge Brushes
Many toilet tanks are closely set to the wall. This makes the wall hard to reach with a paintbrush. In that case, the only thing you have to do is use a sponge. Put paint on one corner of the sponge. Then delicately press the sponge on the wall. First, begin from the central point, and then work on the sides.
Use a High-Quality Trim Brush with a Long Handle
If there are any places that you can’t reach, use an angular brush. This brush is typically 1-2 inches wide. Use a brush that is thinner, that way it will be easier for you to paint.
Also, choose a brush that has a long handle. That is to prevent wavy strokes when painting the unreachable areas. The longer handle will help you make straighter lines. This is how to paint behind a toilet with only a brush.
Removing the Tank to Paint behind the Toilet
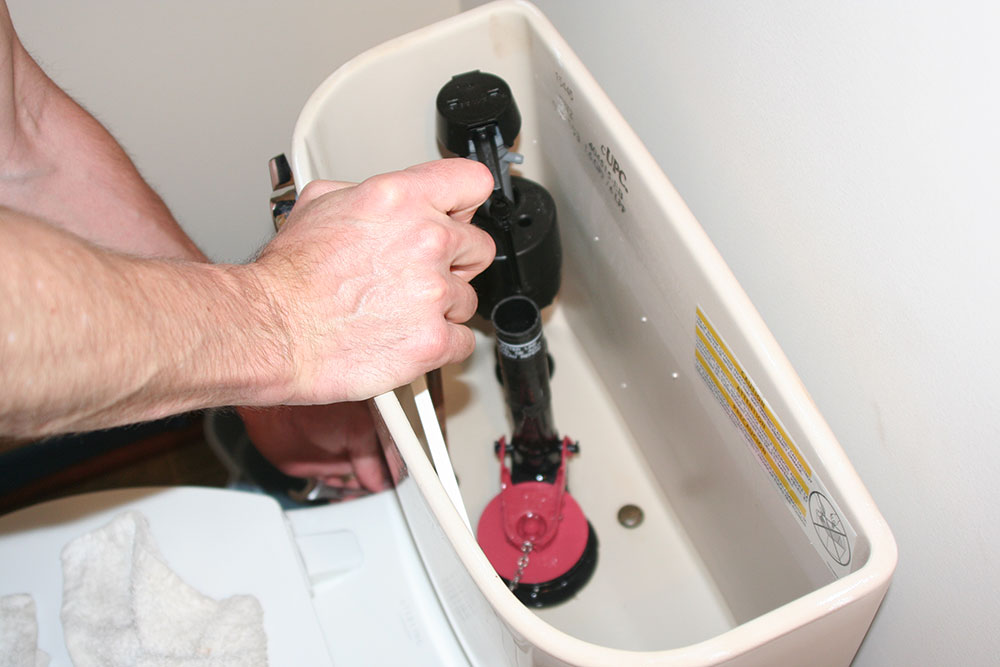
Unfortunately, you can’t use these painting methods in tight spaces. That is why you might need to remove the toilet tank to reach the back area. You only need to remove the tank, not the entire toilet.
- The first thing you need to do is turn off the water in the toilet. Locate the valve on the wall. It is generally right behind the toilet. Them, flush the toilet to empty the tank.
- The next step is to unscrew the tank. The tank is attached to a bowl. It is connected with plastic nuts and bolts. They are located underneath the tank. You will be able to find the immediately. Then, unscrew them. Once you have done that, lift the bowl. Do this gently.
- You can now move on with your painting.
Always Clean-Up After Painting
It is necessary to clean the rest of the space from paint. If you have any spilled paint, make sure to wipe it off with a dry cloth. It the paint has hardened, use paint thinner to break the paint bonds.
A clean paint job is a sign of professionalism. We hope that this article will teach you how to paint behind a toilet with ease and in no time. Enjoy your freshly painted bathroom and be worry-free.
If you enjoyed reading this article about how to paint behind a toilet, you should read these as well:

