Advertisement
Many people don’t pay enough attention to the doors in their home. And, surprisingly, they are the most common item that malfunctions.
Depending on the material they’re made of, they can easily bind of stick. For example let’s take wooden doors. They swell in the winter because of their moisture-absorbing ability. But, on the other hand the metal doors expand and contract on different temperatures. And, the long exposure the changing weather elements can cause them to stick and bind. This can be quite frustrating. They begin to malfunction. This post will tell you how to plane a door. Now, your doors won’t have trouble opening or closing.
Plane a door – DIY
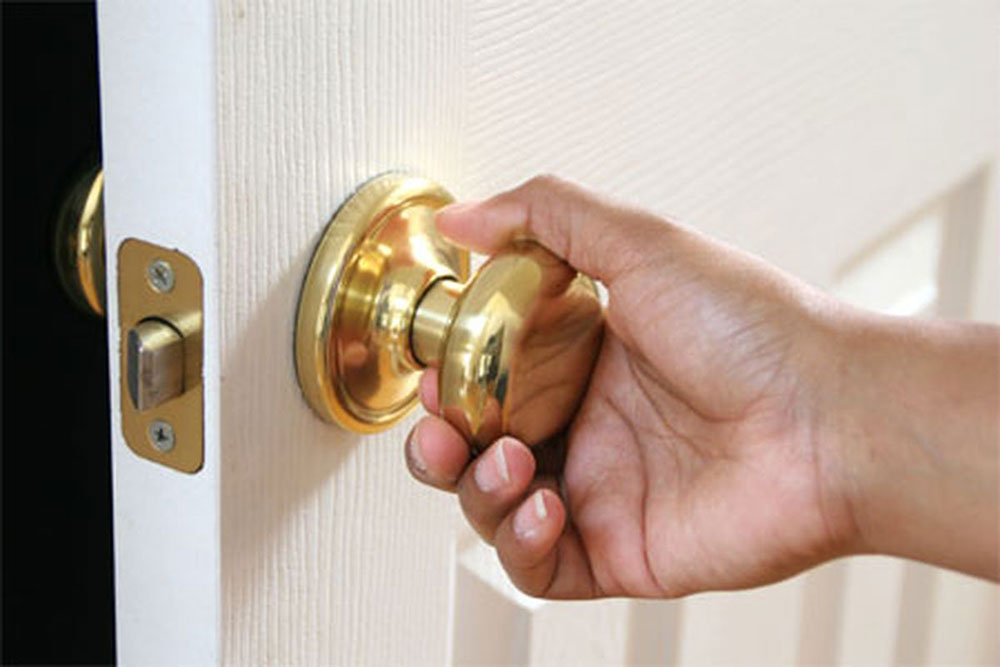
Sometimes you don’t have to put a lot of effort to fix a door. Typically, the door needs a little bit of tightening. Check the screws and see whether they are loose. You can do this on your own. But, it happens so that some doors need to be resized. You have to remove the hinges. Then, your next job is to shave off the edges. It might seem like a demanding job, but don’t worry. You can do it on your own. With the necessary equipment, you can do anything.
Steps to Plane a door
Finding The Area where plane
The door might not show any obvious signs where it needs to be trimmed. To plane a door effectively you have to insect and mark the area. Make sure you make the proper preparations. First, remove the wood step by step and always check before you move on.
- Begin by tracing where the paint has peeled off. When the door works through the jamb, the paint starts peeling off. You will be able to notice it, without a doubt.
- You can also close the door and open it. Try this for a couple of times. If there are places that have trouble getting in the door frame or getting out of it, those places are most certainly the ones that need to be fixed.
- You can also try and look for uneven areas on the door. See whether there are any gaps. When the door is closed, you will be able to notice it better.
Marking Up The Door
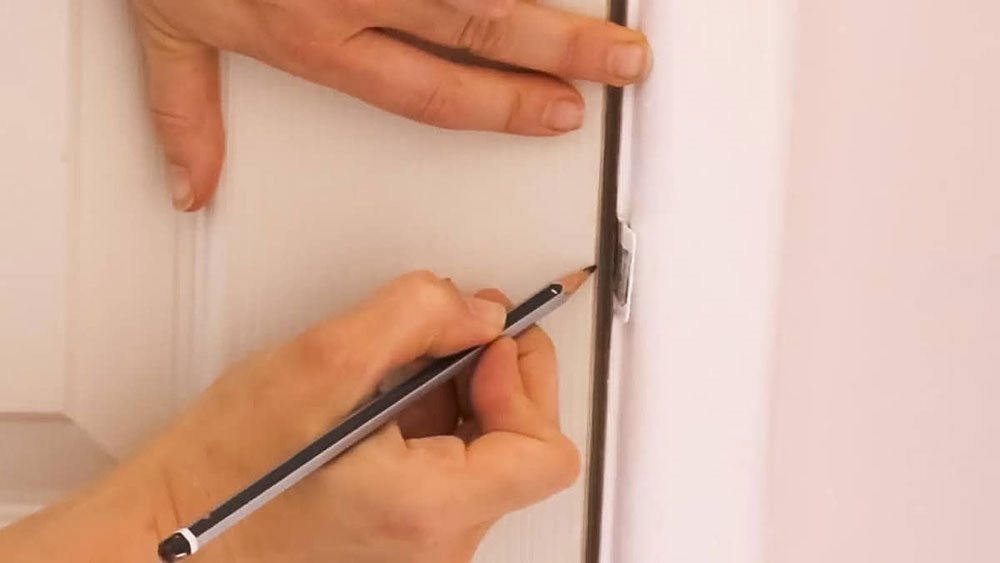
You can mark the problematic areas with pencil marks. If you find the place the door is rubbing, make it with a pencil. You can close and open the door to make sure.
The marks are most definitely going to transfer on the jamb. That area needs to be fixed.
Remove the door from the frame (If necessary)
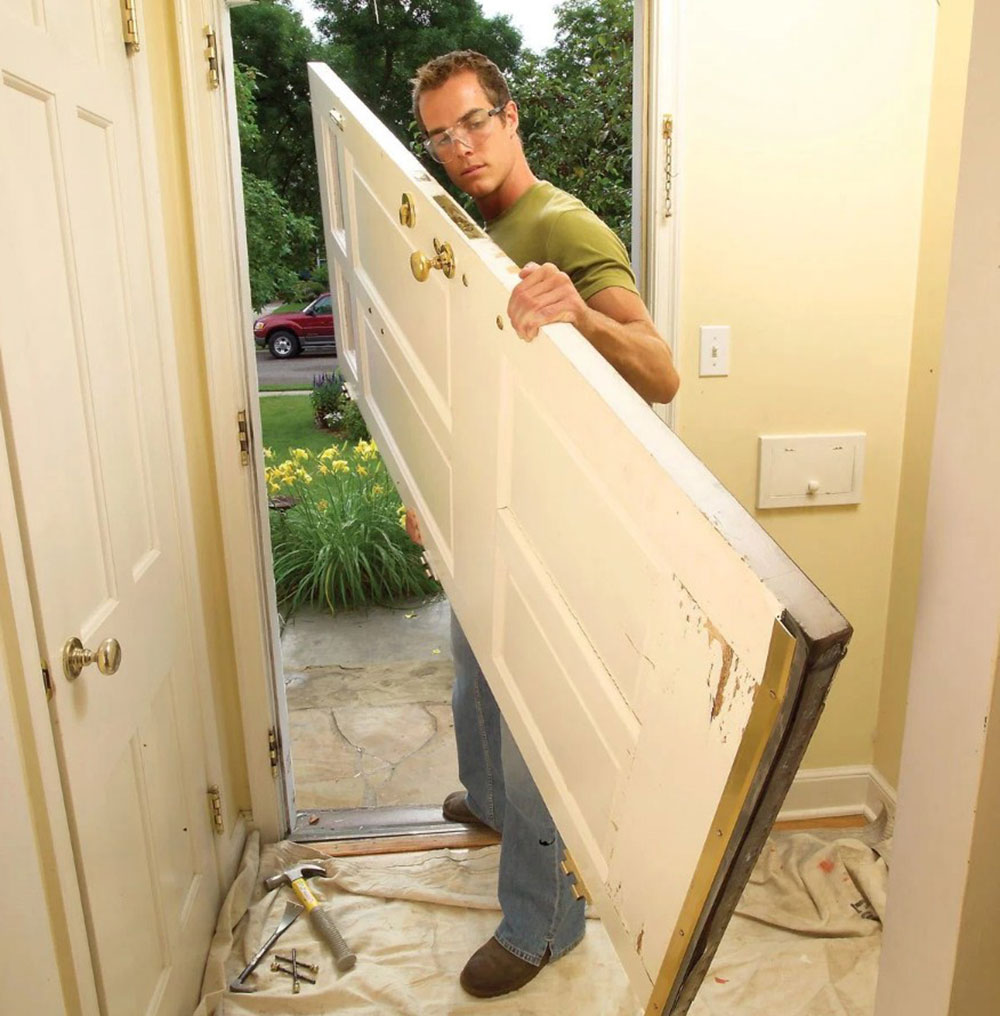
It would be best if you remove the door from the frame. Although, it is not often necessary, it will most definitely help. This is helpful if you need to plane bigger and larger portions on the door.
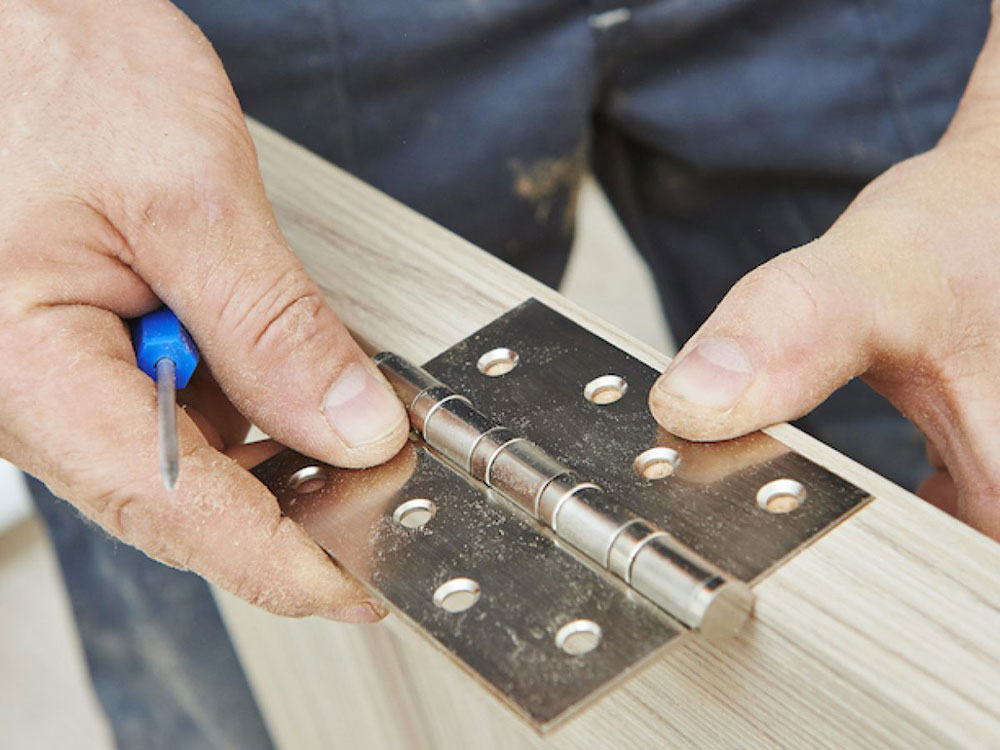
First, remove the hinges. Use a screwdriver or a drill to do so. This will be helpful if you wave to plane the bottom part of the door.
Steps for removing the door
To remove the door, you have to get rid of the pin in the hinge. If your door happens to have a pin that can be removed, unscrew the hinge.
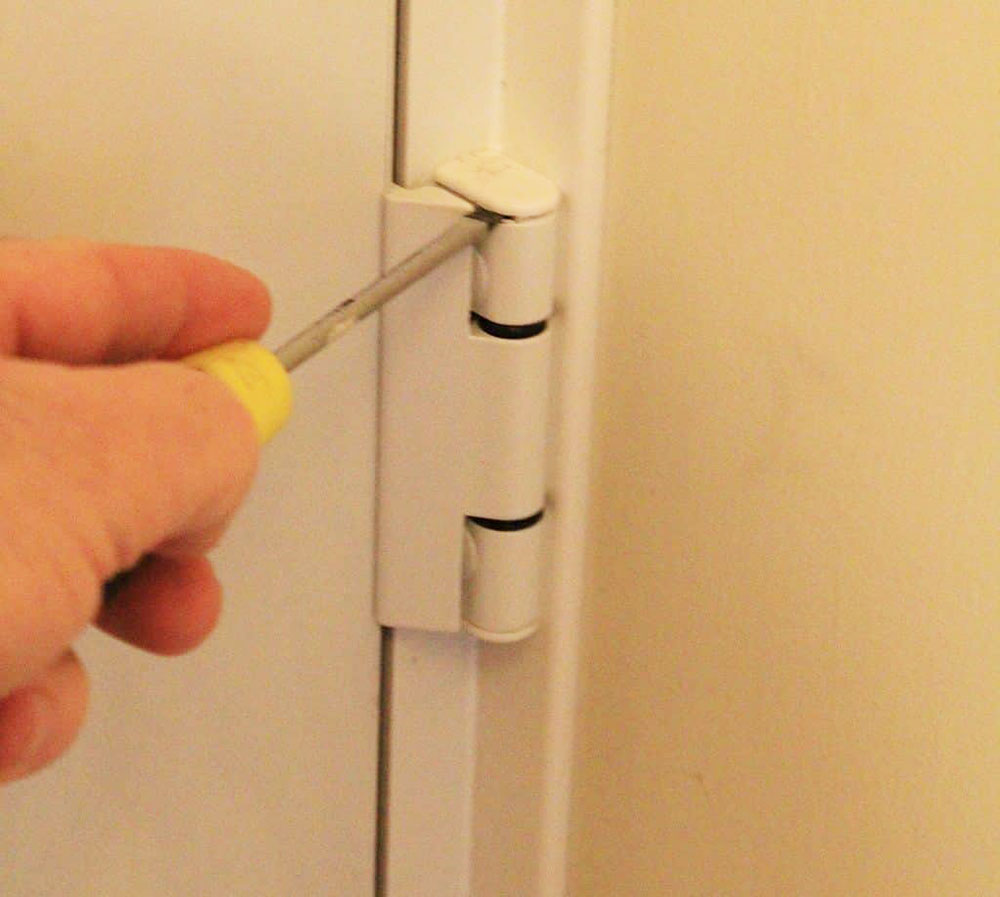
- First you need to take out the pin. To do this, you can use pliers. Then, pull the pin from the bottom hinge. Some doors don’t have a pin. That is why you might have to remove them by unscrewing them.
- Use a screwdriver. The screwdriver will help you to unfasten the hinge screws. The, release the door from its hinges and leave the hinges on the frame.
- Next, remove the door from the hinge and place the screw or pins in safe place.
Prepare setup for the planning
How to prepare a setup for the planning?
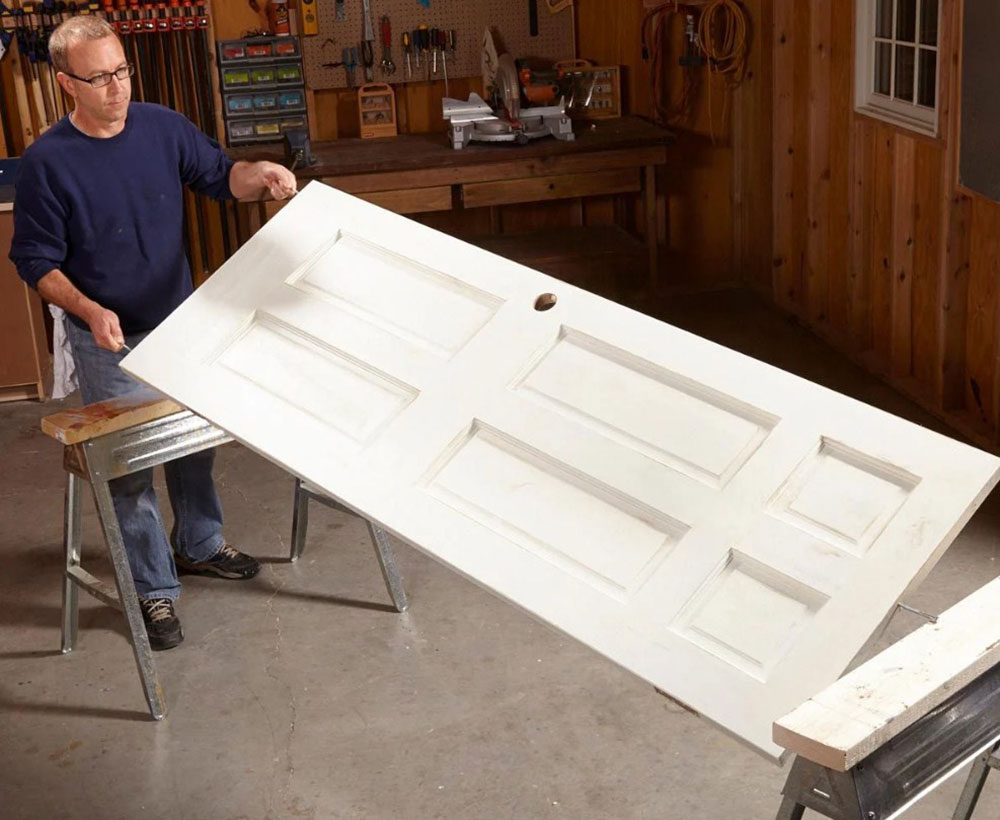
- You need to first place the door on some sort of a stable surface. Then, you need to secure it. The surface has to be secured and stable because you will have to put a lot of force on the door. If you have a worktable, put the door there. You can secure the door with some sort of straps or clamps. That way it won’t move.
- You have to use painter’s tape as well. Tape the sides of the working area. By doing so, you will protect the rest of the door.
- Make sure to get rid of the nails on the doors. You don’t want to ruin the blades. This is how to plane a door with a blade.
Select The Right Planing Tool
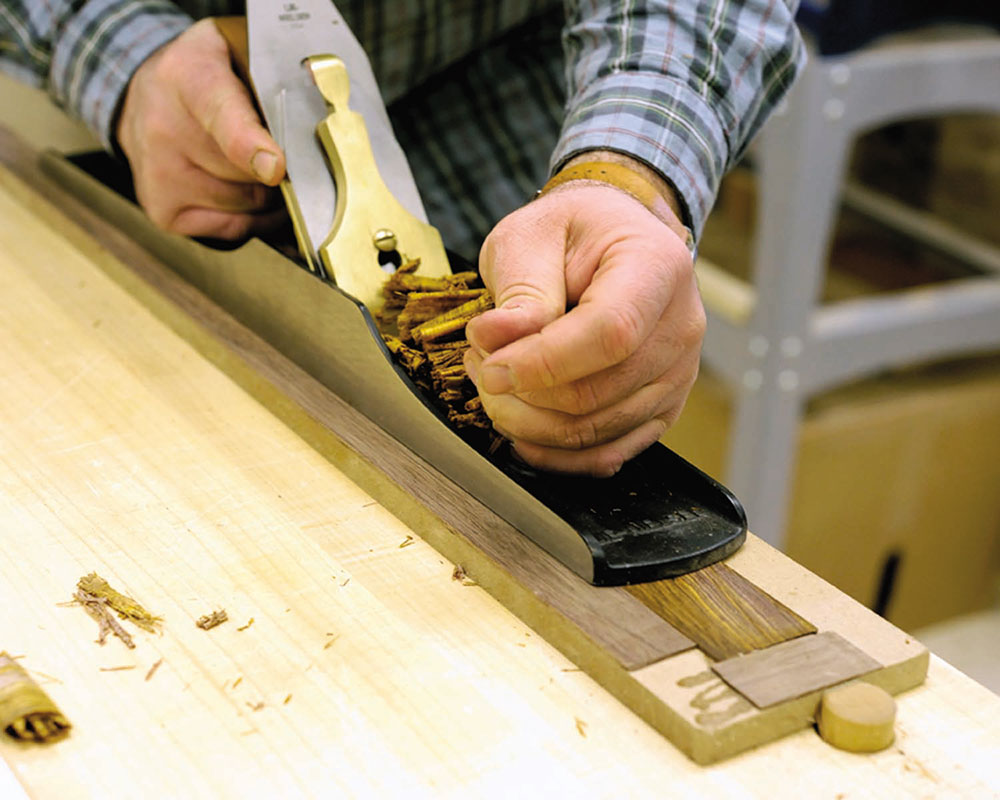
If your door has smaller problems, you can use a hand planer. This is a tool that relies on your muscles to work. It has a blade that smooths out any irregularities. This is the type of tool for people that have an experience in working on these types of projects. They create a precise depth. You can adjust it to cut all kinds of sized. There are many setting to choose from.
If you don’t have a place to work with, don’t worry. Skills saws work equally well. Make sure the blade is sharp. You can put on a tape on the back of the edge so you won’t cut yourself.
Planing The Door
- To get the best results, you have to make sure that the blade is at the right angle. When you begin the process you have to work gradually. Remove the wood layer by layer. This way you will see how much of the door you’re cutting. To make sure you get the correct angle, position the blade diagonally. And, the blade shouldn’t peek out from the whole bottom. You can adjust this setting on the handle.
- Have a tight grip when cutting. And, make sure the blade is laid flat. If you raise it even a little bit it will ruin the door.
- If you have issues on the vertical side of the door, follow the wood grain. Begin from the center and then work the way out. The pressure should be light. You don’t want to scrape off the wood. Glaze with the blade easily. If you cut off too much, there is no going back.
Check, Plane And Check Again
When you are finished, hand the door again. Test multiple times to see how it swings.
Finishing
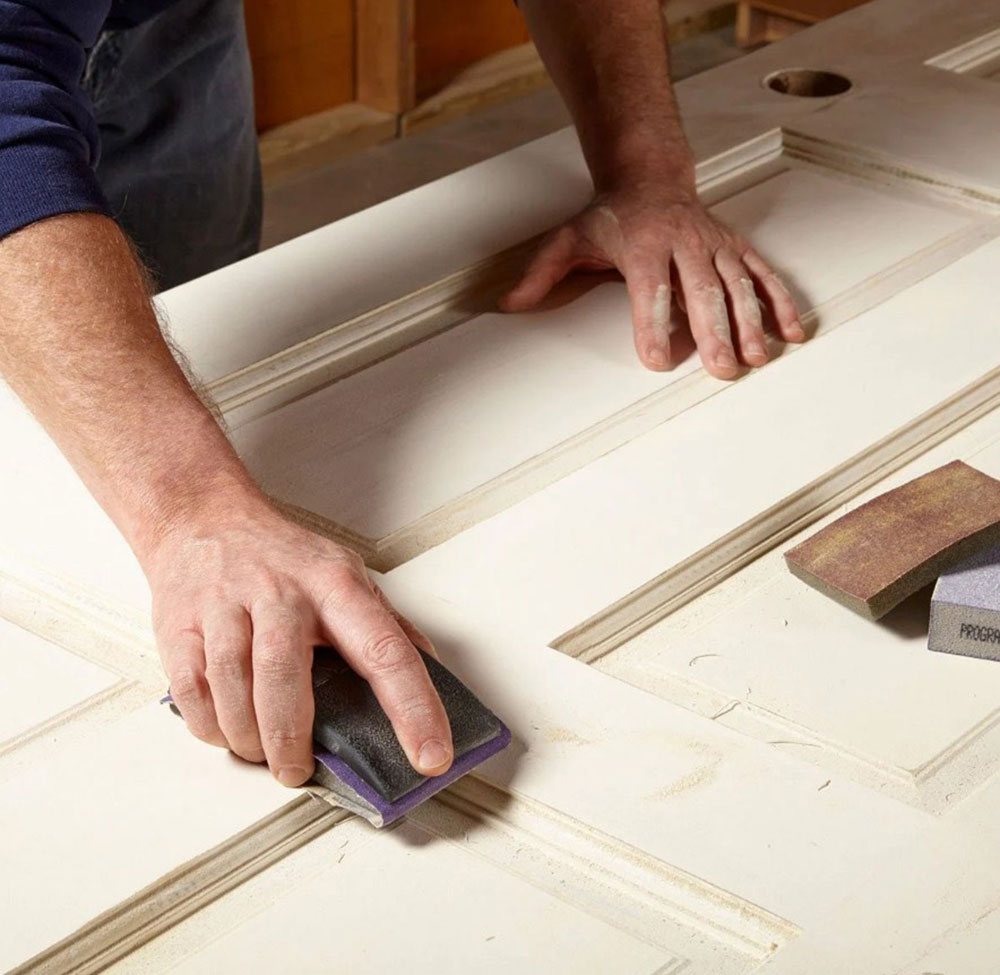
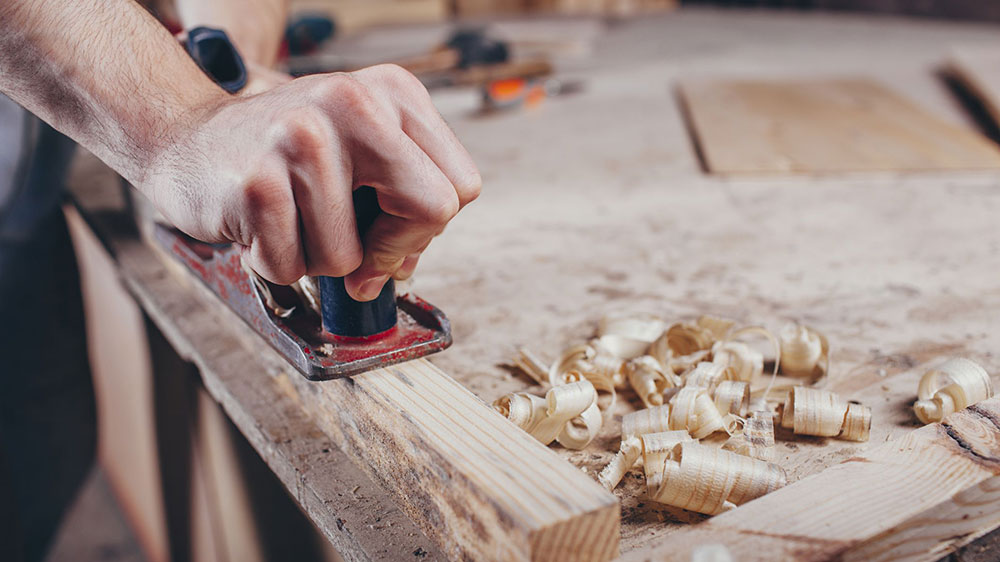
When you have finished with the planning, your next step is to smooth out the surface. You can do this by using grit sandpaper. Start slowly and rub back and forth. That way you will remove any large grooves. After you’ve gotten rid of the larger ones, use a fine grit sandpaper to remove the smaller ones. Make sure the edge matches the door.
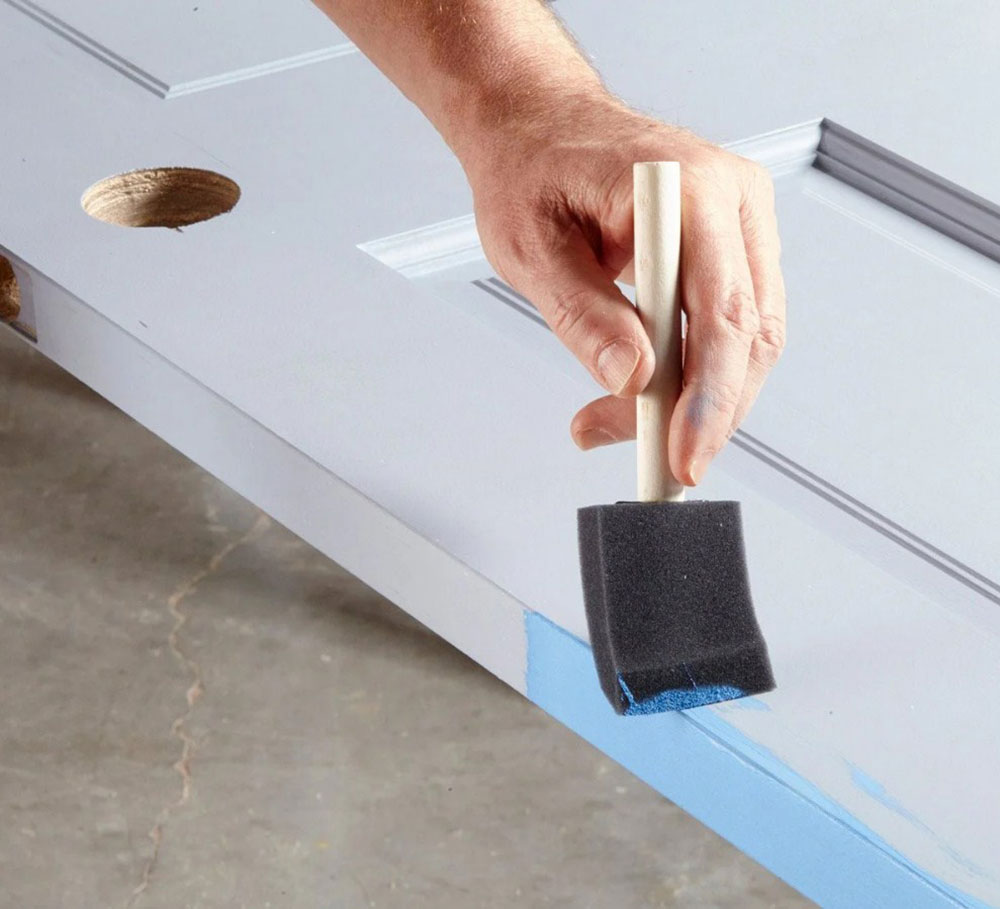
When you’ve finished with that as well, it’s time for the next step. You can repaint the door if you want. First, apply a primer. Then, let it dry. Once the primer has set, color-match the paint to blend with the rest of the door.
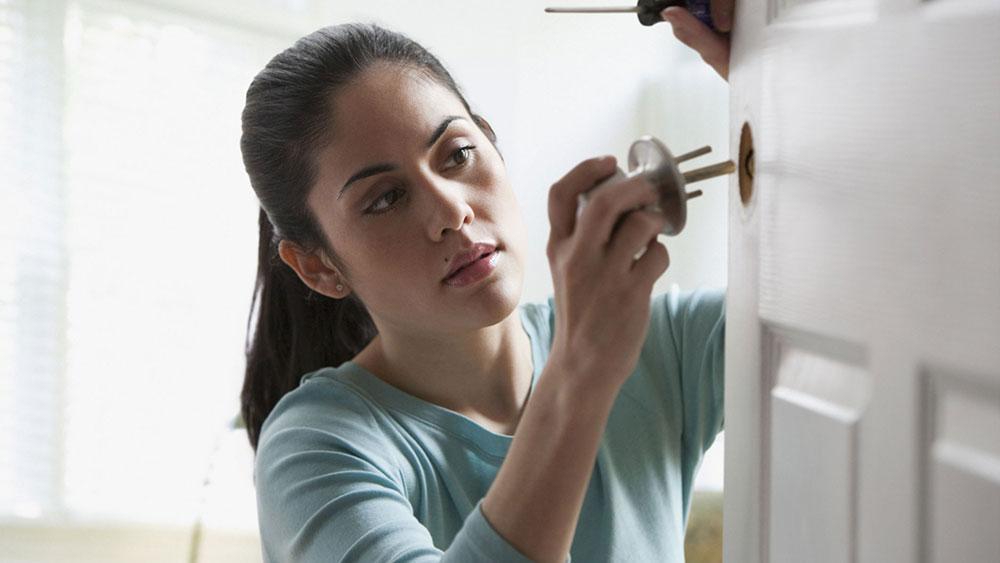
The next step is to re-install the door. You can put new hinges and screws to match the freshness of the door. Then, secure them tightly. Install the rest of the hardware if necessary.
And, this is everything you have to do. It is really easy. Now you will know how to plane a door by yourself.
While planing the door while it hangs from the door frame is easier, sometimes you need to remove it completely. To plane a door is typically the last thing you should do. If you don’t want to risk it by yourself, call a professional. But with these tips, you will know how to plane a door in no time. Although it might take you some time to do this, the results won’t be disappointing,.
If you enjoyed reading this article about how to plane a door, you should read these as well: