Advertisement
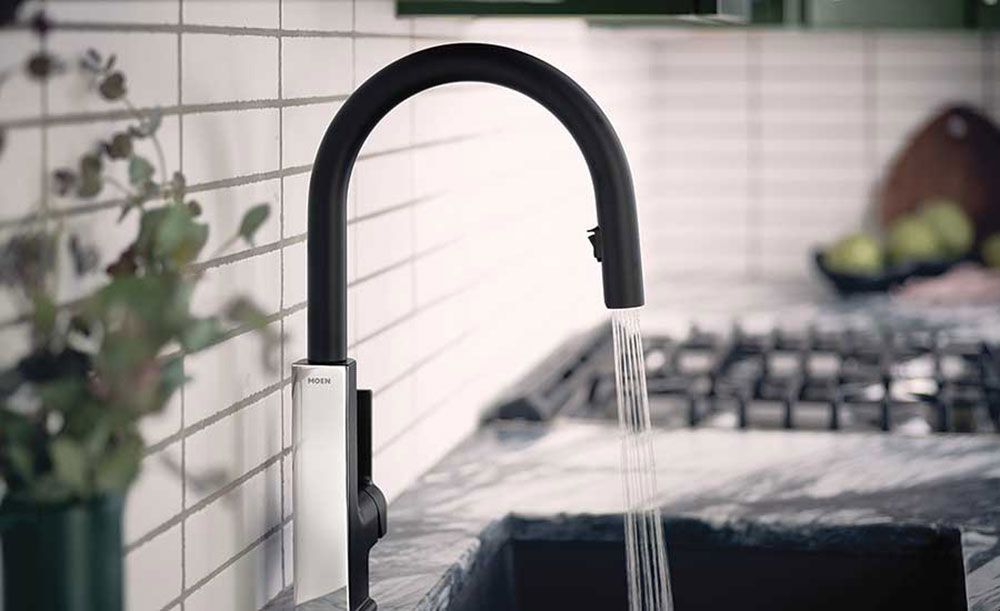
Are you thinking about changing your Moen faucets? This may be a frightening prospect, and you’ll likely grab for your phone to locate a reputable plumber, contact them, and pay them to do it for you.
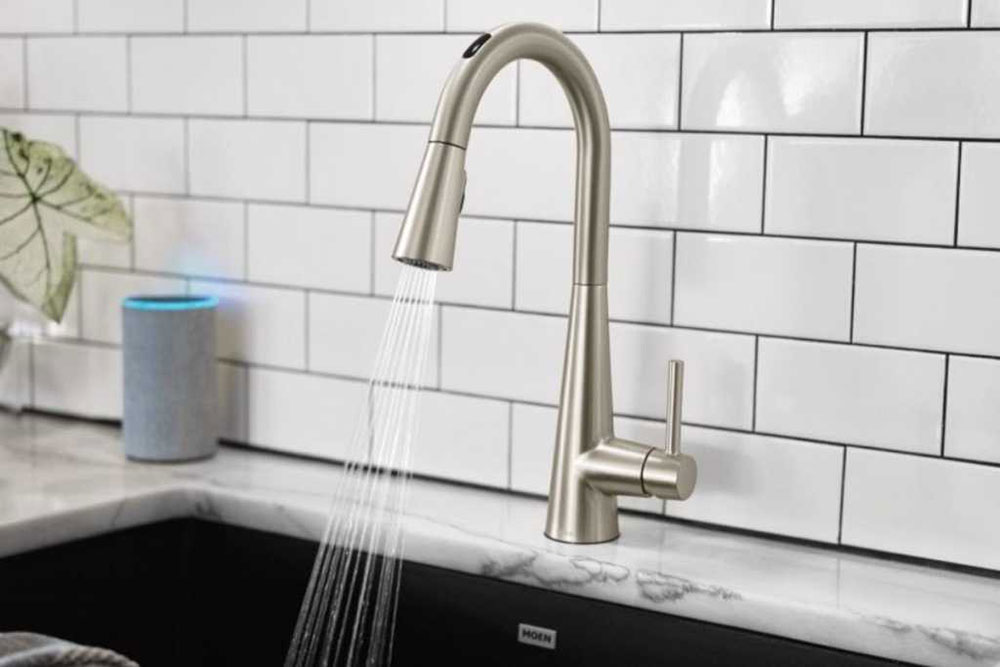
Indeed, with a little know-how and application, anyone can learn how to remove a Moen kitchen faucet. By following our simple guide to sprucing up your kitchen sink, you’ll save time and money while ensuring that your Moen kitchen faucets not only look great but also provide a constant supply of hot and cold running water whenever you turn them on.
While removing the majority of kitchen faucets is straightforward, each one has its own unique removal procedure including Moen kitchen faucets. We can assist you in taking the necessary safeguards to prevent issues such as leaks or subsequent damage.
So, if you want to learn how to remove a Moen kitchen faucet all by yourself, keep reading this article!
Where is the model number on a Moen faucet?
We’ll learn how to remove a single-handle Moen kitchen faucet in this article. What you need know before beginning is the model number and kind of Moen kitchen faucet you are removing in order to get the proper replacement component for the damaged one.
It’s preferable if you can locate a new part, since this way you’ll be replacing just the broken component, rather than the complete kitchen faucet. If you are unable to get a new component, you will be required to replace the whole device.
Model/series numbers are typically four or five digits long and begin with “7” or “8.” They may be followed by letters. Occasionally, the serial number may be seen on the bottom of the spout. The series number is often seen on the rear of the ornamental ring at the spout’s base.
Steps to Follow to Remove a Moen Kitchen Faucet
Before delving into how to remove a Moen kitchen faucet, it’s critical to understand why you’d need to do so. If you detect any issue with your kitchen Moen faucet, now is the time to undertake this removal procedure. It might be due to incorrect installation, a substandard faucet, severe leakage, or distortion of the rubber gasket on the faucet due to lengthy usage.
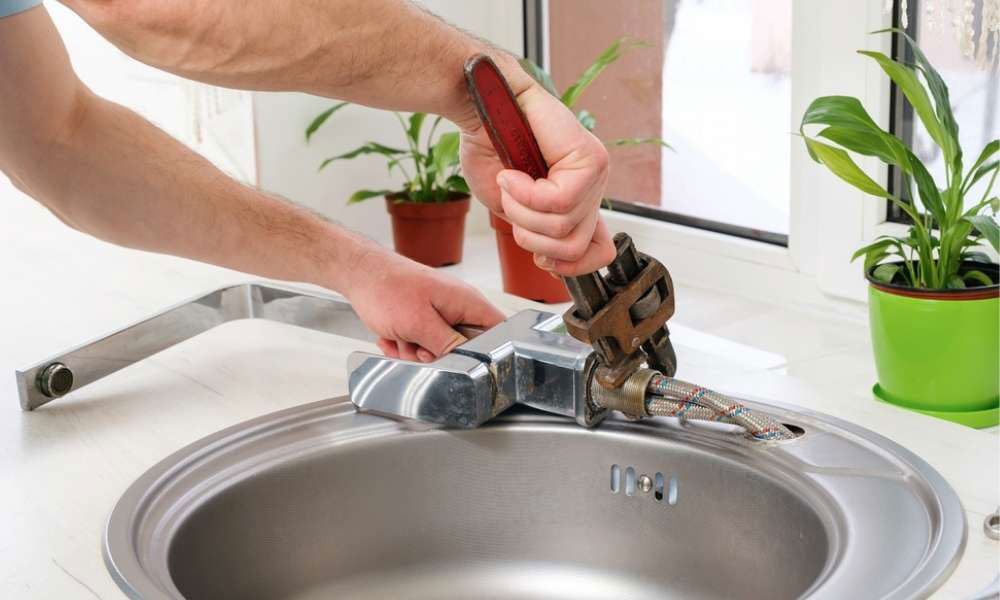
The following is a step-by-step instruction for removing the Moen kitchen faucet. A basin wrench and a sink/faucet installation are all that is required.
Shut Off the Valves
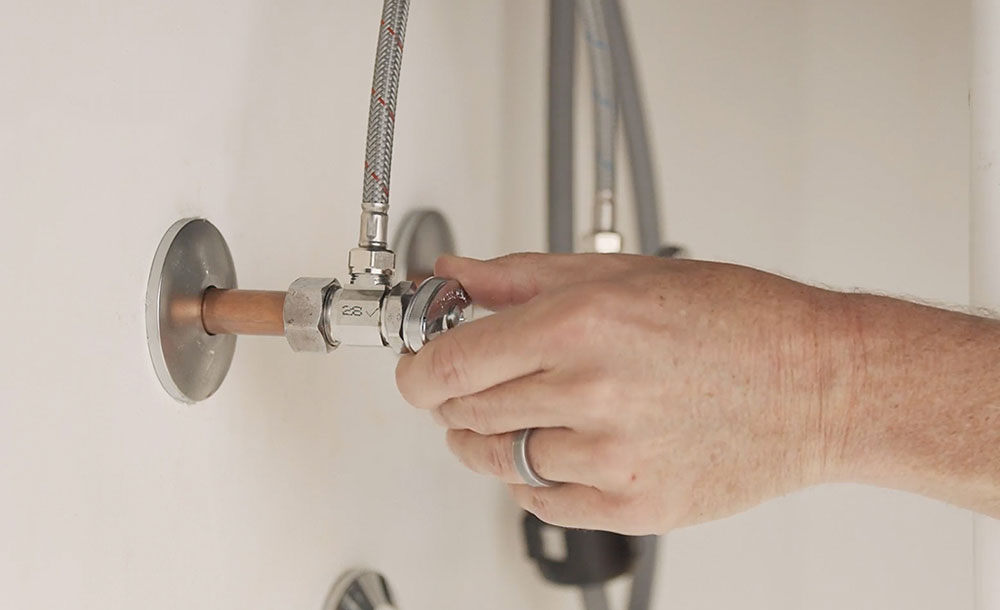
Before you begin dealing directly with the faucet, you must first switch off the water supply. By leaving the valves open, you run the chance of water splashing out of the pipes while you work.
As a result, you may be forced to abandon your task and clean up the mess. Additionally, shutting down the valves securely prevents harmful gases from escaping the pipes.
Dry the Pipes
How will you determine when the system is completely depleted? When water stops running out of the faucet, you’ll know that there is no more water in the system and you may begin removing your Moen faucet.
Extract the Faucet’s Handle
Take the faucet handle off. A screw is usually hidden under a red/blue plug button or behind the handle cap on the majority of models. After removing the plug button or handle cap, use a 7/64 “To remove the handle screw, use a hex wrench. The sequence of the handle mechanism is determined by the components’ breakdown.
Certain Moen faucets include removable handles that are accessed by releasing the screw in the handle’s rear. Use a 3/32 wrench to undo this screw nut driver.
Take Out the Plastic Part
After removing the handle, you can determine if you have a significant leak, a faulty rubber gasket, or anything else. There will be a little dome and a jacket that must be removed with a wrench. Begin rotating the wrench and the components will begin to slip out.
Remove the Mechanism
Because the mechanism regulates the flow of water, it is the most critical component of the faucet. As a result, you must approach this section carefully and cautiously.
After removing the dome, the faucet cartridge is exposed and locked with a valve nut. Remove the cartridge by unscrewing the nut.
Following that, remove the large outflow O ring. After detaching the faucet from the valves, carefully raise the faucet spout, and little O rings under the spout.
After removing the last component of the faucet, your job is complete!
Remove the Ring and Washer
After removing the mechanism, you may remove the white ring underneath it. Whether removing the ring, store it in a location where you can easily locate it later when installing a new faucet or reinstalling an old one. You’ll also need to remove a washer from underneath the ring.
Lift the Spout
If you’ve followed the preceding steps correctly, you should have no difficulty training and also removing the spout. At this point, you should record the component’s instructions and the sequence in which you removed them to make subsequent assembly easier.
Simply slide the Allen wrench into the screw and crank counterclockwise until the screw and spout become loose enough to remove by hand. If the screw is hidden behind a tiny panel (as some are), use a flat-head screwdriver to pry the panel off, revealing the Allen screw that needs to be removed.
Pull Out the Cartridge
Remove the old cartridge by grasping the stem with pliers and twisting it in various ways until it comes loose. If pliers do not work, a cartridge puller may be required.
Possible Moen Kitchen Faucet Repairs
Once the cartridge is removed, inspect it for damage. If it has cracks, it must be replaced. If there is just scaling, you may reuse the old one by soaking it overnight in a vinegar solution. When you remove the cartridge from the vinegar in the morning, you will see that all scaling has been removed.
If you want to reuse the cartridge, make sure to replace all of the O-rings on the faucet’s base. The previous ones may be removed with a screwdriver. These O-rings are sold in sets that contain gaskets and lubricating liquid.
If the leak persists after making these repairs and reassembling the faucet, the issue may be with the valve seat. Replace it with a new one from the hardware shop and repeat the procedure for disassembling the problematic kitchen faucet. Remove the old valve seat and replace it with a new one using a seat wrench.
Tips for Removing a Moen Kitchen Faucet
While removing a faucet is not difficult, there are a few things to keep in mind to ensure that the job is completed quickly and simply.
- After closing the valves, you should plug the sink’s drain hole with a rubber or metal water stopper! Frequently, the screws dislodge and fall into the drain pipe. It is preferable to be safe than sorry!
- Getting under the sink will be uncomfortable, thus it is advised that you place a mattress or pillow behind your back if you must go deep down.
- You’ll be annoyed if your cabinet doors continue to push against your back, particularly if the edges are tapered. To prevent this, while you’re at it, you should utilize something substantial to keep the doors from closing in on you.
- Cleaning the area where the faucet connects to the sink after disassembly makes installing a new one simpler since the previous site is often clogged with dirt and rust from the old faucet.
Conclusions on how to remove a Moen kitchen faucet
As you can see, learning how to remove a Moen kitchen faucet is not that difficult. Just follow the directions, prepare all tools and necessary materials, and you will surely do a great job. We hope this article was helpful and that we indeed helped with the removal process.
If you enjoyed reading this article about how to remove a Moen kitchen faucet, you should check out this one on how to organize a small kitchen without a pantry.
We also wrote about similar topics like how to measure a kitchen sink, how long does it take to remodel a kitchen, how to remove an old kitchen faucet, how to clean kitchen faucet head, how to adjust kitchen cabinet doors, how tall are kitchen counters, and how to restain kitchen cabinets without stripping.