

Are you tired of your old bathroom tile, and you won’t replace it on your own? You have come to the right place: here, we will show you how to remove bathroom tile on your own without making a big mess.
Here’s what you’ll need:
- Plastic tarp
- Trashcans
- Work gloves
- Hammer
- Safety glasses and protection
- Mask
- Chisel
- Pry bar
- Putty knife
Sure, this task can create a big mess if you are not careful, and you should be prepared for the mess in any case. But, if you have some experience and knowledge in the DIY area, then this task should not be such a big problem. It doesn’t require any special skills to do it, only that it can create quite a lot of mess when you are doing it.

The old tile might start cracking and there might be a lot of dust, chipping, and other pieces of debris that you will have to deal with. Fortunately, you can avoid a lot of it by working slowly and carefully and having the proper tools, protection, and good preparation. If you don’t want to make a big mess, but you still want to remove it on your own, you can do so easily; here is how to remove bathroom tile without making a big mess.
Prepare Properly
- First, you will have to prepare everything to make life easier for you. First, clear the room of any free-standing items such as tables or other items that you can remove without much effort. This way, you will not only have more space to work, but you will also get rid of the unwanted items in your home.
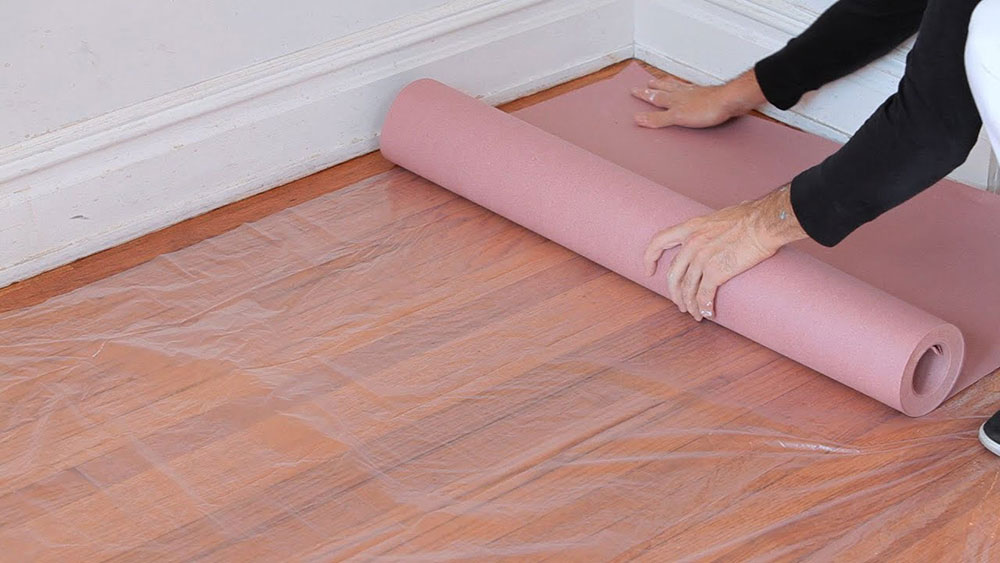

- Next, you will want to put some plastic tarps over the area adjacent to where you will be doing your work. These tarps can be very effective for catching the falling debris and falling tiles, and you will be able to remove them later on without too much effort. Preparation is key to avoid the big mess. Also, have trashcans ready and handy to dispose of the materials straight away.
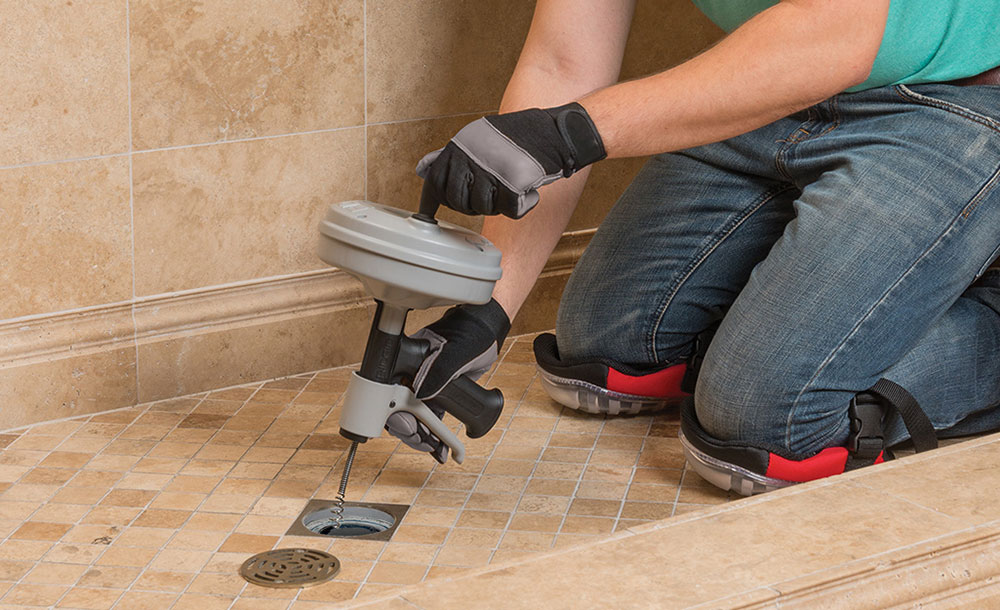

- Don’t forget to plug the drain! Also, if you want to keep the tile for yourself or sell it later on, you will want to protect as best as possible. For this, you can lay some sheets around the working area; not only to keep the tile intact, but you will also need to be careful about the pieces falling down; if they break at a weird angle, they can create indentations in the tub.
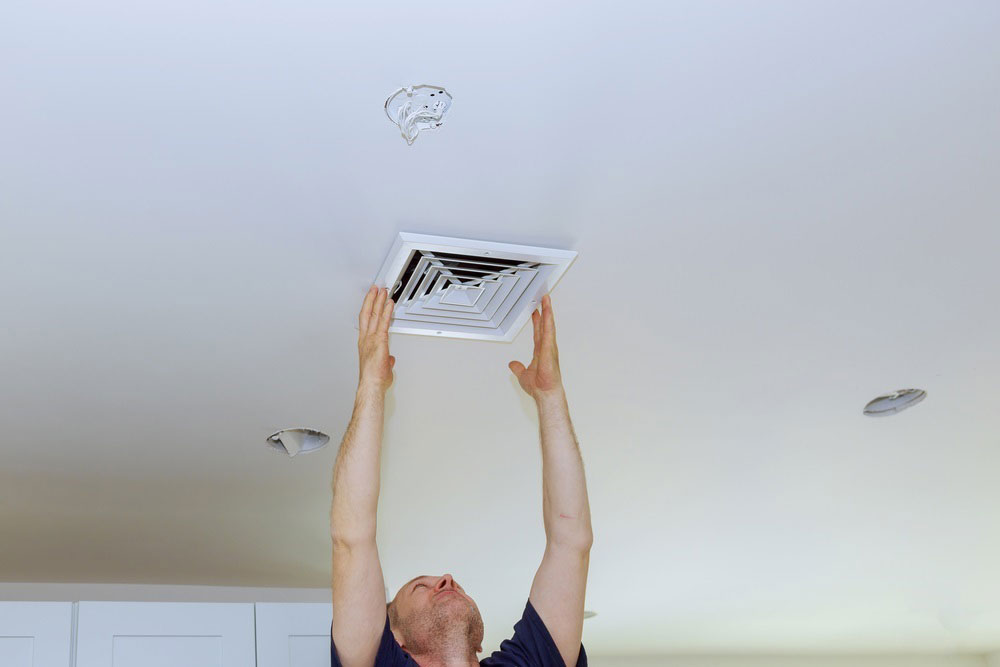

- Seal the vents. The air ventilation system can easily get clogged due to all the dust that can come out during the procedure. You can seal the vents with plastic wrap or painter’s tape.
- Remove trim work around the room, or any pieces of furniture that you can. This will allow you to install it back again easily once the new tile is installed, and you will be able to avoid the possible damage.
- For manifold supply system owners: you will want to turn off the valve to your bathroom before you start working. To do this, find the manifold lines near the main water supply. Then, locate the line for your bathroom, and find the valve. Then, turn the valve to the “off” position.
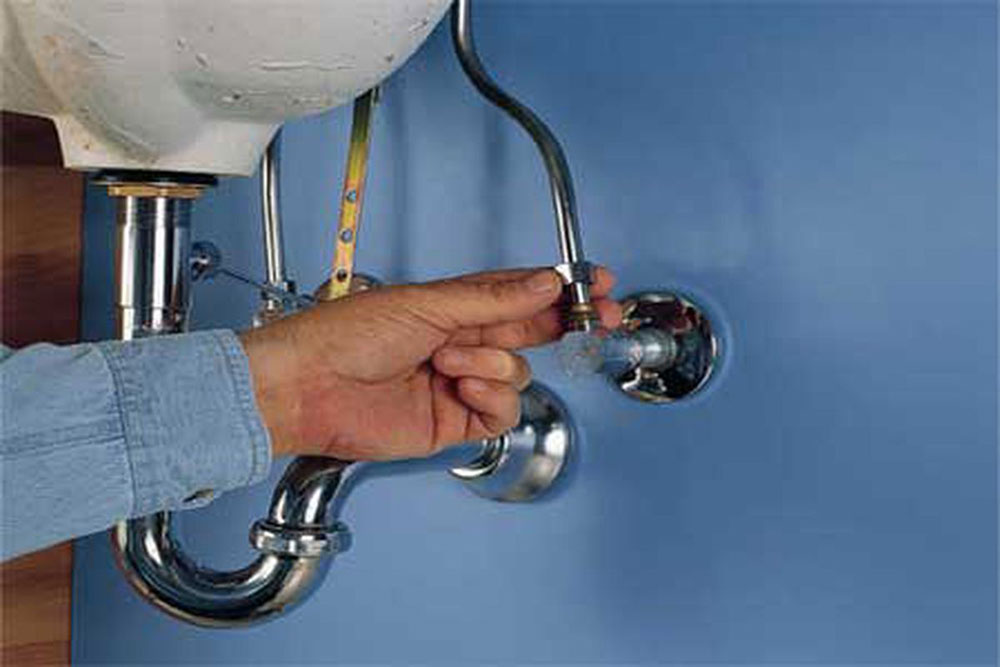
- For copper piping owners: locate the valve under the sink and turn it off. You will also want to turn off the toilet valve, and the valve for your shower. This one can be located in the wall behind the shower.
The scope of the task at hand depends on the type of tile you have. If you have ceramic tiles, then removing them from the wallboard can be done without doing any significant damage to the tiles. If the tiles are attached more firmly, then you simply can’t avoid damage and debris.
This is a messy project, and you can even damage the ceiling floor underneath the tile. If you are not sure about the tile removal, then you should consider asking a professional to do it to avoid damage. You can try to remove one or two, but if you see that you can’t do it, leave it for a professional to do it.
Now, let’s take a look at how to remove bathroom tile.
How to Remove Bathroom Tile
Start Somewhere
You will have to pick a starting point. A good rule of thumb as to where to start is to locate the place where the tile is already inconsistent or partially removed. This usually occurs under a vanity or other similar fixtures. Also, inspect the tile and find the places where it may already be cracked. That is also a good place to start.
In the majority of cases, though, you won’t find a spot like that, so you will have to make it on your own. In this case, starting in the corner of a room or doorway might be a good place to start; although make sure the tile doesn’t continue in the next room.
Removing Grout and Caulk
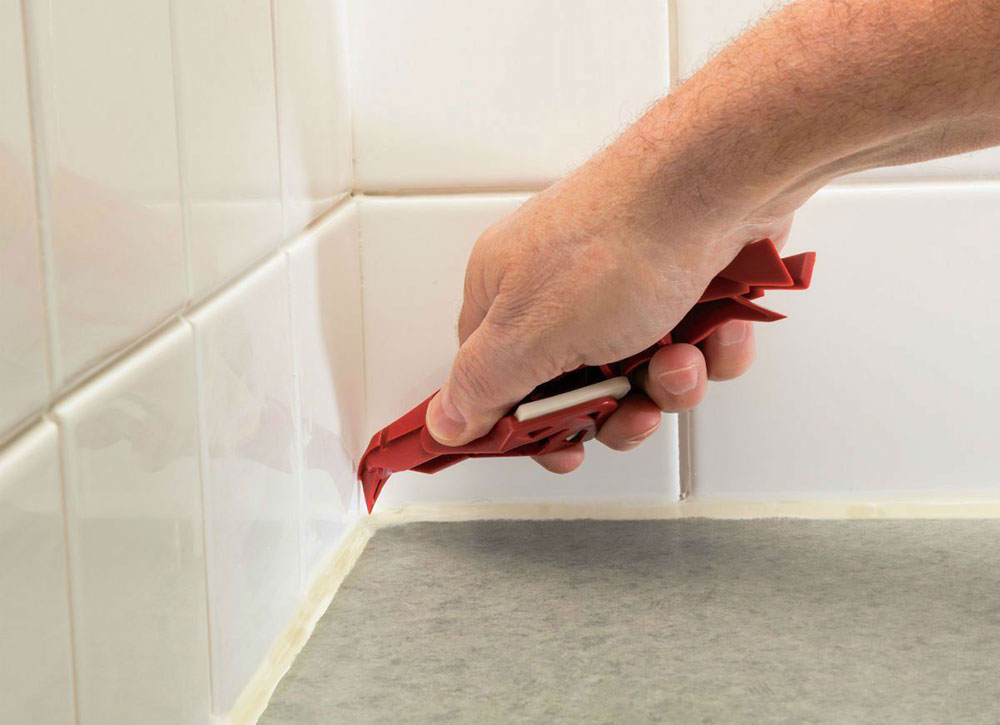

The first step of removing the tile is to remove the grout and caulk first. In most cases, you will be able to do this with a simple utility knife, although that won’t always be the case. You can soften the caulk with a heat gun to make it easier to remove.
Then, once you have removed caulk and grout, you should try to remove the tile using a putty knife. Here, you will be able to see if the task can be done by you; if the tile will come off easily, then most likely, you will be able to do the rest of the job on your own. If not, then you might consider the help of a professional.
Removing the cement behind the tile requires a special product or chemical called methylene chloride base. Just be careful of this chemical, as the fumes are toxic, so proceed with caution.
Remove the Toilet
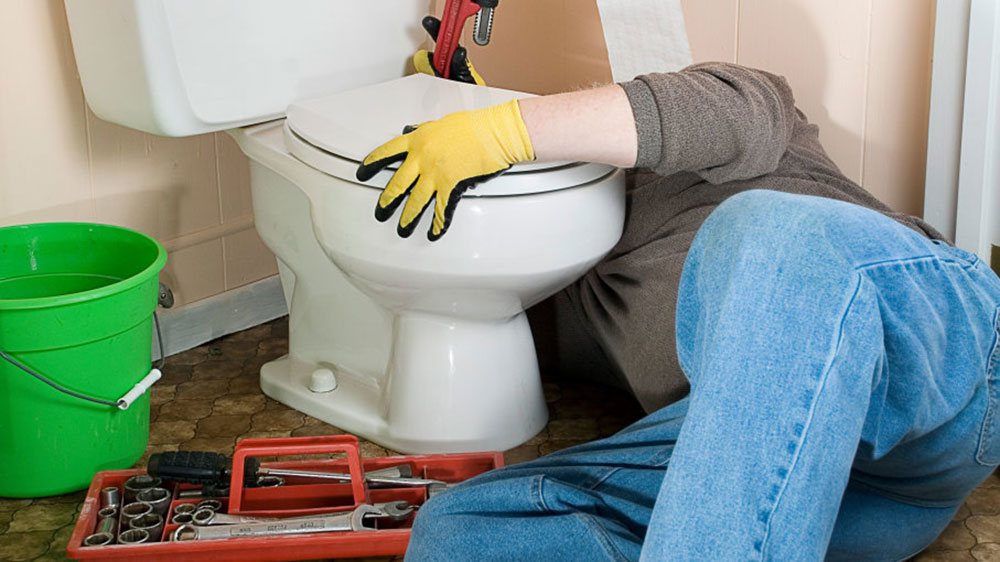

Note that removing the toilet is not a necessary step. You will only have to remove if it covers the tiles. First, don’t forget to shut off the valve for the toilet, if you have one. Then, once the valve is shut off, you will want to flush out the toilet until it is completely dry. You may want to use a sponge to dry it out.
Then, start detaching the toilet. You will need a wrench for this. Once the toilet starts to come off, set it aside on old towels in order to prevent the mess it can leave. The tank and the bowl should still be attached, though. The toilet may be attached quite toughly, so you might need to rock it back and forth.
There will also be wax rings that connect the base of the toilet to drainage pipes; remove them. This will be a messy job, so wear gloves, as the wax rings will be pretty sticky from the wax. Set the tools accessories aside.
Replace the wax ring, too. When you reinstall the toilet, you can put new wax rings into place. Lastly, block the sewer gases by plugging the hole with a rag.
How to Remove Bathroom Tile

Now, we move onto the main task: here is how to remove bathroom tile without making too much mess.
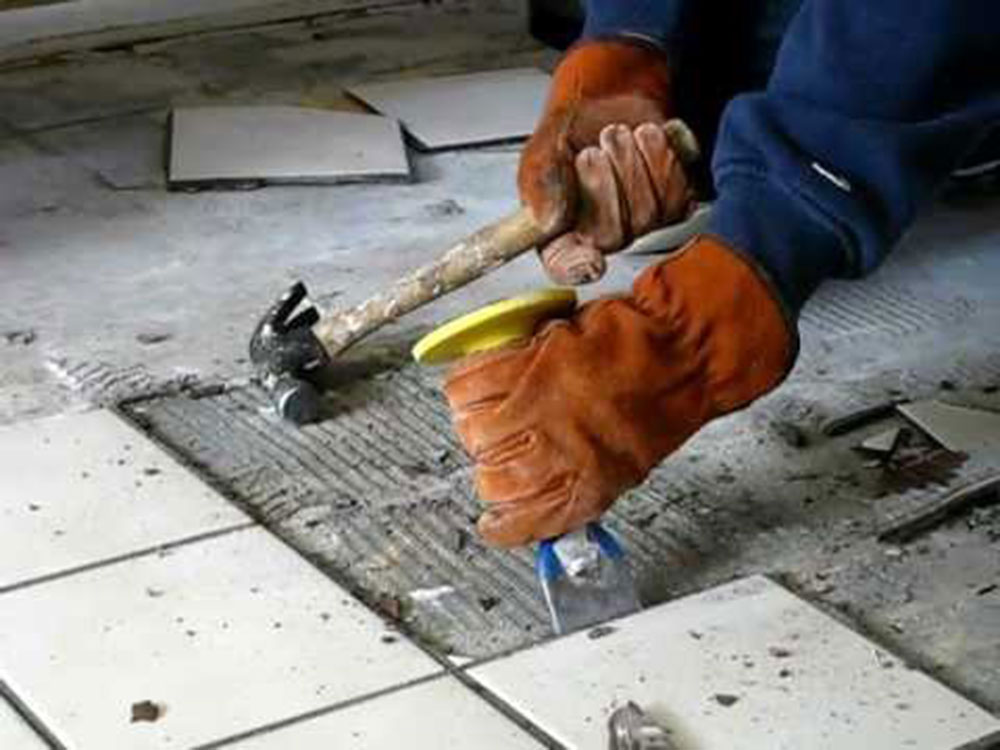
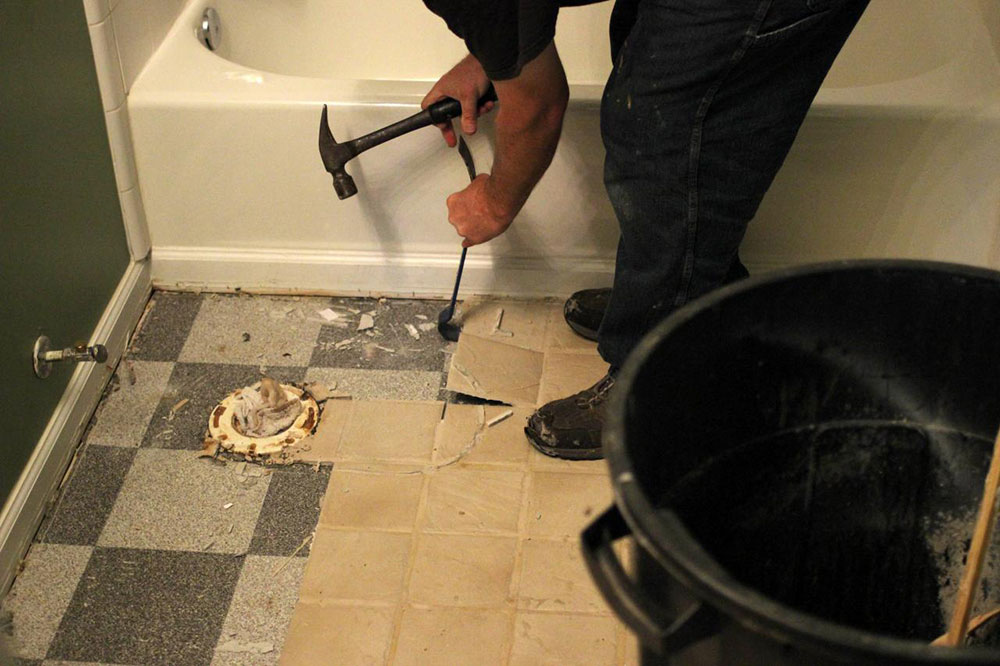
You can start removing your first tile using the blunt edge of the hammer. Then, once the tile breaks up, you will want to use a hammer and a chisel to remove the rest of the tile. It might require some force, but it should come off relatively easily.
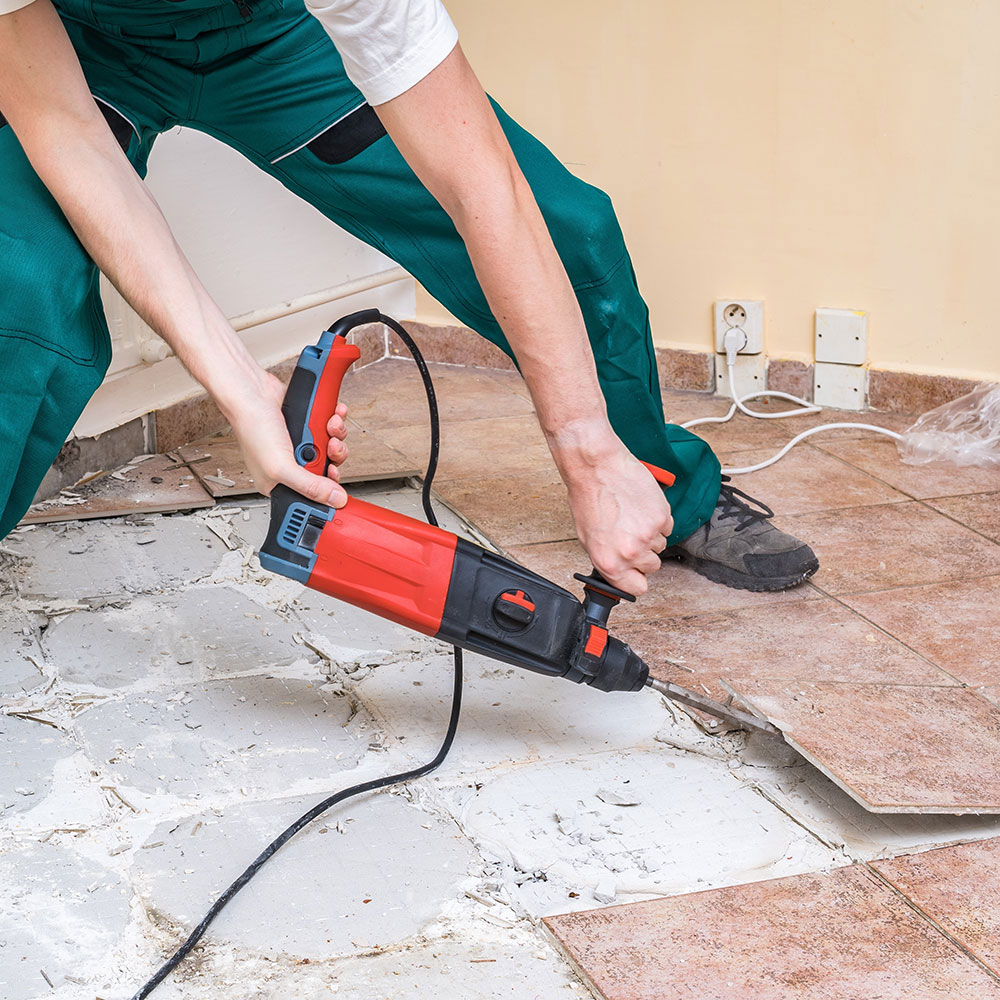
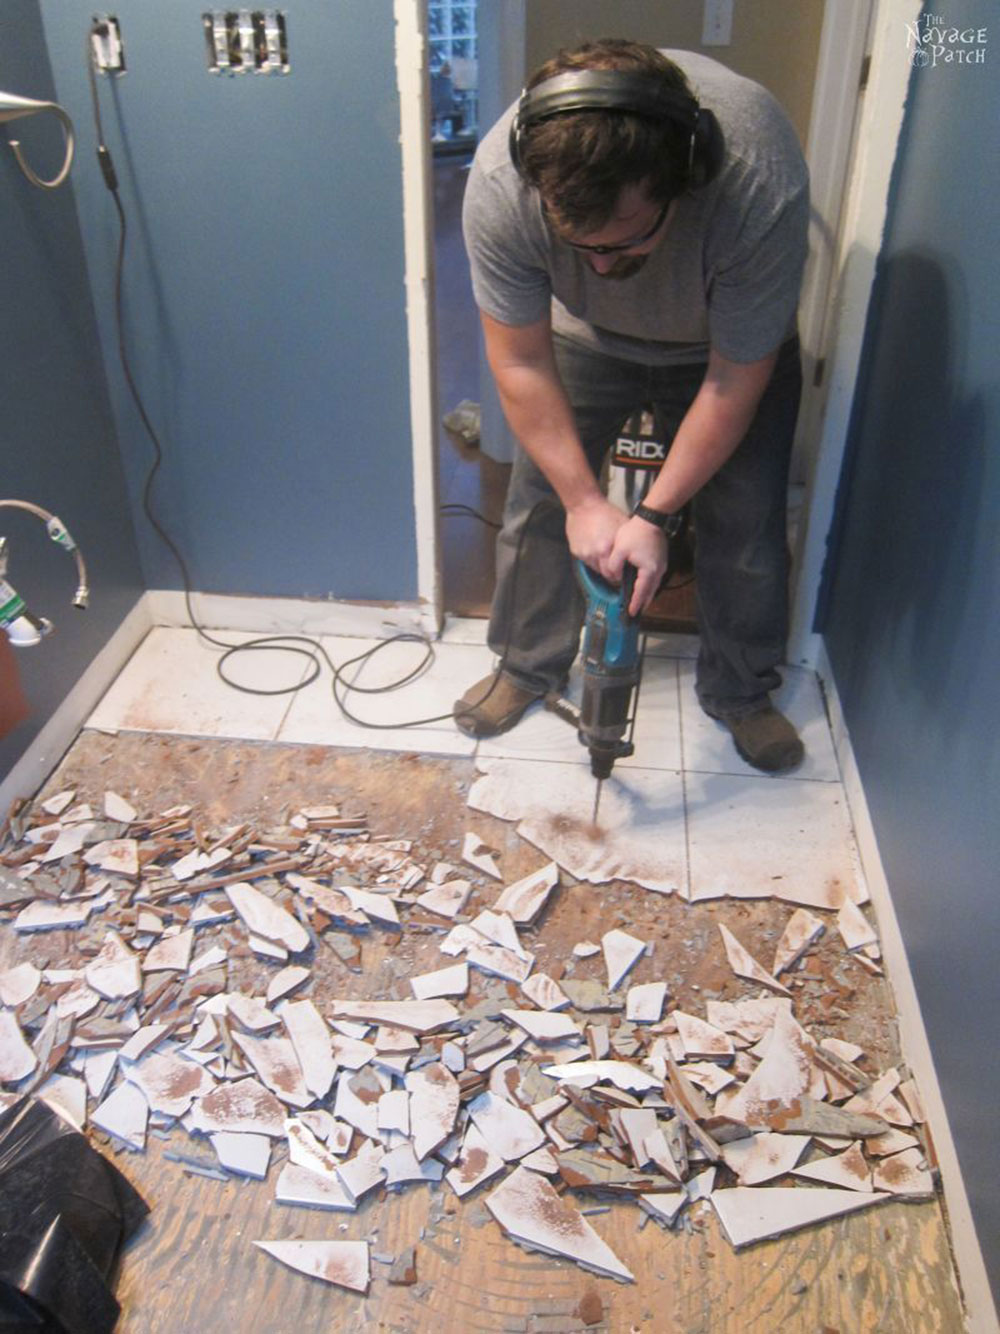
You may want to clear the mess as you work, so throw the bigger chunks of tile into the bucket or a trashcan that you will want to have handy. Once you have removed enough tile, you can start using a long-handled floor scraper or an air hammer to do more work at the same time. This will allow you to remove more tiles as you work.
This will be the toughest part of the job. You will want to remove them one by one, and carefully. But don’t worry if the tiles break, just make sure they fall onto the plastic wrap or put them into the bucket.
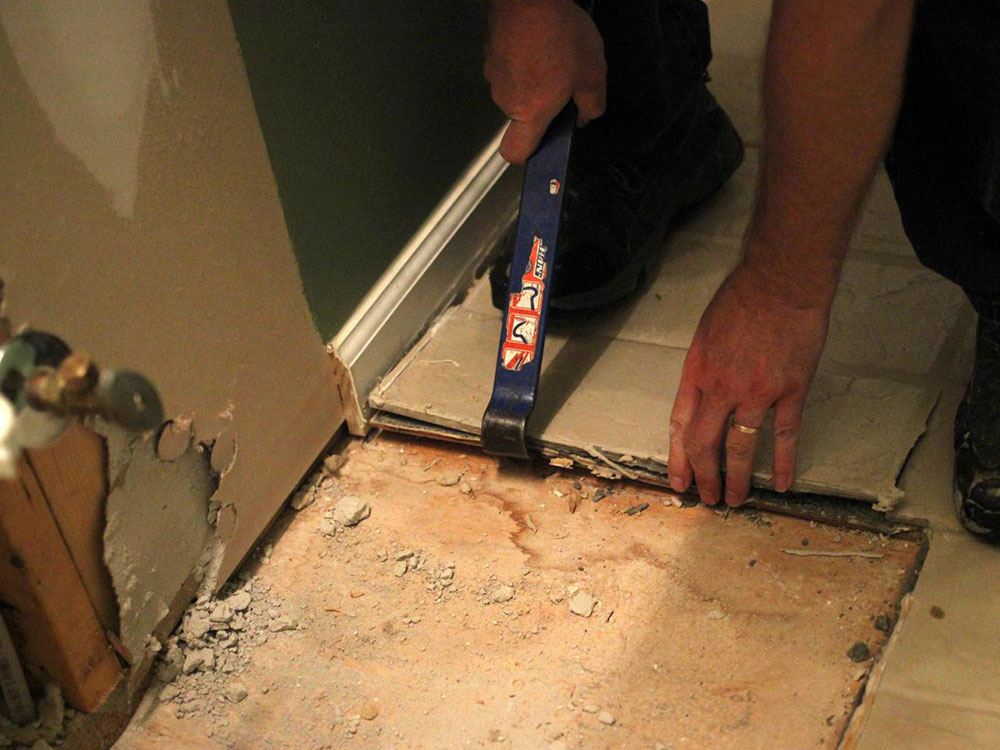
Removing the Underlayment

Underneath the tiles, you will find some type of underlayment. This might not be the case in basements, but in the case of bathrooms or other rooms of your home, it is more likely that the underlayment will be there.
If the underlayment is in poor condition, you will want to remove it altogether as well. Use a screw gun to get rid of it and remove any screws in the floor. Then, pry up the edges with a flat shovel.
Cleaning Touches

Once the subfloor is exposed, you will want to begin cleaning up the mess. This might be a long procedure.
Remove any adhesive that might have been left with a flat shovel, or a chisel and hammer. Then, you will want to remove the screws as well as any other pieces of underlayment left. Before you start installing a new floor, you will want to have the wooden subfloor completely clean and free of any underlayment.
You can remove the smaller pieces of debris with a vacuum. You want to remove the pieces thoroughly before you start working on the new floor. This is important, as it will not only make your work easier but also more effective.
So there you have it, this is how to remove bathroom tile without making too much mess.
Tip: Protect Yourself
It is just as important to protect yourself as using the proper tools for the job. The tile pieces can be sharp, especially if the break at weird angles. So wear your gloves, a protective suit, goggles, and even a mask, as the process will include a lot of dust.
Another tip is if your house was built before 1978, you may want to test your bathroom walls if they are durable enough.
If you enjoyed reading this article on how to remove bathroom tile, you should read these as well: