Advertisement
How to remove hardwood floor? This is a question that many homeowners must face before considering remodeling. We are talking about a coating that can prove to be a challenge when changing it, so it is good that we know how to deal with it.
Although a remodeling that involves changing the floor does not happen often, this does not mean that we are not prepared to do so depending on the circumstances. Sometimes, we just want to change the appearance of the environment to renew our style, while at other times it is necessary maintenance.
Today we will teach you the basics you need to know to remove hardwood flooring without damaging the integrity of the structure. Remember that an important part of the process will depend on the way our floor was installed, although almost all ¾-inch wood uses a standard installation.
Getting the necessary equipment
Before we begin, we need to prepare ourselves with the necessary equipment and tools that will facilitate our work. This includes the corresponding protection so that we do not suffer damage when working.
Personal protection – Don’t start without them!
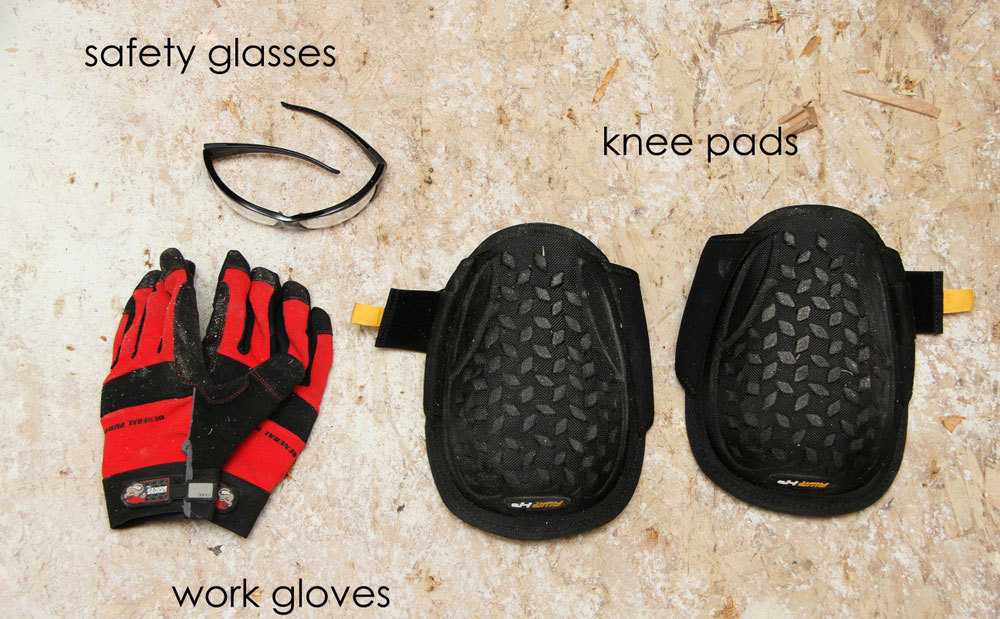
Work gloves: a pair of work gloves be they plastic, rubber or leather, are indispensable. These will reduce the risk of cuts by sharp tools, in addition to being a protective barrier against splinters.
Glasses and safety mask: splinters can be deadly projectiles. Do not do any construction work without having eye protection. A mask will give us additional well-being to avoid contracting respiratory diseases derived from the dust that is generated when sawing wood.
Kneepads: they may not be essential, but having a pair of kneepads on hand will be very useful for this job. Remove hardwood flooring is a process that will require great resistance in the knees and back.
Required tools
Circular saw: this is the main tool for removing a hardwood floor. If we do not have it, we will have to borrow it or rent it, since it is the basic tool for the process.
Nail Claw: keeping the ground firm is not an easy task, which is why installers use an immense amount of nails and wood staples. Life will be easier if we have a tool to remove them. It is also good to have a curved vise grip to remove broken staples.
Pry bar, hammer, and a magnet: the pry bar and the hammer are basic tools that we will use to remove the pieces of wood. The magnet is optional, but it will help us to quickly clean the metal elements.
How to remove hardwood floor step by step
The following process is not easy, but it is the most effective for removing the hardwood floor. We suggest that you first read the entire guide before beginning.
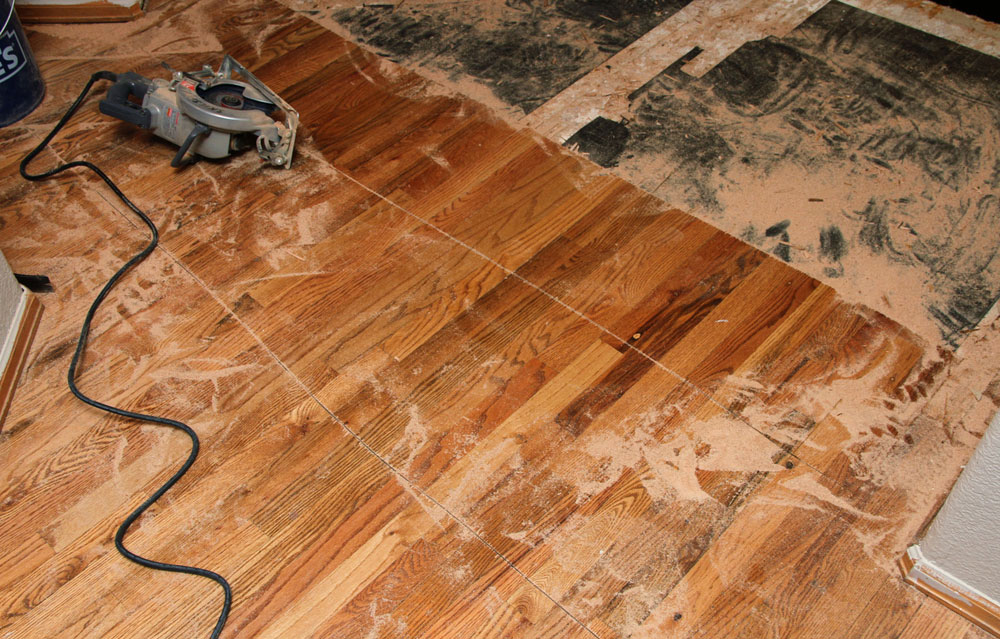
Determine the work area
The first step is to determine which areas are the ones that will be removed from the floor. Whether we need to remove the entire floor or a specific part, it is important to know where we will start the project and what its scope will be.
With a tape, mark the areas you will remove. Start with the central sheets so that you can remove the floor towards the borders. It is easier to insert the pry bar in a central sheet than in a lateral one.
Cover all the items you want to keep clean
Another aspect that we must prepare before starting with the wood floor removal process is to cover the accessories, decorations and construction elements that we want to keep clean at all times.
The basics to protect are furniture and lamps, which are susceptible to sawdust, which can damage their operation. You can also use tarps to cover spaces that you don’t want to get dirty in the process.
Baseboard removal process
There is an occasion where it is better to remove the floor from the edges, and that is when it is part of a baseboard. In these cases, the hardwood remains attached to the ground thanks to a structural framework.
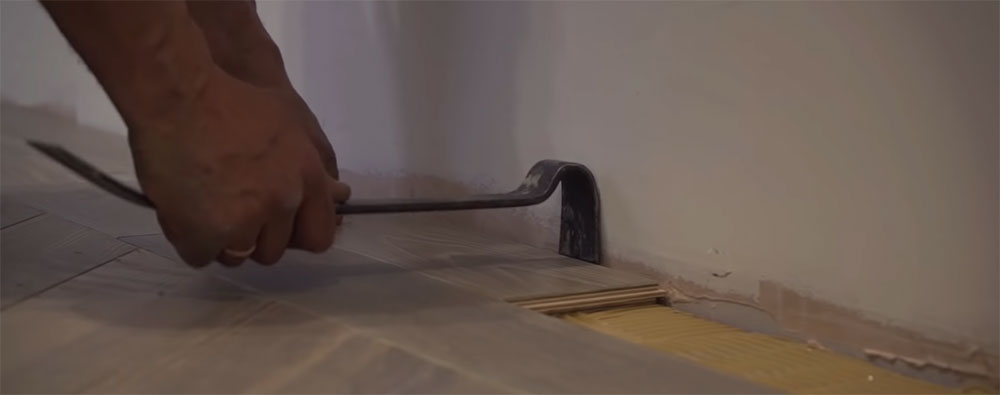
The frame is only found at the edges of the sheet, so it is not necessary to break the entire floor to separate it. If we intend to reuse the wood, we must be very careful when removing it, applying transverse force with the pry bar below where the baseboard is located.
To make the work of lifting the baseboard easier, make a small cut on one of the walls, preferably the one that is older and easier to cut. You can use a razor or flathead screwdriver to drill it.
Divide the tables into small sections in case you don’t need them
If you have no plans to reuse the materials in another construction project, then the best thing to do is to cut the sheets into 3-foot sections. Hardwood is very difficult to remove in large pieces.
Using the circular saw, draw lines from end to end in the perpendicular direction to the wood installation. In this way, the saw will slide easily, and in this way, you will avoid accidentally cutting nails along the way. Remember that the cuts should not have separations greater than 3 feet.
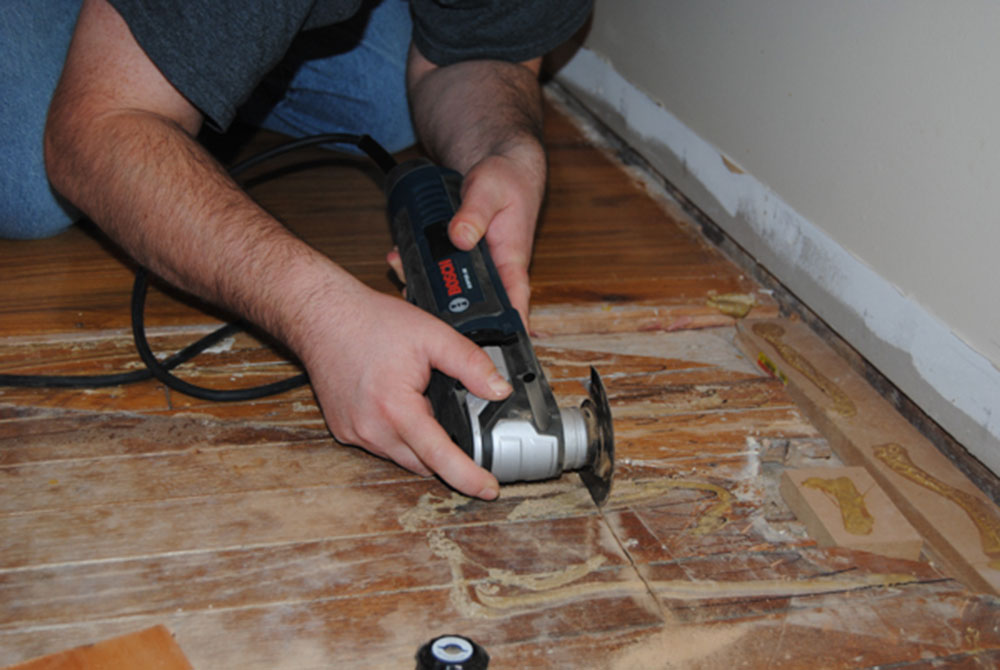
As for the depth of the disc for the saw, this will depend exclusively on our installation. You should know how far your hardwood goes to avoid cutting the bottom plywood.
When we intend to reuse the wood sheets, it is best to cut large pieces, so if we need to cut them later, we have enough material. Large pieces also reduce the number of joints you will have on your floor.
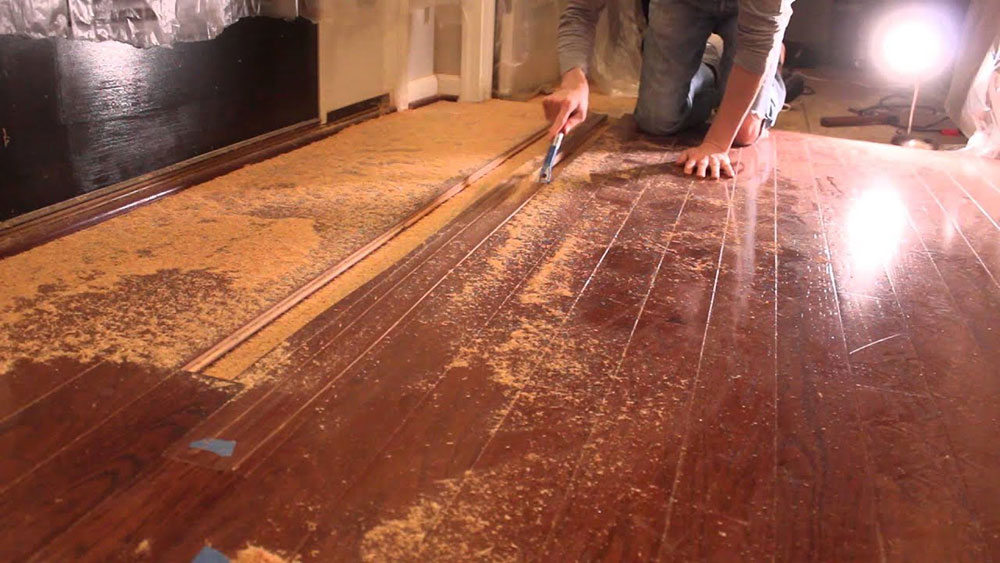
Lift the wood sheets
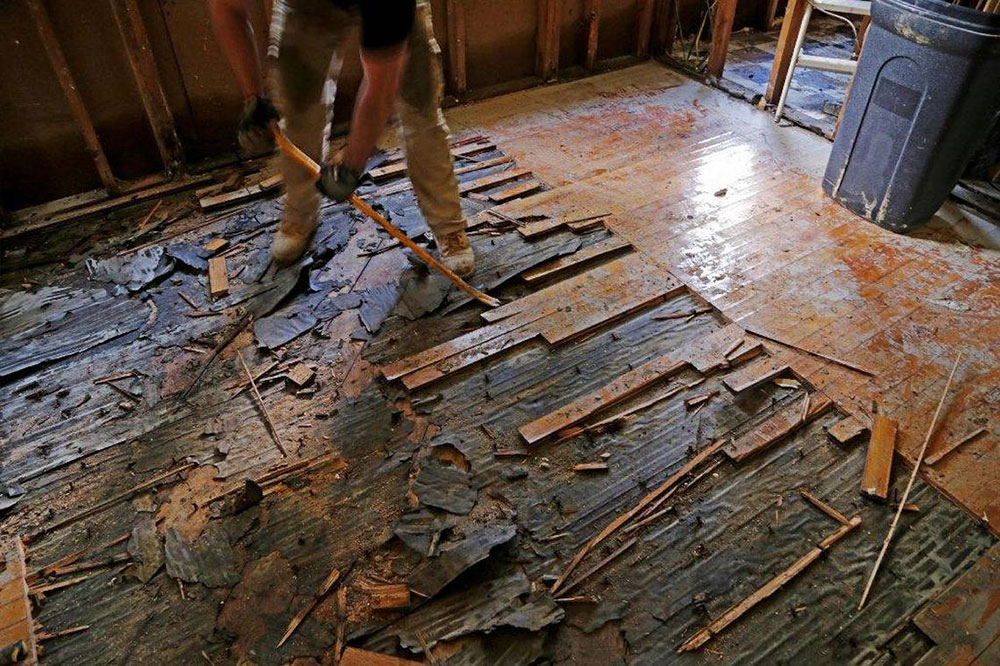
Once you have made the necessary cuts, you can proceed to lift each section. Again, the way we perform this step will depend on whether we want to preserve the integrity of the sheets.
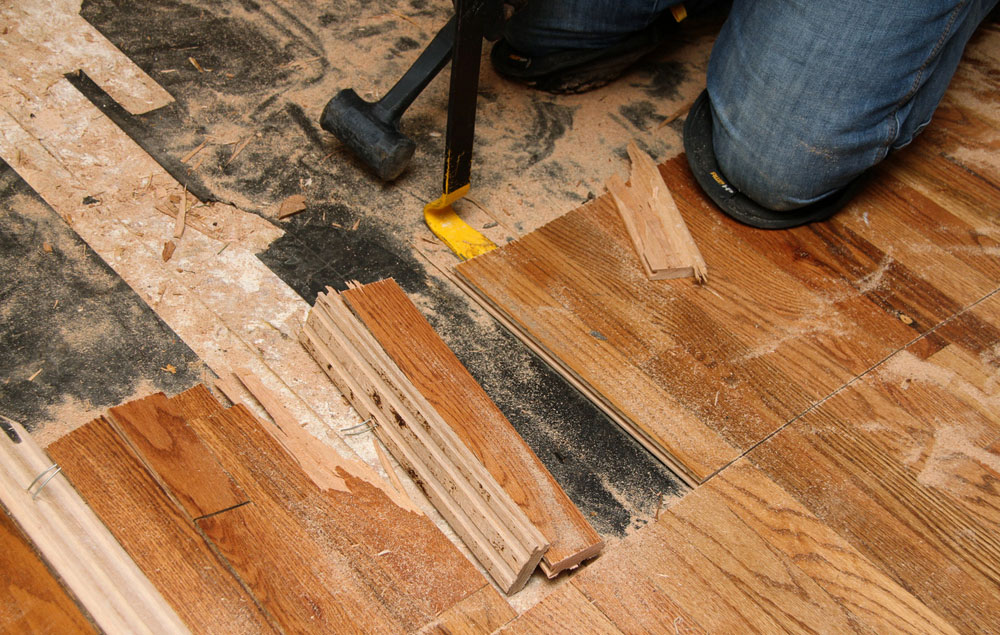
Obviously, in case we simply want to remove the floor, it will be enough to insert the pry bar under each sheet and apply force until it is lifted.
To remove the parts and maintain their integrity, we will need to be more careful when using the pry bar. You cannot lift them in one movement, but you must gradually raise them while repositioning the pry bar.
Raise ¼ inch each time you insert the pry bar. Once the piece of wood reaches the appropriate height, insert a bit deeper the pry bar and raise ¼ inch again. In case you cannot insert the lever, cut and remove a section of the floor located next to the wall to use it as an opening.
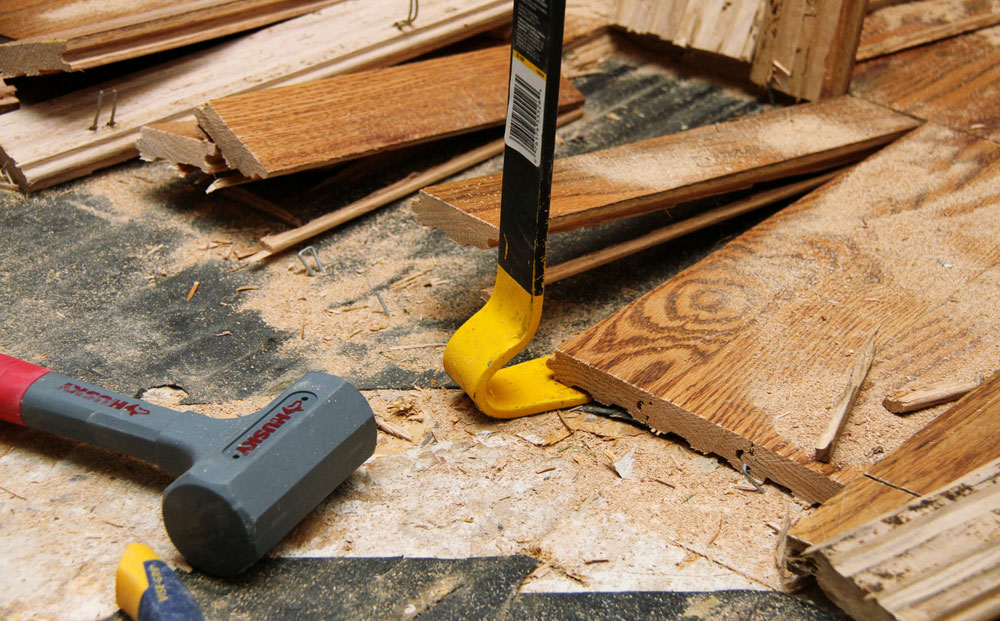
Finally, remove the elements that held the wood
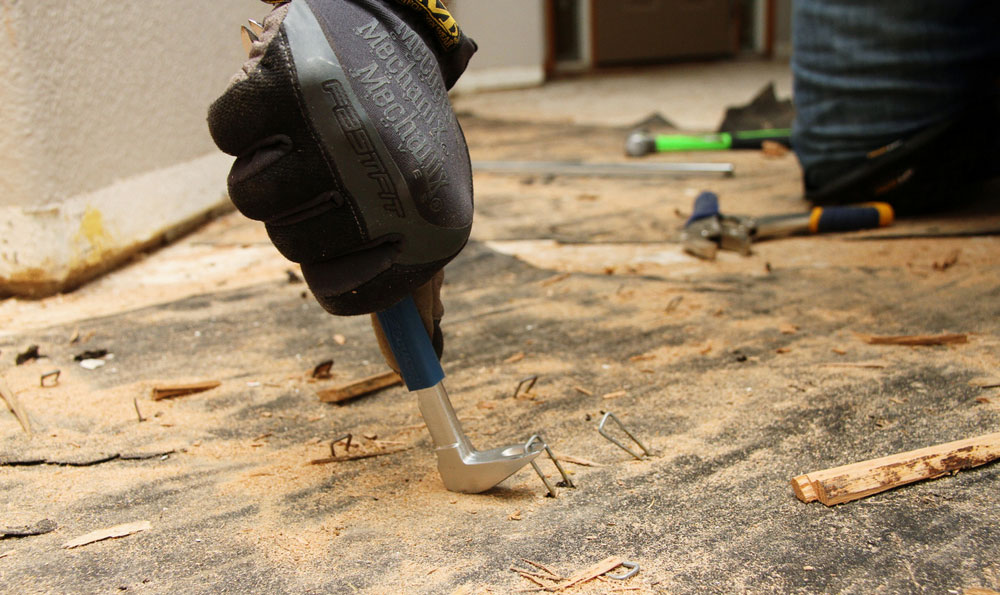
To conclude the work, you must remove any nail or staple that kept the wood attached to the floor. Unlike the floor, these can be very difficult to remove, since a simple pry bar will not be enough.
Have a hammer, a pair of curved vice grips and a magnet on hand. The process will be tedious because the only way to remove nails and staples is one by one, but at least we won’t have to cut the structure.

Before cleaning the sawdust and dust resulting from the work with a vacuum cleaner, check with a magnet for loose metal elements on the floor. In addition to this technique allowing us to collect several staples and nails at the same time, we also avoid suffering injuries.
What can I do with the wood that I removed?

Now that you know how to remove hardwood floors, it’s time to think about what you will do with the material you remove. As long as the boards you removed are not damaged, you can give them a second chance.
If you don’t want to get rid of them, you can save them for home projects where you need wood. If you do not have space to store it, selling it to a builder or contractor that uses second-hand material is a valid option. In general, this wood can still be used as a frame for concrete emptying, or it can be reused in sawmills to create MDF sheets.
It is easier to recover the material when the floor is connected with nails and staples. If this is fixed with glue, it is most likely that much of it will be destroyed when trying to remove it.
Another fact that must be taken into account is that the wood used for the floors begins to lose resistance if it has been sanded more than 6 times. The constant removal of the material causes it to weaken to the point that only one-fifth of our floor is reusable.
If you liked this article on how to remove hardwood floor, you should check out these as well:
- How Can We Decorate Our Bathrooms with Translucent Glass?
- Stone Fireplace Ideas. How to Decorate a Stone Fireplace.
- Dark Wood Floors Tips And Ideas You Should Try