Advertisement
Your bathroom should be a reflection of who you are. It’s where you spend most of your time, so it should be somewhere that makes you feel comfortable and secure.
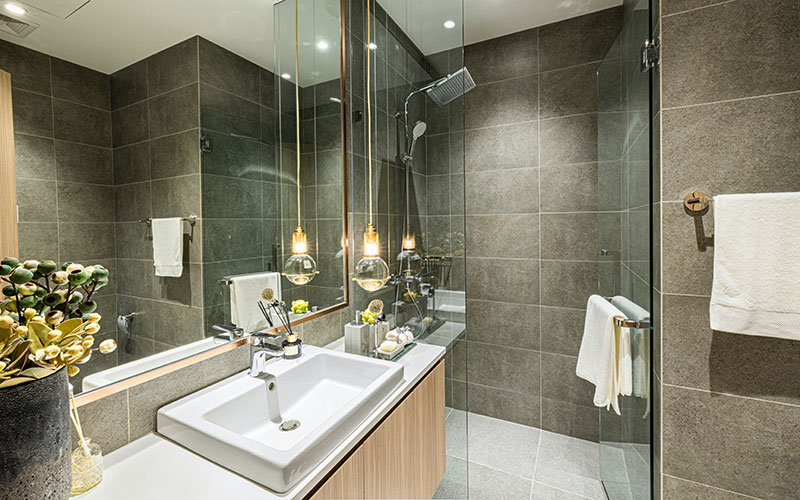
Customize your shower to suit your vision with textured, etched or obscure glass options.
- Measure the Space
Accurate measurements are an essential step in the art of shower glass installation. Incorrect measurements can cause delays and add extra costs to your project.
Before you begin the measurement process, be sure to account for any material on your walls such as backerboard or tile. These materials can distort your measurements between walls and reduce space available for a custom shower glass door.
Next, measure the width of a door by measuring its distance from wall to wall on both sides of the opening. Take note of your measurement and round it off to the nearest 1/16″. This ensures accuracy when measuring larger openings.
- Determine the Shape
When selecting the shape of your custom shower glass installation, you have several options to choose from. Whether you prefer square, rectangular or curved, there is sure to be something out there that meets your requirements.
Some of the most sought-after shapes include:
Square shower enclosures feature one or two walls and frameless glass panels on the other, creating a more open feel in the bathroom.
Another option is a corner configuration that creates a triangle with one wall and frameless glass. This style of bathroom is popular for larger bathrooms, allowing for more spacious shower areas.
This type of shower wall can be an effective way to maximize your existing space. However, it requires more upkeep than other varieties since it accumulates soap scum.
- Decide on the Design
Glass shower doors are an excellent way to freshen up the aesthetic of your bathroom. Not only do they add a modern flair, but they can also make the space appear larger and more airy.
Selecting the design for your custom shower glass installation is one of the most crucial decisions you’ll make when installing a new glass enclosure. You have numerous options to choose from when customizing your shower, such as colors, patterns and textures.
To prevent gaps, uneven joints, and hinge binding around a door or glass panel, walls that meet should be vertical (also known as plumb). Walls that are more than 1/4″ out of plumb are vulnerable to leaks and may look unsightly.
- Decide on the Finishing Touches
Finishing touches make all the difference in your bathroom’s design and functionality. Choose from a range of glass door hardware, frame options and framing techniques that will blend in with the rest of your space’s aesthetic for a unified appearance.
Frosted glass doors with sandblasted etching for privacy are an elegant way to give your shower some flair. It’s also fun having a window in the shower that keeps out the sun when you want a relaxing soak. Best of all? You can likely find all these features at your local glass shop with some research and planning! With just some creativity, functional, and stylish shower will be in no time!
- Schedule the Installation
Frameless shower glass installation requires precision and patience to ensure it’s done correctly. It involves numerous drillings and alignments as well as precise measurements that must be made.
Thankfully, professional glaziers are skilled at this task and can easily arrange the installation of your custom shower enclosure. They’ll purchase all necessary hardware and bring it directly to you for setup, saving you the hassle.
Once your custom shower glass is installed, it’s essential to protect it against stains and hard water buildup. One way of doing this is applying a hydrophobic coating on the glass which makes it more resistant to water spots and stains. Alternatively, creating an effective cleaning regimen will help keep your glass spotless over time. When combined with professional custom mirror installation, you can be sure that your shower enclosure will last for many years to come.