Advertisement
The greatest method to preserve your mementos without spending a lot of money is to keep your old cabinet and give it a modern makeover.
Resurfacing kitchen cabinets may completely change the look of the room and is a lot more cost-effective option than replacing them. Refacing kitchen cabinets is the term used in the industry.
Many people want to know how to paint pressed wood, and laminate cabinets in the kitchen. It’s simple in skilled hands, but it’s also a DIY project that can be fun.
What Exactly Is a Pressed Wood Cabinet?
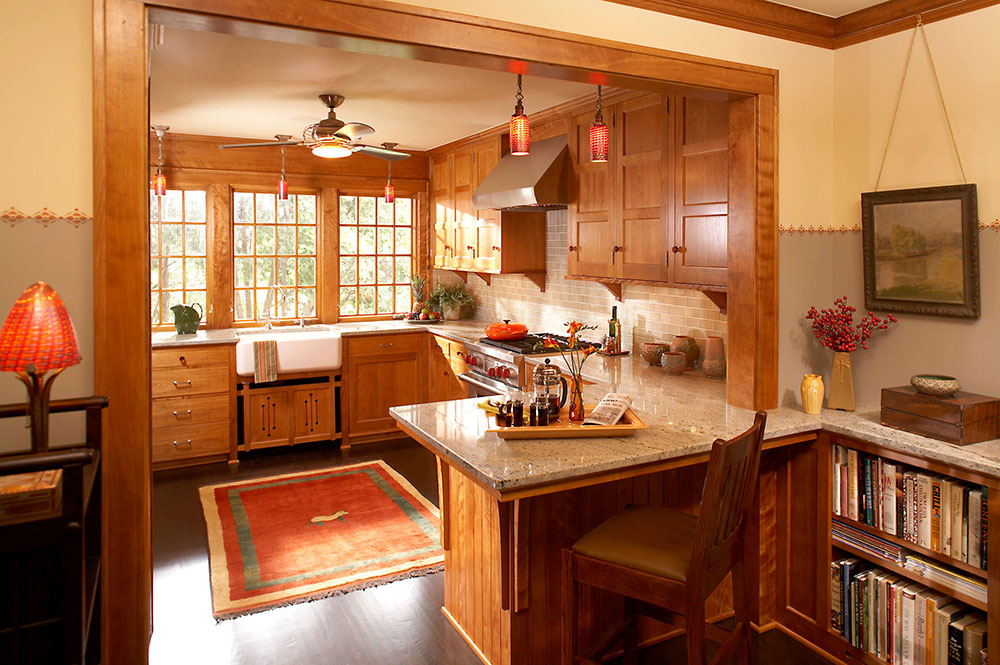
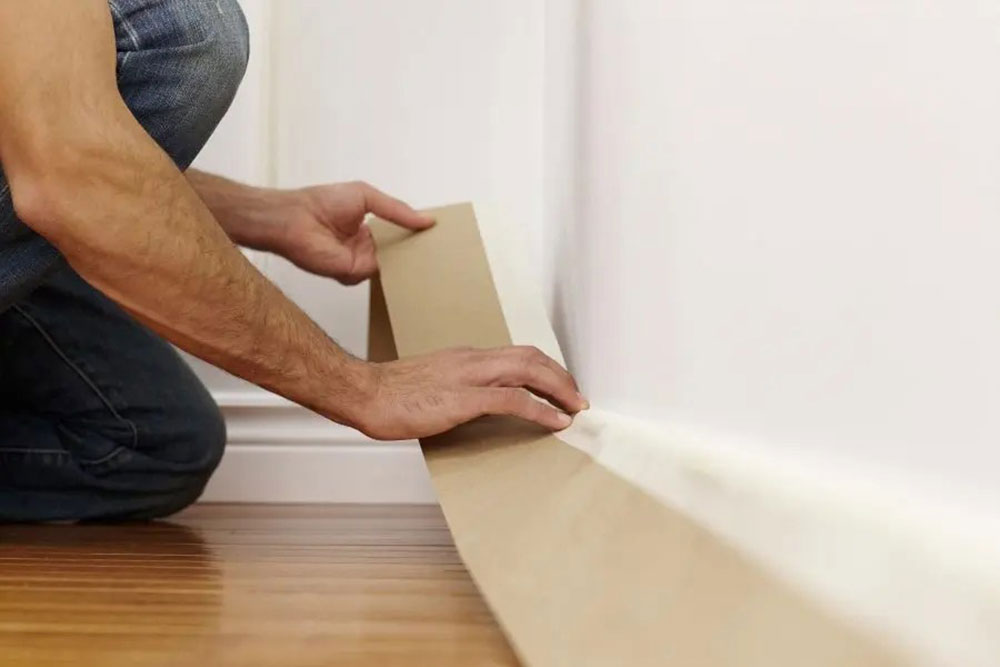
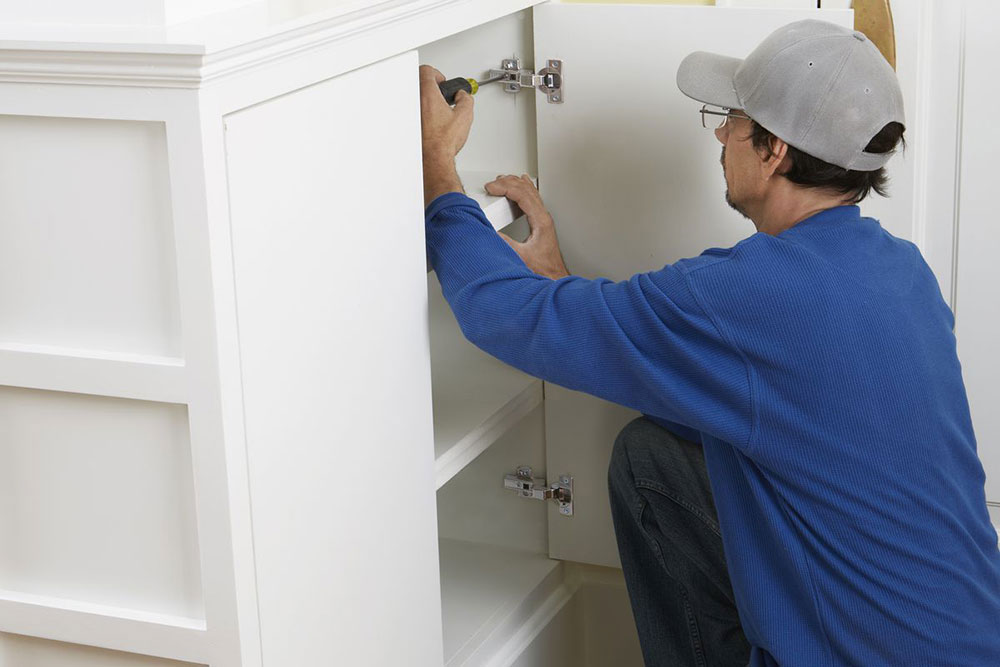
Image source: David Heide Design Studio
Pressed wood cabinets or laminate cabinets are created from wood scraps that have been repurposed. You might call them fake wood cabinets.
Laminate cabinets are a green alternative for individuals seeking the best kitchen cabinets to liven up their kitchen appearance. To make it even more effective, people decide to paint laminate cabinets in various colors.
Because laminate cabinets are constructed from wood by-products and plastic veneer, it’s classified as a manufactured wood alternative. It is both cruelty-free and extremely sustainable.
So, it looks like real wood and it is actually pressed wood material and they build particle board cabinets. Painting laminate cabinets may bring up even more to the effect of real wood.
If you’re the sort that enjoys being outside, this is the ideal kitchen cabinet for you. It is fake wood, but no one will notice.
It’s also highly cost-effective, making it a perfect alternative to consider if you’re remodeling your house on a short budget.
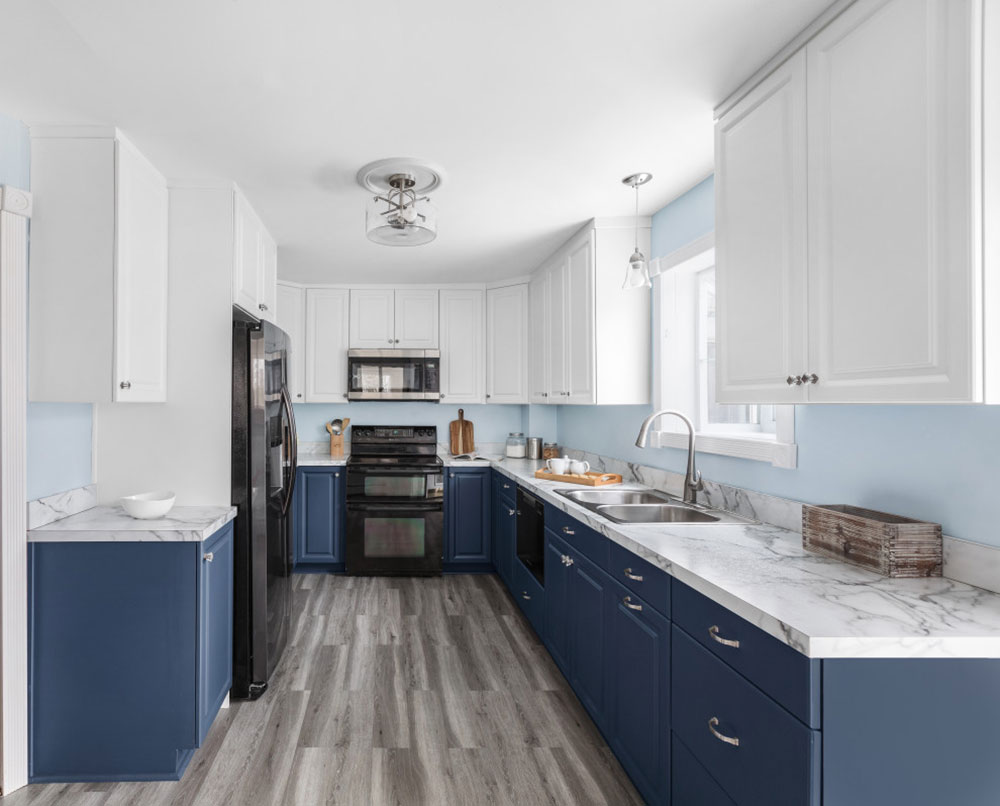 Image source: Kitchen Magic
Leftover wood shavings, sawdust, and small wood particles are covered with a resin and pressed together to produce “boards” in pressed wood, also known as pressed particleboard. It’s a low-cost, lightweight wood substitute that absorbs water faster than real wood. Pressed wood is quite durable. It has a unique uneven or raw surface and texture that adds to the charm of your kitchen.
The pressed wood substance is usually coated with a thin piece of veneer or laminate to keep things together because it can peel or lose its form. A thin coating of actual hardwood is placed on a less costly material, such as plywood, to create the veneer. Laminate is a printed surface that resembles genuine wood but is constructed of plastic and glued to a composite substrate.
The paint will not stick to this surface since it has a smooth gloss. You must rough up the surface and generate some grip before you can paint pressed wood.
How to Refinish a Pressed Wood Kitchen Cabinet
On pressed wood, what type of paint do you use?
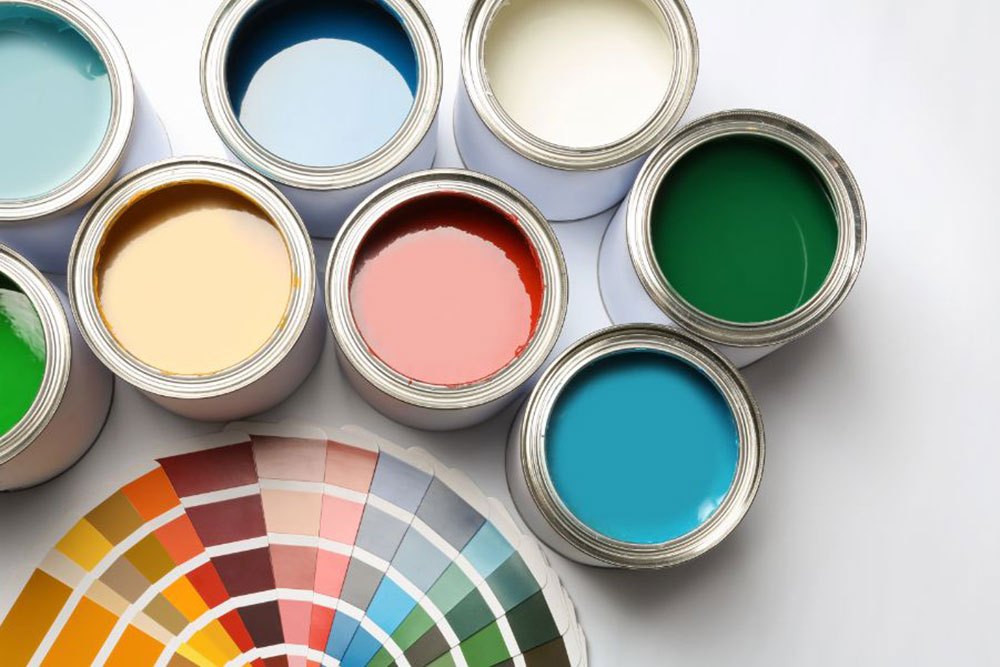
There are a few paint options available to you. You may wish to use water-based paints instead of oil-based paints because of the fumes and general cleanliness. Oil-based paints are less tolerant of errors and dry significantly slower. Water-based acrylic or latex paints are the most straightforward to use.
Because glossy surfaces are simpler to maintain than flat or eggshell coatings, oil-based paints with glossy finishes are excellent for most kitchen cabinets. For optimal effects, use a foam roller and foam brush with glossy oil-based paint.
Step 1: Separate the Parts
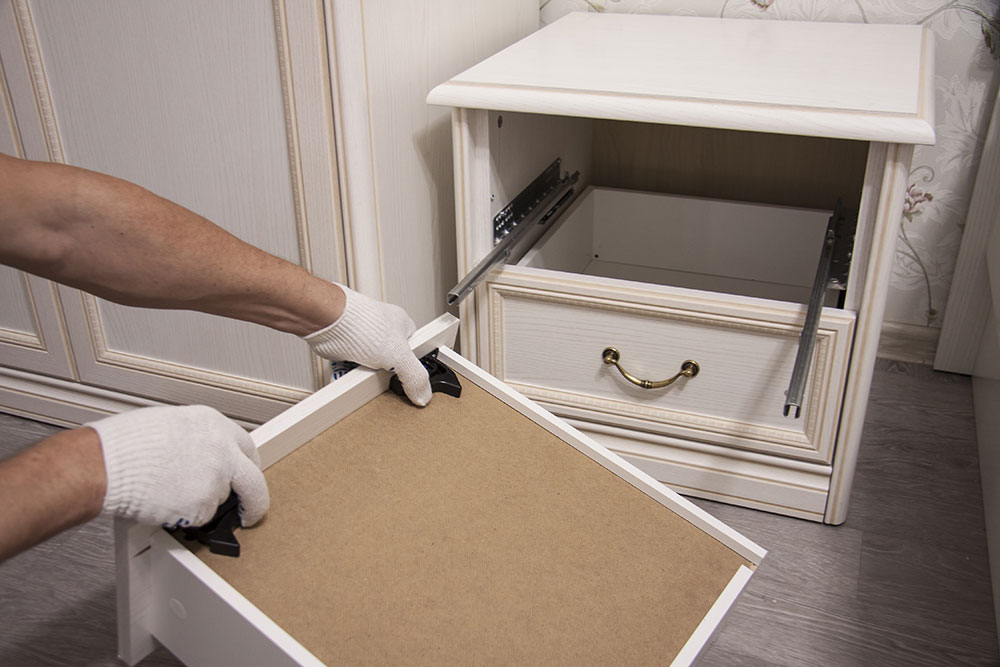
The first step in refacing your kitchen cabinets, regardless of how you do it, is to remove the cabinet doors as well as all of the hardware, including hinges, knobs, and pulls.
Label each component with a pencil as you remove it so you know where it goes when it’s time to rebuild the kitchen cabinets. Remove each handle and knob and place them next to the drawer or door to which they belong.
To make the labeling procedure easier to grasp, you might develop a graphic demonstrating where each drawer belongs.
Step 2: Using painter’s tape, tape off any surfaces you want to keep dry.
One of the 1st things when deciding to paint pressed wood cabinets is to cover any edges where the wall meets the cabinet with painter’s tape.
Pull each piece of tape out of the package and smooth it against the wall with your palm as you apply it. Cover any areas of your cabinet or backsplash that you don’t want to paint with tape.
If you’re concerned about getting paint on your counter, place another drop cloth over it to keep it dry.
Step 3: Prepare the Cabinet Surface to Paint
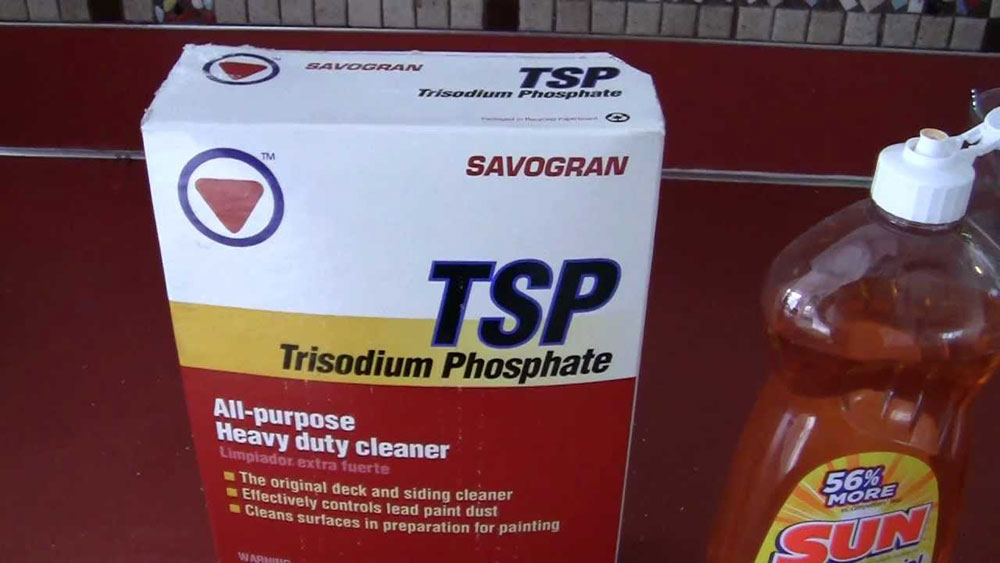
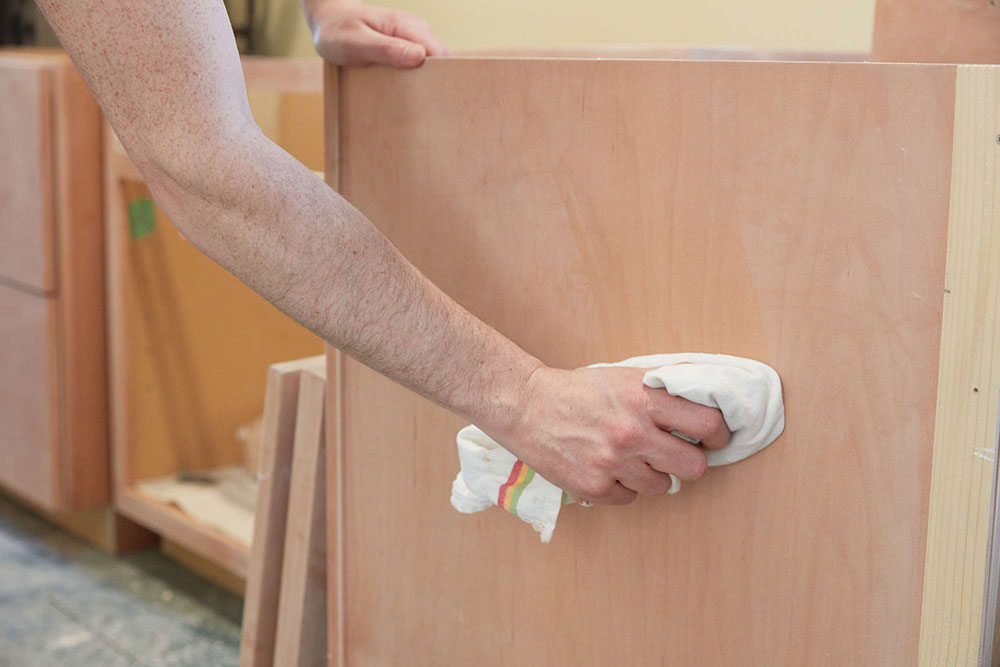
To remove filth, grime, grease, and body oils, thoroughly clean the cabinet doors and the surface of the frame. Use soap and water or a cleaning product such as trisodium phosphate. This is crucial when deciding to paint pressed wood cabinets.
Repair damaged or chipped wood with wood putty and let it cure.
Using the blade of your putty knife, open the wood putty and scoop some out. To fill your damaged surface with wood putty, rub the putty into it. When the hole is completely filled, empty your putty knife and scrape the surface to remove any extra putty. Allow 24 hours for the putty to set completely.
4th Step: Sand Your Cabinet
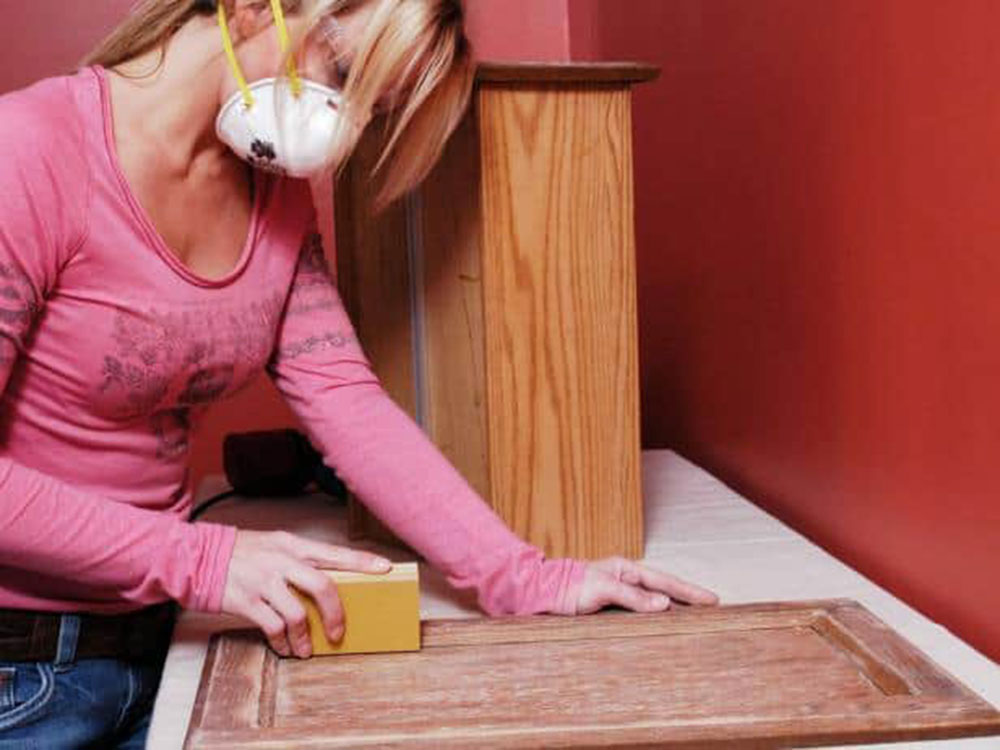
Another thing to do before starting a paint job is to roughen up the smooth laminate with the assistance of a gritty companion. Use sandpaper, to produce a firm connection between the paint and the cabinet.
Upgrading to a motorized orbital sander for improved coverage of a big surface area is recommended. Your upper body will appreciate it and you will actually enjoy the paint job.
Scuff the cabinet surfaces with 120-grit sandpaper, just enough to create a dusting but not so much that you rip through the paper-thin laminate surface, then suck up any dusty residue using a handheld vacuum and a moist cloth.
Step 5: Apply a Primer
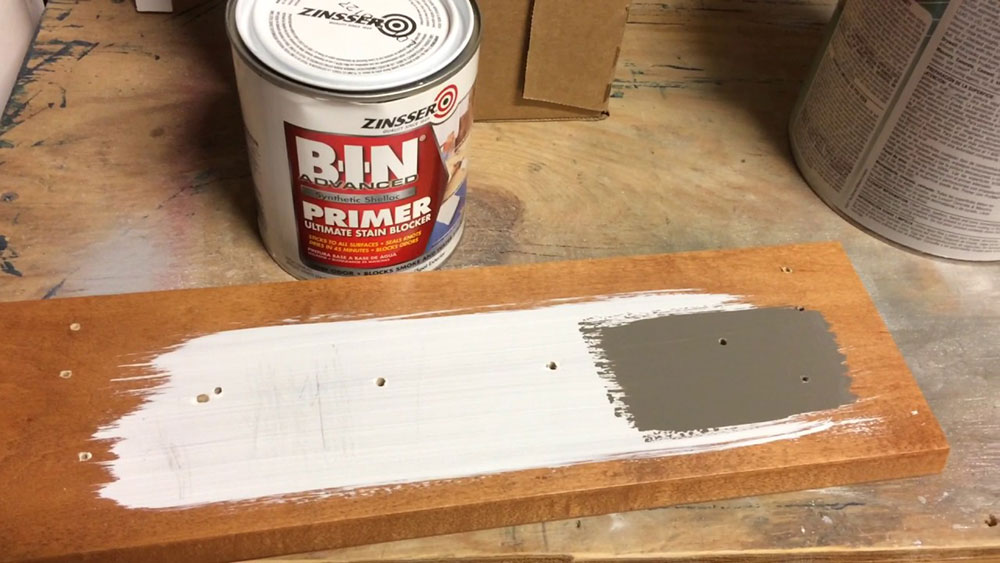
Particleboard that has been primed will hold paint better. On the board, you may use either a spray or a standard primer. Depending on the paint color you choose to use on your cabinet, you’ll need a different primer. If you want to use light-colored paint, you’ll need to use white primer.
Dark-colored paint requires a grey primer. This is mostly used to tint your cabinet before painting it the color you choose.
Apply a priming coat to the surfaces. Allow the primer to dry according to the manufacturer’s directions, adding extra drying time if the weather is particularly humid.
6th Step: Sand the Primer
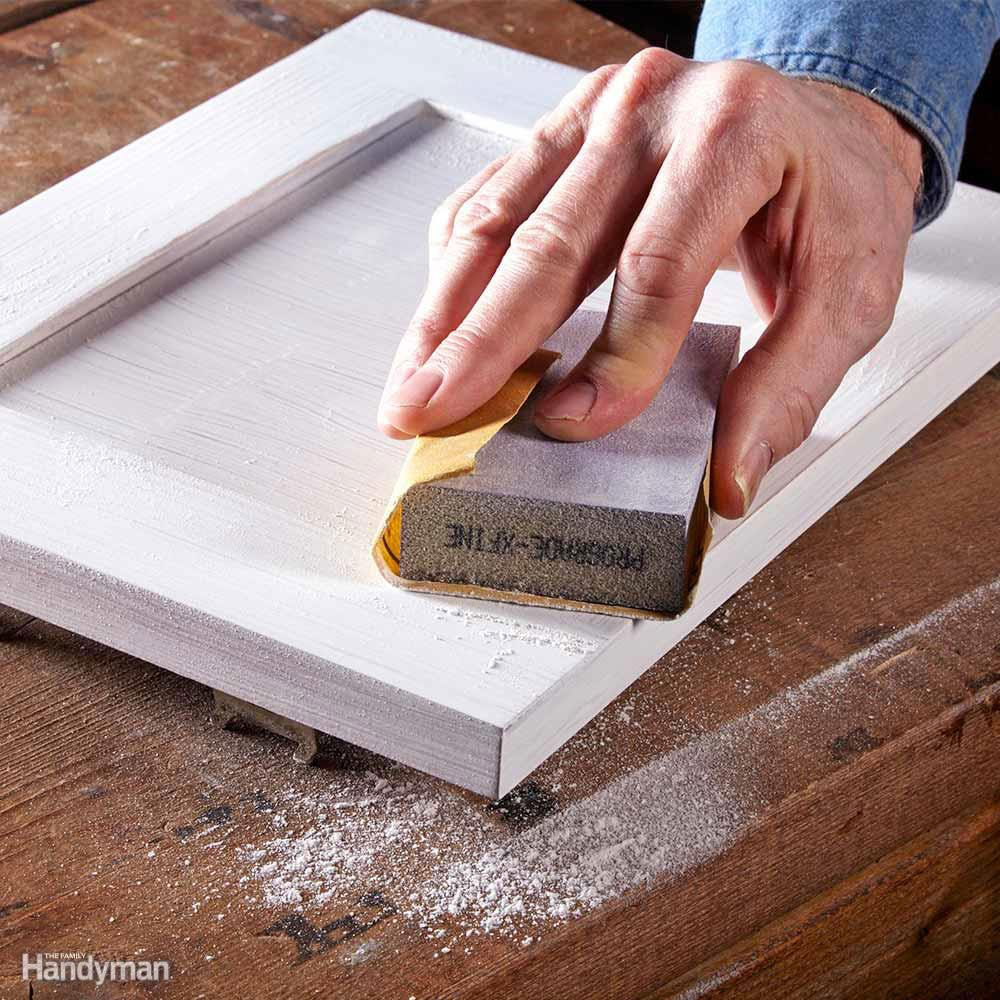
Before you start painting, sand the priming layer. This is done to ensure that the paint adheres effectively to the surface. Using a lint-free cloth, wipe away the dust.
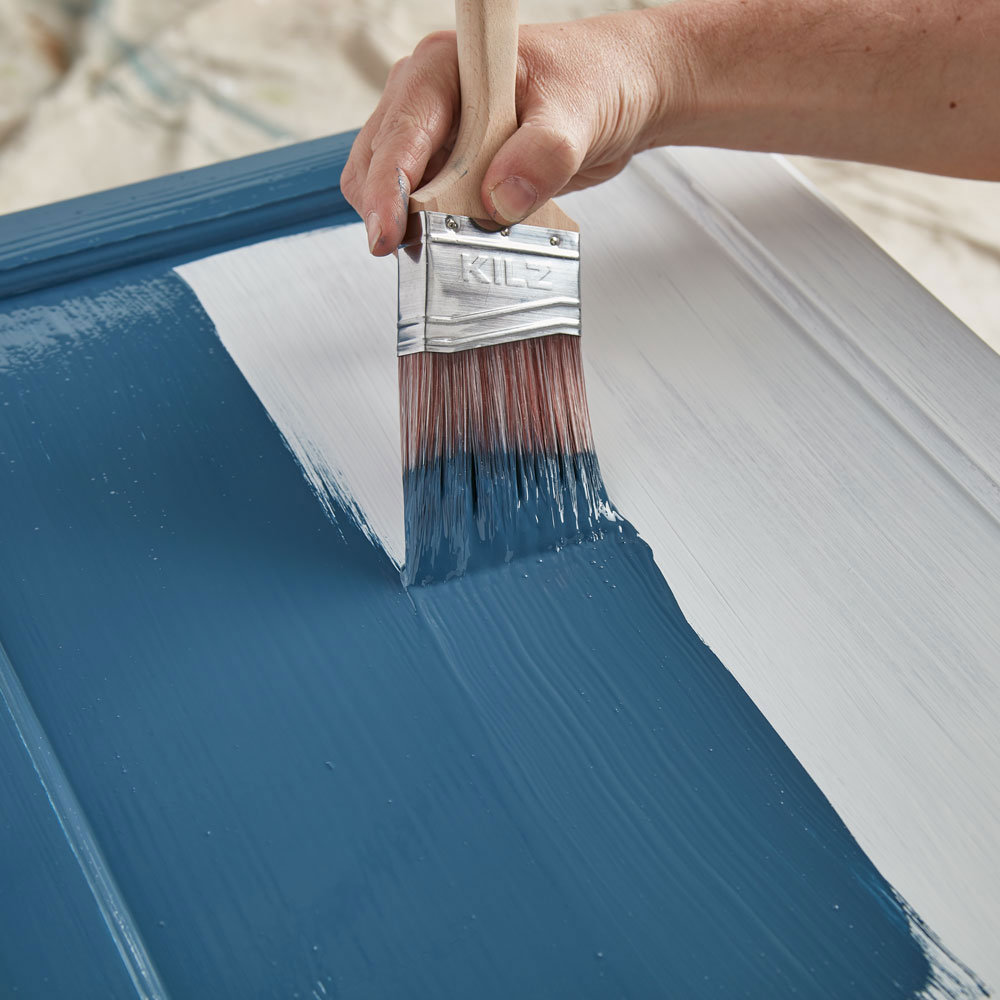
7th Step: Paint Your Cabinet
Before you paint a laminate cabinet, perform a test. Apply paint on a thin layer to a tiny, inconspicuous part of the cabinet (such as the back of the one you rarely open), let it dry, and then check the bonding. If there are bubbles in the coat, it is not sticking properly. Don’t use this material to paint kitchen cabinets.
When painting your kitchen cabinet, it’s preferable to use a roller. Painting using a roller will help you make smooth strokes.
For regions that are difficult to reach with a roller, use a paintbrush. Keep an eye out for paint droplets. Make sure to clean up any paint droplets before they dry.
Step 8: Reapply Additional Coats Until You Get the Color You Desire
Because pressed wood absorbs paint quickly, you may need to apply multiple coats to attain the desired color shade.
Reapply an additional coat, allowing for drying time for each coat and sanding between each application to ensure that the paint clings to the wood.
If you’re painting your cabinets a bright color, you’ll need at least two coats to obtain the desired hue.
Feel free to stop painting after applying your base coat if you like a somewhat uneven or textured effect.
Step 9: Varnish your cabinets and wait 24 hours for them to dry
If you wish to waterproof the cabinets after the paint has been set, purchase some shellac or wood varnish. Fill a clean paint tray halfway with your finish and apply it to the paint with a natural brush. Paint along the direction of the wood grain, gently and carefully. Cover all surfaces with the brush. Allow the shellac or varnish to cure for at least 24 hours.
If you don’t want to apply this top coat, you don’t have to seal your cabinets. However, it will assist to protect them for a longer length of time.
Step 10: Finish the Piece and Display It
Remove the painter’s tape after 24 hours has passed. Reassemble all cabinet components.
Replace any hardware that was removed prior to painting, and reassemble any furniture that was dismantled for refinishing.
Ending thoughts on how to paint pressed wood kitchen cabinets
Keep in mind prep work is half of the job when starting any DIY project. If you want to have your kitchen cabinets painted, pick good materials first.
Remember to always apply a thin layer and watch that painted piece. Wait until the paint dries to see what this paint looks like on cabinets. Don’t start with big brush strokes right away.
Make sure you get a good quality brush so the hair from the brush wouldn’t fall off and mess with color. Imagine seeing that after painting the entire kitchen?
Buy high-quality primer and top coat to get the glossy or semigloss finish. It is up to you and your preferences.
If you enjoyed reading this article about how to paint pressed wood kitchen cabinets, we also wrote about subjects like how to install kitchen backsplash on drywall, how to disguise kitchen soffits, how to organize a corner kitchen cabinet, and how to brighten a dark kitchen.
That is not all. We have other kitchen-related articles on how to organize deep kitchen cabinets, how much it costs to install a kitchen faucet, how to make a kitchen island with IKEA cabinets, how to sharpen kitchen shears, and how to organize kitchen utensils.