Advertisement
Wood is a very nice material and excellent for all kinds of jobs. However, it has a high cost for the owner, and it is that it requires maintenance. Some treatments protect it, but that will not prevent that eventually, we have to touch it up. And one of the most basic touch-ups is to sand them. Do not you know how it’s done? Do not fear, because today we teach you how to sand a deck so you do not have to resort to professional carpenters.
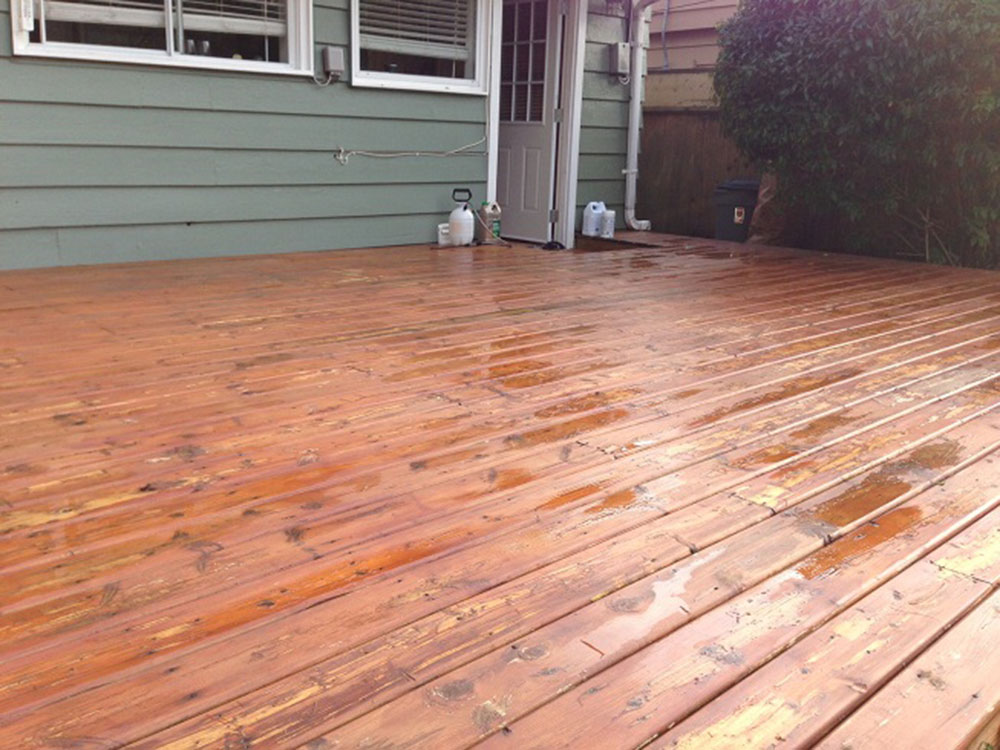
With the corresponding care, we can lengthen its useful time before it needs a deep repair. Wood will always be prone to wear, fading, and cracking, especially when exposed to rain and sun.
It is difficult to say what is the best sander for decks since there are many in the market, but this means that we can try many options to try to fix our wood ourselves. As long as we do not use any harmful products for our piece, we can sand and paint with confidence.
There are three methods with different results for sanding. The first method is to use traditional sandpaper and do the work manually. The problem with this method is that it requires a lot of time, and we can obtain disparate results if we are not used to the process.

The second method is somewhat more extreme since it requires the use of a floor drum sander. The problem with this is that it is extremely powerful, so we not only talk about uneven results but also completely damage the piece of wood.
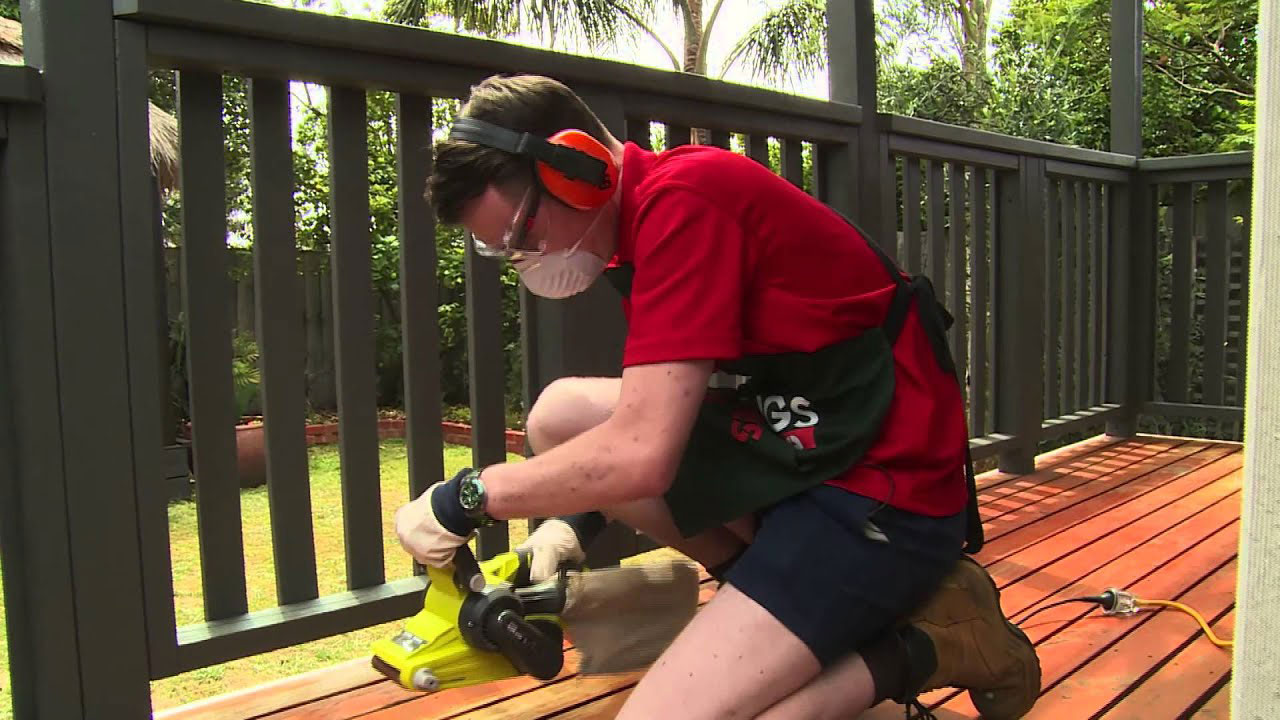
So, how to sand a deck without damaging it completely? With the use of the third method, in which we use an orbital floor sanding machine. Of course, this does not mean that before we will not wash the deck to remove imperfections that are stuck in the wood.
When is the ideal time to sand our deck?
It is not necessary that we are constantly sanding furniture or wooden floors. There is not an exact time that indicates when we need to do it. If we do not want to work in excess, we can do it once every two years to maintain a quality standard.
We can also find out if we add a little water to the deck. If it is absorbed, then it is time to sand it.
What are the benefits of sanding our deck?
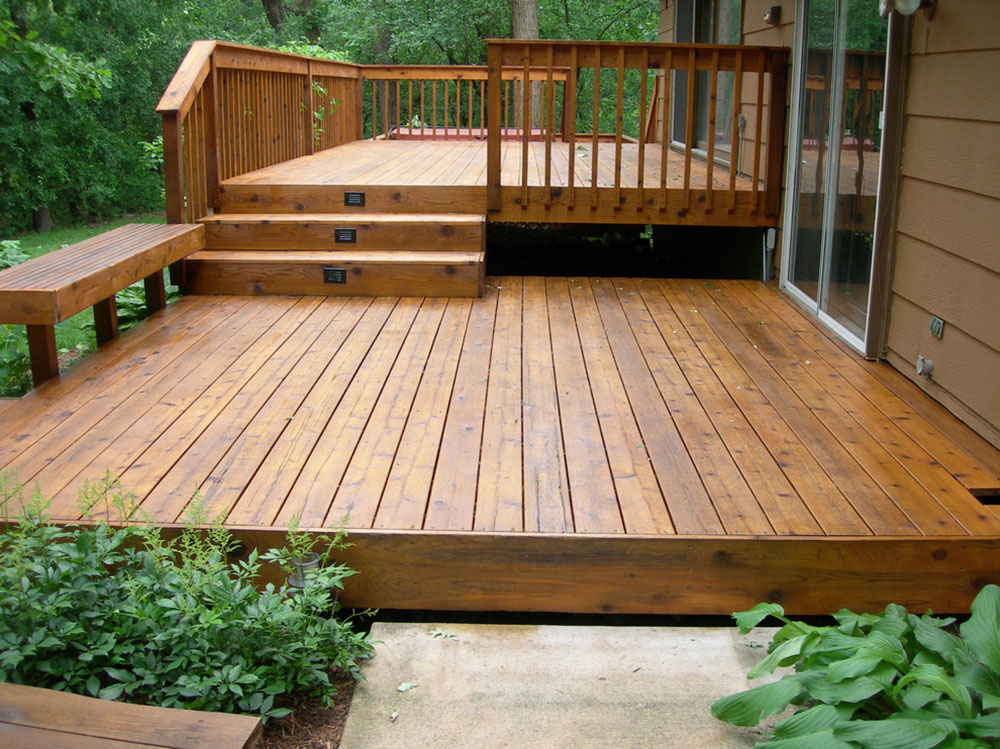
Image source: Bear Mountain Custom Painting
Maintaining the state of our deck requires hard work and a series of steps to do it well. Whether we simply seek to eliminate roughness, or we are going to do a complete painting job, sanding is a fundamental part of wood maintenance.
The most fundamental thing is that sanding furniture and floors makes them safe, eliminating splinters and other sharp edges. This is especially important when there are children nearby.
The second benefit is that we can varnish or paint the floor or furniture again, removing mold and other harmful agents.
How to sand a deck – The basics tips
The first thing is to get all the necessary implements and materials. The following is a list of what you will use in the guide:
- Swab
- Drill
- Hammer
- Phillips bit No. 2 (a drill bit)
- 3-inch screws
- Detergent
- A bucket
- A mop
- Paint scraper (for what we cannot remove with the sandpaper)
- Orbital sander for floors and palm sander
- 20, 36, 50, 80 and 100 grit sandpaper for the different sanding stages
- A vacuum cleaner
- A leaf blower
- Epoxy putty for wood (we will use it to repair cracks)
If you do not have the necessary tools, you can always rent them to save you an additional expense.
And if you’re curious about what is the best epoxy for wood, you should check the toolsspecialist.com where they have an awesome guide.
You must identify the type of wood
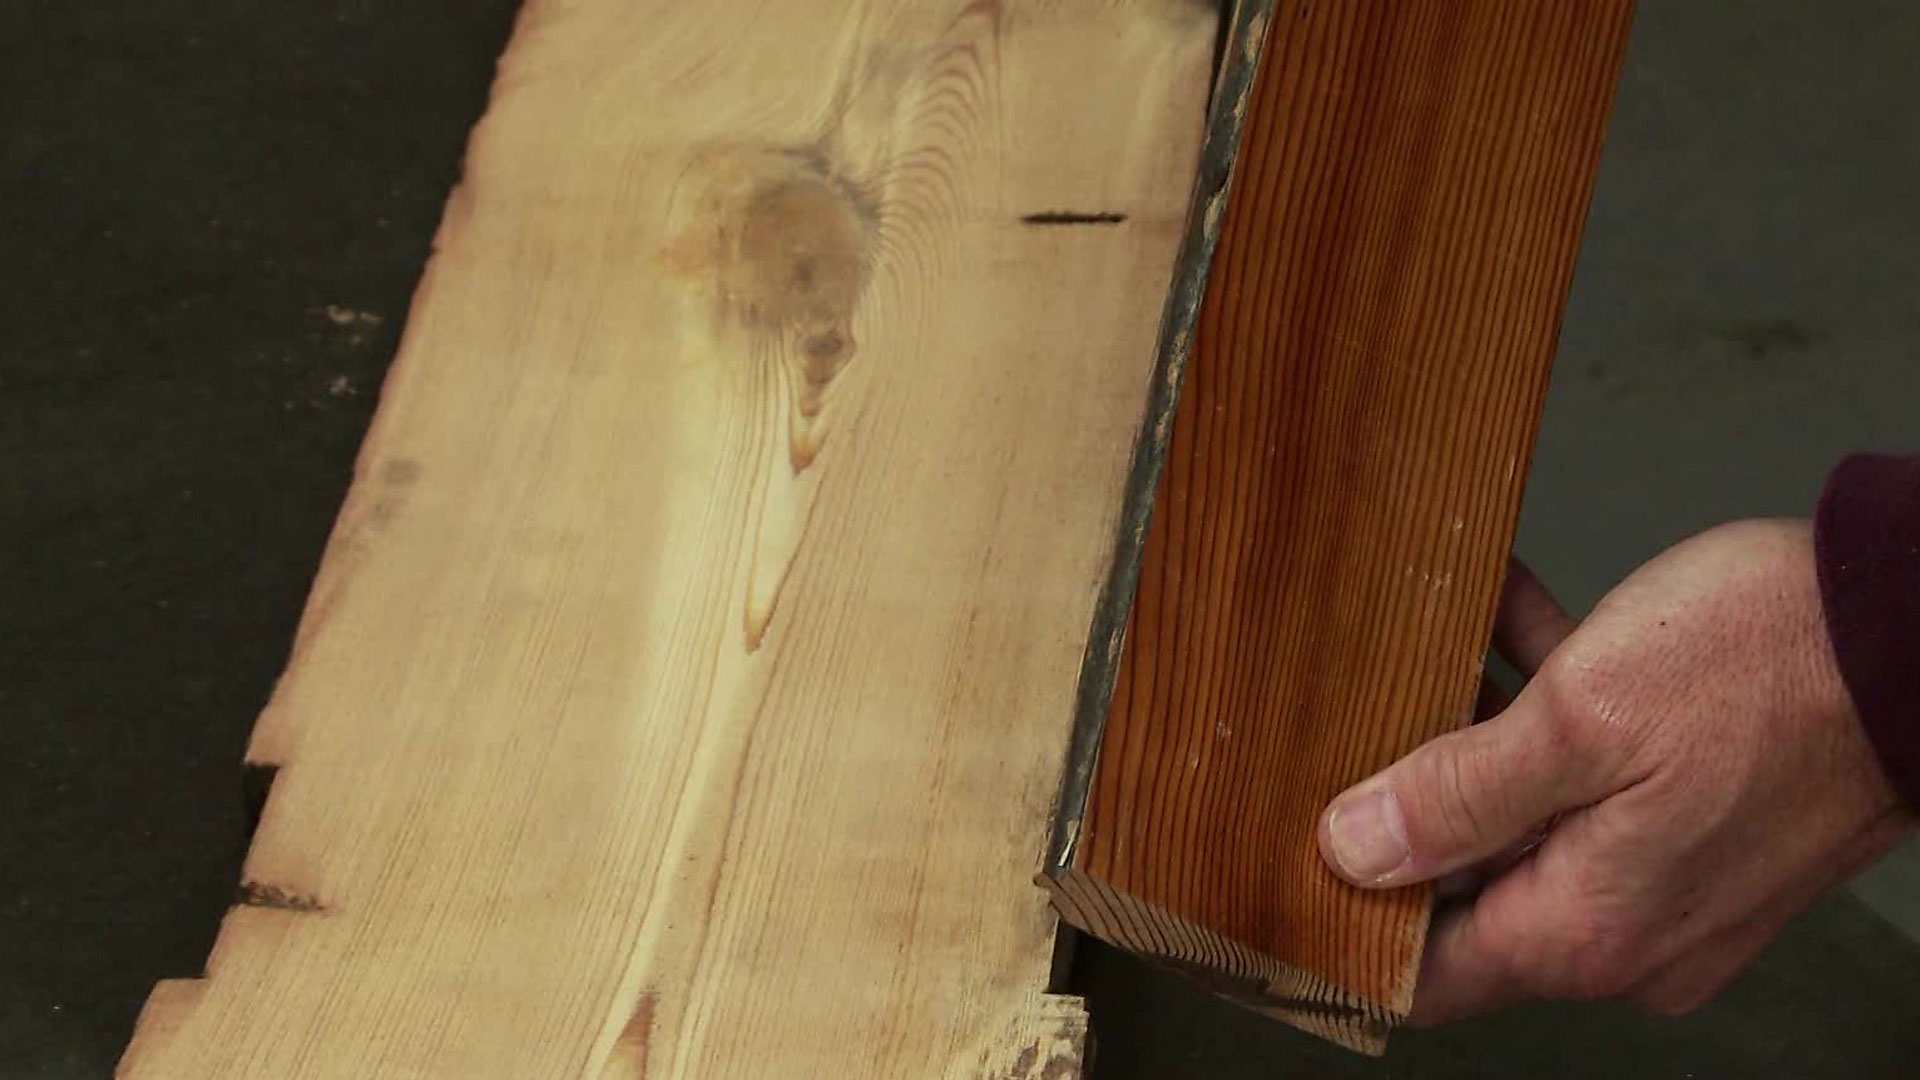
Before we move on to sand a deck, we must identify what kind of wood it is. The sanding process of this guide will work with all kinds of pure wood, but if it is a compound, then we will not be able to follow it. The following are the types of wood that you can sand:
– Hardwood: can be identified because they are deciduous trees. This wood is best worked with 20-grit sandpaper to remove large imperfections.
– Softwood: usually, this is coniferous trees. To not mistreat it, we will have to work with relatively high sandpaper at the beginning, like 50-grit sandpaper.
– Pressurized wood: this last category is wood that has been treated with preservatives to keep it in good condition for longer. The problem with this wood is that the chemicals used are dangerous, so we will have to sand it using a mask, glasses, and gloves.
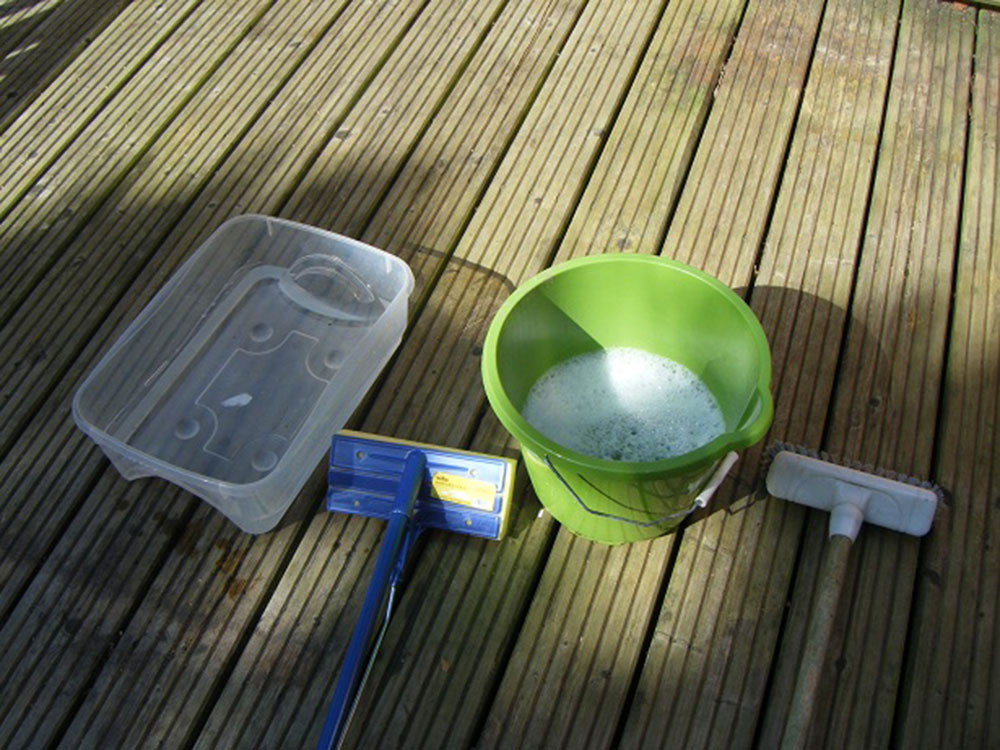
We must start with a deep cleaning
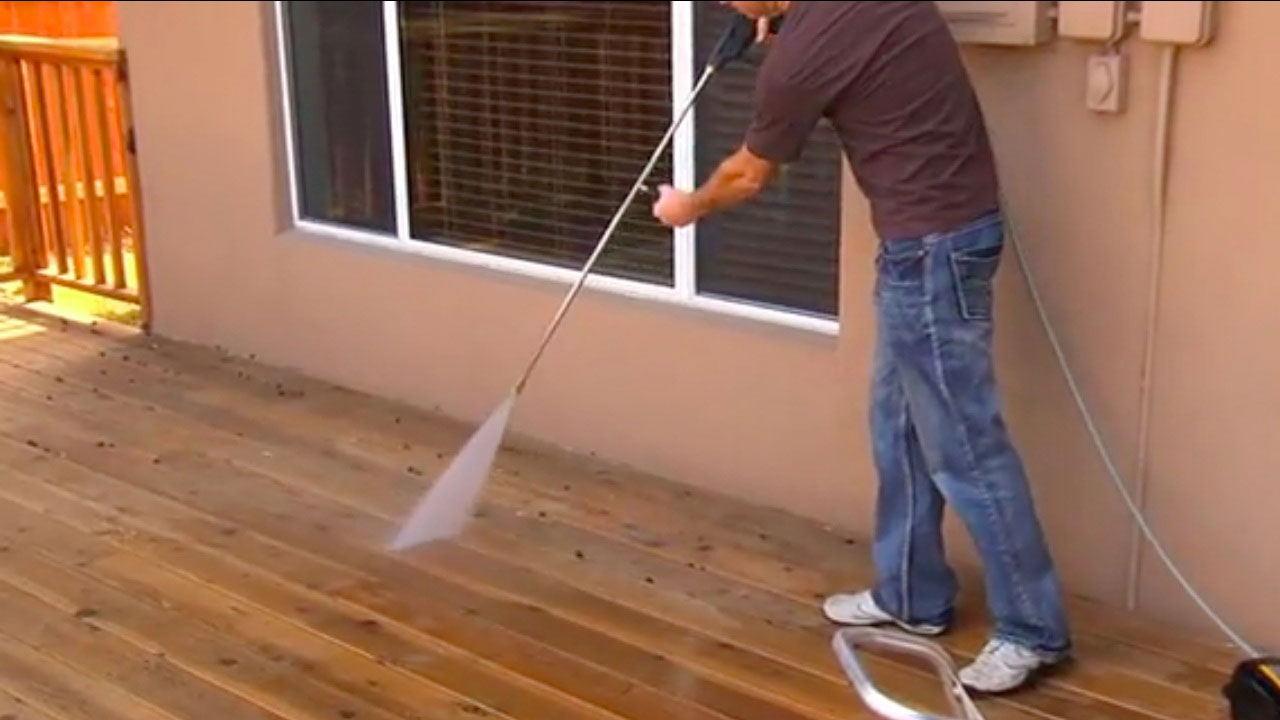
Before sanding any surface, we must wash it so that it does not have imperfections that result in a more difficult job. For example, mold does not allow the sandpaper to slip properly, resulting in poor work.
To clean, we have options that adapt to each type of dirt, such as water and soap, which allow eliminating surface dust effectively. For grease, the best alternative is trisodium phosphate. In case of mold, a little bleach should be enough to remove it. Finally, we have the decks cleaner, which performs the deepest cleaning work, but it is also quite abrasive and dangerous.
Pressure washing is not recommended if we deal with softwoods, as these can be severely damaged by water. If we are still going to use pressurized water to do the washing, be sure that no fiber is lifted, otherwise, stop using it. Also, make sure that the jet comes out like a fan (that is, dispersed) so that it does not have such a strong incidence.
If during the washing some fiber of the wood has been raised (regardless of whether it is hard or soft), it should be sanded before applying other treatments such as paint or varnish.
Let’s sand a deck

Finished with the cleaning preparations, it is time to program the sanding. And we say to program because you must make sure that it will not rain in the next few days since humidity, in general, can swell the wood. If this happens, we must wait for it to dry and repeat the cleaning process.
The sanding process begins with a belt sander. This can start with a 50-grain paper to eliminate larger imperfections. For the details, it will be better to use a sander sponge, so that we reach small areas.
Basic sanding concepts
Grain size
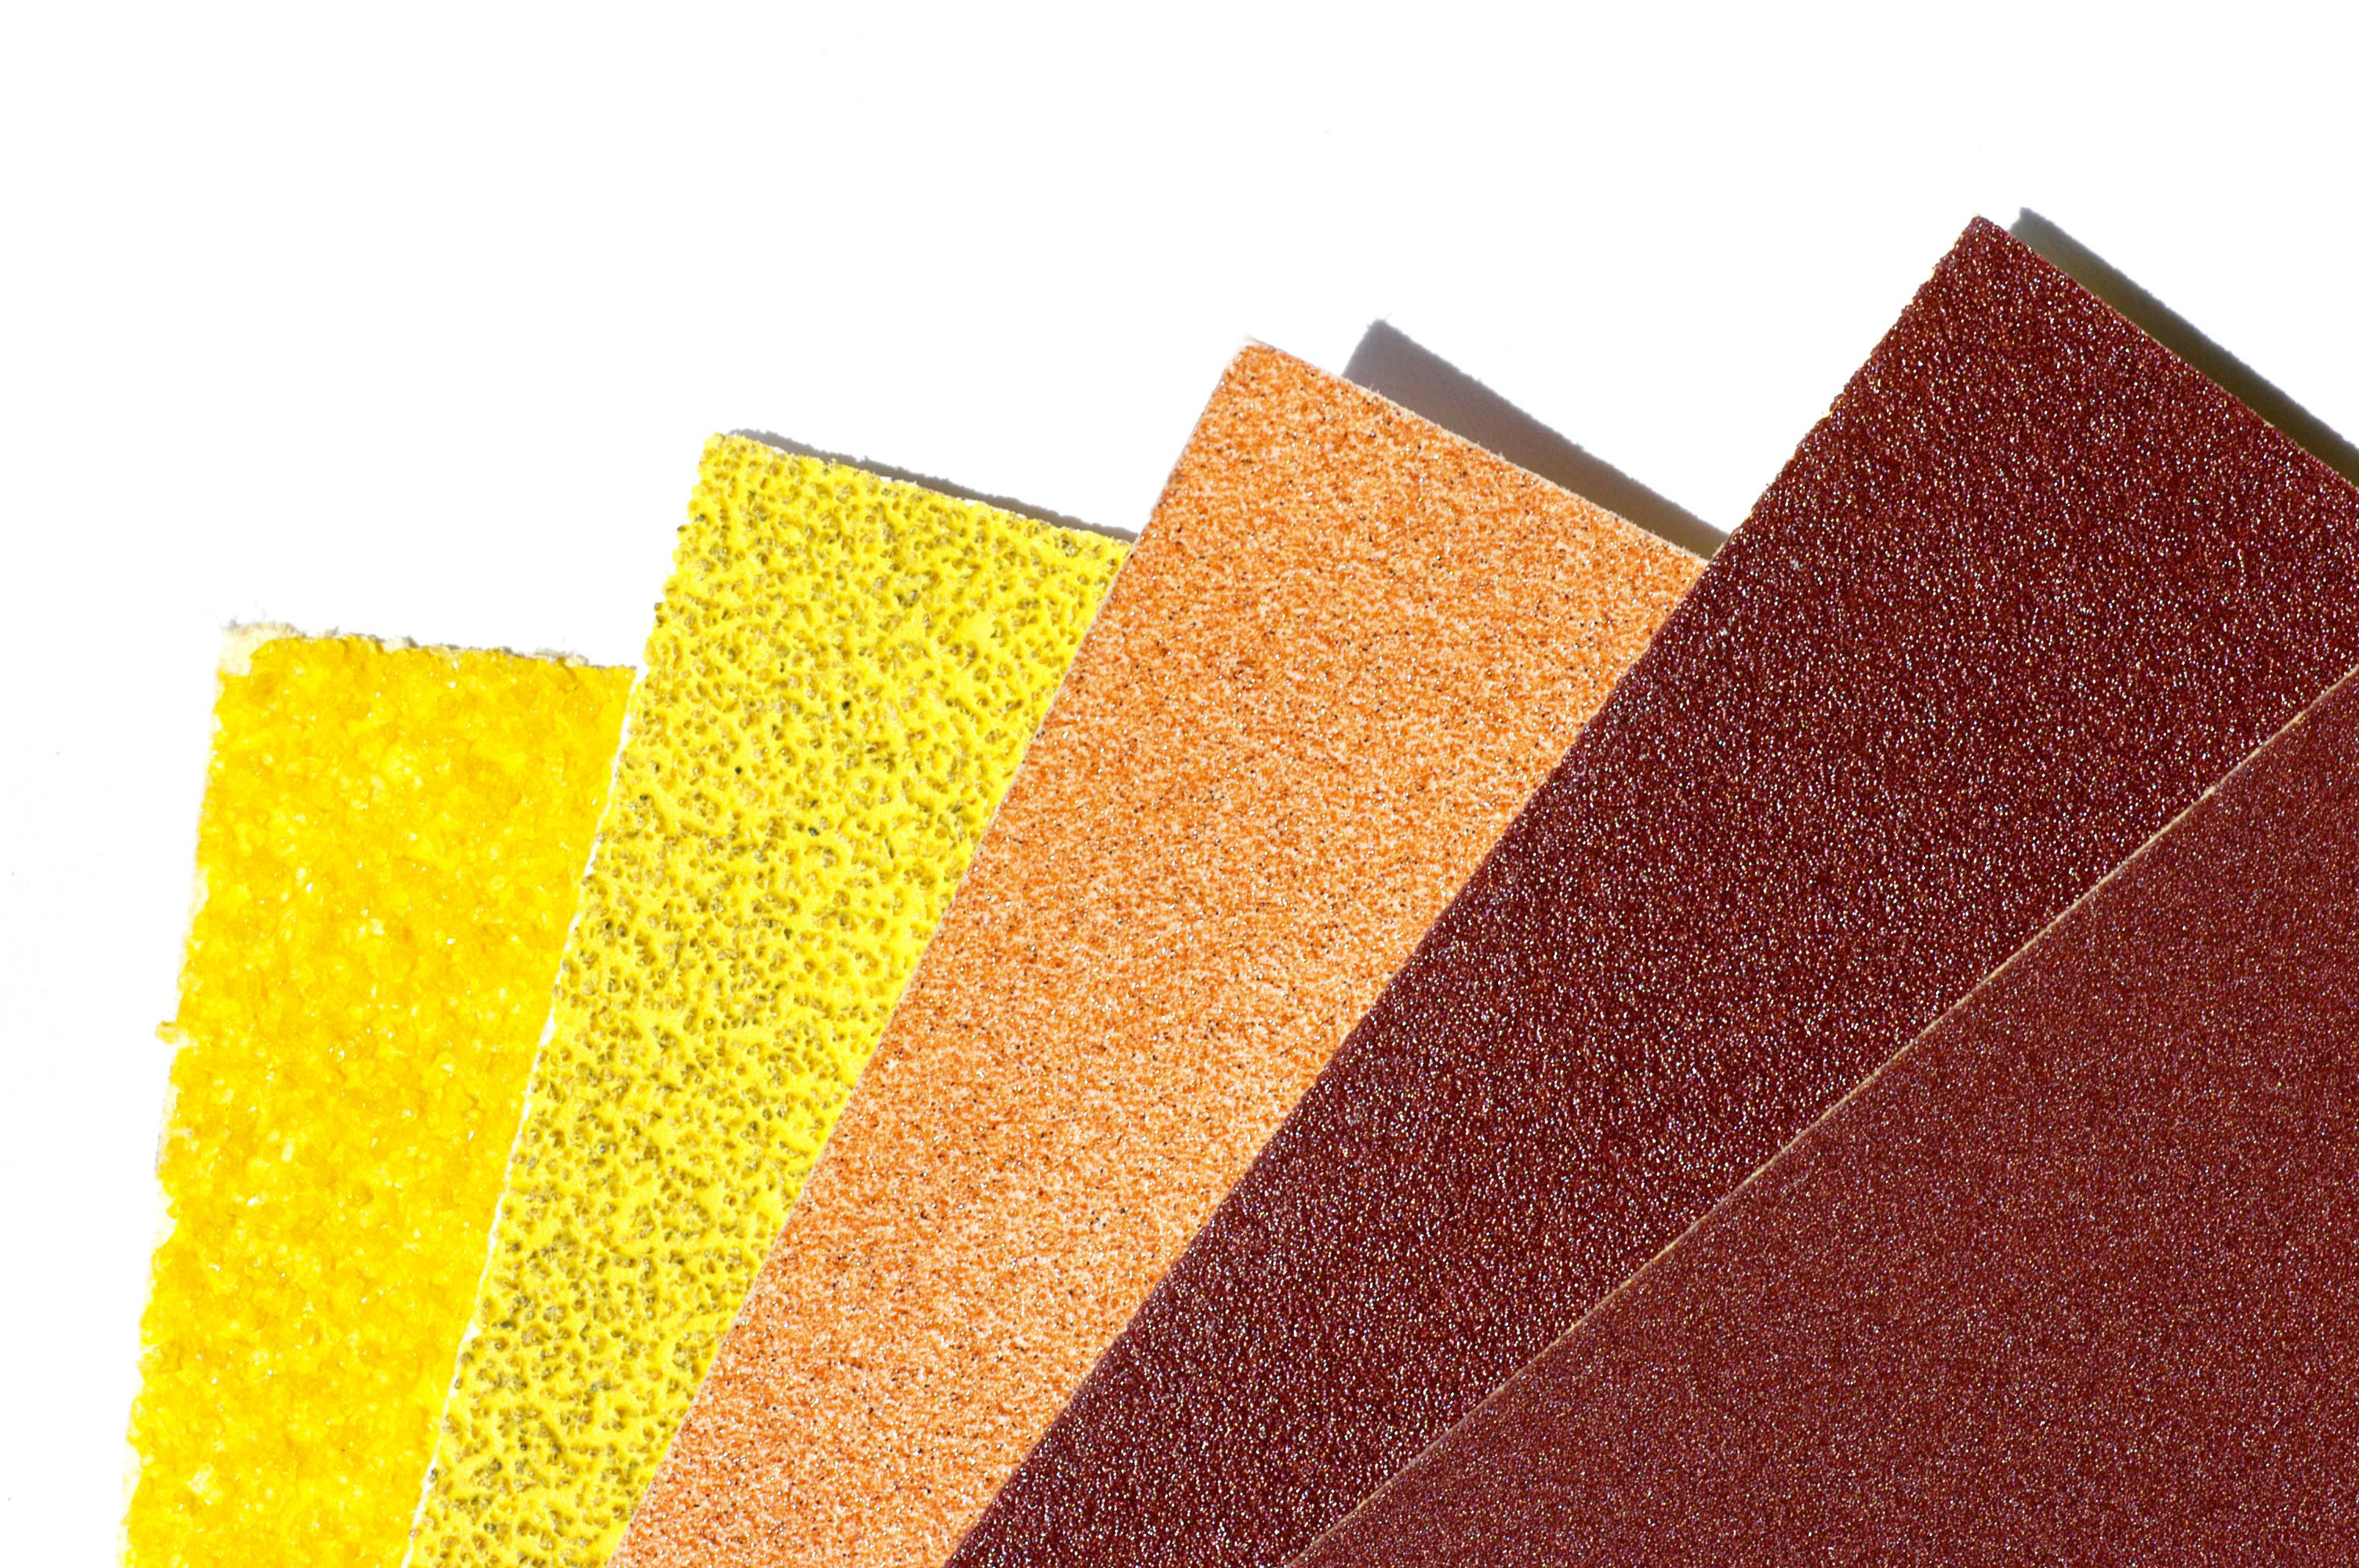
The number printed on the back of the sandpaper is the grain or grade. This serves to present the number of particles it has per square inch. That is, the lower the number, the less granulated it is, so it works better on hard materials. The sandpaper with high numbers is smoother, being softer in its finishes.
Manual sanding
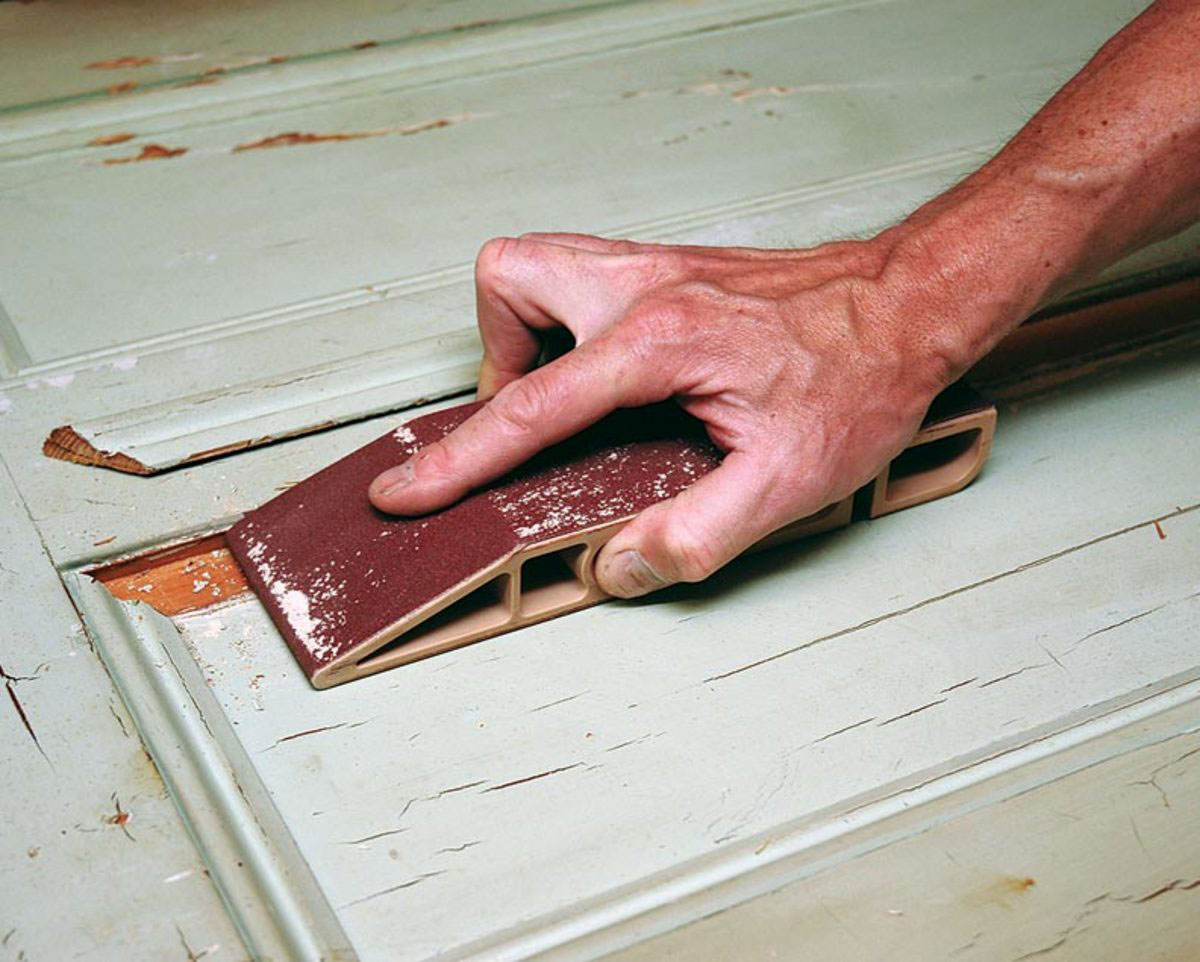
When sanding a deck before staining, it is best to finish the job with a hand sanding. This type of sanding gives us more control over the process, so we can take care of the details that a machine could damage.
If we need support for the sandpaper, we can try to wrap it in a piece of wood. There are also professional supports to install the sandpaper that we want.
Electric sanders

When we seek power, it is obvious that an electric sander is what we need. There are many types of devices for sanding, from which they are adapted for floors and large surfaces, as the smallest for specific work.
In our case, with a light sander or rotary press, it will be enough to repaint the deck since if we use more force we could damage the wood.
Sand in the direction of the wood
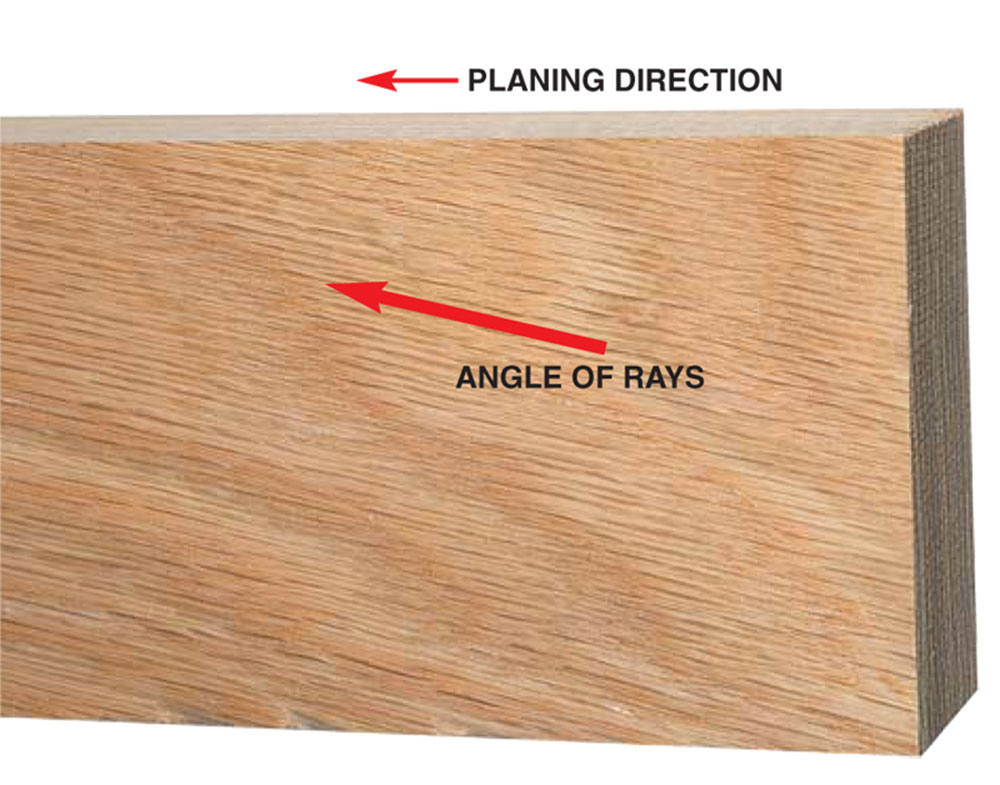 If you look closer at the surface of the wood, you will see that it has traces formed by grains that follow a direction. Be sure to sand in the direction of this pattern, so that the marks that we leave when sanding go with the grain sense and are dissimulated.
How to sand a deck – Step by step
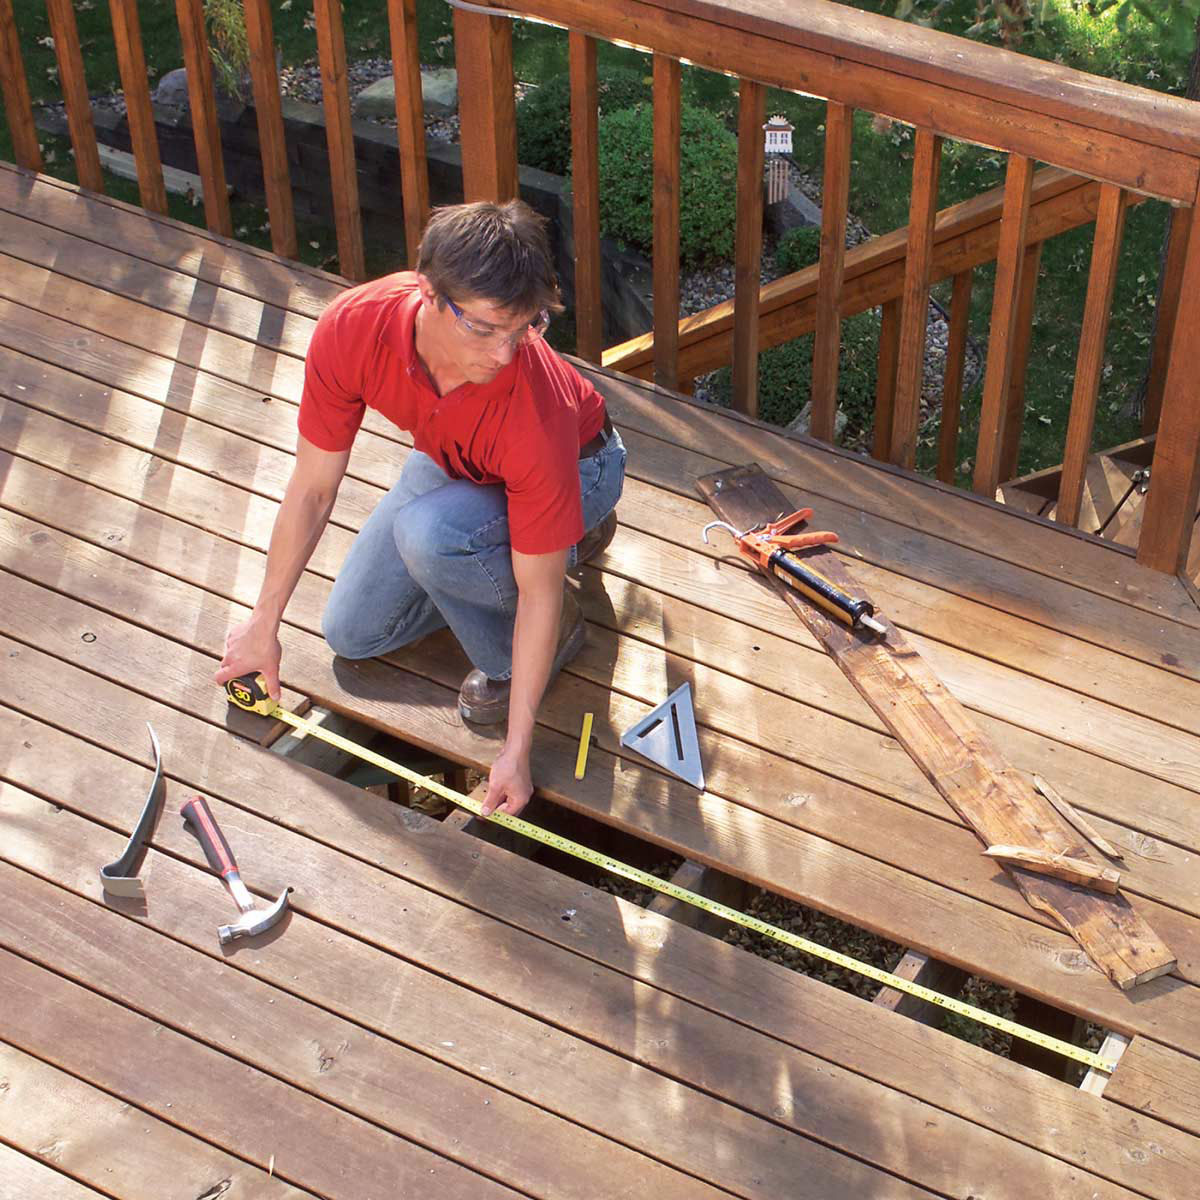
Already prepared with the basic knowledge of sanding, and once the furniture or surface is washed, we carry out the last inspection before passing the sandpaper. This is simply to verify that each screw, nail or fastener is at the level of the wood. If you find one loose, you must fix it, screw it or replace it.
Let’s start with the surface
When sanding the surface of the deck, we must make sure that it is not excessively smooth, even if it is hardwood. When the wood is smooth thanks to the use of sandpaper with grains greater than 100 points, it loses porosity, which makes it difficult to paint later.
It is better to work with a grain between 60 or 80, which leaves a rustic enough, but delicate finish.
We sand the most visible element: the railings
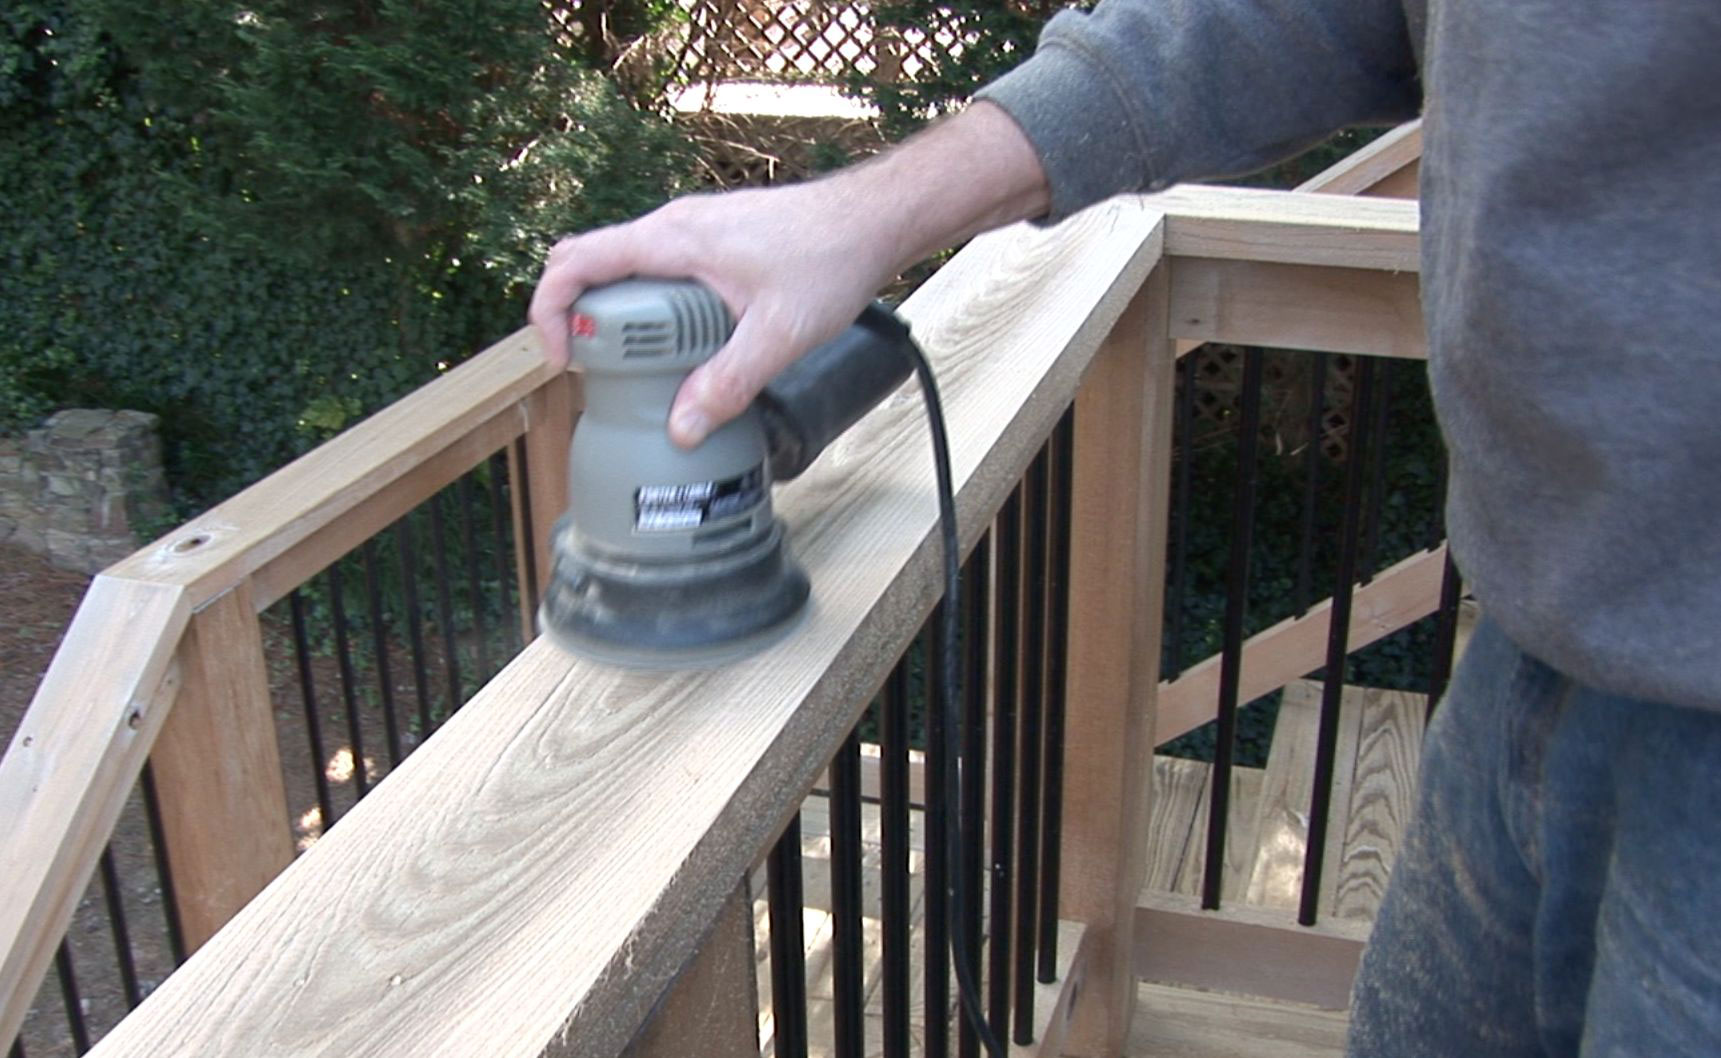
When we go to the railings, we can raise the grain level to 100 to achieve a clean and visually pleasing finish. If it has many details, we suggest that you do manual sand. Do not remove all the porosity of the wood or you will suffer later when you have to paint, but do not leave splinters that could hurt us if we pass the hand.
Remove dust before painting

Never paint if there is dust on the surface, or it could stick on the brush, or worse, function as a protective layer that prevents the paint from reaching the wood. Wet clothes are a good way to clean after sanding.
The other available option is to use adhesive cloths, simply use a new sheet of cloth every time it becomes saturated with dust.
Apply the finish
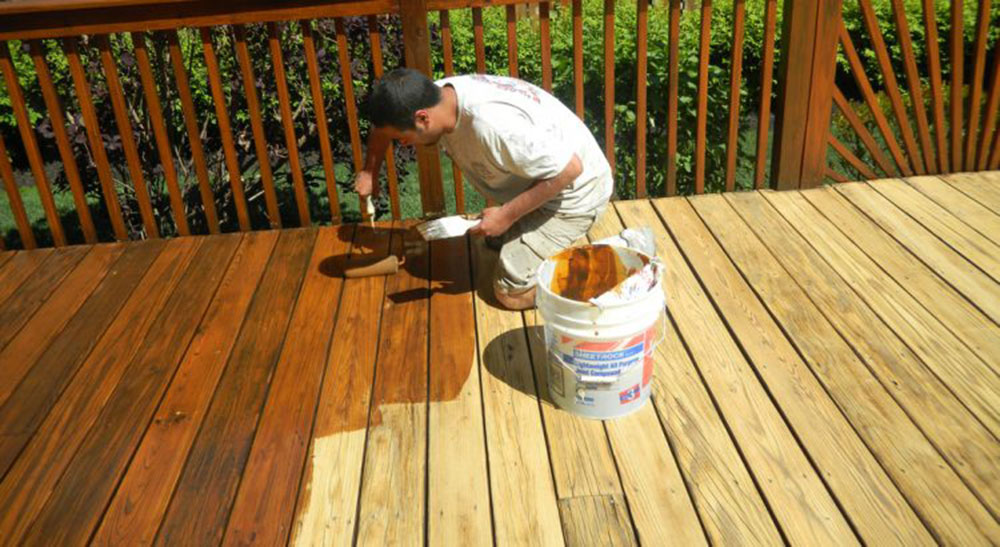
Since we are working on woods that are outside, we will have to use specially formulated paint to resist. Not only the climate is a problem with this type of wood, so are the heavy furniture used in the gardens.
Wait for the paint to dry between 24 and 48 hours before placing the furniture that was in. Heavier furniture, or with metal supports that could easily scratch the floor should be placed after a week.
And voila, we have finished the renovation process of our deck. If you find the best prices, this should not cost more than $250. The professionals could charge you between $500 and $ 1000, so you have saved a good amount of money (so much so that you could do it twice with that budget).
If you enjoyed reading this article on how to sand a deck, you should read these as well:
- Gorgeous Deck House In The Woods Designed By Choo Gim Wah Architect
- How to build a wooden gate that looks amazing
- Backyard pavilions ideas that will beautify your green space