Advertisement
Plaster walls are quite common. And if you’re just moving to your new home, then you might have just recently discovered that your walls are made from plaster. Hammering a nail into the plaster wall to hang a picture might not be the most effective tactic. However, it is still possible to hang pictures all over your home nonetheless.
There are various ways of plastering old walls: over wood lath, over rock lath, wire lath, or big 16×48 sheets of drywall. Wire lath is commonly found in old homes, especially behind tile. Walls were plastered with three coats or even more, which made the walls tougher, and it made it significantly harder to hang pictures, for example.
One thing is for certain: hammering nails into the plaster is a quick way to get your plaster ruined and damaged. You may not notice the damage at first, but you may notice the plaster coming off the walls with time if it goes unchecked. So how to hang pictures on plaster walls without doing damage?
Let’s take a look at the best options of how to hand pictures on plaster walls without ruining them.
The Fundamental Differences Between Plaster and Drywall
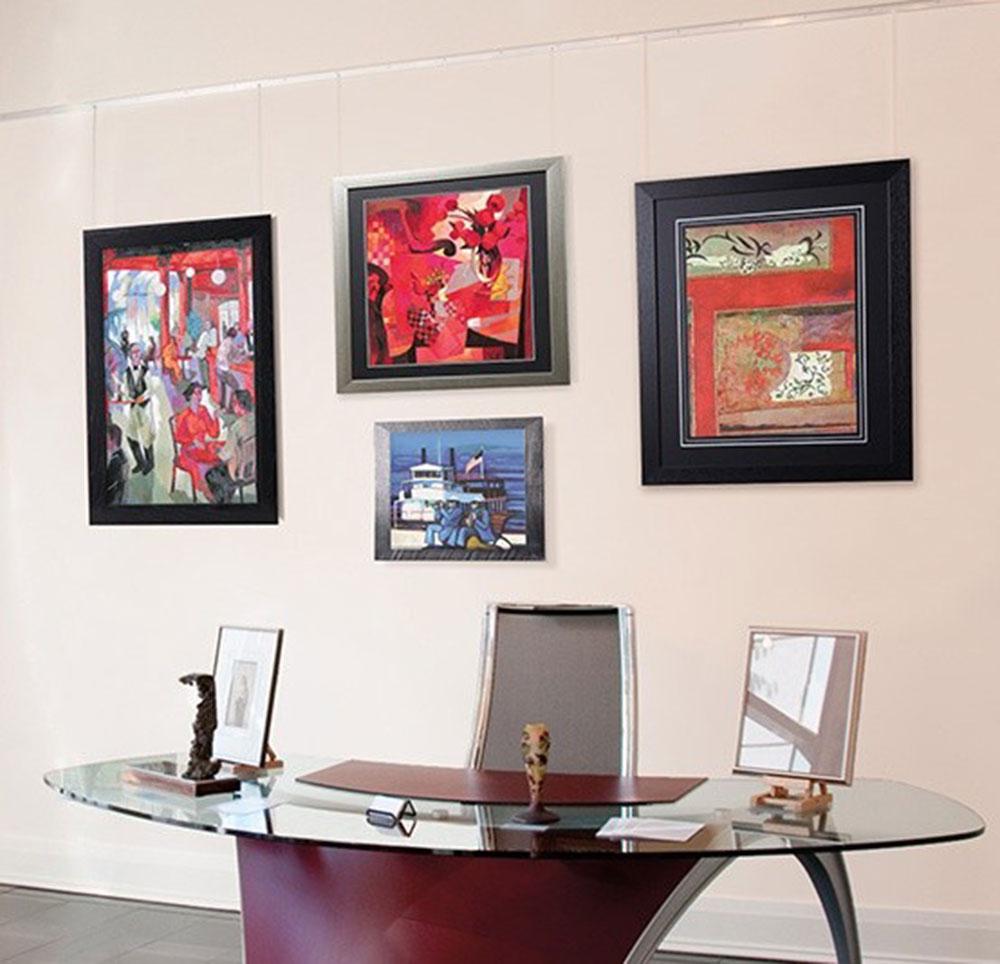
Image source: AS Hanging Display Systems
If you want to use the conventional devices for hanging things on the walls, then they are very likely made for drywall, not plaster. The whole complexion changes – from finding the stud in the wall to using the right tools and fasteners.
Here are the main differences between plaster and a drywall.
- Plaster, especially historic plaster, is significantly thicker. Drywall is ½” thick, while plaster can be 1” thick or sometimes slightly less, but still thicker.
- Plaster is significantly harder and more brittle than drywall.
- There is lath behind the plaster (usually wood, metal, or rock) which supports it, while drywall has nothing behind it.
- The differences between the two mean a completely different procedure of how to hang pictures on plaster walls.
Method# 1: For Lightweight Pictures with Adhesive Hanger
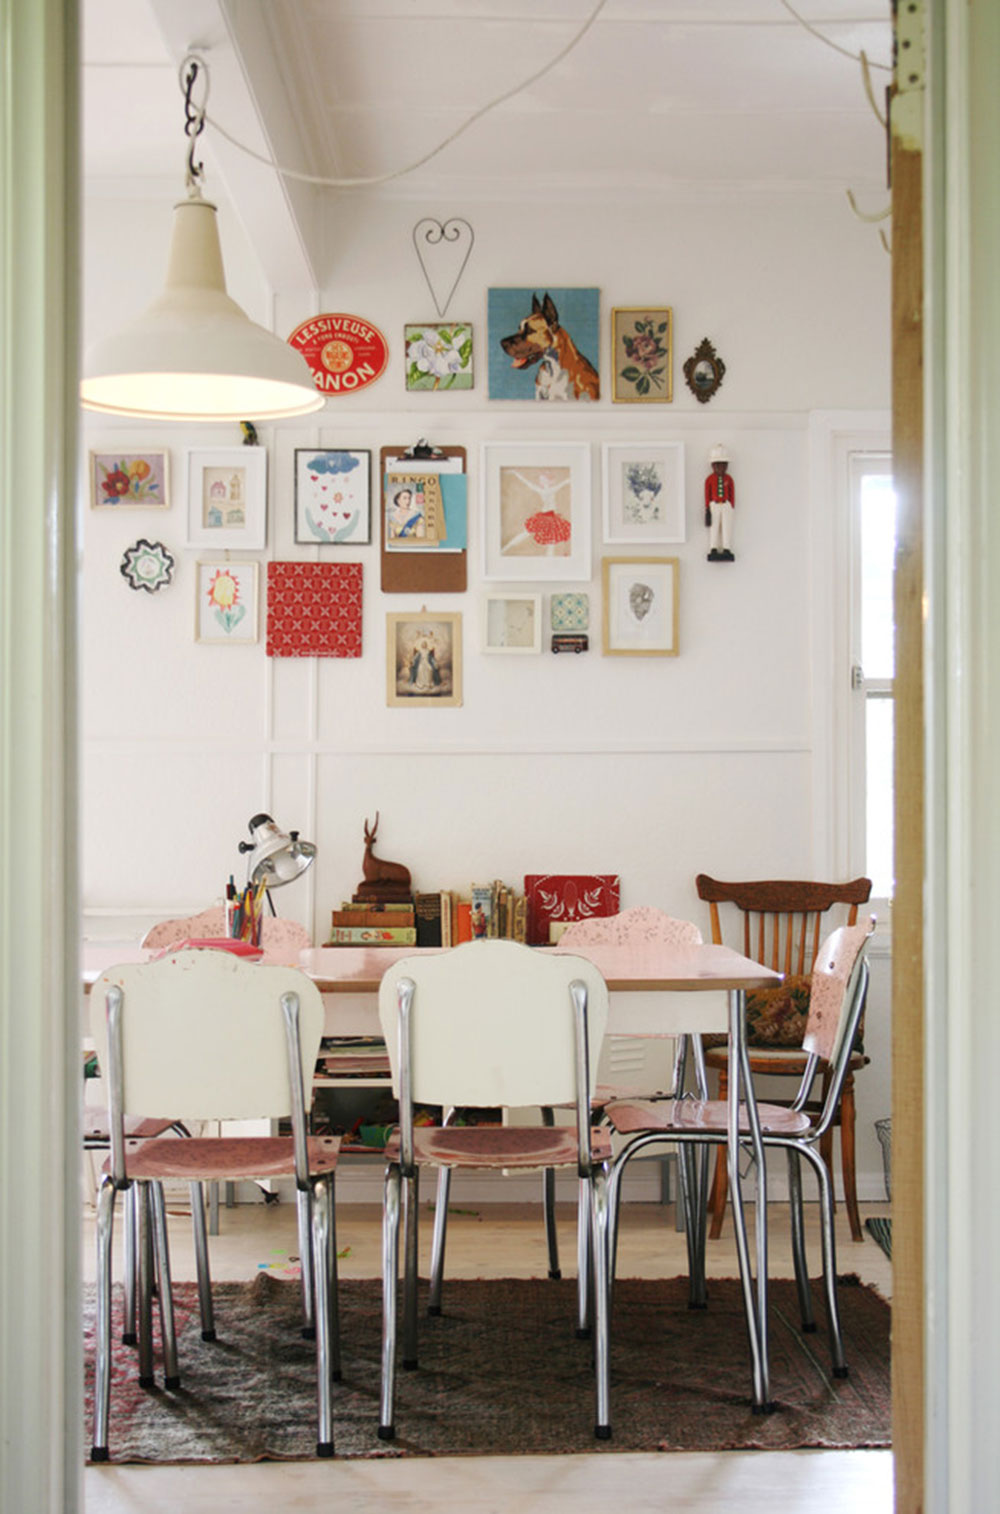 Image source: Sweet William
The first thing you’ll want to do is to weigh the picture you want to hang. For this method, we’ll be taking a look at pictures that weigh 5lbs (2.25kg) or less.
Also, you will need to consider the average humidity in the room. If the room is humid or at least above average when it comes to this aspect, then this method won’t work very well. Moisture causes the adhesive tape to loosen and weaken quickly.
Here are the steps of how to hang pictures on plaster walls with adhesive hanger.
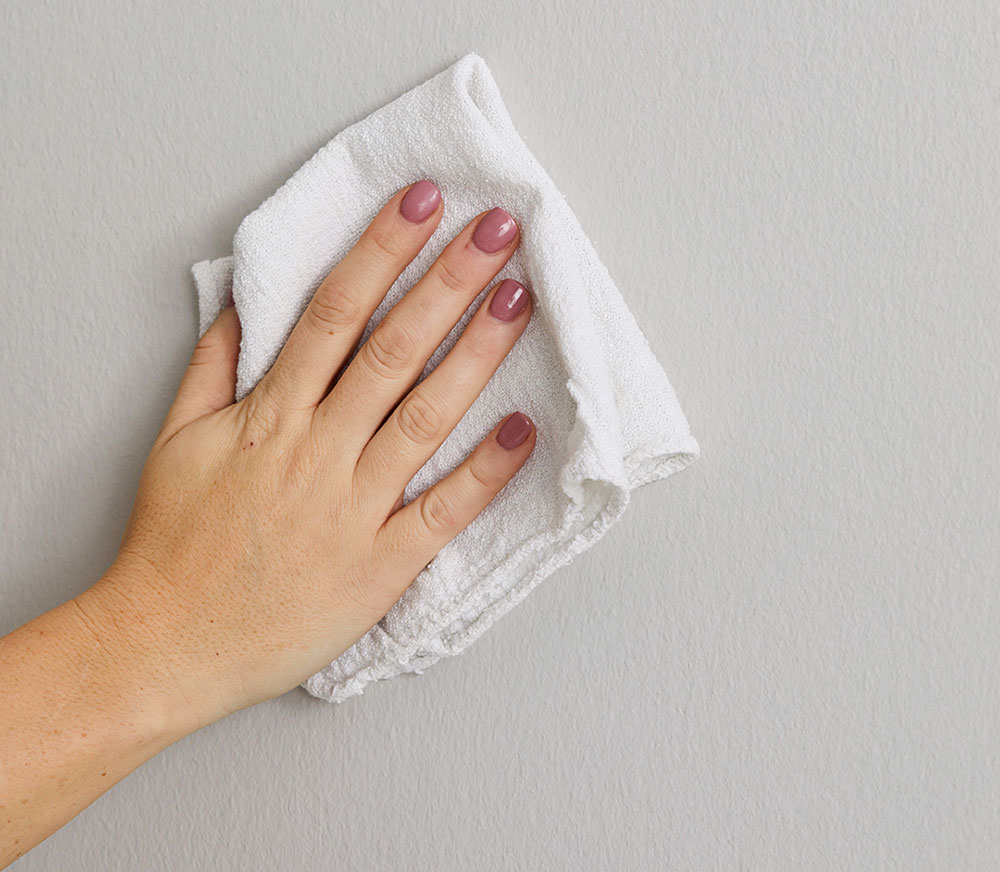
- You need to clean and dry the plaster surface well before using the adhesive hanger. A moist surface will strip away the oils and the hanger will not stick to the plaster surface very well. Make sure the plaster wall is also completely dry. Not only will this allow you to use the hanger, but it will also prevent dampness and mold growth. Clean the wall with warm water and liquid soap.
- Next, you will want to select the appropriate adhesive hanger. You will find adhesive hangers in all shapes and sizes. Select the one you think will hold the lightweight picture easily. You will need to read the package of the hanger to see how much weight it holds. This will differ from brand to brand.
- Look out for picture hangers with a double-sided tape – these should suffice for pictures without frames easily. A plaster hook is probably the best here.
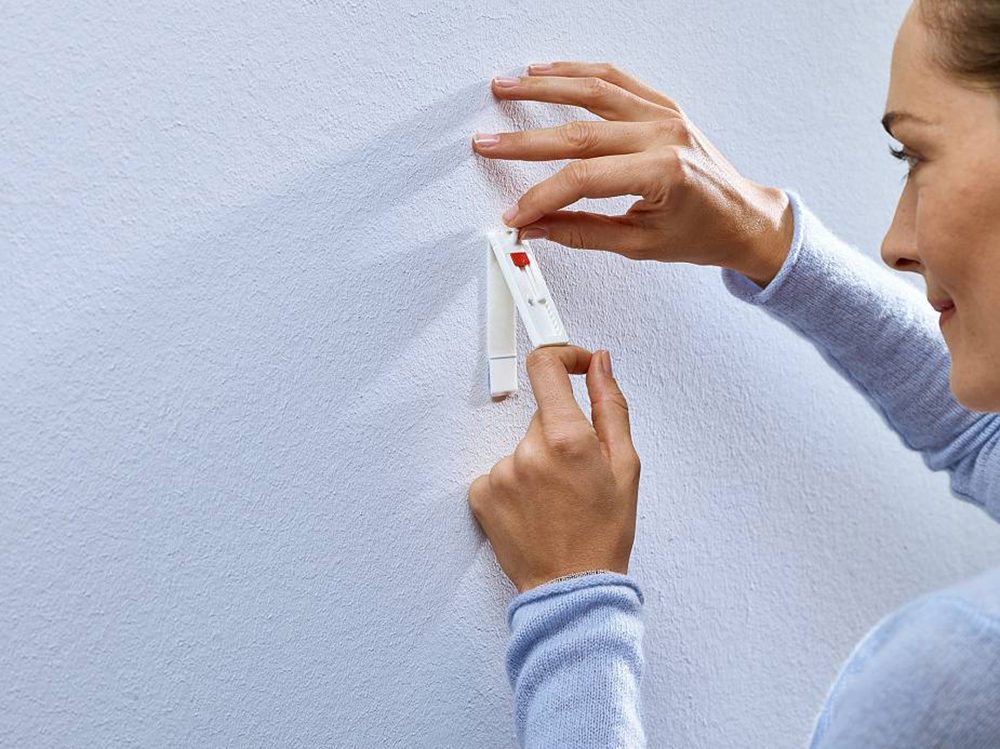
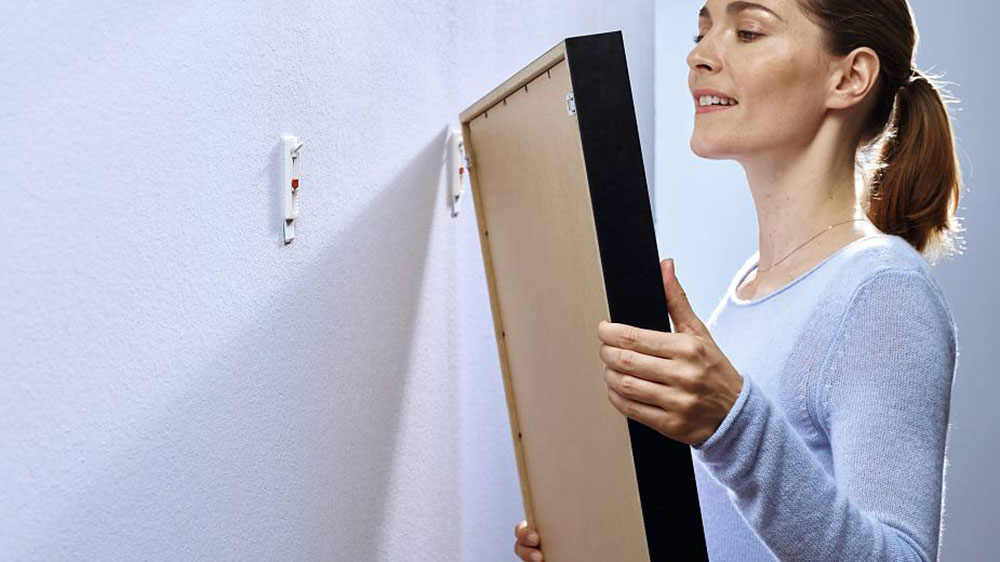
- Lastly, attach the adhesive hook to the wall. You will need to determine which side of the adhesive square will be the “wall side”, and which will be “the hook side” of the hanger. Then, you will want to attach the wall side to the wall and press the hook side. Should the hook be too thick for the photo frame, then consider using two hooks for the bottom edge for the picture. Make sure you position the hooks evenly.
Method# 2: For Medium to Heavyweight Pictures with Screws and Wall Anchors
 Image source: STAS picture hanging systems
Adhesive tape won’t do for slightly heavier pictures. Instead, you will want to use screws, or screws with masonry anchors for the pictures that are slightly heavier. To get the job done, it will probably be enough to screw into the plaster with a 1 ¼” drywall screw.
It’s better if you can set up the screws and anchors in such a way that they hit the wood lath behind the plaster. This will make it slightly more durable and will provide an extra hold. It’s pretty easy to tell if you hit the lath, as the screw will normally grab better. Don’t worry if you miss – simply take the screw out and aim half an inch away from where you last tried.
Here’s how to hang pictures on plaster walls with screws and wall anchors.
- I recommend that you use a 2” screw when screwing into a stud. If you can’t find a stud when you are screwing, then you might want to use anchors.
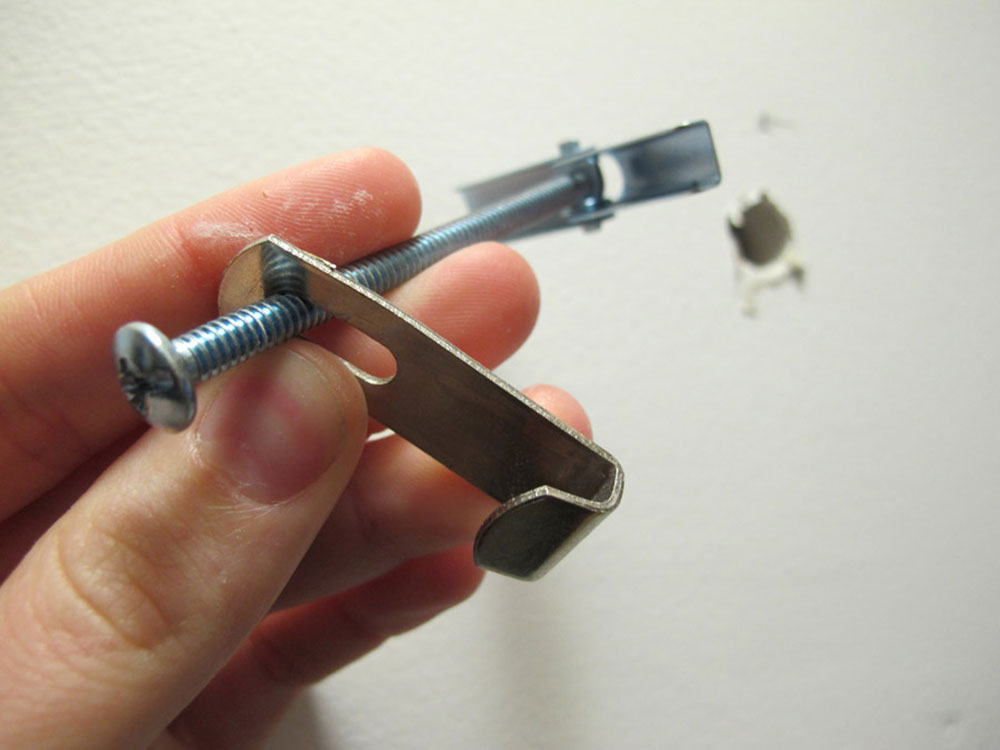
- Choosing the right anchors is important. Some anchors are easier than others, and there are many choices you can make here. The best ones you can get are masonry wall anchors, like the white ones on the picture. Or, you can use masonry screw-in anchors that you can screw into a pre-drilled hole in the wall. These items are great as they rely on a strong hold instead of relying on drilling the holes into hollow wall cavities.
- Make sure that the anchors are placed directly over the hole in the wall, and then tap it into the wall. Exert just enough force to force the anchor in without bending it, and still enough that you’re able to insert it.
- Then, place the screw into the anchor. Use a screwdriver to force the screw into the anchor, and make sure you line it up correctly. Don’t screw until the anchor is flush against the wall. You may also want to use the drill to drive the screw. Go slowly about this, and make sure you don’t screw too deep into the wall.
- Also make sure you place a tiny dab of caulking over the hole before you insert the screw. It will twist into the hole and seal it properly, which will prevent moisture from entering the hole. This will prevent mold and other moisture problems in the future.
- If you don’t like screws and anchors, then you can consider an alternative: a wood screw as a hanger. If the screw can be installed into the anchor, then it’s a great alternative.
Method# 3: For Heavy Pictures with Picture Rail
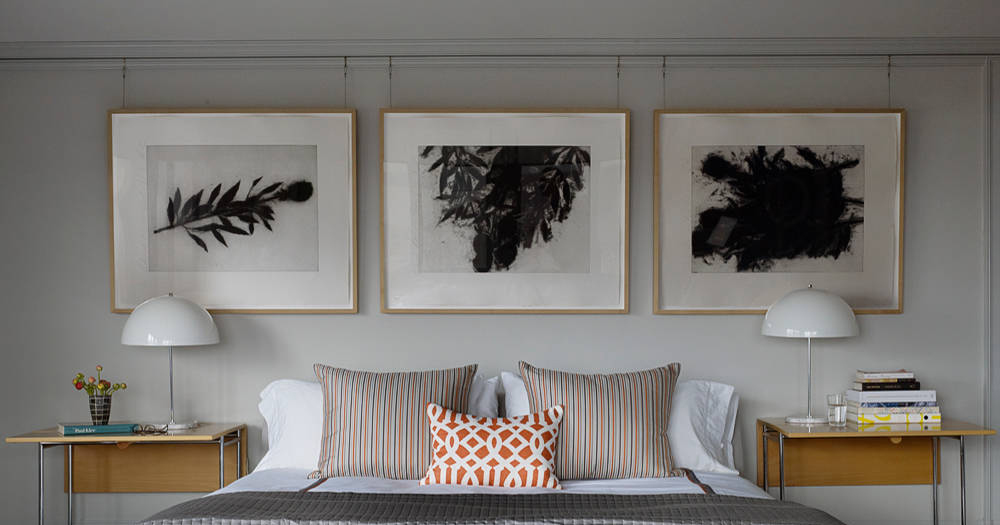
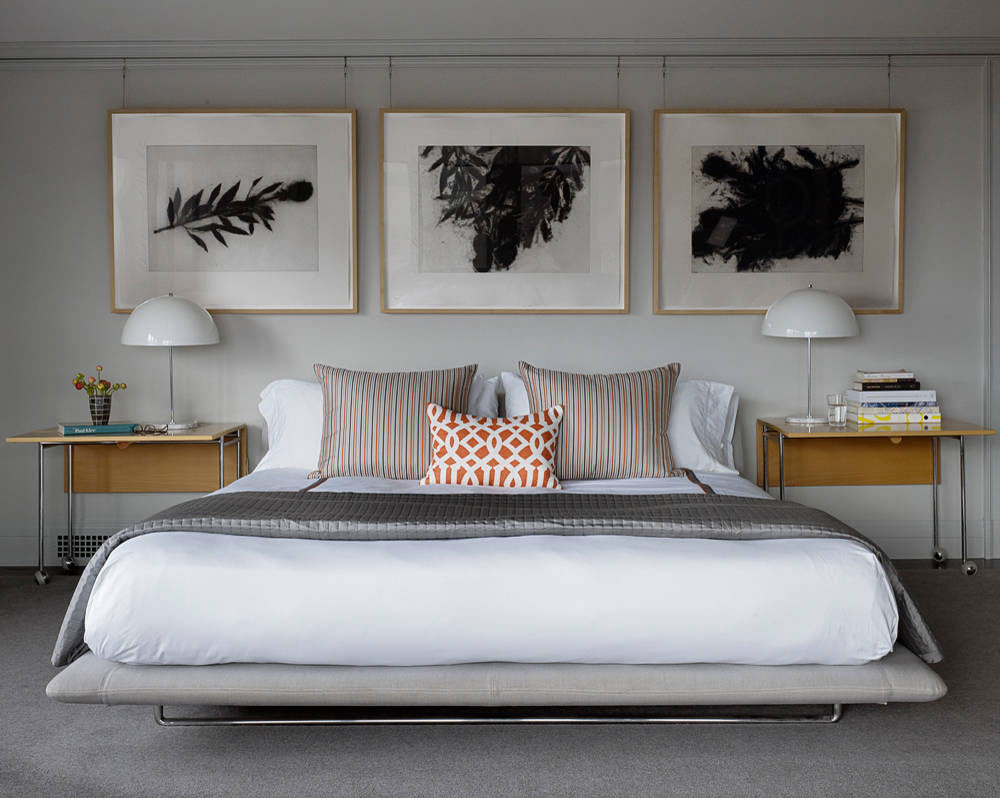 Image source: JKA Design
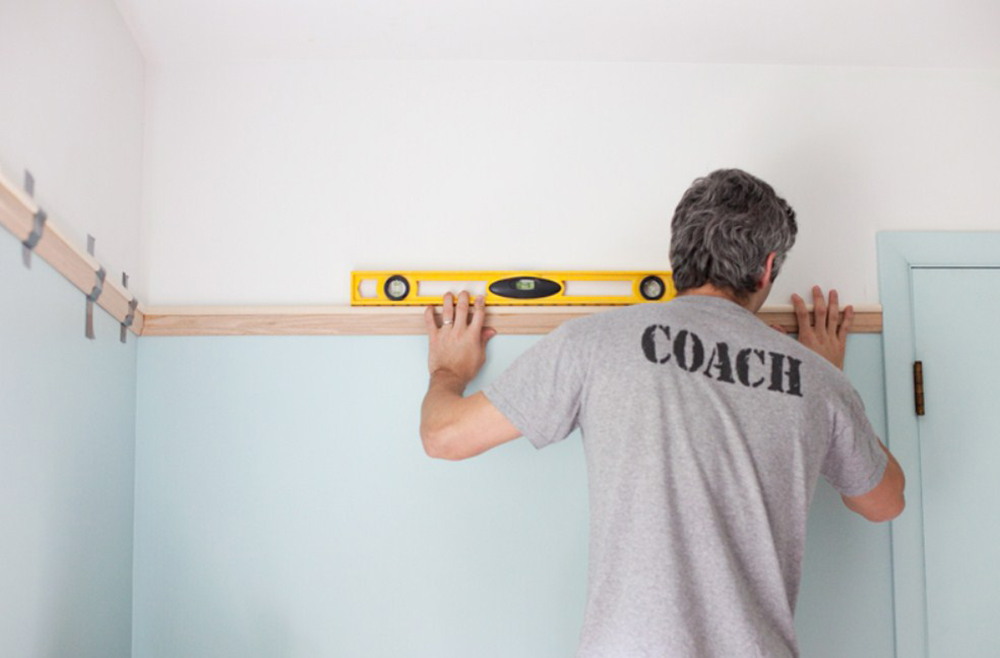
A picture rail is a thin piece of horizontal molding which will normally sit around 12-20 inches below the ceiling. These were designed specifically to be placed on plaster walls to not do too much damage to the wall when you hang pictures. They are great for heavier pictures, as they are durable enough and don’t damage the wall.
Picture rails are designed for giving you some space for hanging pieces and artwork into your rooms, such as mirrors, art, pictures, and especially heavier items that would normally damage the plaster walls. And you won’t even need to drill holes into the plaster.
Here are the steps to do it.
- The way to install the rail is to attach it to the studs which gives it superior holding strength as well as rigidity. The rail is installed towards the top of the wall.
- The problem might occur if the ceiling is too high; in that case, the molding can ring the room even higher than that. The shape of the trim allows the metal hangers to clip over the top, which will support the wire and the cord that is attached to the back of the picture.
- Still, don’t try hanging extremely heavy items to the rail. It can hold up only that much weight.
If you enjoyed reading this article about how to hang pictures on plaster walls, you should read these as well:

