Advertisement
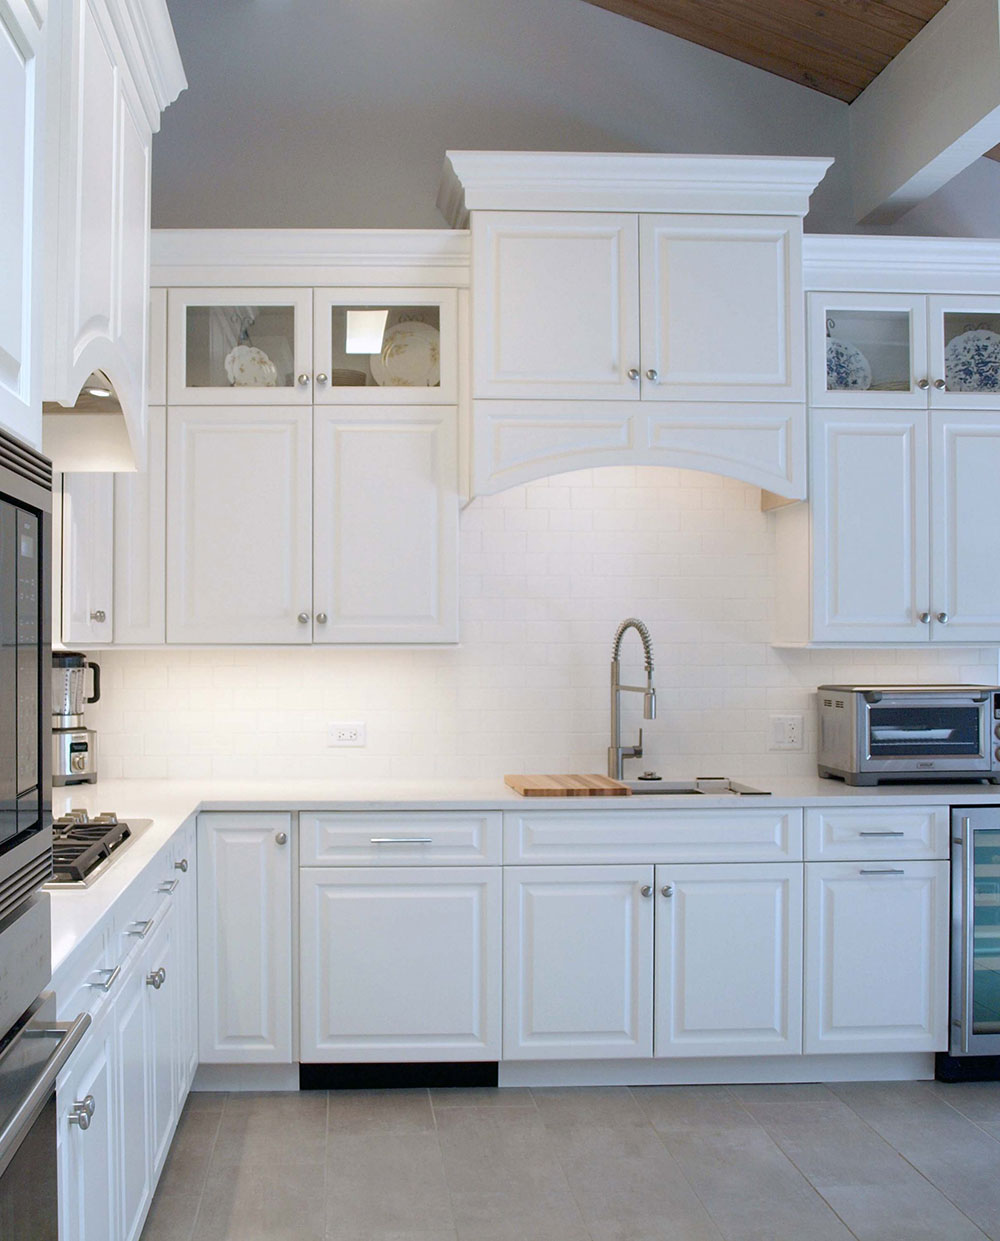
To install crown molding on cabinets is one method to give them a finished, polished appearance. Crown molding helps remove the gloomy effect of exposed soffits on wall cabinets and gives them a beautiful carpentry appearance, even if your carpentry abilities are limited.
We’ll demonstrate how to install crown molding on kitchen cabinets in this post. Here, we’ll go through the equipment you’ll need and the methods involved in installing crown molding on kitchen cabinets.
Tools and Materials
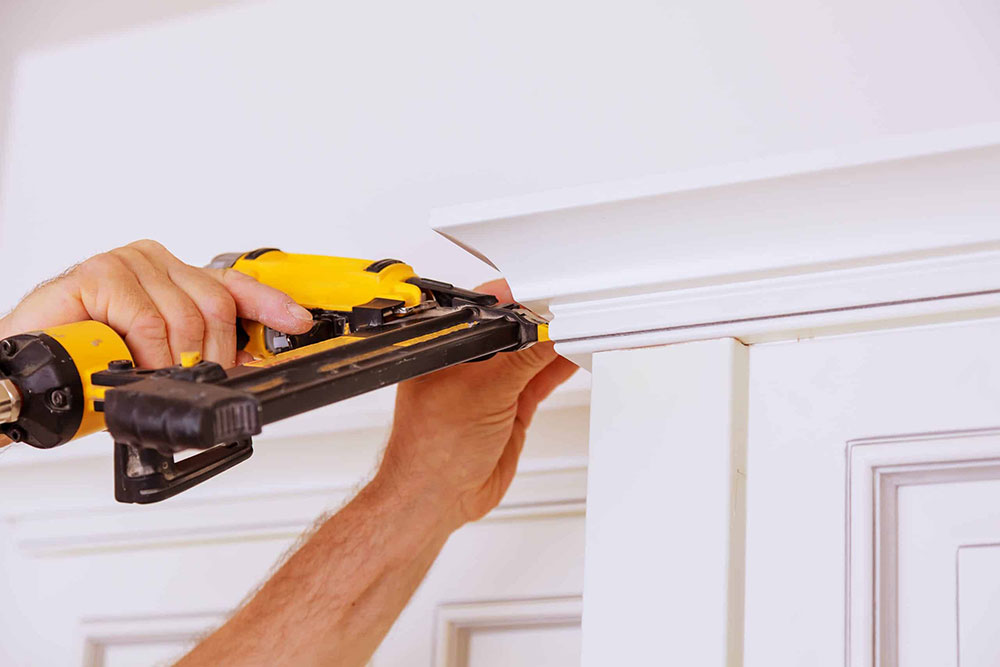
In light of a large amount of nailing necessary for this task, consider investing in an 18-gauge finish nailer and an air compressor to complete the job more quickly and precisely while inflicting less damage to the molding.
When you buy a nailer and air compressor combination, you get everything you need for nailing, and it’s usually less expensive than buying each piece of equipment separately.
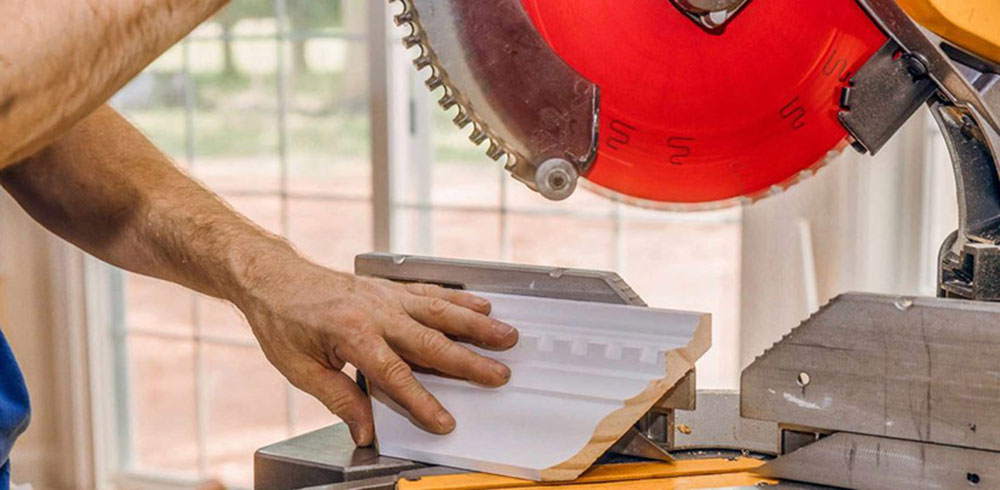
The use of a miter saw is an absolute must for this project. If you do not currently have one, you should consider acquiring one. They are lightweight and adaptable, making them suitable for a wide range of applications and situations. You’ll be using one of these to accurately cut the crown molding in this case.
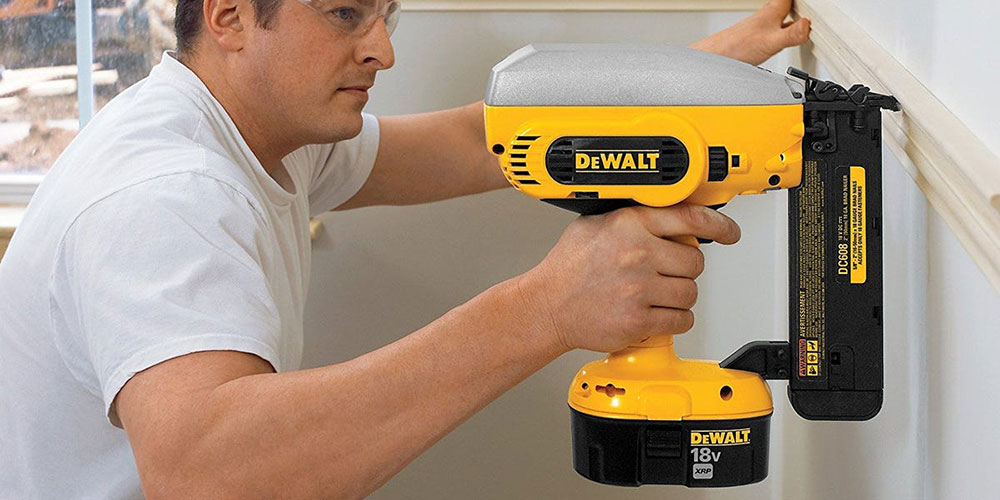
The same may be said for a high-end nail gun of superior quality. Using a hammer to drive crown molding nails may be tough, and there is a risk of damaging the molding’s face if you don’t use caution.
When acquiring the 1×2 timber for the nailing strips, avoid purchasing furring strips. Instead, choose softwoods such as spruce, pine, and fir, as well as any other wood with straight edges.
The Process
If you prepared all the tools and materials necessary, let’s finally see how to install crown molding on kitchen cabinets.
Make the Base
Using a straight line, mark the placement of the bottom edge of the crown molding on the cabinet face frame of the cabinet. On both sides of the cabinet, make a mark to indicate where the crown molding will be affixed.
The area above the cabinets will need to be boxed in with wood and the crown molding will need to be attached to the wood box.
Work out how many lengths of wood you’ll need to run along the top border of the table. You want to join the pieces at 45-degree angles at the corners in order to guarantee that the molding’s corners have a firm foundation beneath them.
Using a pocket hole jig set to three-fourths of an inch, drill pilot holes in the one-by-threes and one-by-twos and fasten them with wood screws to complete the project. Cut the ends of each piece as needed, and then glue and nail them together to make a run for each pair of cabinets you intend to build. Make one-by-two cuts of additional waste as you go along, and fasten them to the inside of each joint as you go.
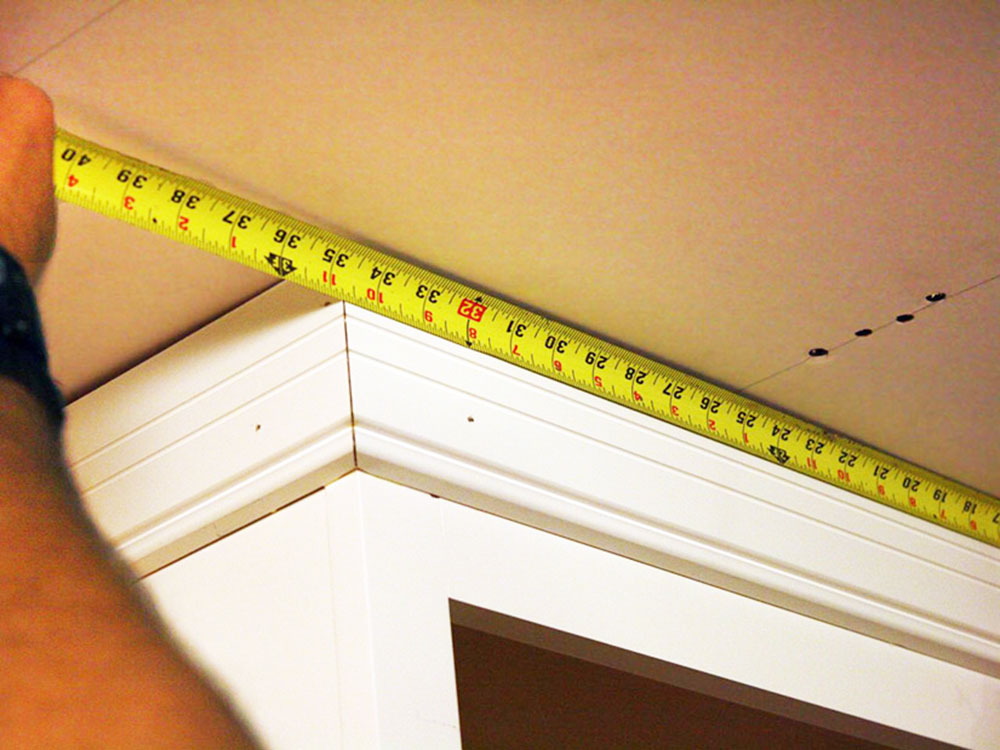
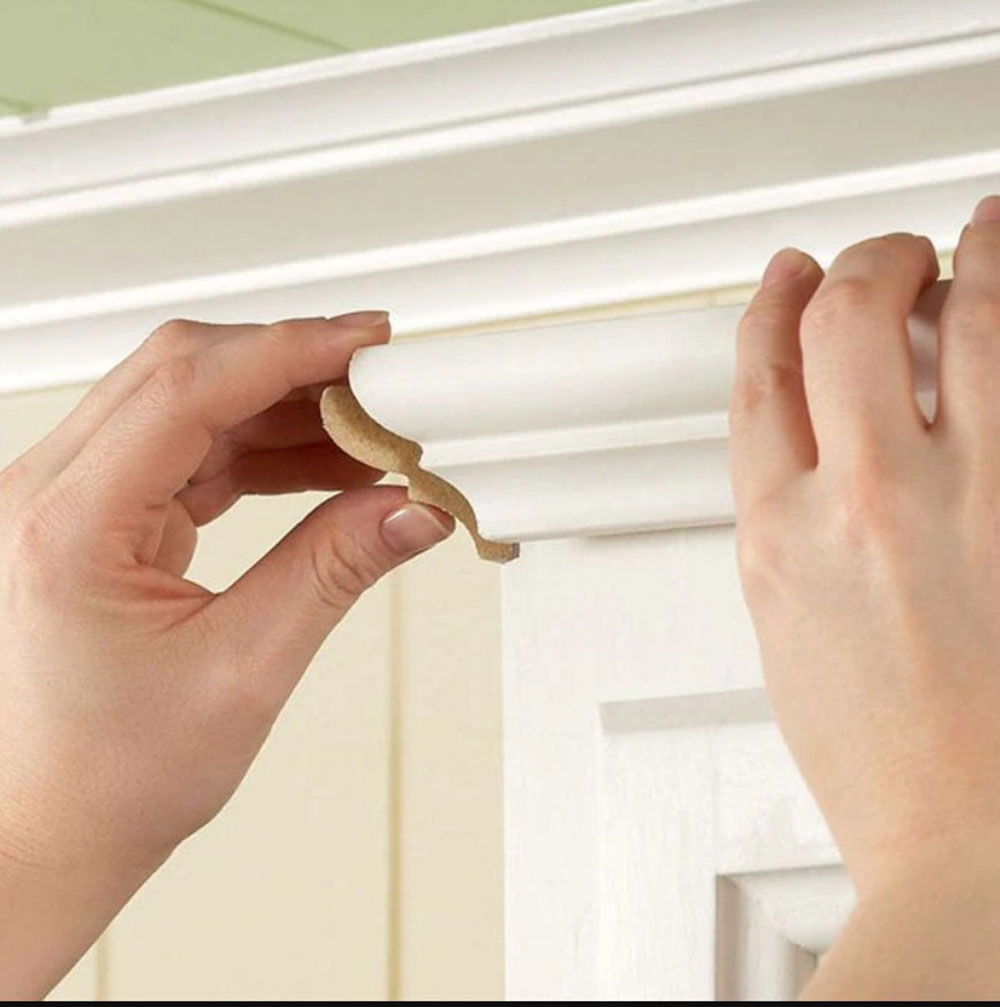
Create a template for the crown. When measuring your crown molding with measuring tape, use a scrap piece of crown molding in the corner of a carpenter’s square to get an accurate measurement.
Transfer your measurement to a scrap piece of poplar board and use it as a guide to cut out a template for your project. In order to designate the placement of the crown molding’s bottom border across the cabinet box, lay your completed template against the ceiling and cabinet box to be used later.
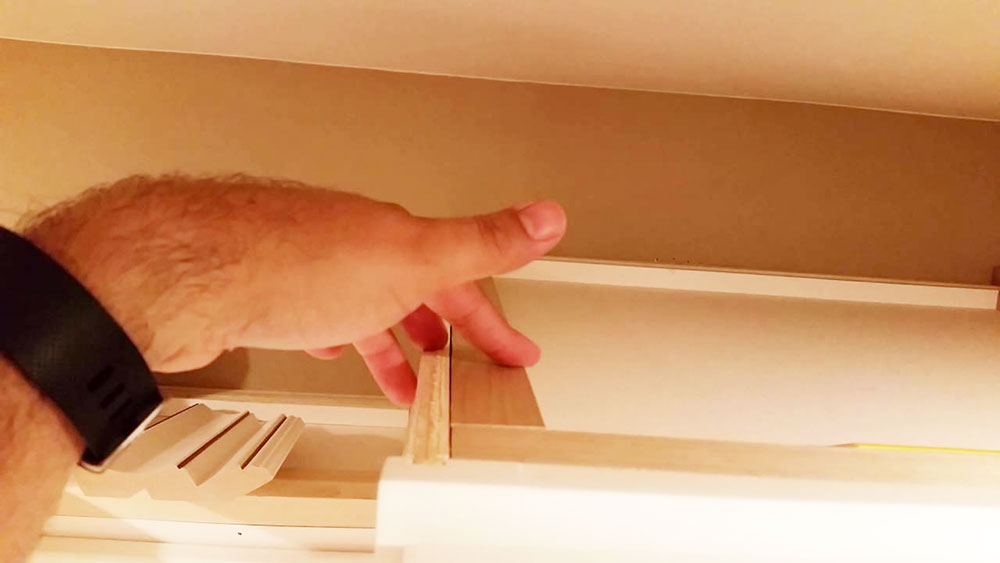
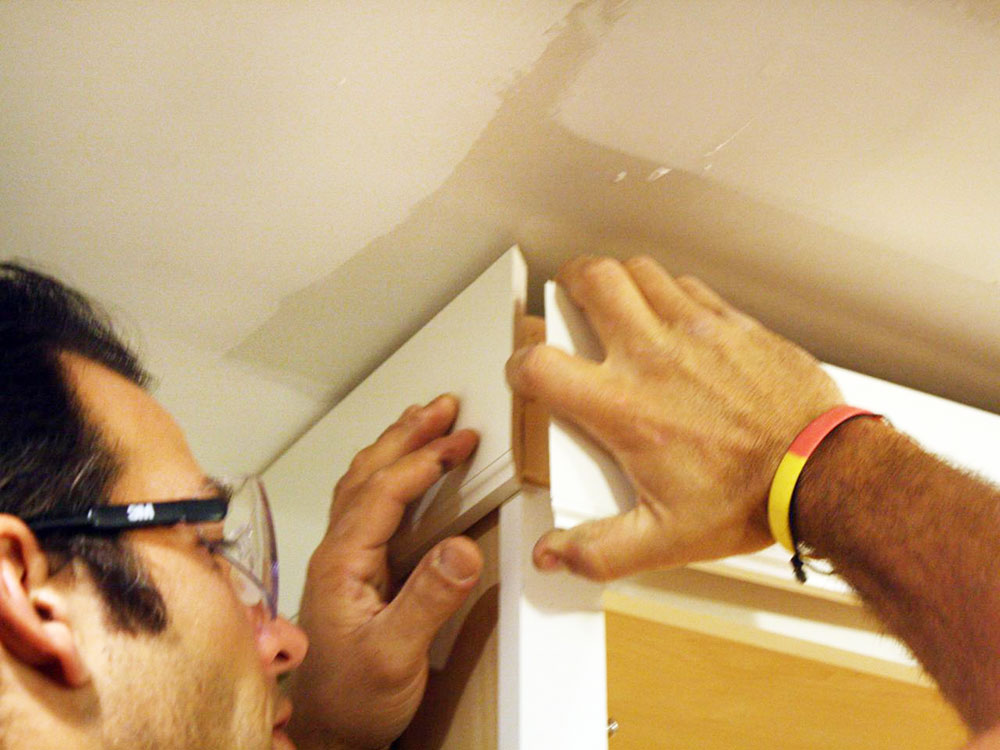
Add nailer block
A significant quantity of cabinet sides and face-frame (above your crown bottom line) will make nailing the crown molding on cabinets difficult, as the nails will be slanted upward and will commonly miss the cabinet/faceframe altogether. In the top of the cabinet, you may offer a surface into which to drive nails and fasten the crown molding, if you secure a piece of wood around the perimeter.
Dry fit
Once all of the pieces have been cut, use painter’s tape to hold them in place while you measure their lengths and corners to ensure they are tight. After you’ve driven a few nails in the crown, it has an unpleasant tendency of perfectly aligning and then suddenly becoming the incorrect size without warning. You may prefer to take it for a test drive before committing to a nail hole in the wall.
Attach Side Pieces
Start with one side of your cabinet and work your way around. When it comes to cabinets, the crown molding should be at least a few inches longer than the length of the cabinet’s side. After that, position the piece flat against the cabinet’s side and make a note of where the 45-degree corner cut will be made.
45 degrees should be the angle at which your miter saw is used. Because this is an outward angle, the top edge of the molding will be longer than the bottom edge because of the length of the bottom edge. This strip should be placed such that the flat vertical and horizontal faces are level with the table and saw fence after it is finished cutting the molding.
In order to accommodate the number of molding strips you’ll be cutting, you can temporarily glue two strips of wood to the table to act as guides while you work (on the non-rotating part).
Cut the strip at a 45-degree angle, exactly where you made the mark with your pencil. In the following step, line the bottom edge of the molding with the top edge of the cabinet and nail it into the backing board. If you’re nailing it directly into the cabinet, be sure to leave a 1/8-inch space above the doors to allow them to swing open smoothly when closed.
Attach the Front Section of the Crown Molding
Measure and miter cut a front molding that is approximately six inches bigger than what is required’ Then miter cut one end to match the miter cut of the side molding. (See illustration) Maintain contact between the mitered ends while a helper marks the opposite end of the mitered ends on the cabinet side of the workbench.
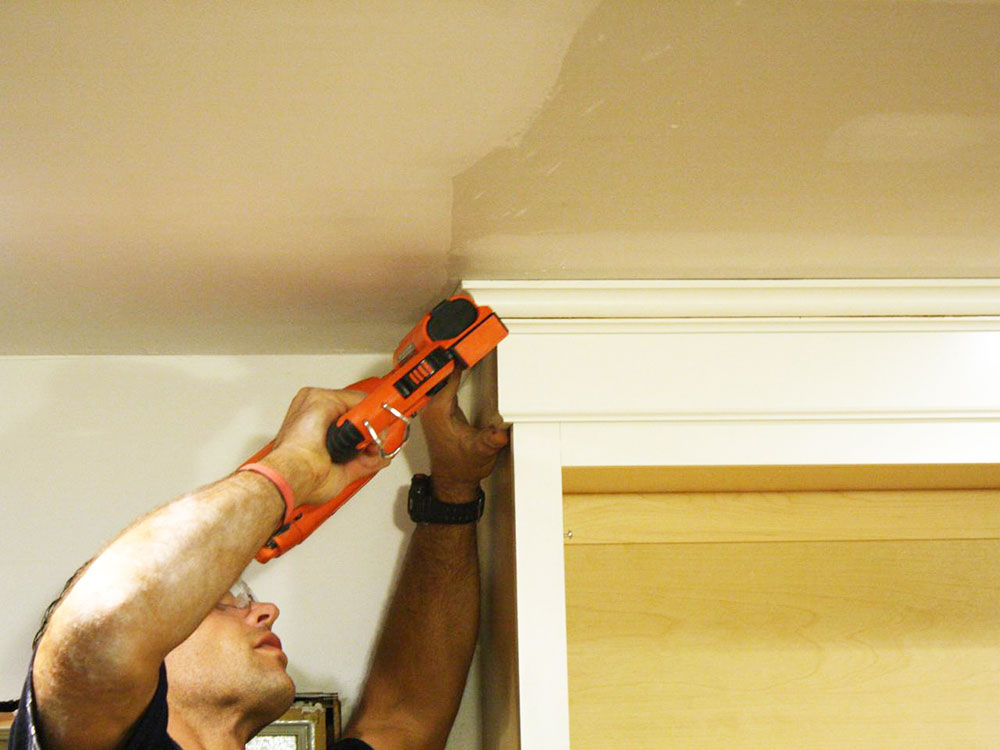
Trim the front panel using a miter saw to the desired length and nail it in place against the mounting board so that the bottom edge is flush with the top of the cabinet frame. Achieving alignment between the bottom molding edge and the top of the cabinet frame should avoid sags and bends in the cabinet frame. However, as a precaution, you should verify your work quickly to confirm that the molding is running properly.
Make sure the front piece of molding is pressed against the front nailing strip. Make ensuring that it is in the correct location. The nailing gun should be used to drive several nails through the bottom border of the crown molding and into the nailing strip. The crown molding may be a little droopy at this point, but this will be corrected when the side components are added later on.
Sometimes a row of cabinets will extend beyond the length of a molding strip, which is 8 feet in length. In the event that two or more parts must be joined together, cut mitered ends that are compatible with one another. Trim the combined parts to the required length once they have been assembled. Then, at the splice, use wood glue and nails to join the two portions together securely.
Finish and Paint
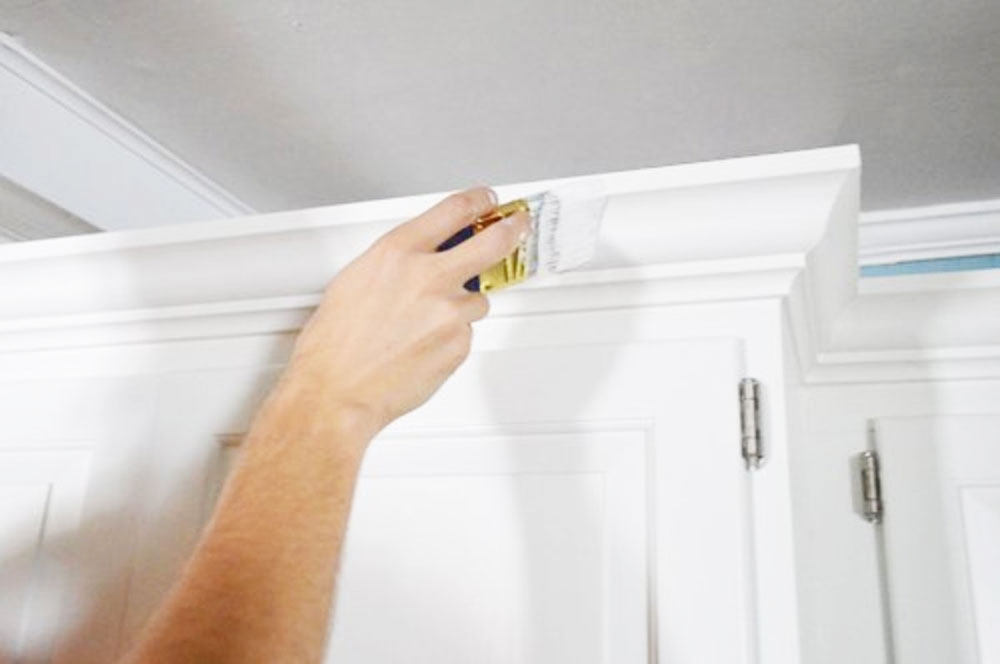
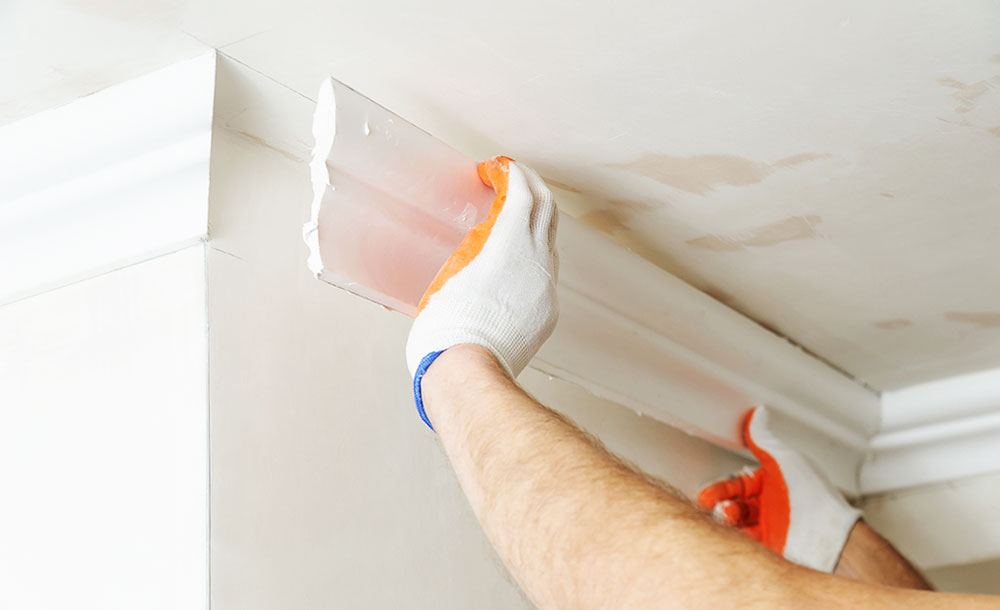
You should now have all of your crown molding pieces hammered into the backing board and everything should be perfectly straight. You may still observe little gaps where the edges meet, as well as nail holes in the wood. This is normal. Using drywall hole repair, you may close up the cracks and smooth out the surface.
Preparing the cabinets for painting involves covering them with sheet plastic or masking film and taping it down using painter’s tape. Depending on the size of the nail holes, you may choose to fill them with wood putty or leave them unfilled entirely. It is often adequate to use interior paint to hide the small holes created by electric nail guns.
Apply a minimum of two coats of paint to the surface. Allow for a minimum of four hours for the paint to dry before removing the protective material. If you are painting crown molding that has not been primed, use two coats of primer first.
Other Considerations
Because every kitchen is different, each one has a different configuration. If you have a galley kitchen or a kitchen with a high number of cabinets along a single wall, you may need to splice together lengths of molding to cover the front side of the cabinet doors and cabinets.
The fundamental principle remains the same, with the exception of the fact that wood glue and nails are employed to attach the spliced parts together.
Perhaps you have an inside corner cabinet in your kitchen as well. Especially in L-shaped kitchens, this is a common occurrence. Cabinets on each side of the corner cabinet will meet at 135-degree angles with the cabinet in the corner. This time, though, the tilt is toward the kitchen rather than the wall as in the previous instance. Because of this, you’ll have to cut the straight edge at 67.5-degree angles in the other direction.
A significant temptation to use the countertop on the base cabinets as a ladder could arise as a result of the parallel alignment of the wall cabinets and lower base cabinets. It is important not to give in to temptation.
Generally speaking, countertops are too high to be used for this sort of project by the vast majority of home improvement enthusiasts. Not only that, but countertops are slippery, and stepping on them runs the danger of damaging them completely. The use of a ladder is required for this activity.
Conclusions on how to install crown molding on kitchen cabinets
When learning how to install crown molding on kitchen cabinets, you will need proper preparation – materials and some tips on which steps to take to make sure the job is well done.
As you can see, learning how to install crown molding on kitchen cabinets by yourself can be turned into an interesting DIY project. Save this article and take a look whenever you’re in doubt about a certain move.
If you enjoyed reading this article about how to install crown molding on kitchen cabinets, we also wrote about subjects like what color light is best for the kitchen, how to caulk a kitchen sink, where to hang kitchen towels, and how to increase water pressure in the kitchen sink.
That is not all. We have other kitchen-related articles on how to clean sticky kitchen cabinets, how to make kitchen cabinets look glossy, where to put a microwave in a tiny kitchen, and how to display cutting boards on a kitchen counter.