
Advertisement
Caulk is a typical type of sealant found in kitchens and bathrooms. It’s used around the joints where your kitchen sink meets your countertop to keep water and muck out of the gaps.
Kitchen sink caulk is a must and it is considered necessary to have it, and it must be administered properly. If water seeps into these spaces, it can cause a variety of major problems, including mold, mildew, and even creepy crawlies, yuck!
Due to the fact that it dries out and cracks with time, it should be updated on a regular basis to assist maintain the area it seals clean and dry.
It’s a task that, with a few helpful hints and points in the proper direction, you can most certainly complete at home. This is how to caulk a kitchen sink all by yourself in no time..
What Kind of Caulk to Look for?
The adhesive characteristics of a sealant are critical. The formula must be very adherent to the surrounding surfaces. This results in a watertight seal that will not split, even when subjected to the normal wear and strain that kitchen sinks endure.
Additionally, it is critical that your sealant is elastic. This is because kitchen sinks and countertops might shift over time due to house moves or the weight of appliances, placing strain on the caulk. Temperature changes can also cause a home to expand and compress.
When selecting caulk, it’s also critical to choose a color that complements the space. Although many silicone caulk types come in a clear finish, depending on the color of the kitchen sink and countertops, you may want to select a white, black, gray, tan, or almond color.
Finally, the caulk you use should inhibit the formation of mold and mildew. Mold and mildew thrive in damp locations such as the kitchen and bathroom. Mold and mildew development might also be aided by soap or food residue.
How to Caulk a Kitchen Sink
Prepare the Surface
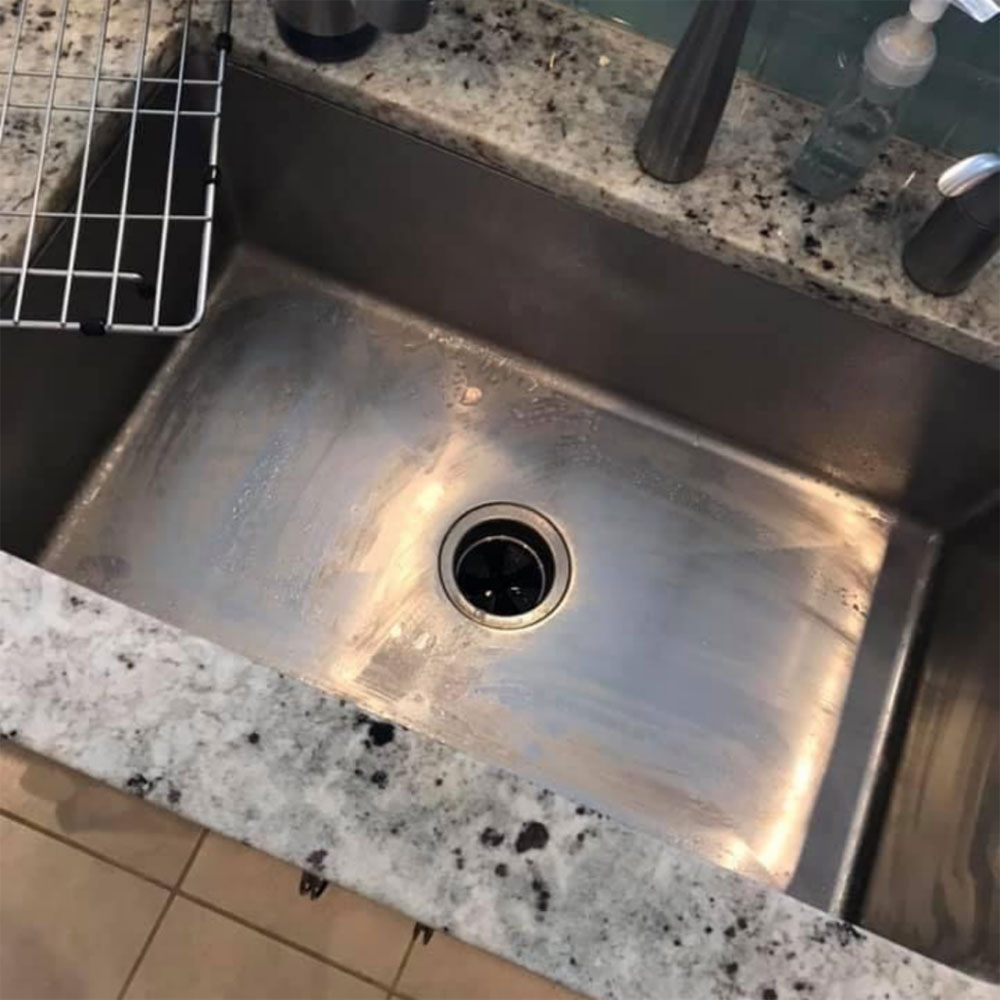
When learning how to caulk a kitchen sink, you must ascertain that the sink’s rim is clean and dry. Scrub the kitchen sink and counter rims with soap and water to remove any dirt or grime that has accumulated on the surface.
Then, using a utility knife, cut and take away the old caulking from the joint. Clean any remaining residue with rubbing alcohol, ensuring that it is completely removed. Allow the area to thoroughly dry before proceeding, as fresh caulking will not adhere to existing caulking or damp surfaces.
Simultaneously, remove any dirt, oil, mold, or mildew that you come across.
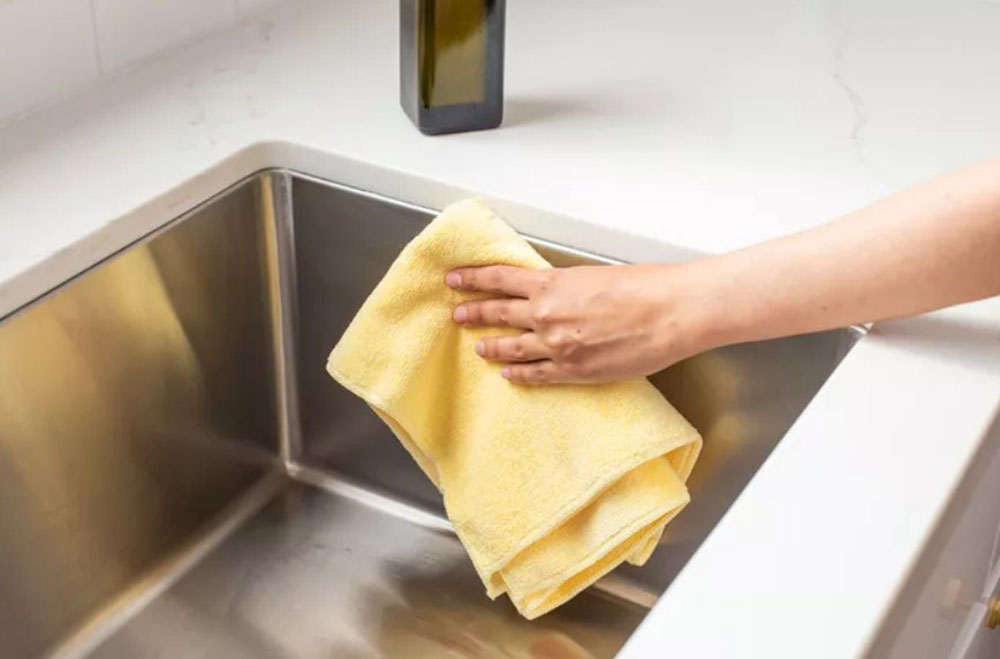
Allow the rim of the kitchen sink and the counter edge to thoroughly dry. Because new caulk will not adhere to damp surfaces, wipe it clean with a towel and let it to dry completely before beginning your application.
Apply the Caulk
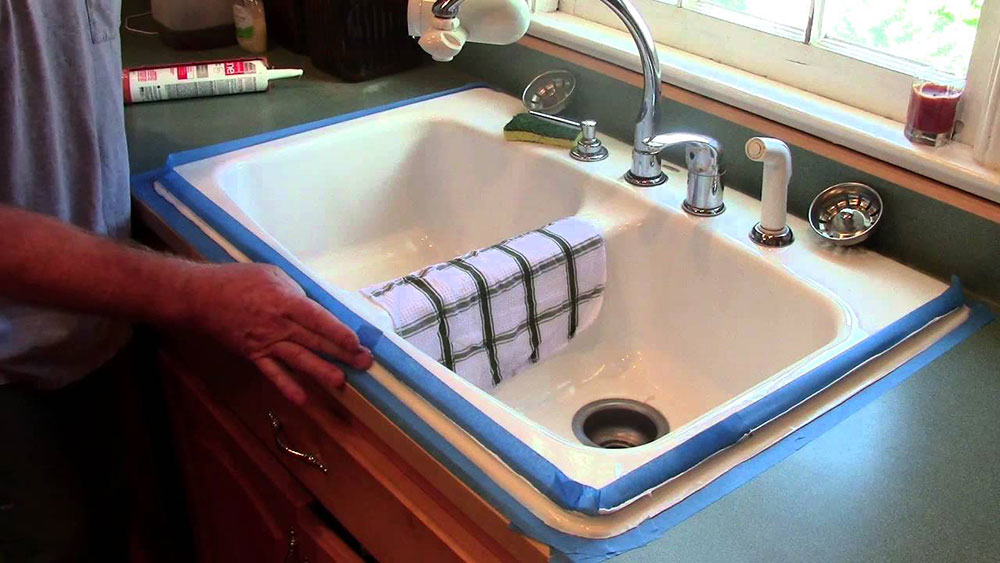
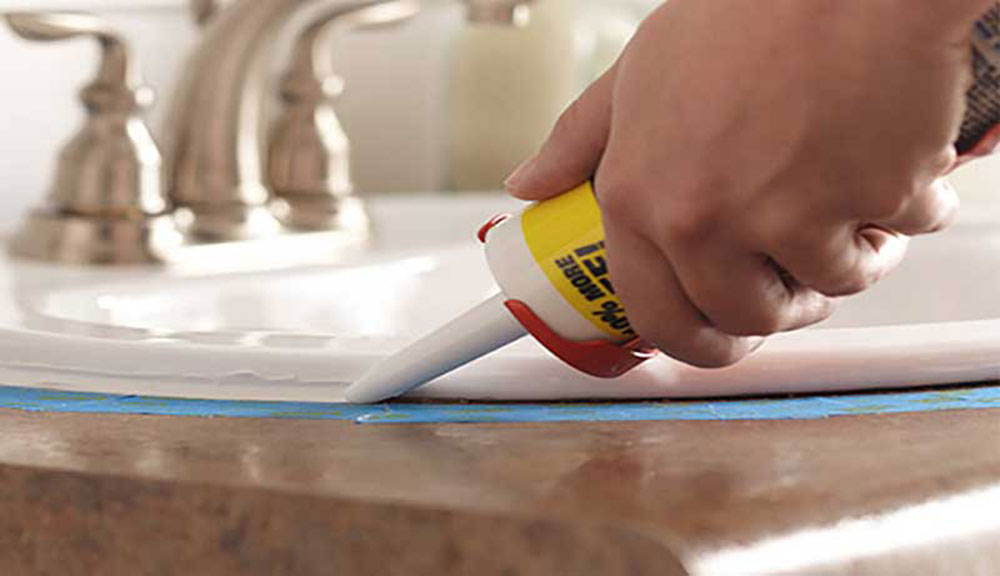
Using painter’s tape is one of the simplest methods for achieving a clean, appealing finished product. Before you begin, align your painter’s tape along the caulking edges. The tape will collect any extra caulk, resulting in clean, straight lines.
The aesthetics of the kitchen sink are equally as essential as its usefulness, and using painter’s tape ensures a clean, professional appearance. Simply remove the tape immediately before the caulk begins to create a skin.
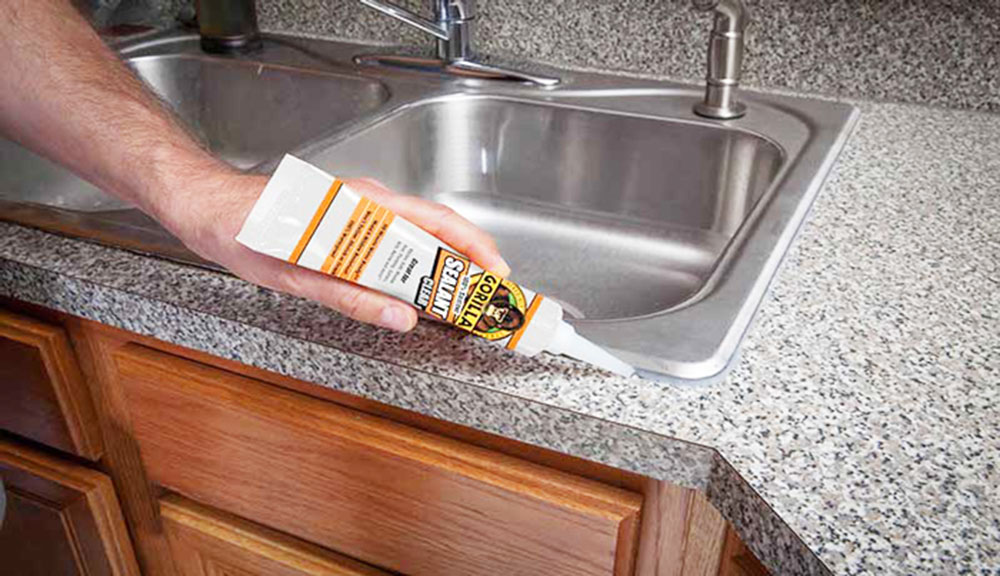
Carefully cut the caulk bottle’s nozzle. Take care while cutting the nozzle – you’ll want to ensure that you receive the correct size bead for your project.
Certain squeeze tubes may include a seal behind the nozzle cap that must be removed or punctured prior to usage. Using scissors or a utility knife with a sharp blade, gently cut the nozzle according to the directions on the tube.
A line of caulk is referred to as a “bead,” and its width is governed by the location of the nozzle’s cut. Cut the nozzle close to the tip to make a thin bead. Trim more of the nozzle to create a broader bead.
Whatever the required width of the caulk bead, cut the nozzle at a 45 degree angle. Because you’ll be applying the caulk at an angle, cutting the nozzle on a slant will aid in creating a smooth bead.
Insert the caulk tube’s tip into a caulking gun and press the gun’s plunger up into the rear.
Squeeze the trigger several times to prime the tube until the caulk reaches the tip of the caulking gun. Wipe the tip clean of excess caulk with a paper towel to ensure a clean start on your sink.
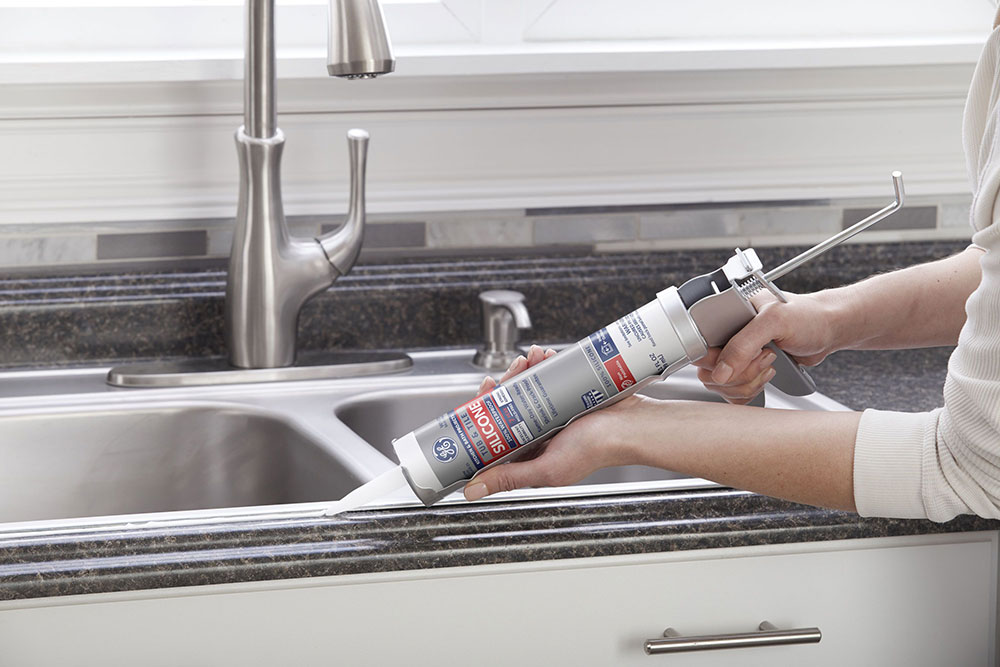
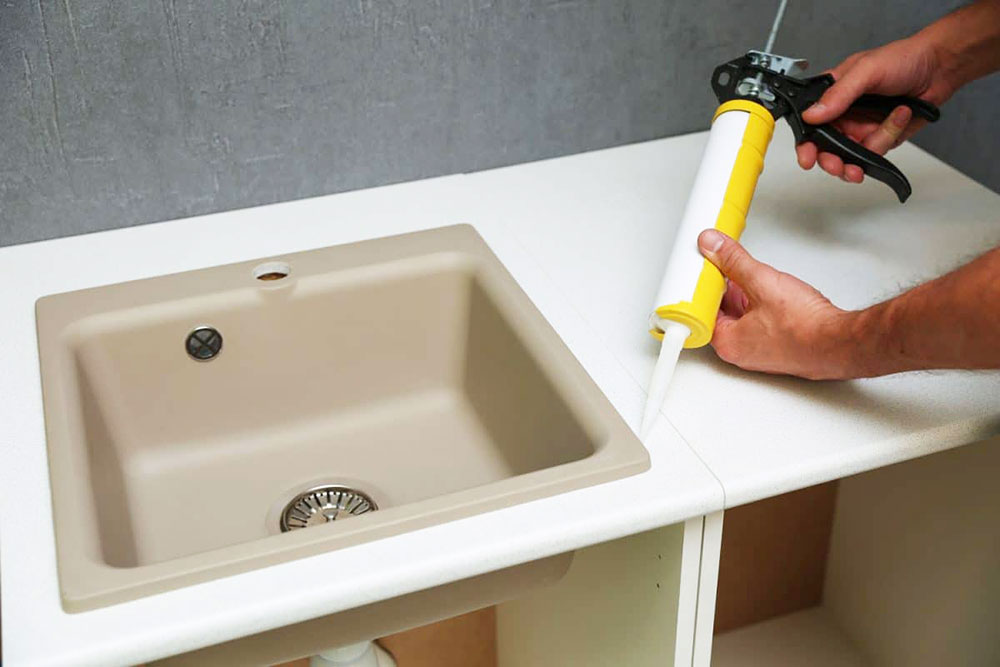
Firmly press the point of the cannon against the sink’s rim where it meets the countertop.
Squeeze the trigger slowly to release a thin line of caulk around the rim’s edge. Apply mild pressure to avoid applying an excessive amount of caulk in one location.
Continue to move the gun while squeezing the trigger, keeping the tip of the gun close to the rim for a tight application.
Take your time with this and don’t worry if it looks a bit sloppy; that is the purpose of the masking tape; it is acceptable. That will be addressed in the next phases.
Apply the caulk all the way around the rim of the sink, beginning at one end and ending at the other. If you need to terminate your line at any point, overlap the beginning of the new line with the end of the previous one.
Maintain a little bead; tooling it is much simpler if you first wet your finger in a cup of water combined with a few drops of dish soap.
Smooth the Caulk Bead
Once the caulk has been applied to the joints, take a minute to check for consistency. Assure that you have completely filled it and that there are no gaps or holes in the caulk.
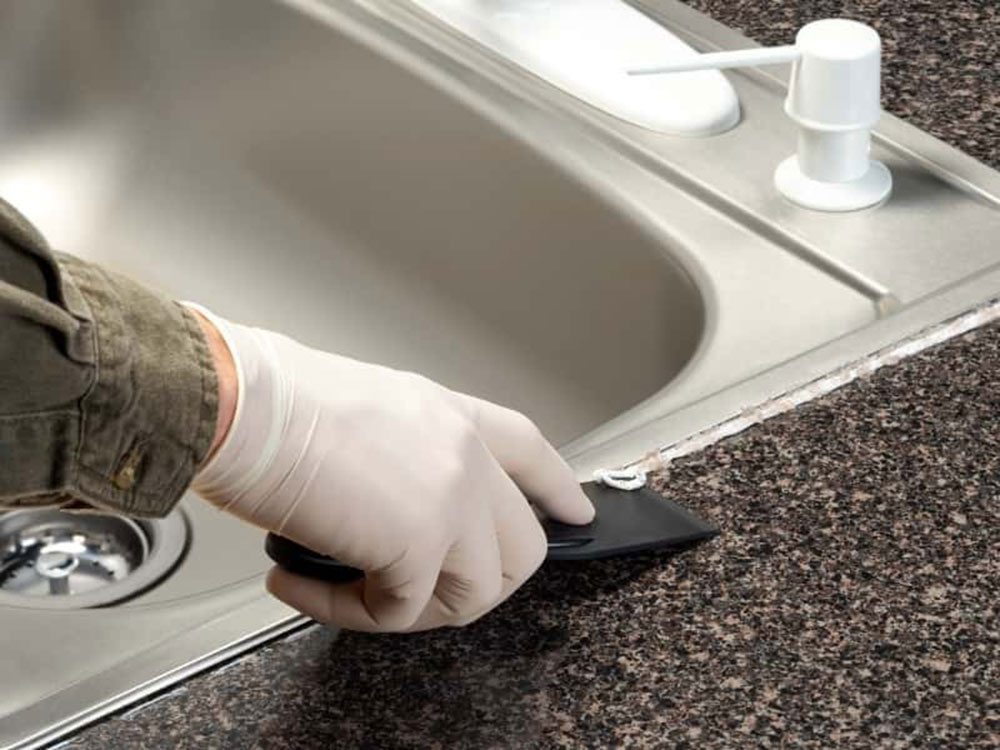
After sealing the junction, “tool” or smooth the caulk bead for a tidy and professional appearance. Smooth the bead with a little drag with a caulk finishing tool. Alternatively, you might use your index or middle finger. Moisten your fingers in warm soapy water and pull it down the length of the bead with light pressure.
Whichever method you employ, the end result should be a smooth bead, not the removal of extra caulk.
Let it Dry
Remove the masking tape immediately after the caulk has settled and dried. Do not overlook this step; if it dries and becomes stuck, you may have to restart the entire process. Lift it slowly and at an angle to ensure that it comes off intact and without bringing any caulk with it.
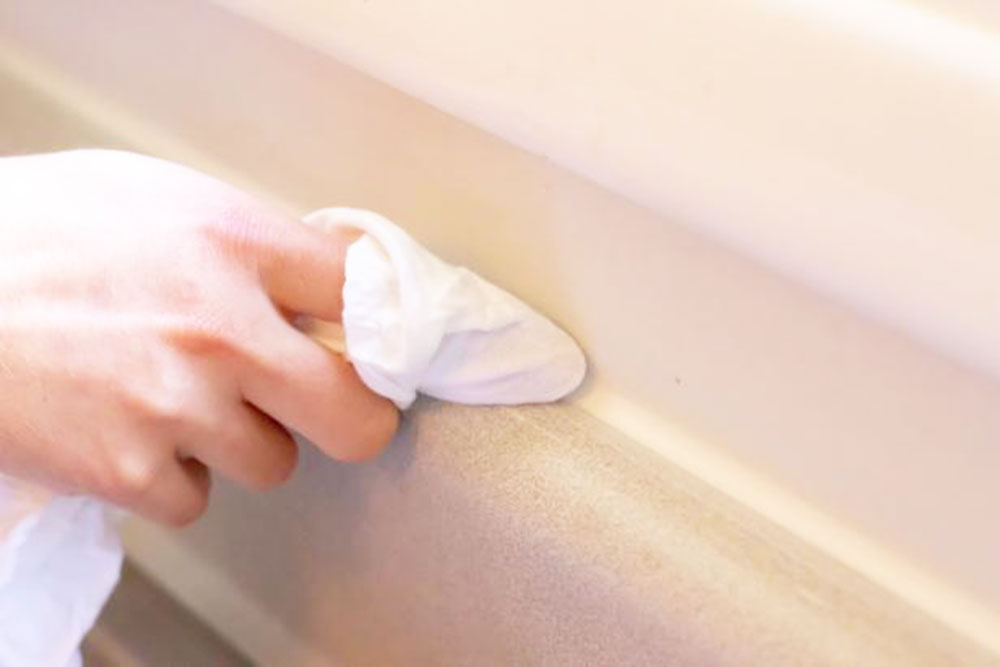
Now, while the caulk sealant is still curing, wipe away any excess with a warm moist cloth. If it dries, it is not the end of the world; however, cleaning it off with a brillo pad or scraper will need a little more effort, and it is better to get it while it is still fresh.
Allow at least twenty-four hours for it to cure before using the sink, since getting the new caulking wet might harm it.
Caulking Tips
That is all. You’ve completed the task; you’ve successfully replaced the caulk and sealed your sink for the next few years: bid farewell to mold, mildew, and dishwashing.
Finally, here are some other practical tips for caulking:
- For the best results while learning how to caulk a tub or other major project, utilize a dripless caulk gun. When you quit squeezing the trigger, this sort of caulk gun releases pressure on the cartridge, providing you greater control over the flow.
- The key to mastering the caulk gun technique is to begin at one end of your project and proceed in a continuous manner.
- Slowly squeeze the trigger to extract the caulk from the cartridge.
- Draw the rifle steadily along the workspace while squeezing the trigger.
- When the trigger reaches the handle, release it. It will rebound back into shape, at which point you may continue creating a steady bead.
Cleaning the caulk around your kitchen and bathroom sinks on a regular basis will help avoid water damage and leaks, as well as mold growth. If you have silicone caulk, you should mix a vinegar and water solution and spritz down the area to be cleaned, then scrub with a brush every few months. If you have a particularly stubborn stain, allow the vinegar solution to sit on the area for approximately 10 minutes before cleaning with a soft brush.
Conclusions on how to caulk a kitchen sink
Kitchen sinks are often wet surfaces. This is why using a good waterproof seal is necessary. This is crucial to protect your kitchen inventory from extra moisture that can easily damage it. We hope this article on how to caulk a kitchen sink was useful and will help you maintain your kitchen.
If you enjoyed reading this article about how to caulk a kitchen sink, we also wrote about subjects like how to install crown molding on kitchen cabinets, what color light is best for the kitchen, where to hang kitchen towels, and how to increase water pressure in the kitchen sink.
That is not all. We have other kitchen-related articles on how to clean sticky kitchen cabinets, how to make kitchen cabinets look glossy, where to put a microwave in a tiny kitchen, and how to display cutting boards on a kitchen counter.